Tablesaw dust collection with shop vac

Tablesaw dust collector

Many woodworkers have dust collection systems, which use suction and large pipes and hoses to collect sawdust and other particles from power tools.  For the hobbyist, these systems can be affordable, below $1000 for a decent system.  Naturally, I therefore wondered what I could accomplish with my old shop vacuum, some junk from the garbage can, and about 20 bucks.

Woodshop Dust Control
cover
Amazon | Powells
IndieBound

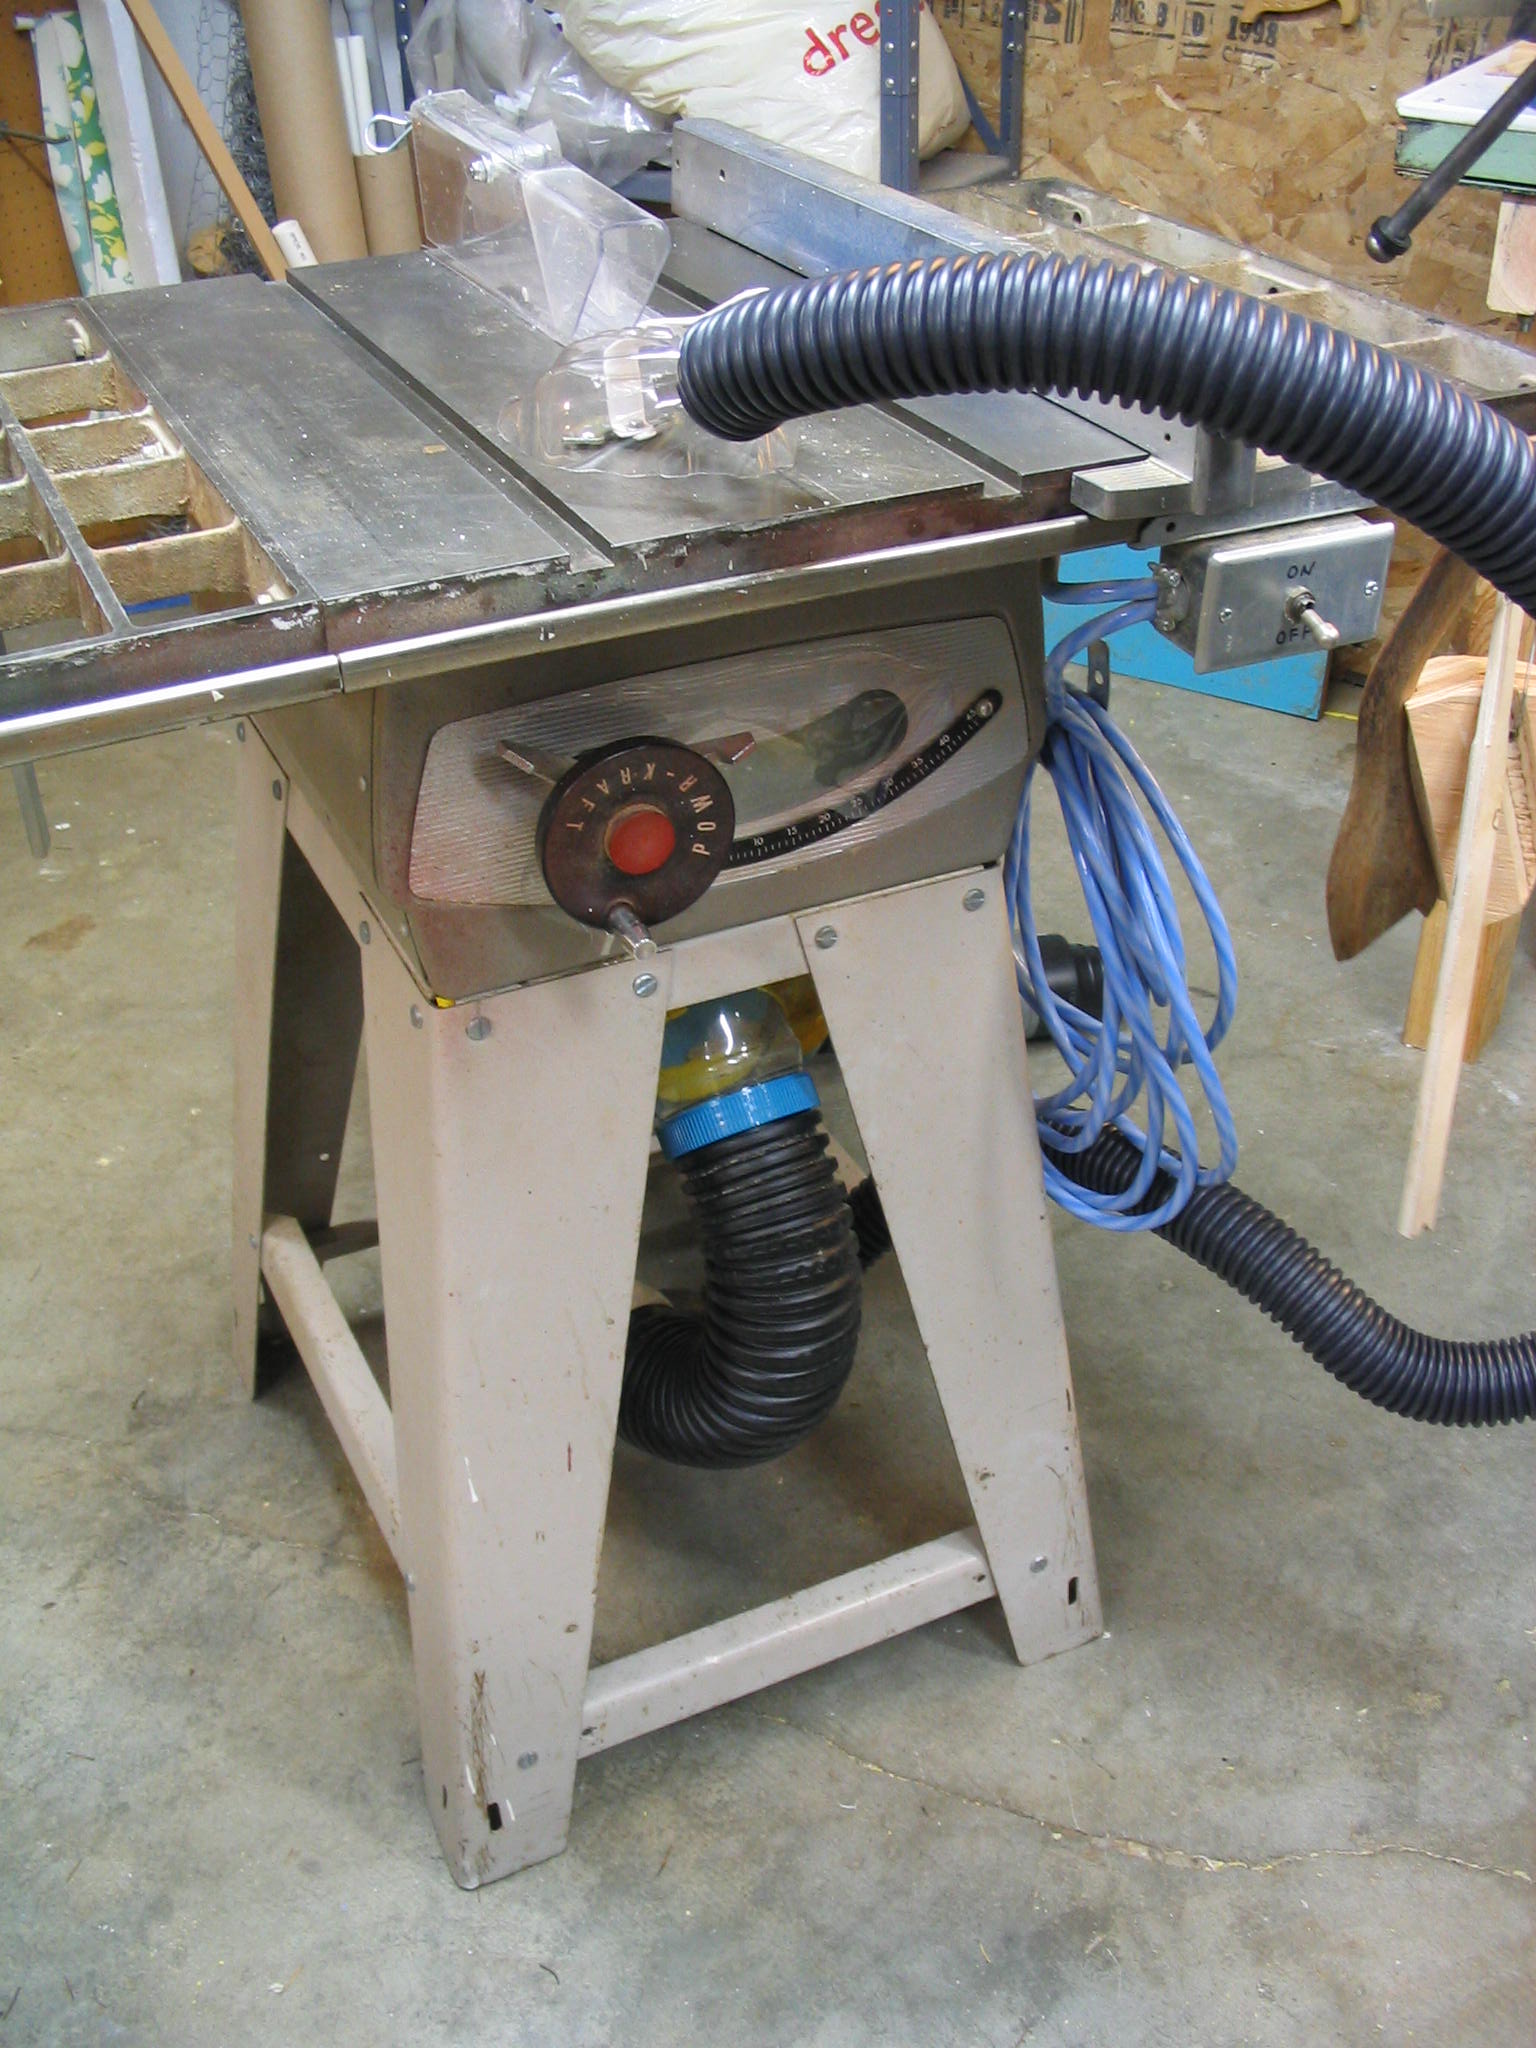
The basic premise is to collect sawdust, trimmings, and other particles as close to the source of production as possible.  Many power tools come with dust collection ports built in to them these days.  My 1950s PowrKraft table saw did not, so I set out to create a dust collector for it.

The Tablesaw

Common plastic bucket and my assistant Stanley

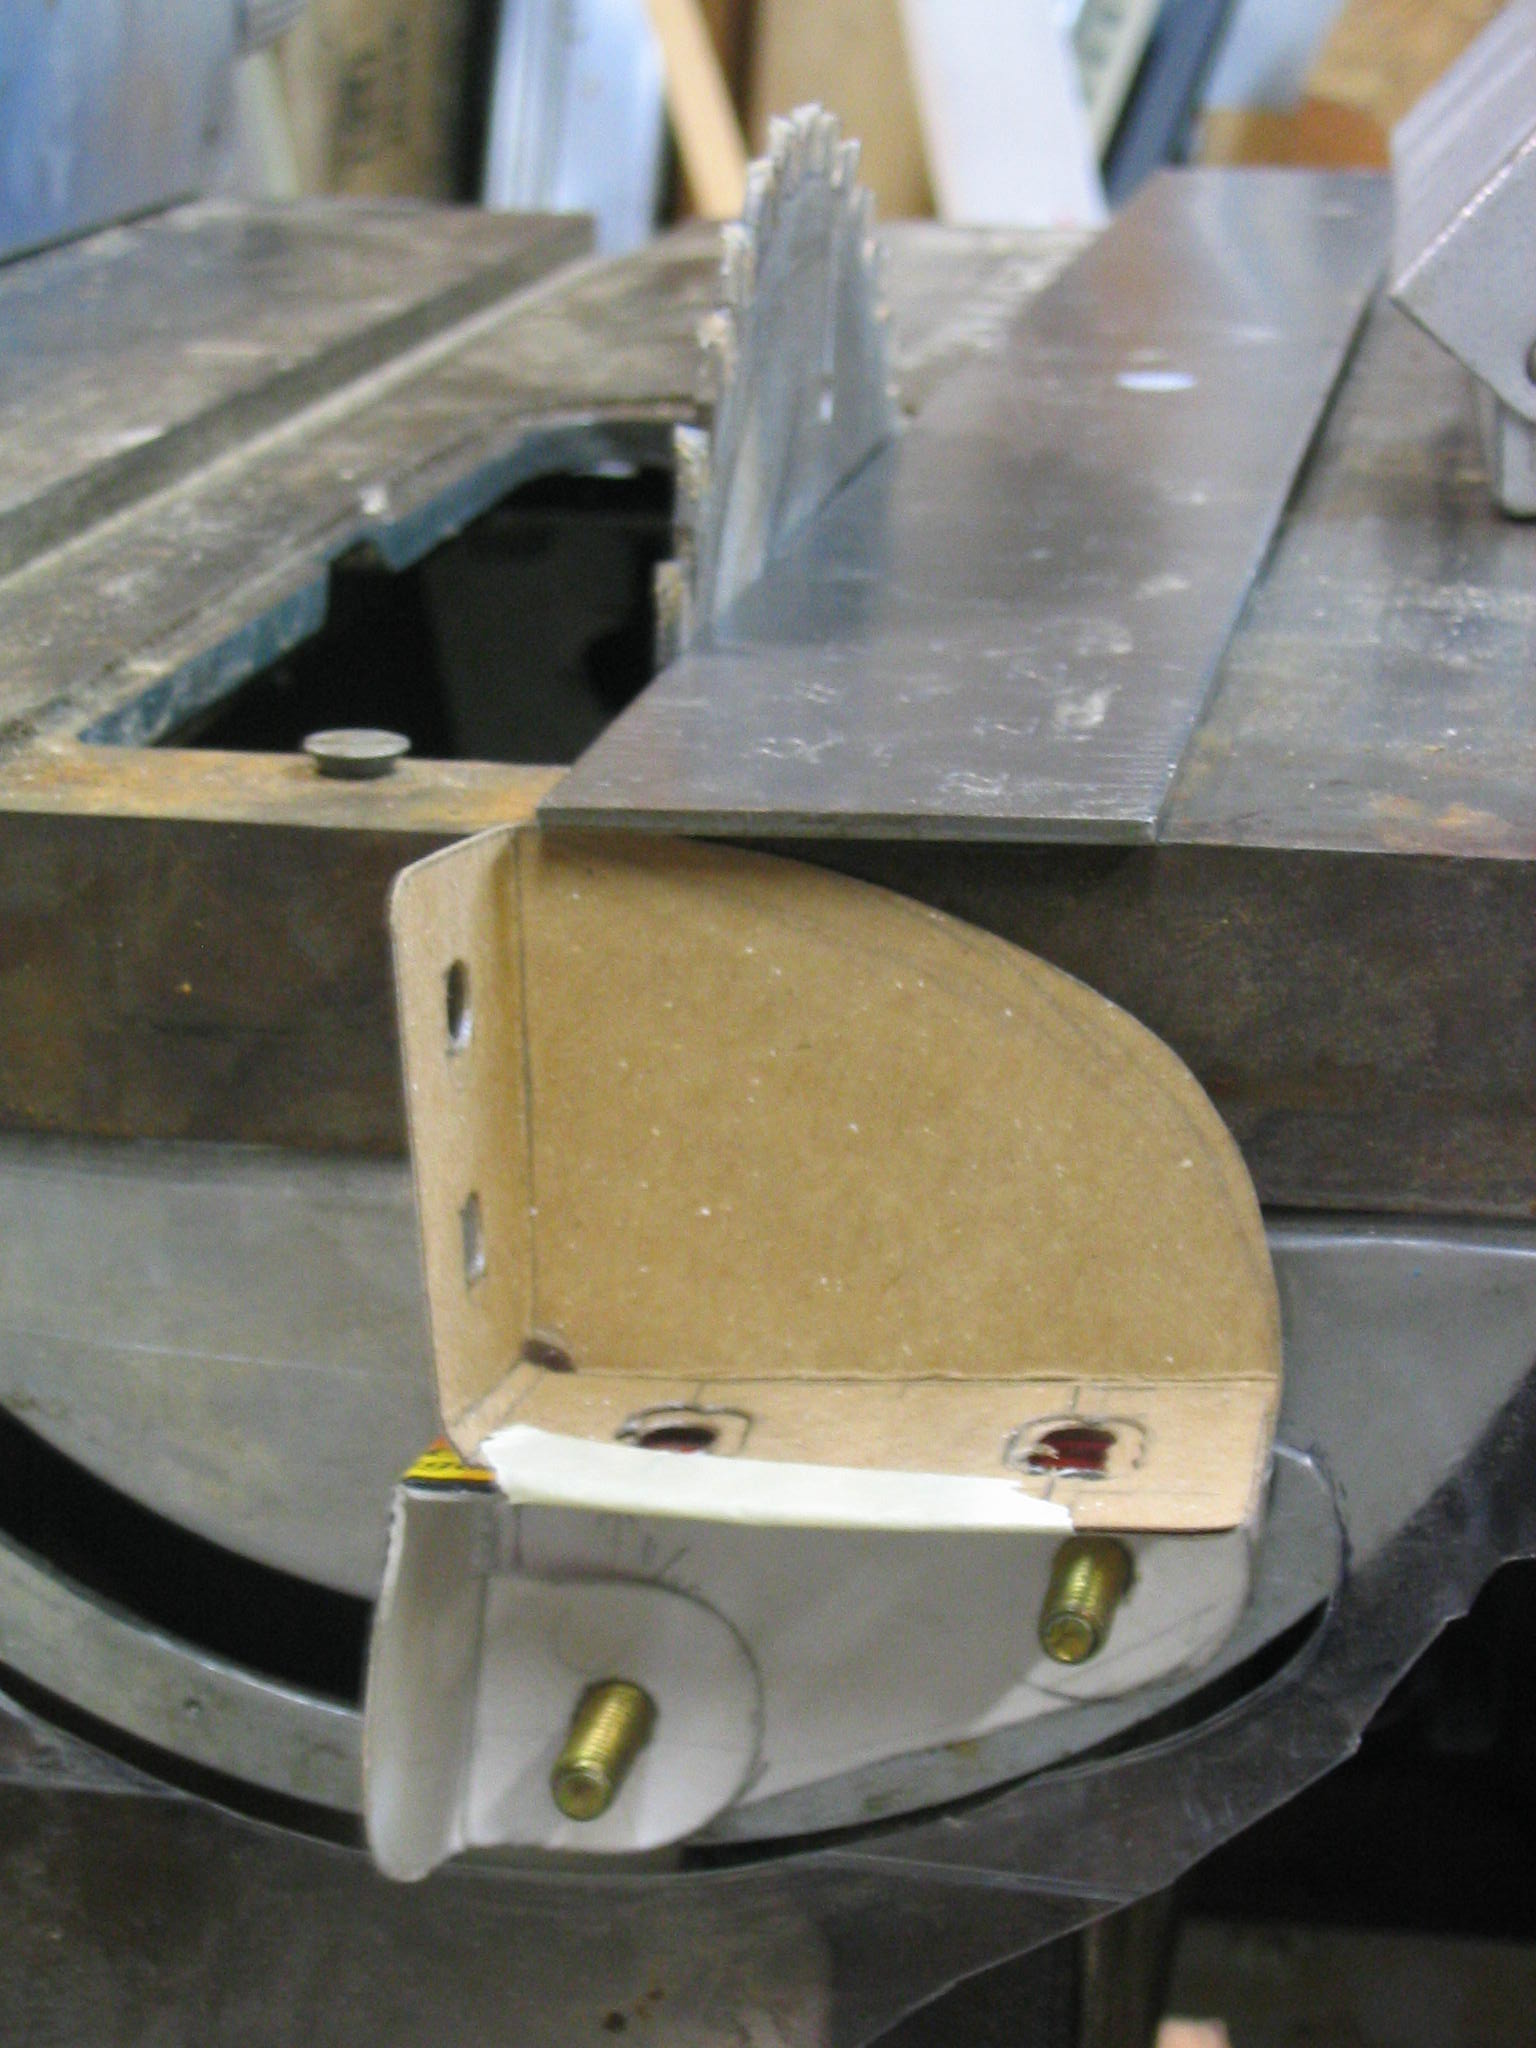
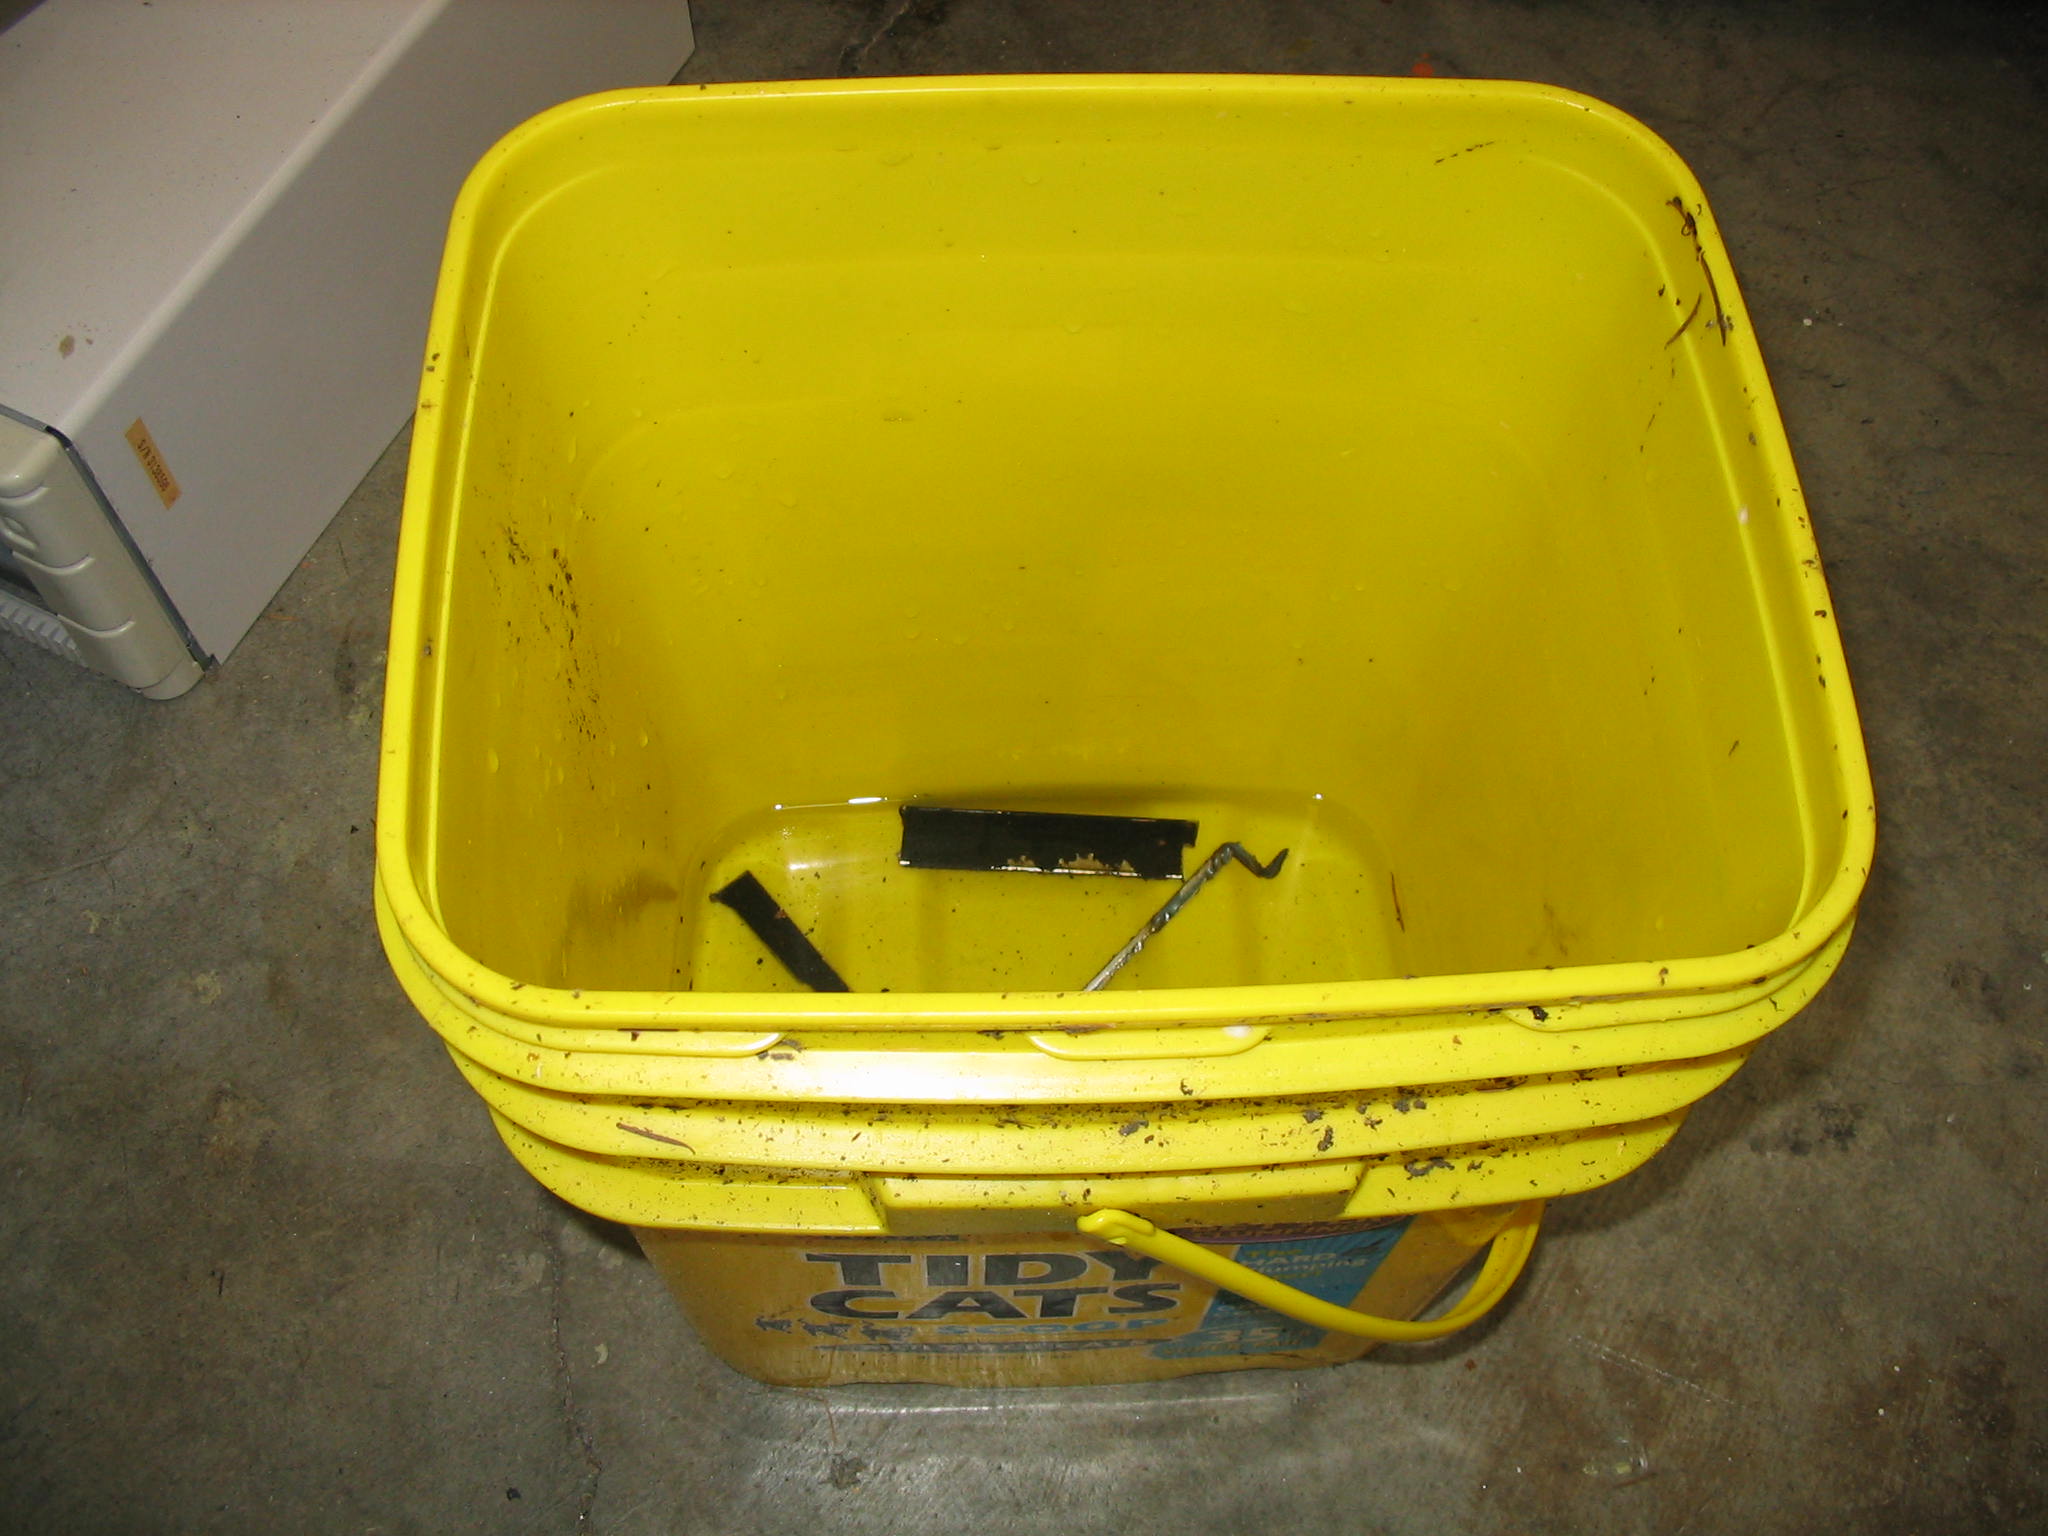
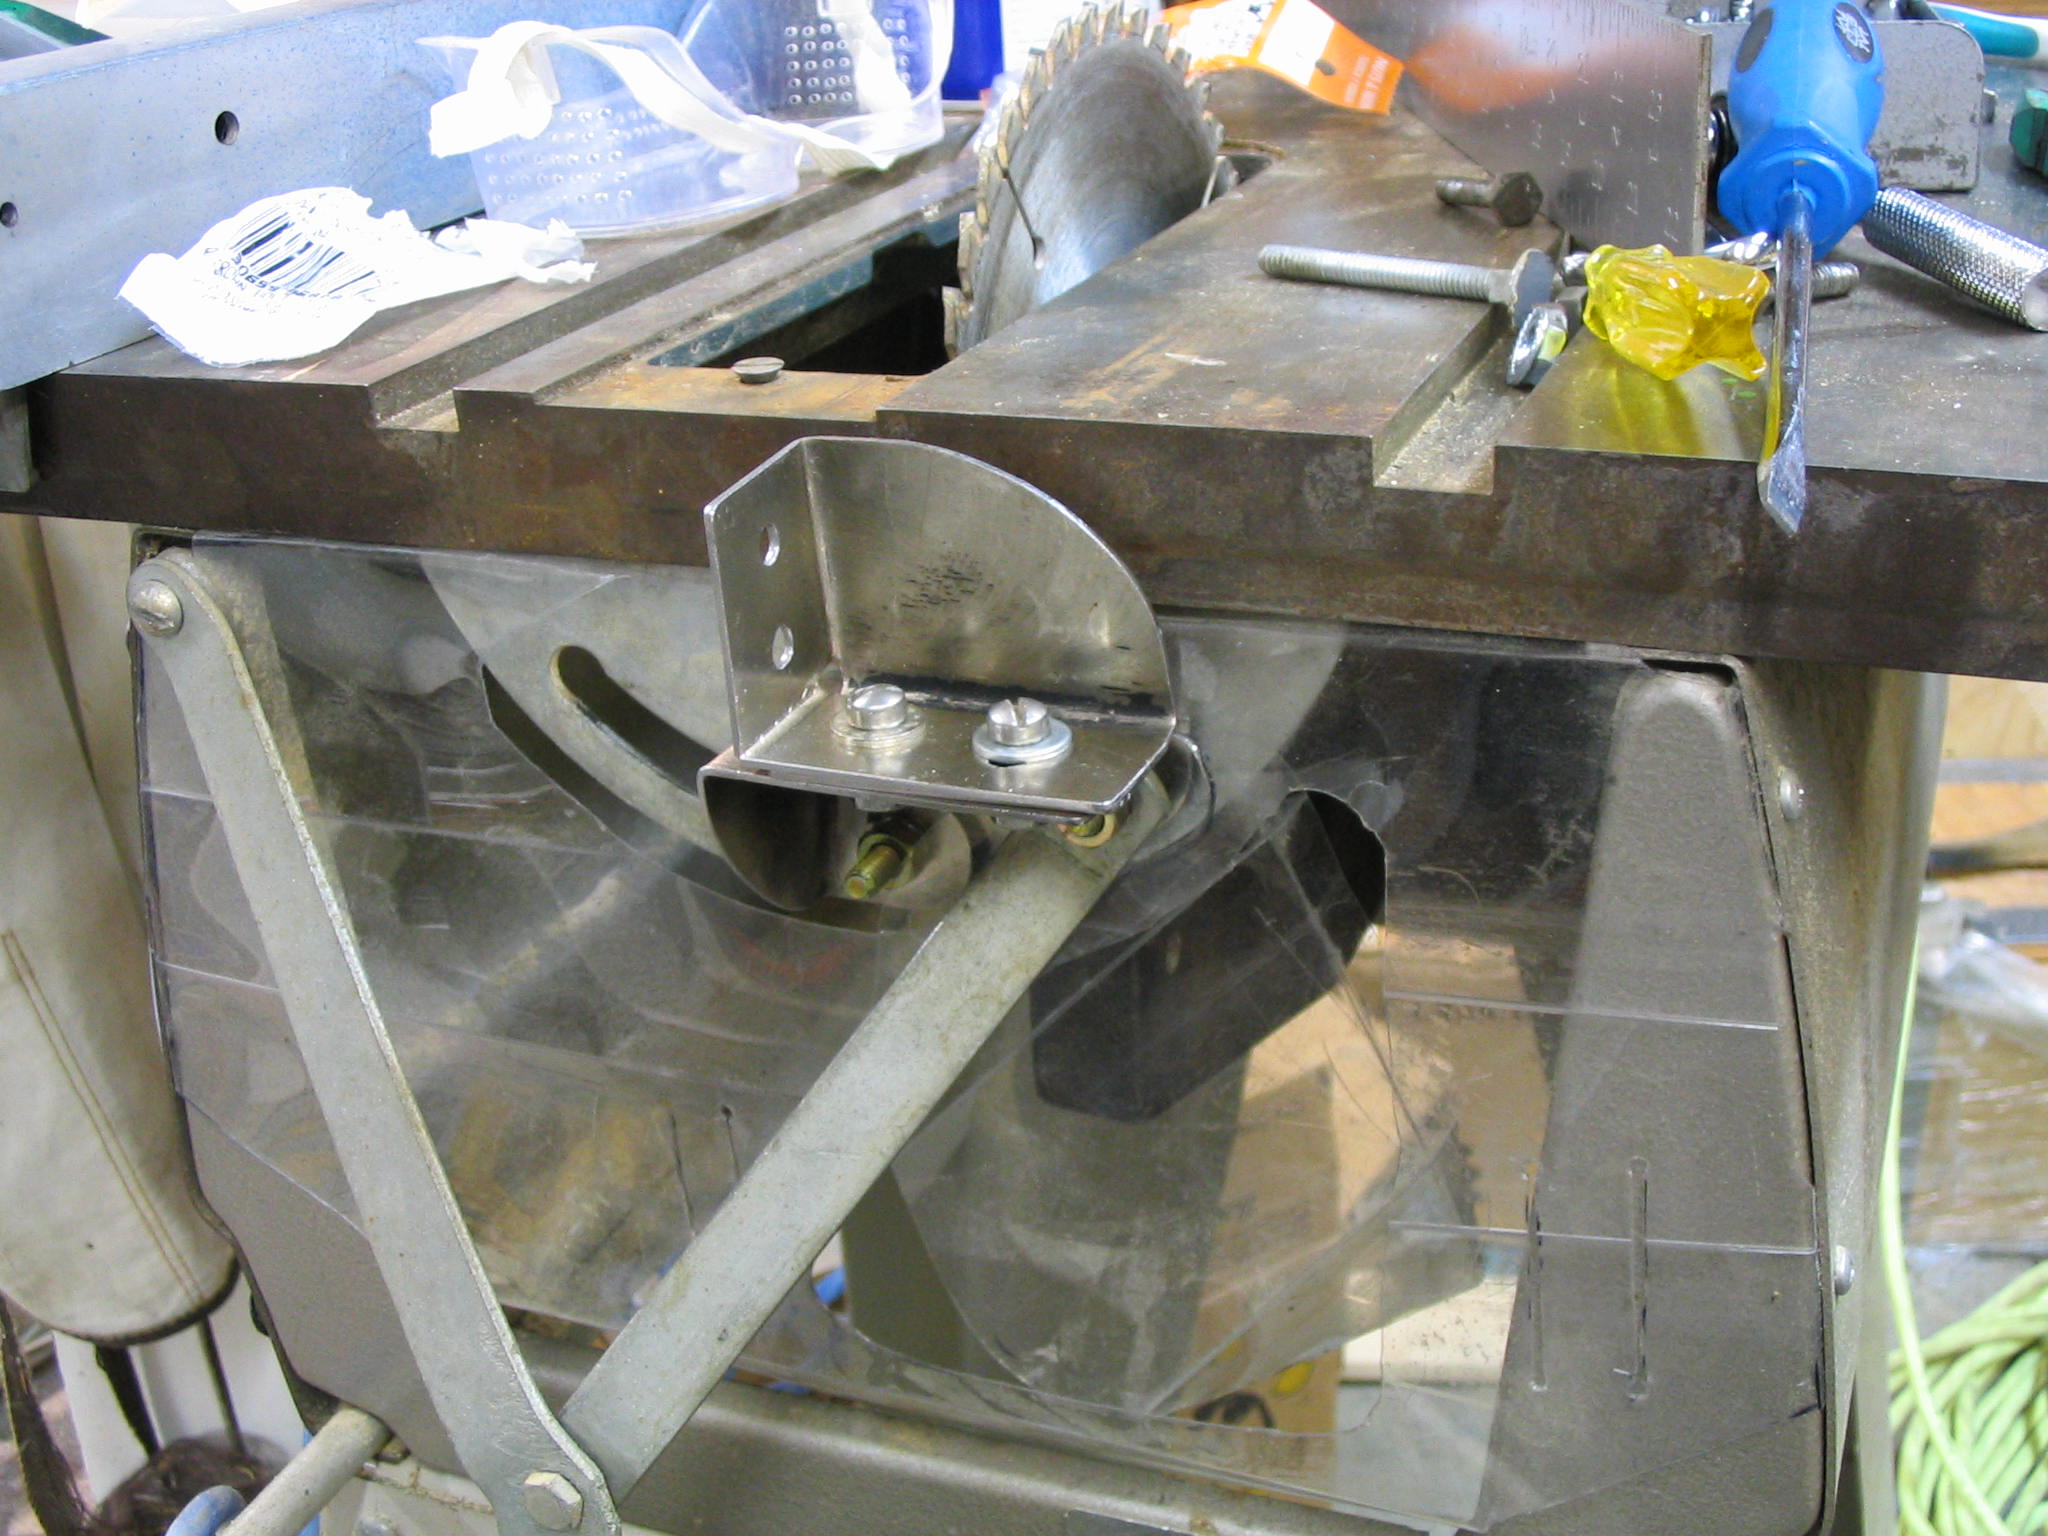
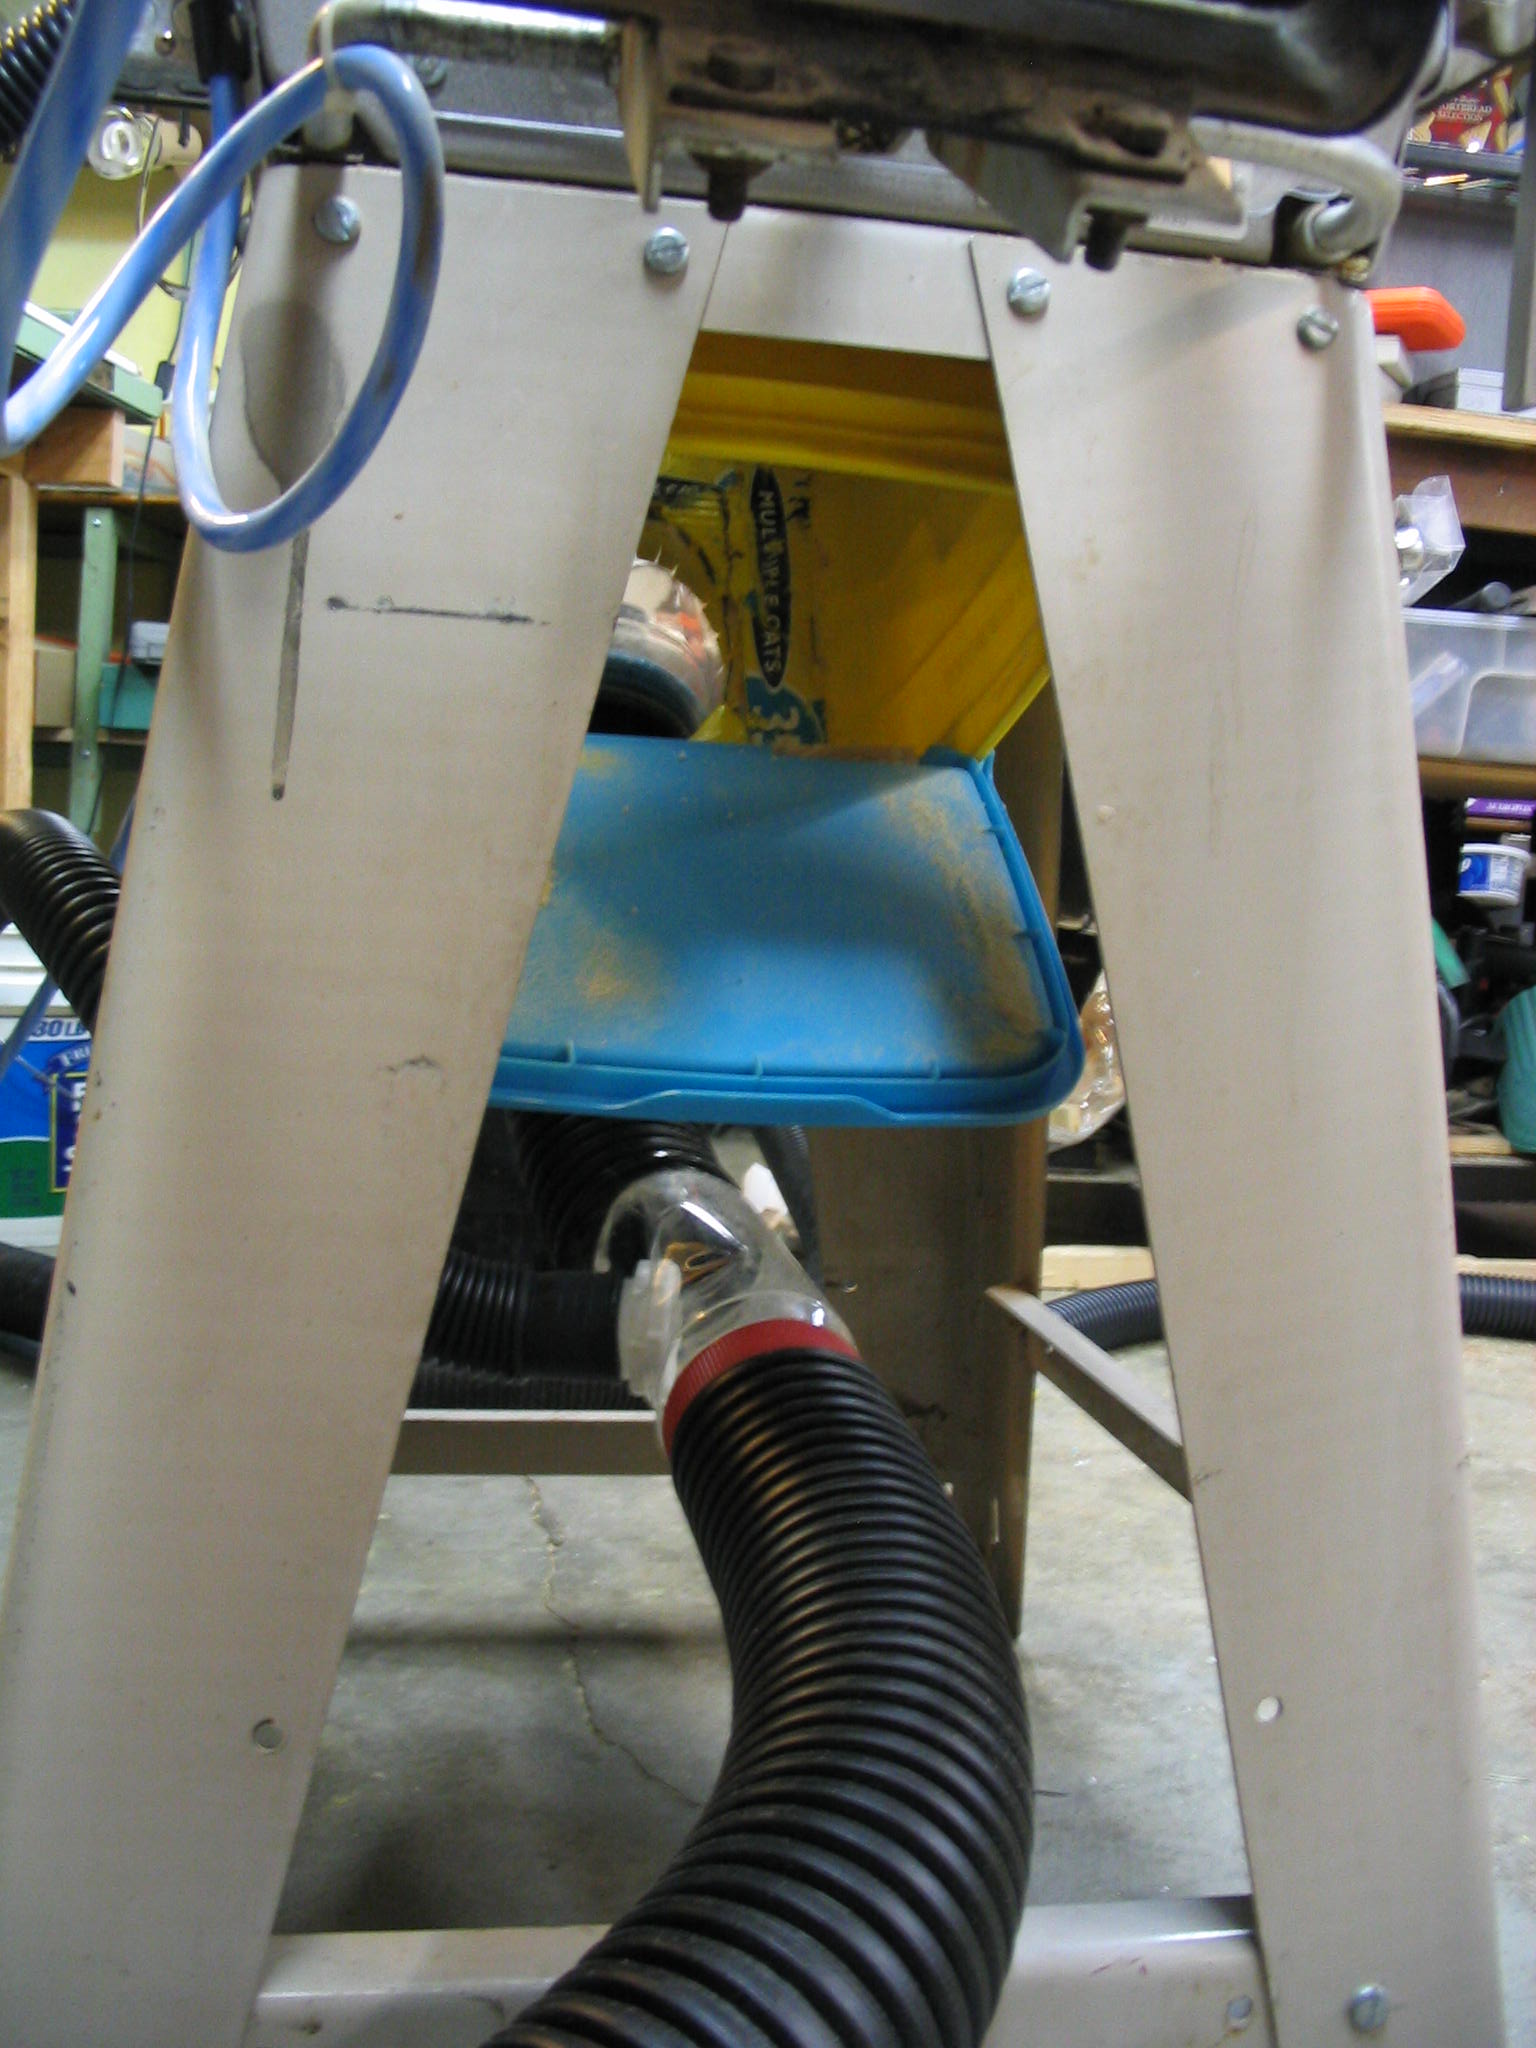
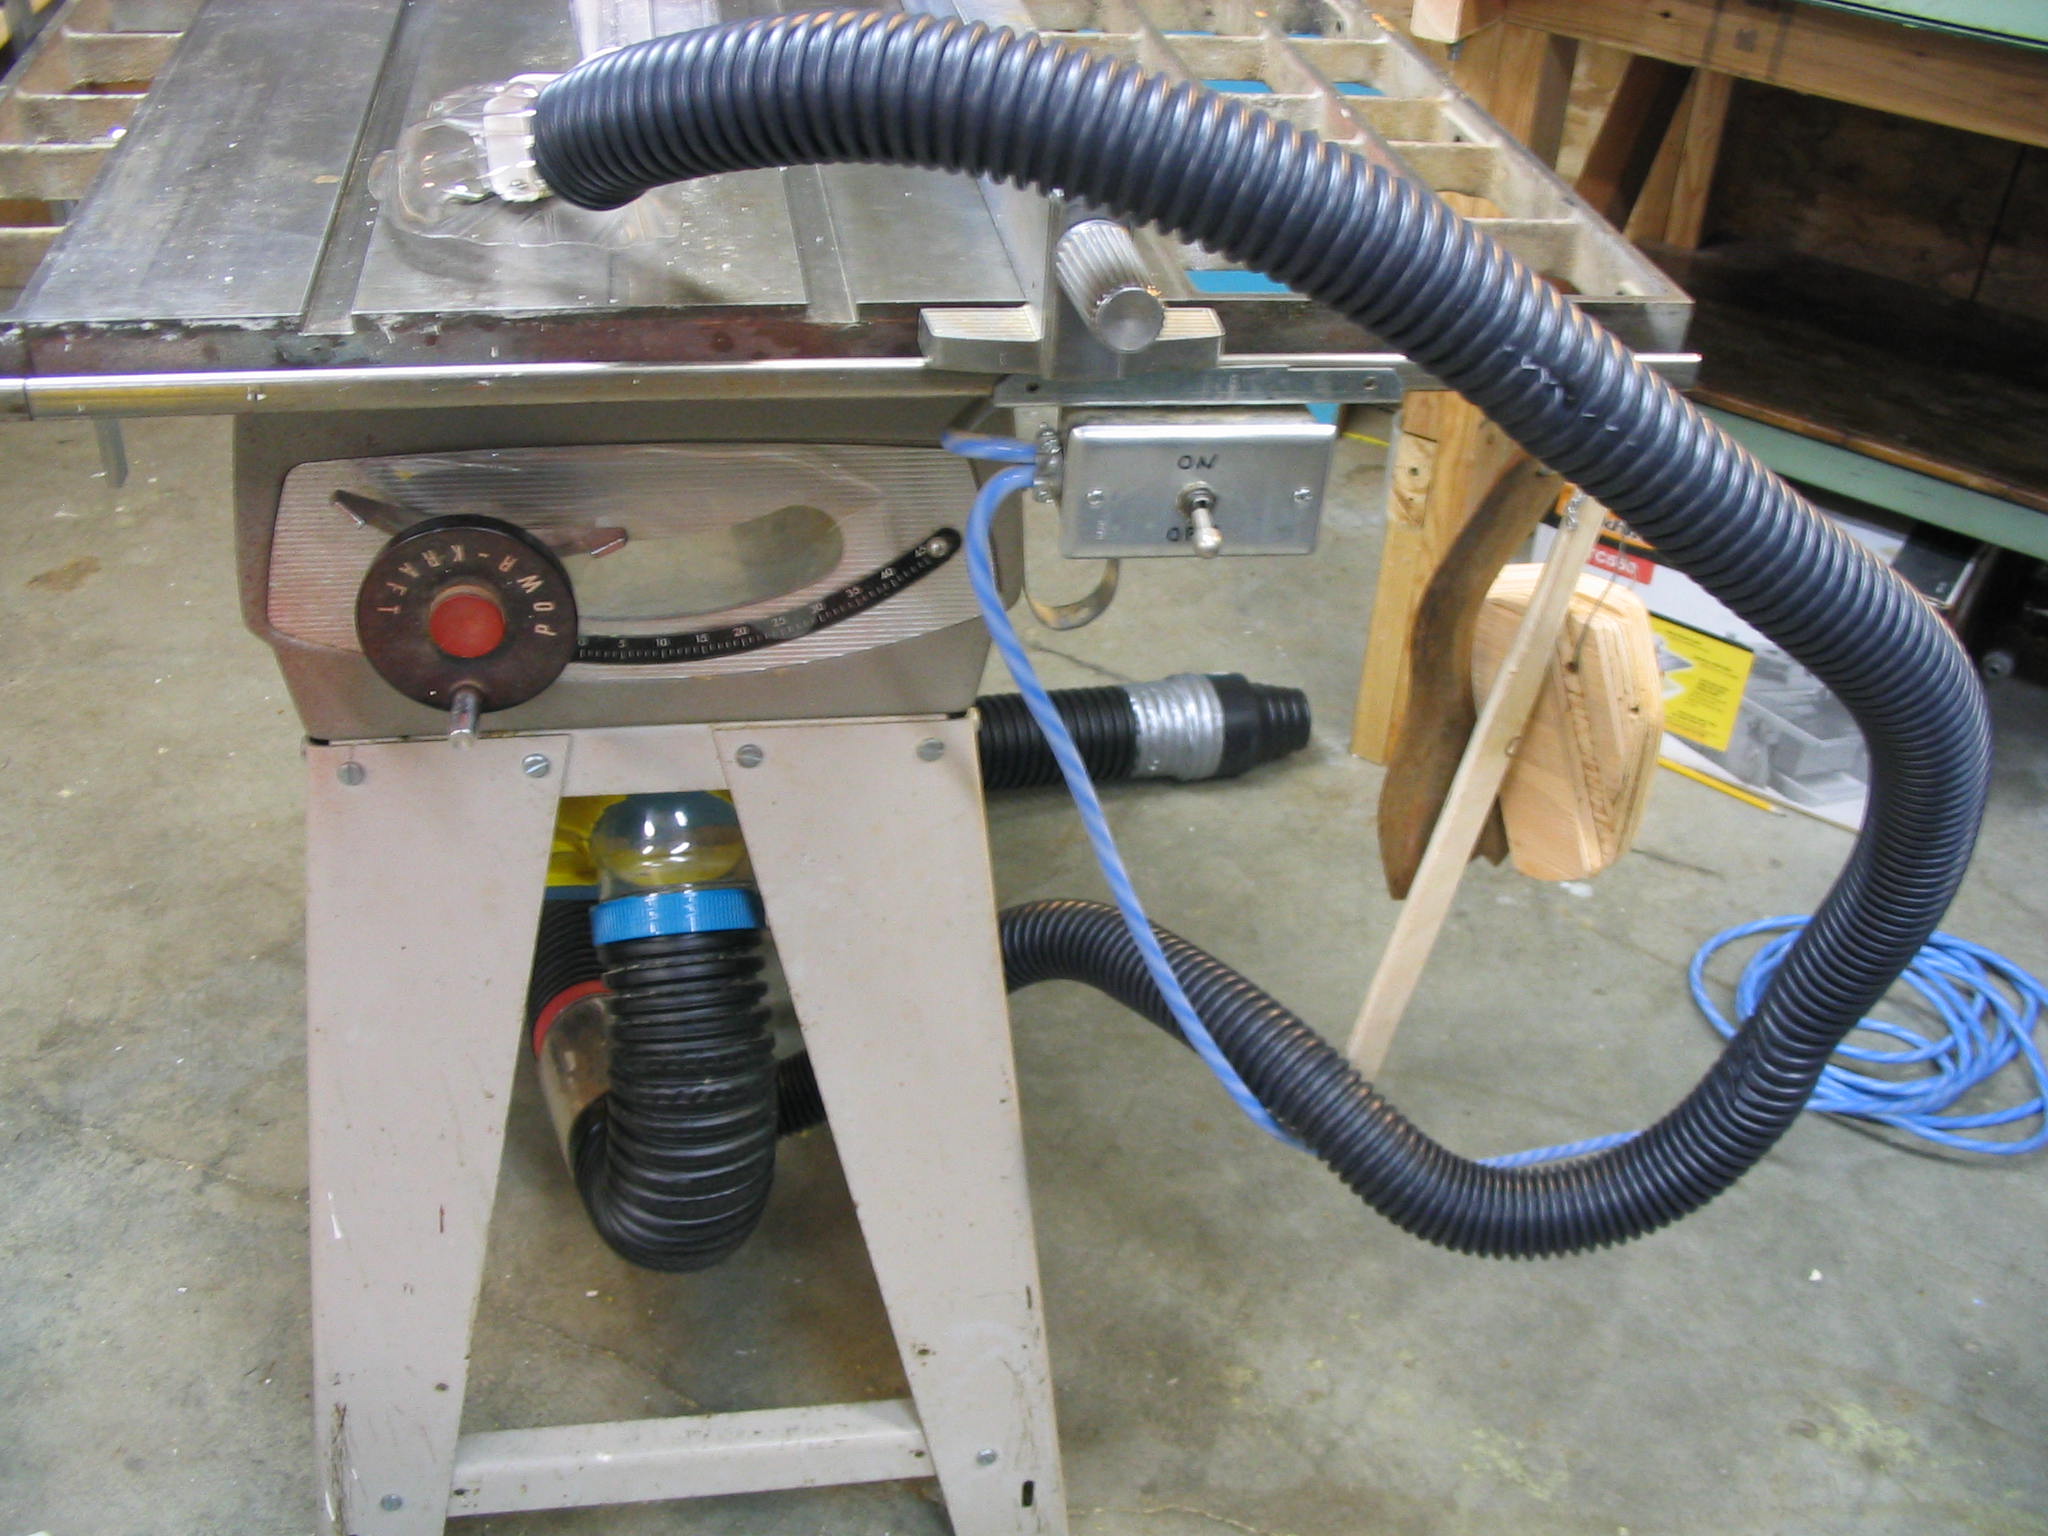
My tablesaw was not designed for vacuum collection of sawdust, so it has quite a few openings which needed to be covered.  The underside of the saw is open, with a sheet-metal rim around the inside.  This made a good place to attach a collection hood.  I fabricated one from a rectangular plastic bucket made from HDPE (high-density polyethylene) plastic, the most common type used in common buckets and consumer packaging.
Door open
Door open

Since the bucket had a hinged snap-on lid, I turned the bucket upside down and used the lid as the bottom of the dust hood.  The lid then became an access door to the underside of the saw.  I used the heat gun to bend the sides of the bucket and weld on extra corner tabs, creating flanges to sit on the rim of the saw opening.

Tubing
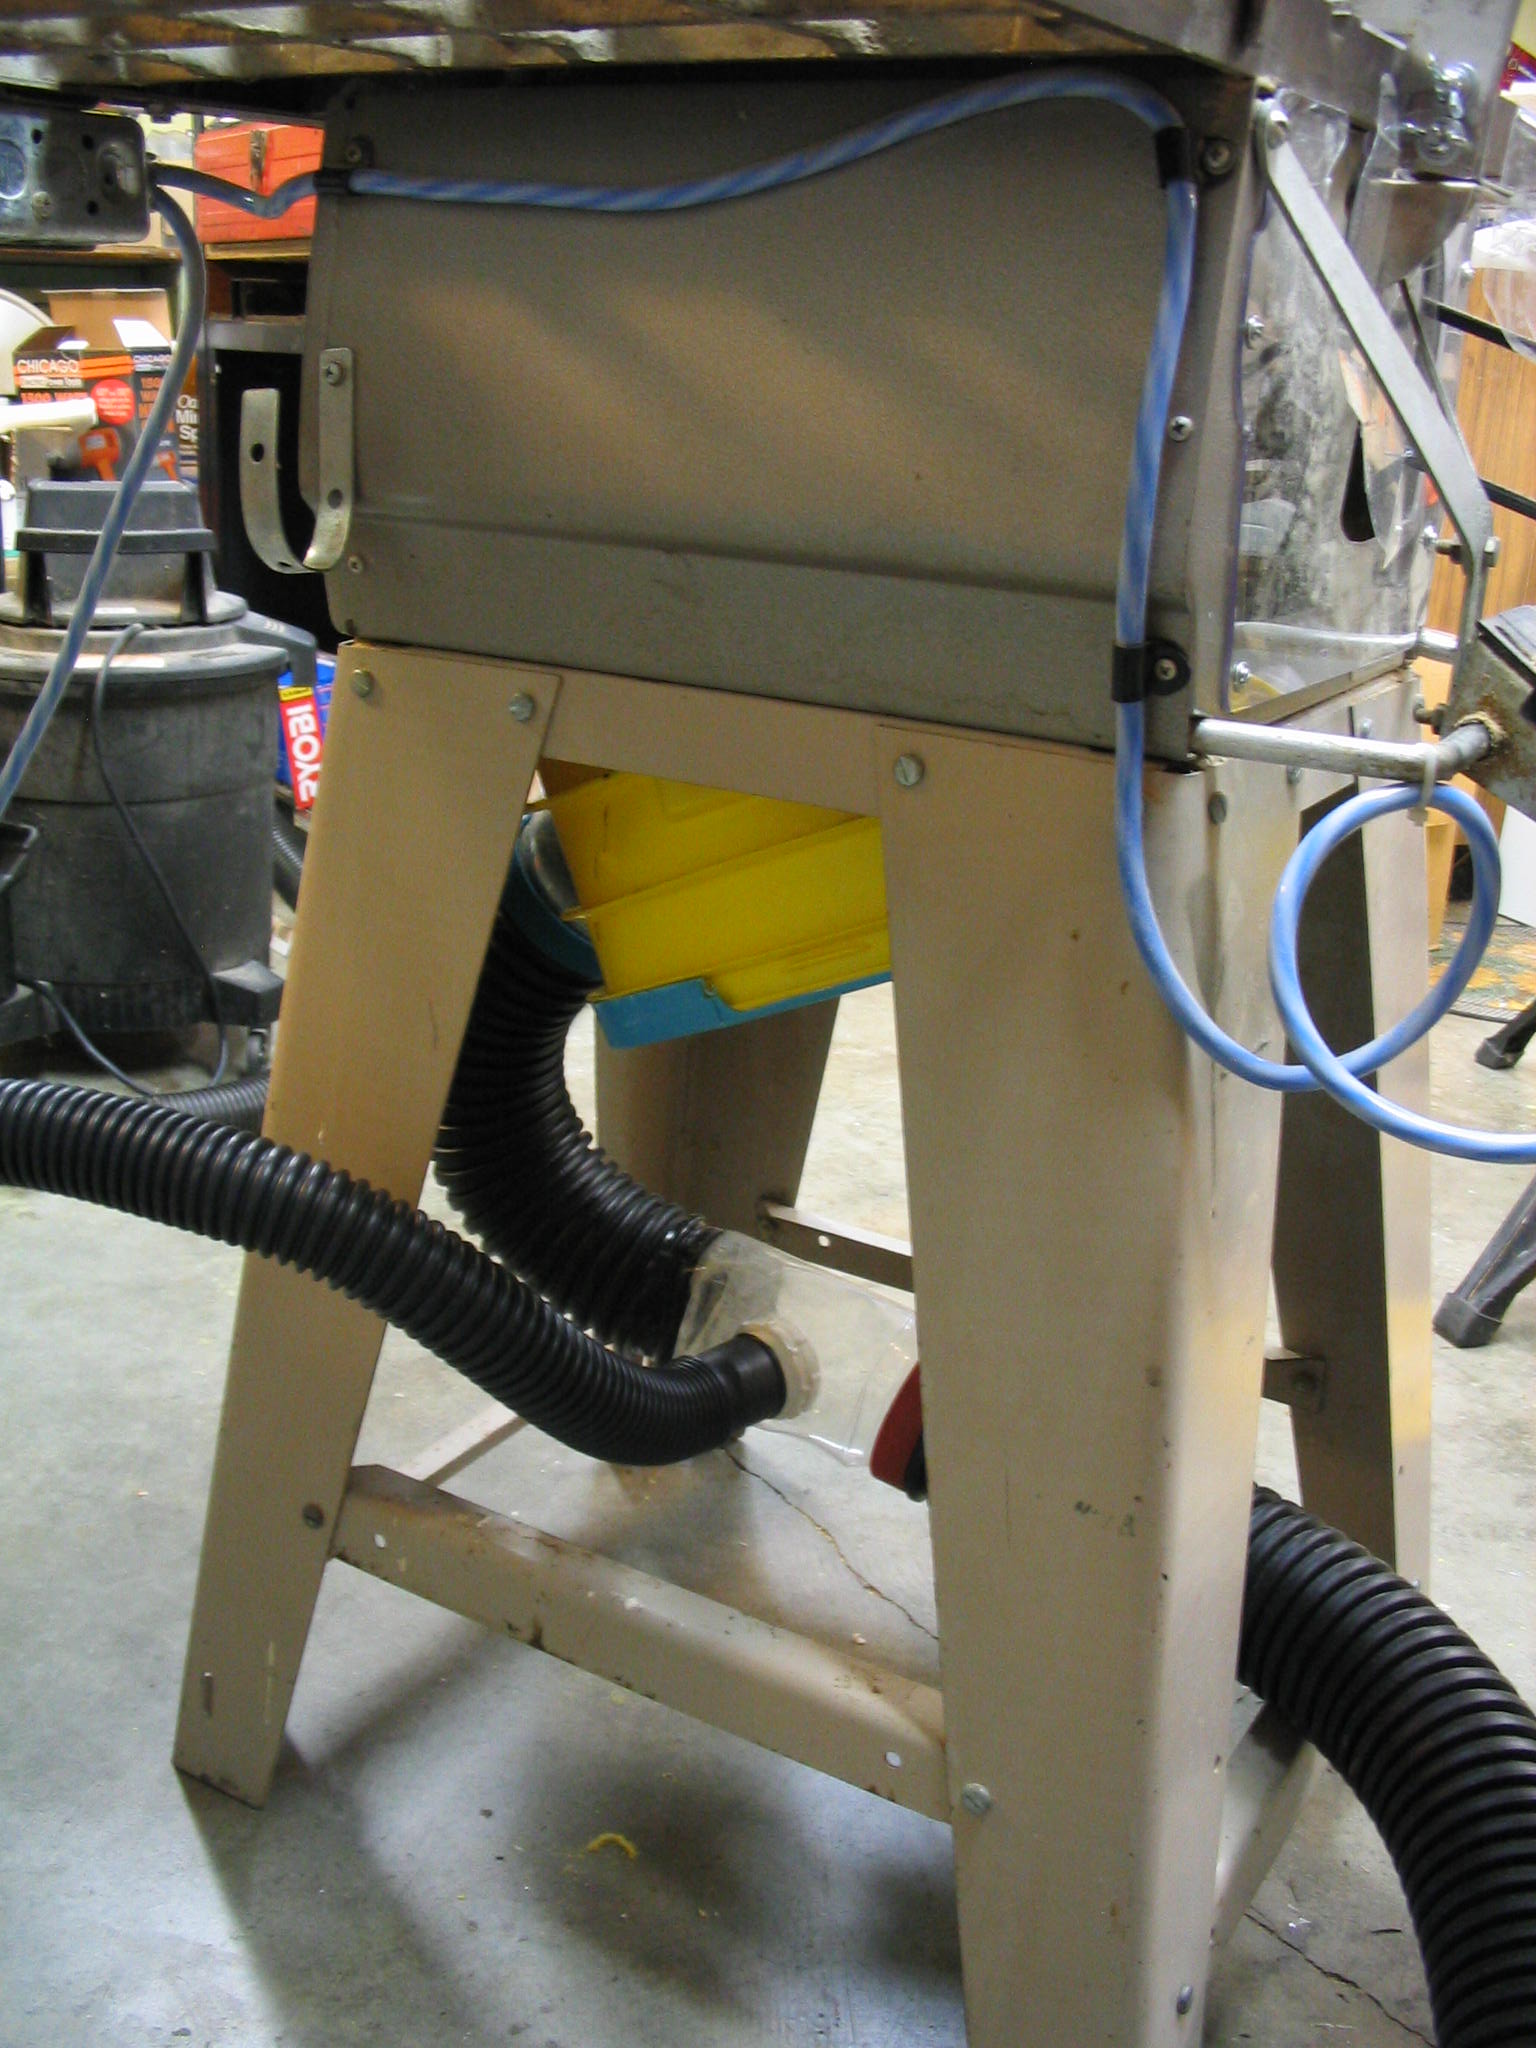
Hood and tubes
Hood and tubes

For the dust-collection tubing, I took the cheap route.  I used 3-inch water drainage tubing and 1.5-inch sump pump tubing, both from the local home improvement warehouse store.
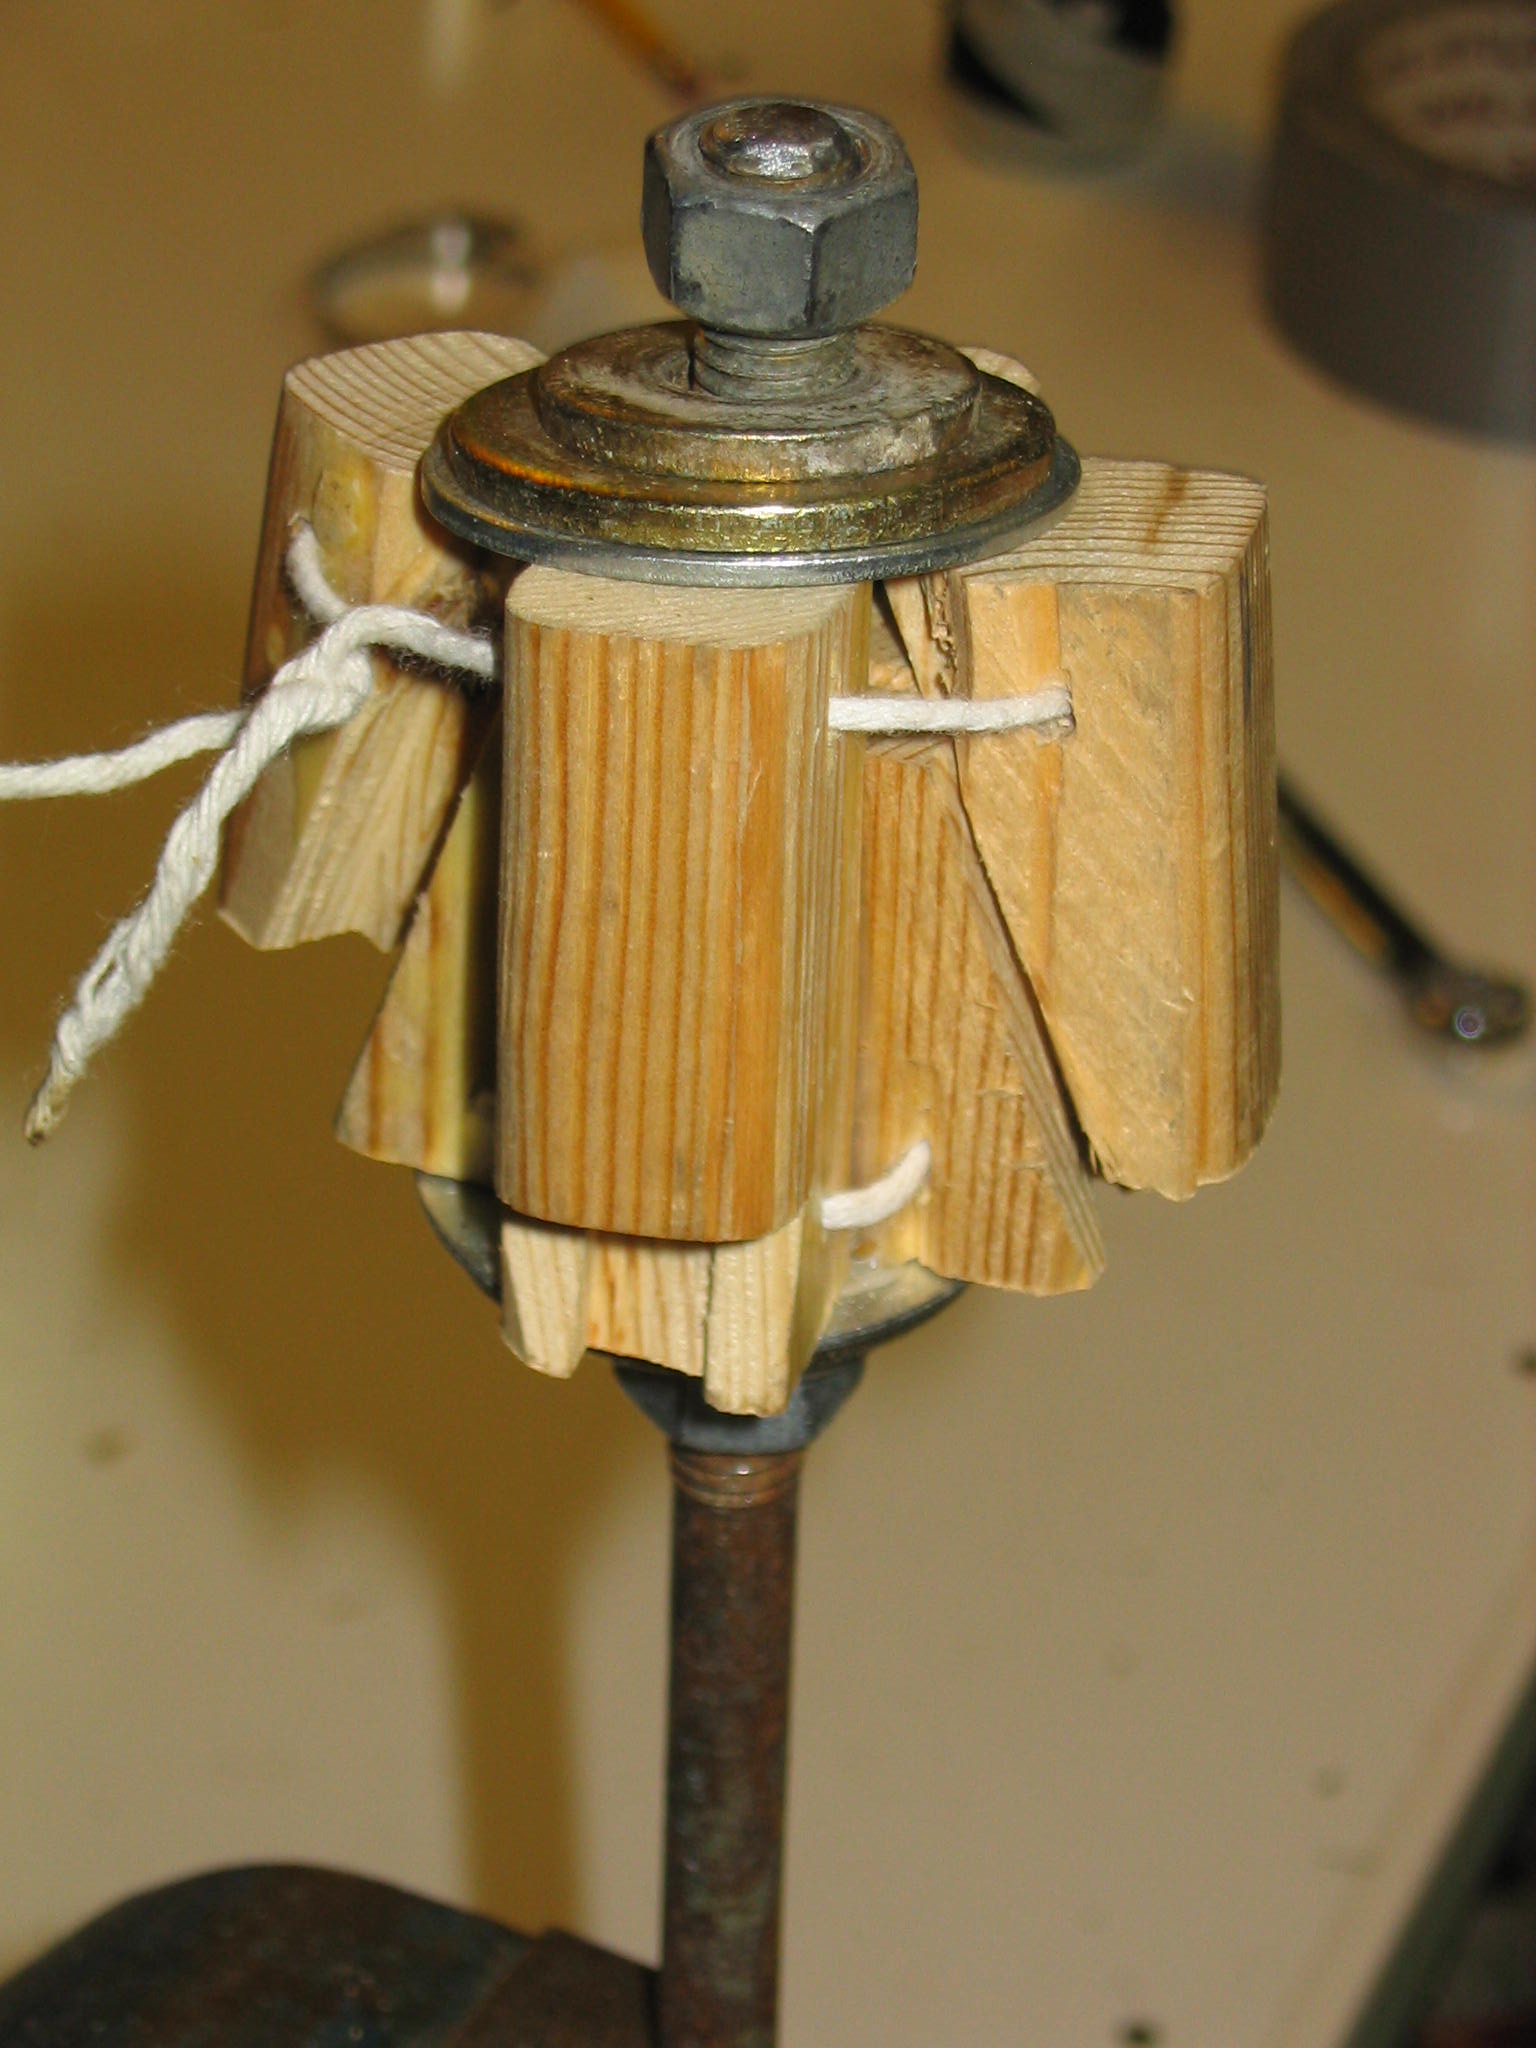
Spreader
Spreader

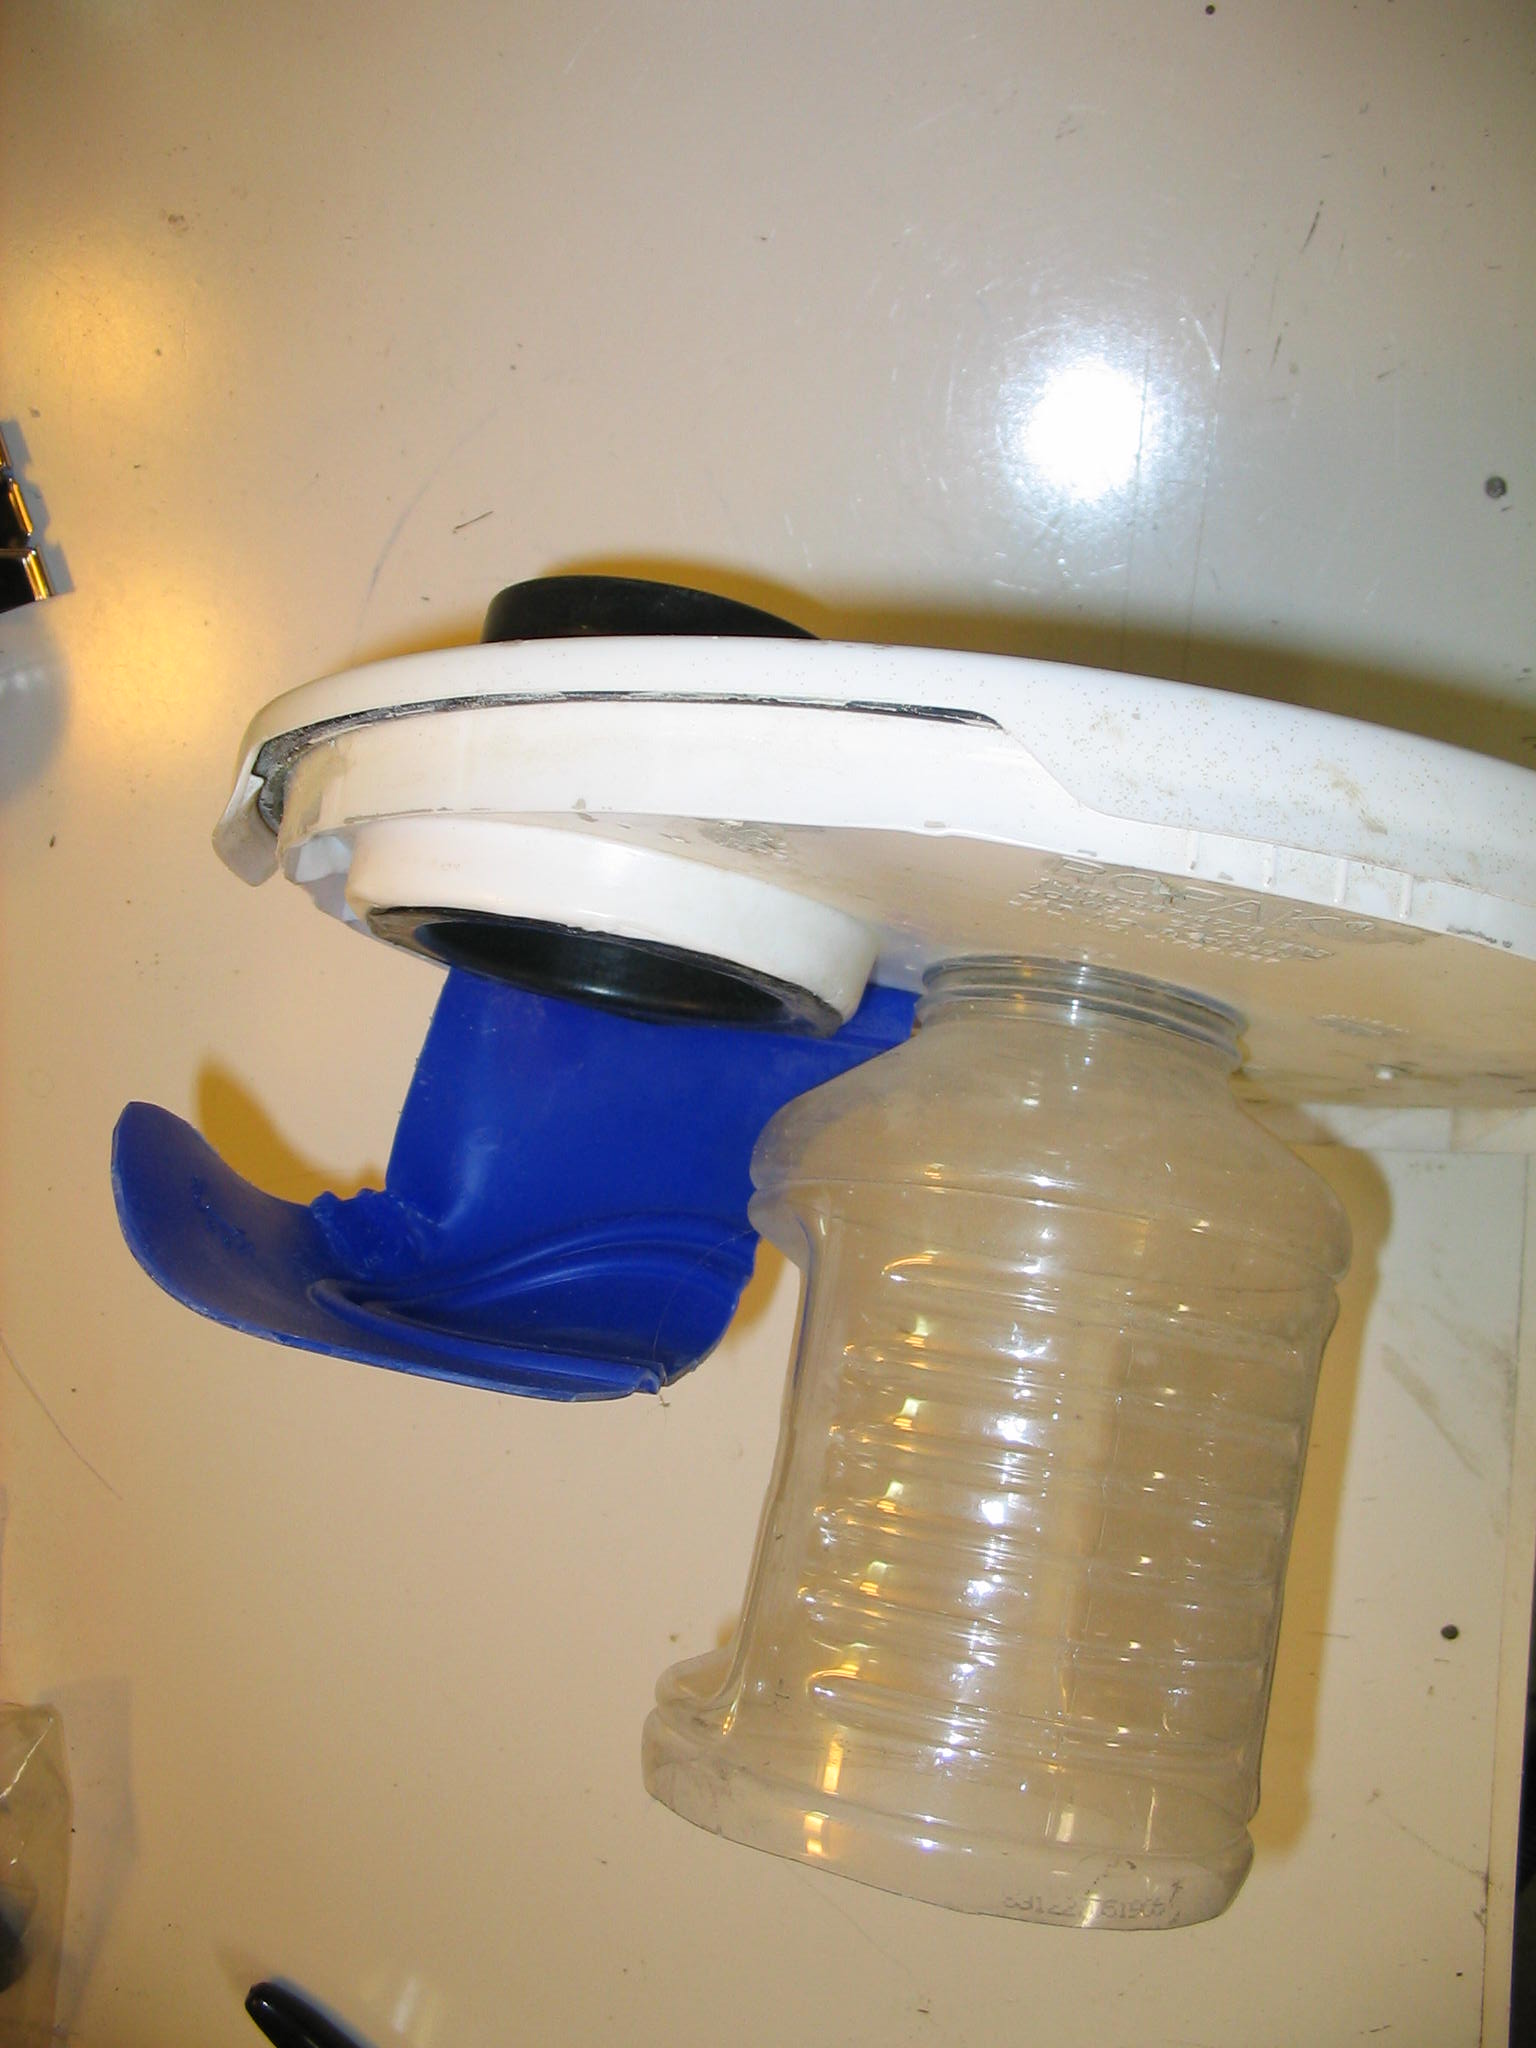
Neither one of the tubing sizes I used matches the hose of my shop vac at 2.5 inches, so I needed some adaptors.  Several different plastic jars from peanut butter and applesauce turned out to be very close to the correct size.  The opening on the applesauce jar was just a little too small, so I made a spreader jig with some wooden wedges between some nuts and washers.  When one of the nuts is tightened, the washers squeeze the wedges, forcing them outward.  I wrapped the wooden wedges in a piece of sheet metal from a tin vegetable can, and placed the mouth of the jar over it.  By softening the jar mouth with the heat gun, and tightening the nut, I was able to expand the jar to fit the vacuum hose just right.  I attached the 3-inch tubing to a hole I cut in the bottom of the jar on the other end, making a nice hose adaptor.
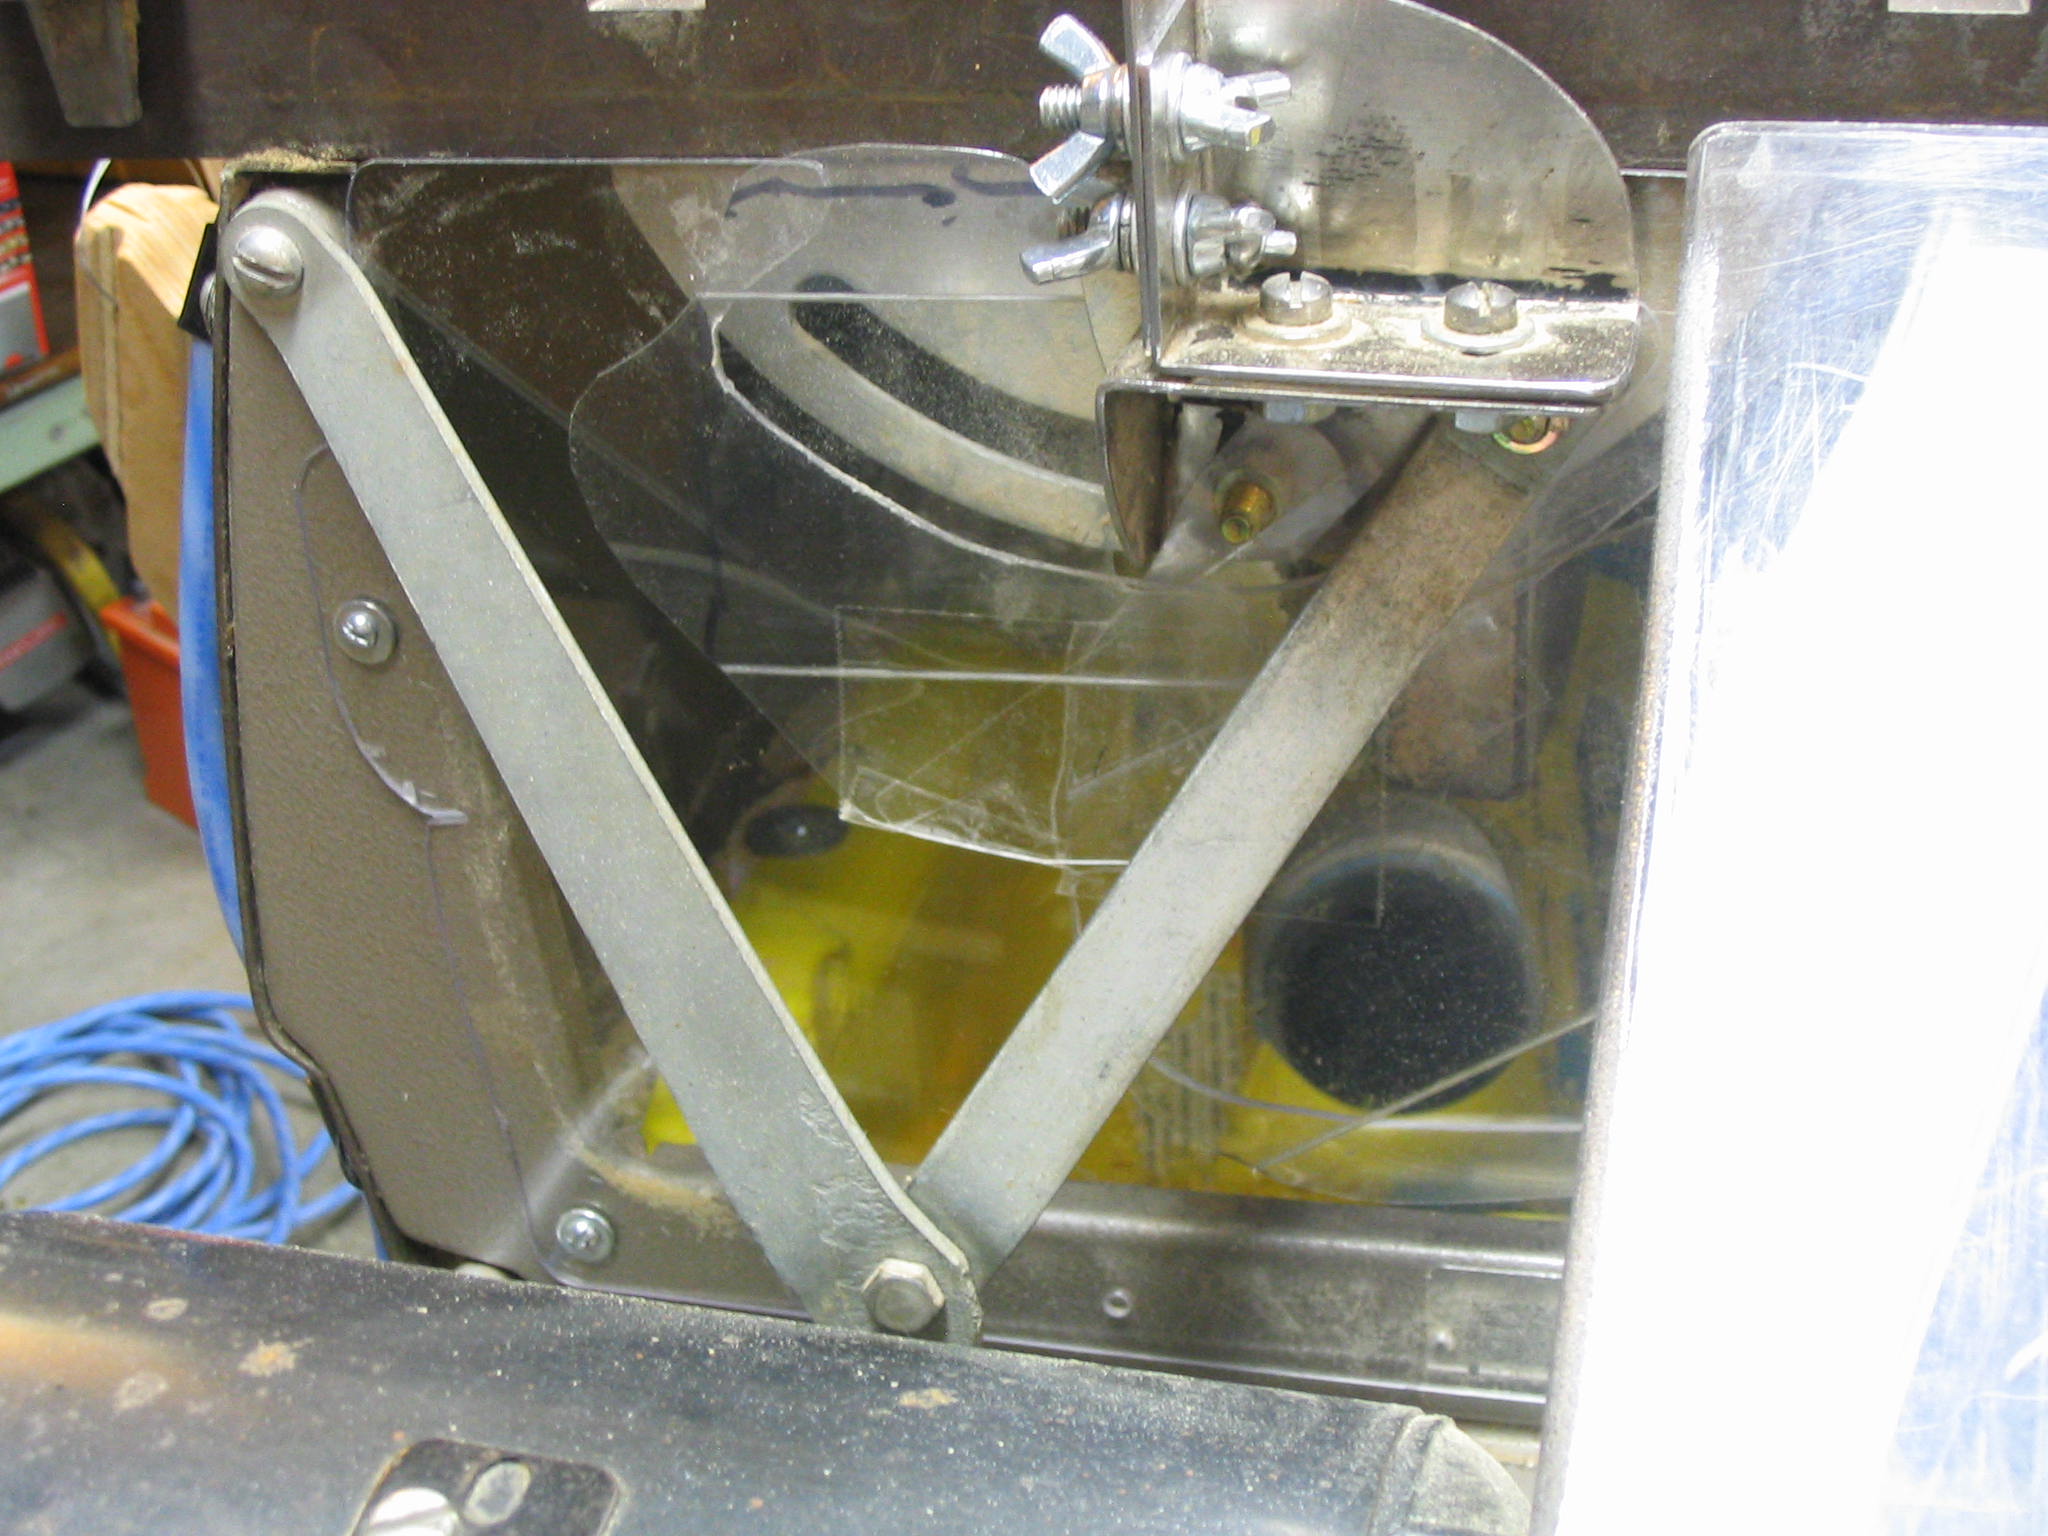
Back, inside
Back, inside

Front view
Front view

What’s That Noise?!

I put two dust collection points into the tablesaw collector:  the large main 3-inch hose in the collector hood, and a second 1.5-inch hose to pick up stray sawdust from the top of the table.  I attached them together with a Y-connection made from a plastic peanut butter jar.  The 1.5-inch hose came out of the side of the jar, but I heated and warped the jar to make a Y connector for better airflow through the smaller hose.

The first time I turned on the shop vacuum with this setup, I got a big surprise.  In addition to the usual loud shop vac whine, I got an additional loud piercing whistle noise from the 1.5-inch hose.  Some Internet research told me this was a “standing wave” harmonic vibration, caused by the uniform ridges in the hose.  The factory did an accurate job of creating all of the ridges in the hose the same.  When air passes through the hose, the ridges cause the air to vibrate at the same frequency all along the hose, causing a single tone to come out.  It’s one big whistle.

Ironically, my web search efforts revealed much about how to produce such a noise, but not how to surpress it.  However, some thought and experimentation led to a simple answer:  If the uniform ridges make the whistling noise, making them non-uniform should eliminate it.  I heated the hose with the heat gun, and stretched it by different amounts at different points along the hose.  It didn’t take much stretching to disrupt the harmonic effect, eliminating the shriek and producing quieter air flow.

Particle Separator
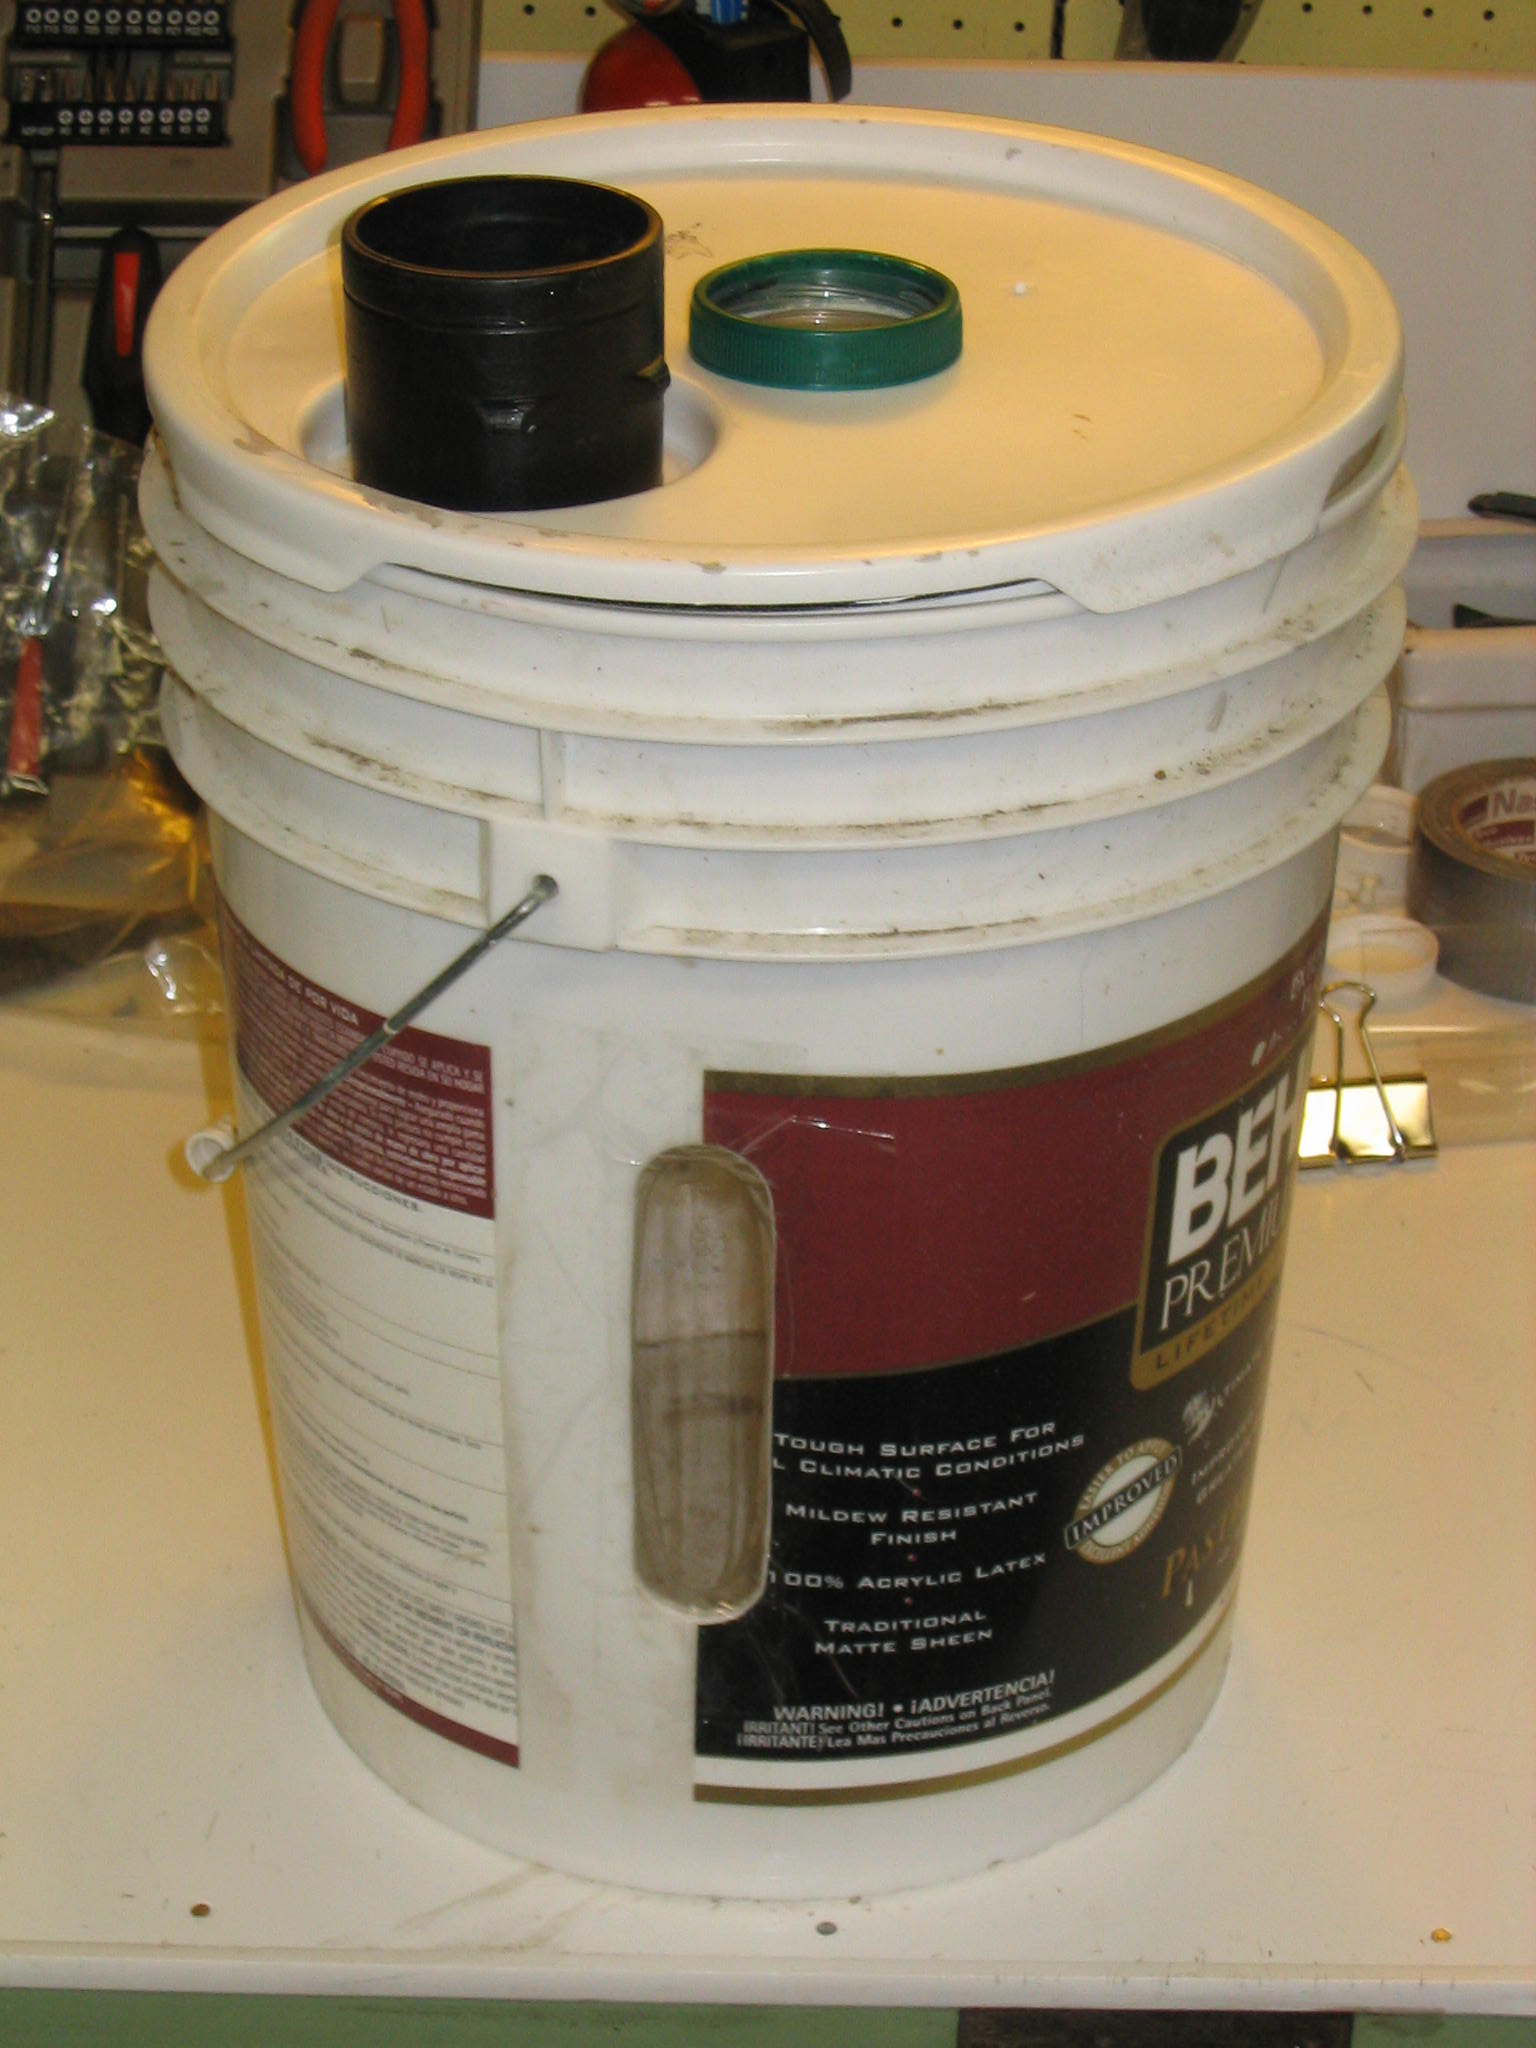
Pre-separator bucket
Underside of lid
Underside of lid

I use the tablesaw to cut both wood and plastic at different times.  I want to keep the two separated so the wood sawdust can be used for composting, without being contaminated by plastic pieces.

I made a pre-separator to collect the wood sawdust using a 5-gallon paint bucket.  The separator bucket sits between the tablesaw and the shop vac.  Scraps and larger sawdust particles settle to the bottom of the bucket, while the air and fine dust pass through to the vacuum.  It is patterened after professional cyclone separators, where the incoming airflow is directed towards the side of the cylinder and the air exit is in the center.  As the particles are blown towards the sides, they lose velocity and swirl down to the bottom.

There are just a few parts to the separator.  The vacuum port (air exit) has a tube going down the center of the cylinder, which I made from a clear plastic applesauce jar with a mouth sized to the 2.5-inch vacuum hose, screwed into the bucket lid .  The intake port goes to a deflector which sends the air towards the inside wall of the bucket.  The intake port is a snap-on connector for the drain tubing, and the deflector is a scrap of plastic.  Since the tube connector, deflector, and bucket lid are all HDPE plastic, I welded them together with the heat gun.   I also cut a window into the side of the bucket, to indicate how full it is.

Now when I cut wood, I plug the vacuum in to the separator, and my wood cuttings are collected in the bucket.  If I want to cut plastic, I bypass the separator and suck the plastic scraps right into the shop vac.

Airborne dust filter
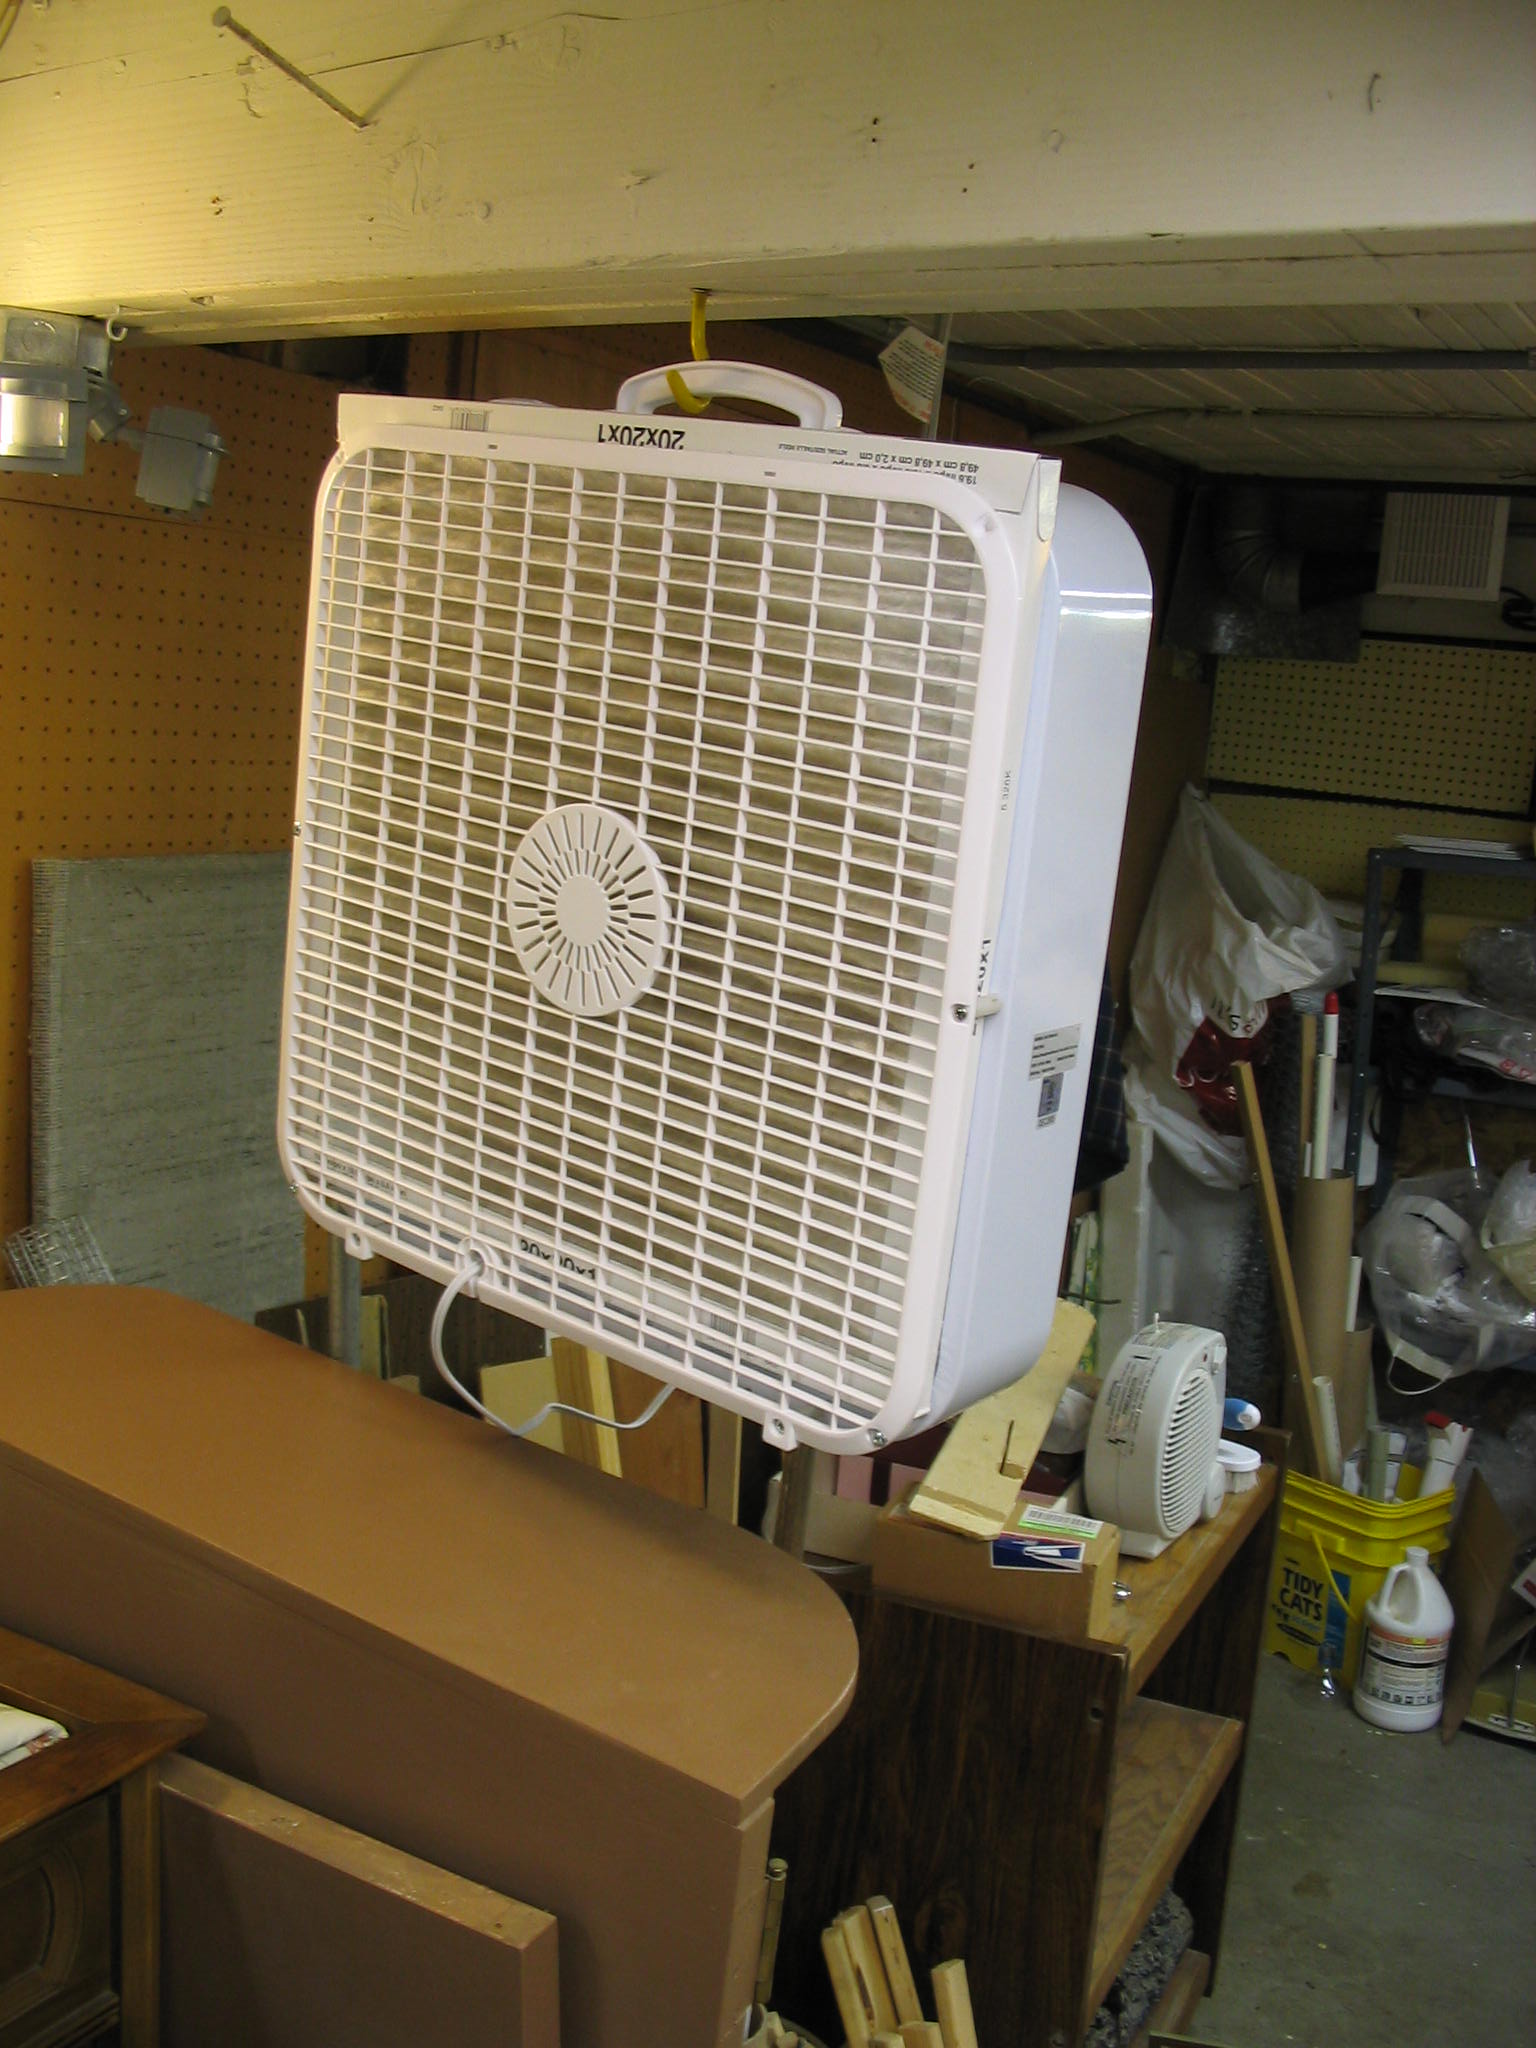
Airborne dust filter

To reduce airborne free-floating dust, I employed a trick which I saw recently in a home improvement magazine.  I took a normal household box fan, and attached a furnace filter onto the intake side of the fan.   I took the plastic grill off the intake side of the fan and reattached it with spacers and longer screws, allowing me to simply slide the furnace filter into the slot.  It works quite effectively, producing a nice brown circle on the filter in no time at all.  This is good, showing dust that is not getting inhaled or settling on everything else.
Welding plastic with a heat gun

Common plastic bucket and my assistant Stanley As a handyman and hobbyist, I find there are many everyday plastic objects that can be used to make interesting things.  Some of the most common useful plastics, such as high-density polyethylene (HDPE) and polypropylene (PP) just cannot be glued.  But they can be welded with hot air.  You may be surprised at what you can make with an old plastic bucket and a heat gun from the discount tool store.


There are tools designed specifically for proper welding of plastics, for production of plastic water tanks, piping, and many other industrial purposes.  Many of these tools are somewhat expensive and require compressed air or other gasses.  I’m focusing instead on a cheap, hobby substitute for the proper tools. 

This method works well for HDPE and PP plastics, which won’t accept glue.  If a type of plastic accepts glue well, such as polystyrene, acrylic or polycarbonate, use glue instead. 

These plastics melt at a temperature around 500 degrees Farenheit.  Needless to say, this will burn you. Wear gloves such as leather welding gloves, or at least heavy leather gardening gloves.

The Project

Pattern for rimI set out to create a dust collection hood for the underside of my tablesaw.  I used the top section of a rectangular HDPE plastic bucket with a snap-on hinged lid.  Using an angled cross-section gave me a built-in slope for dust collection at the bottom.  The lid of the bucket provides an access door to the underside of the saw, for reaching in to change the belt.
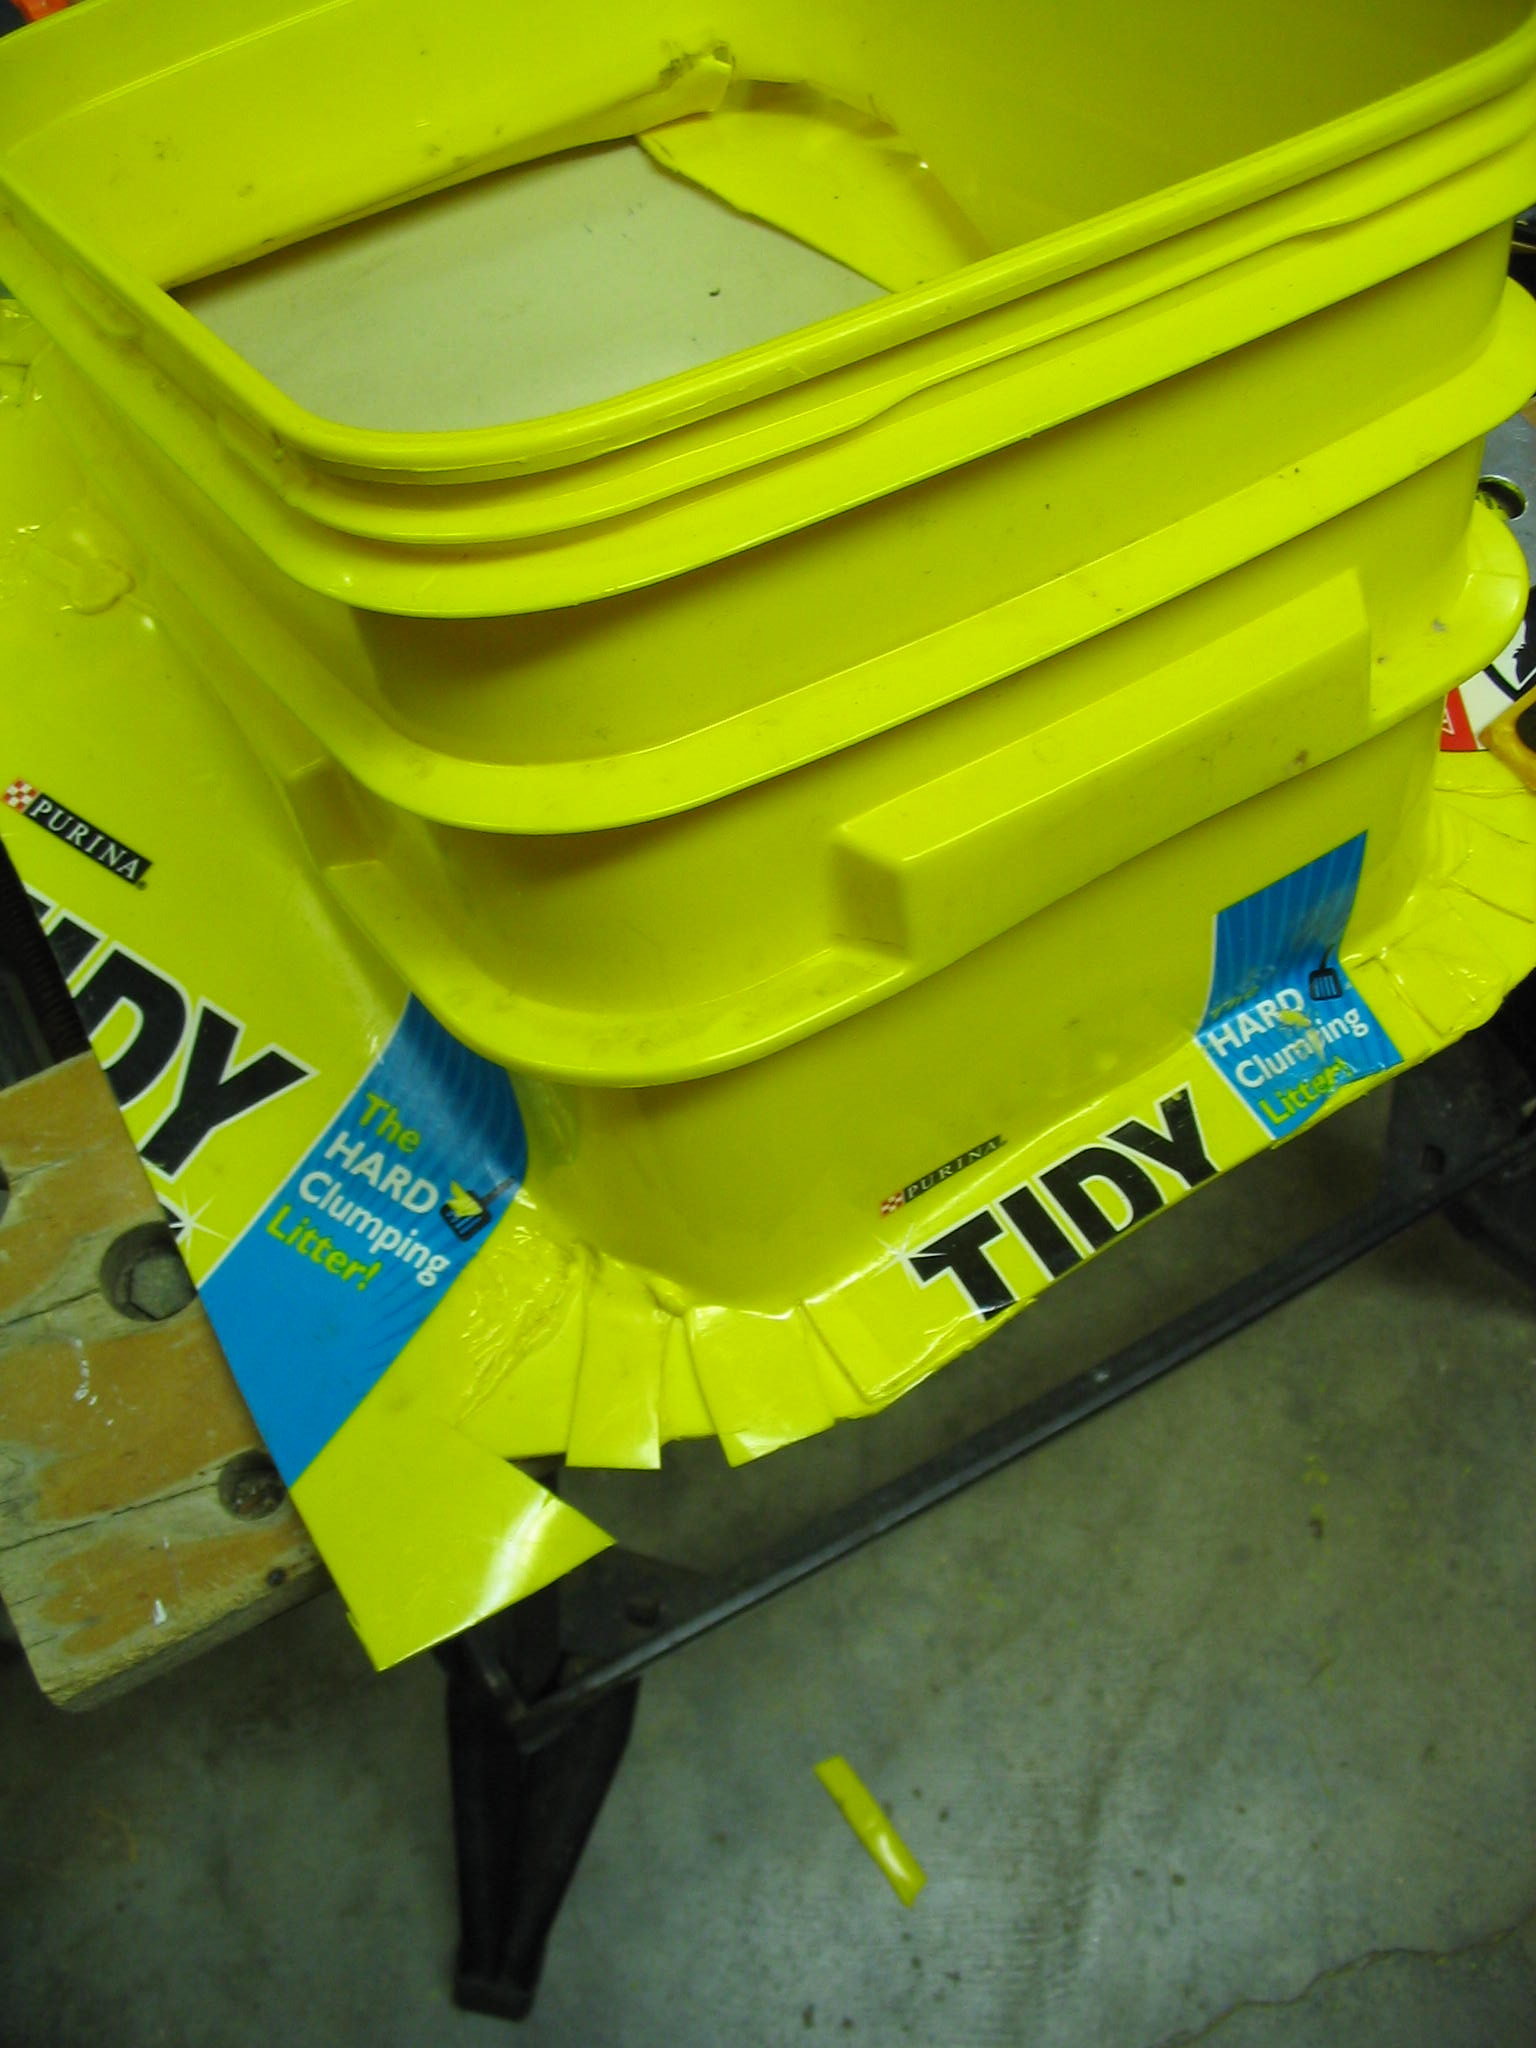
 

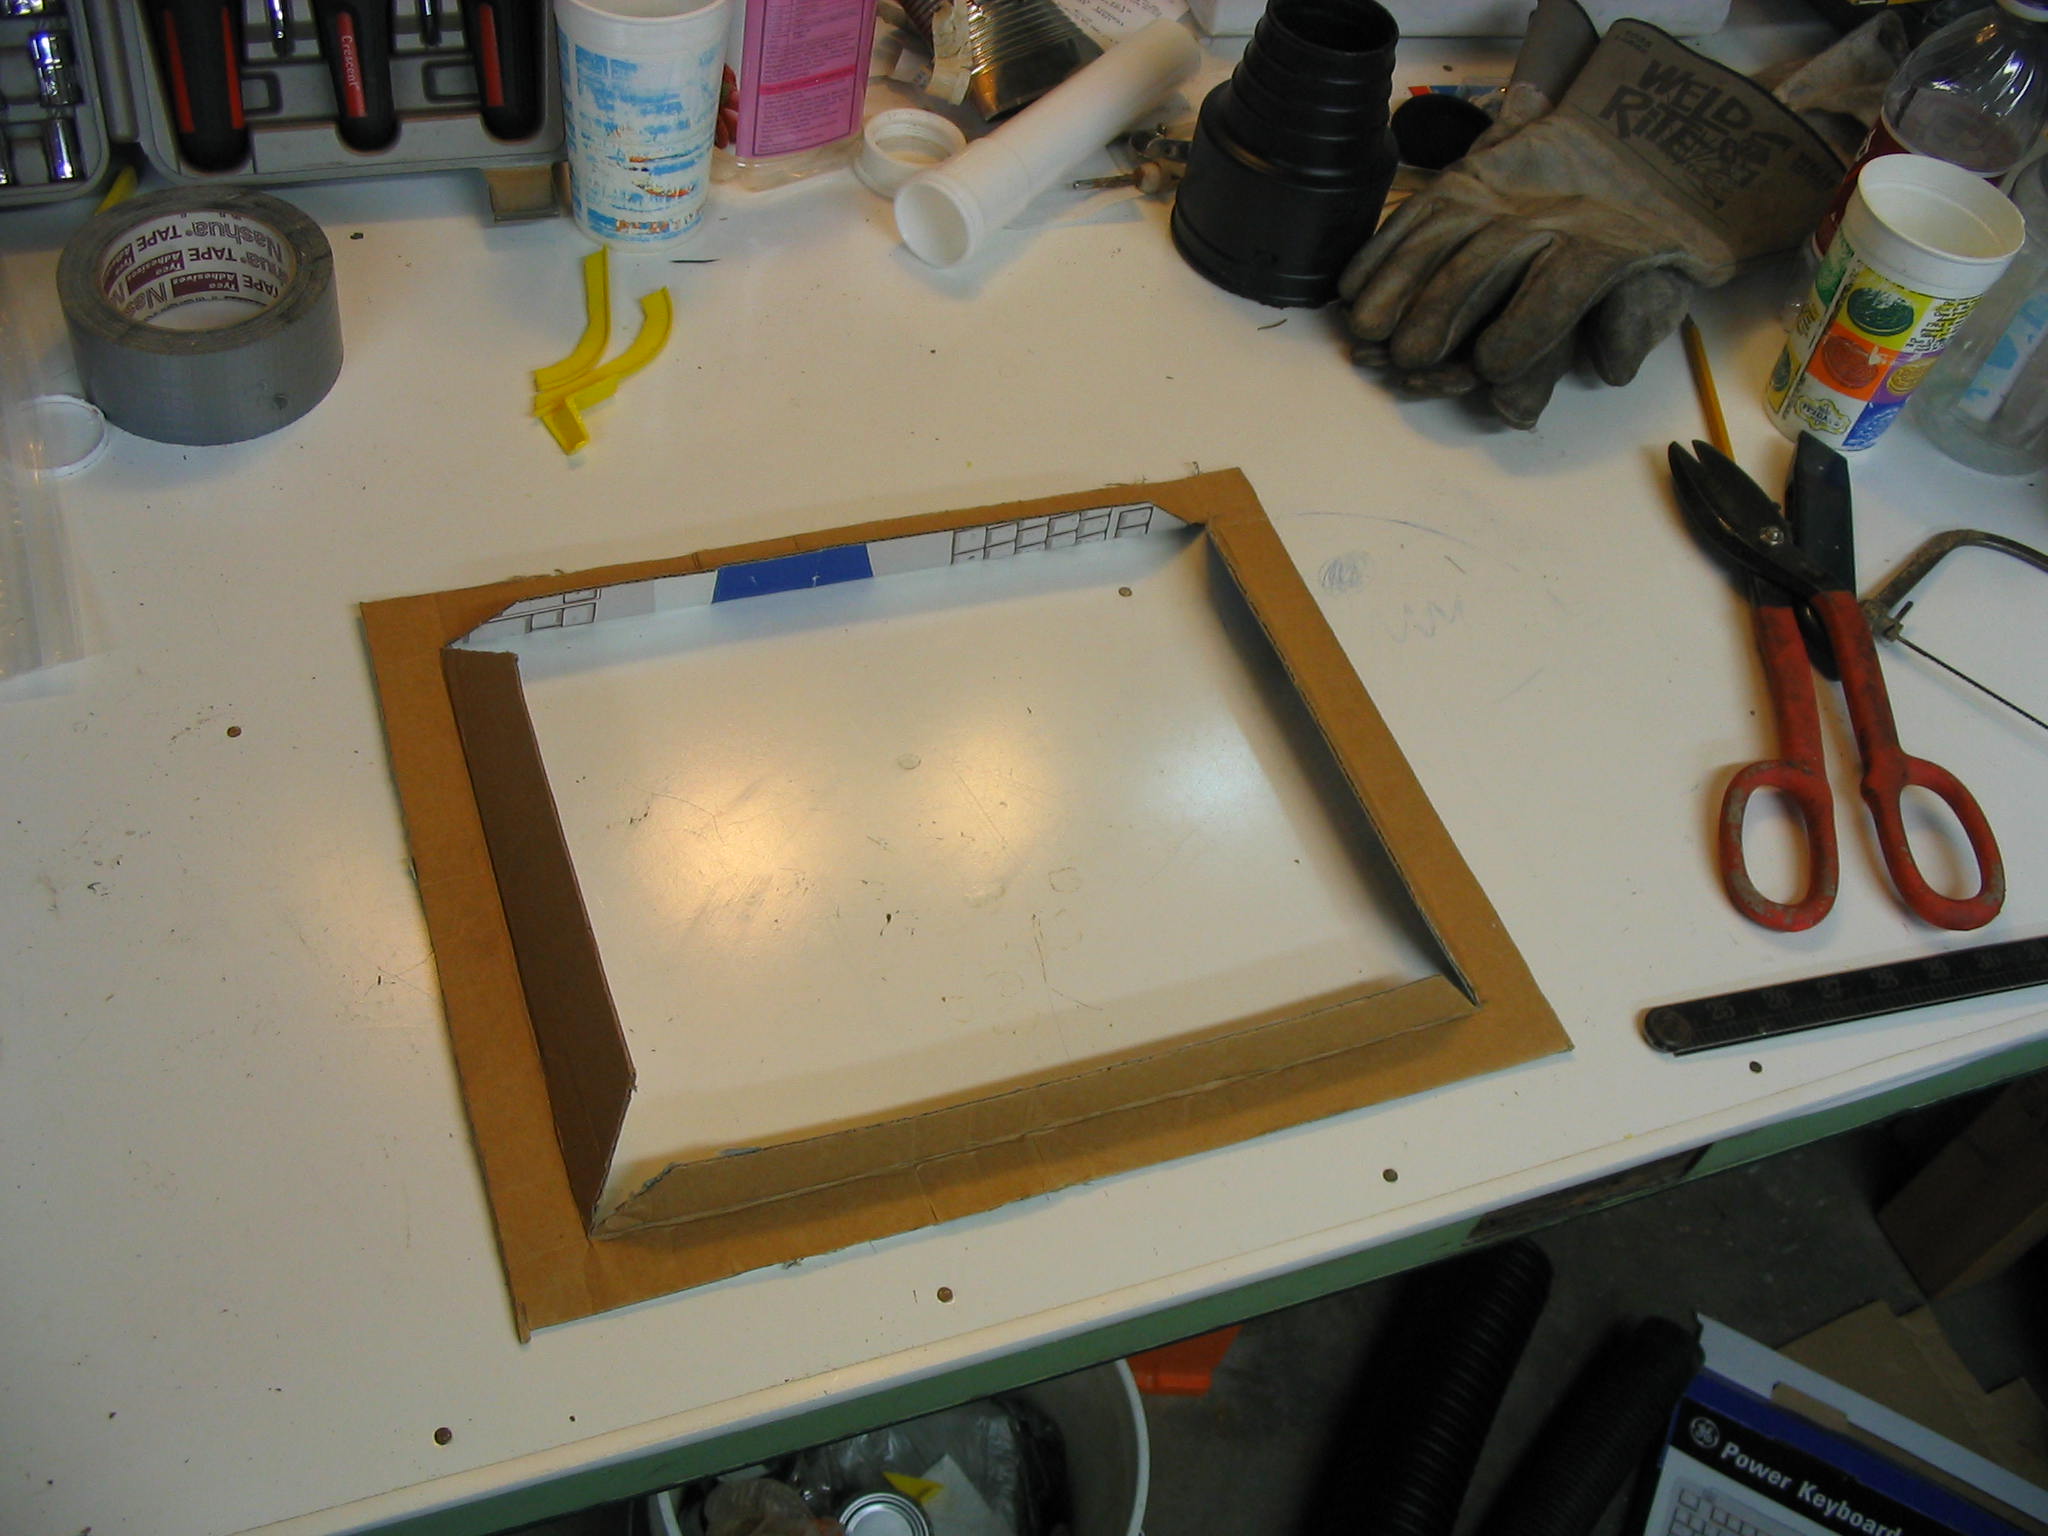
The first step is to create a pattern for the rim of the underside of the saw.  I measured and cut a template out of cardboard, and made sure it fit the saw.  Then I could start cutting the bucket to match the template.

Welding tabsI heated and bent the sides to create the main part of the rim.  I slit the curved corner sections to make tabs.  Then I added flat corner pieces and welded them to the tabs.
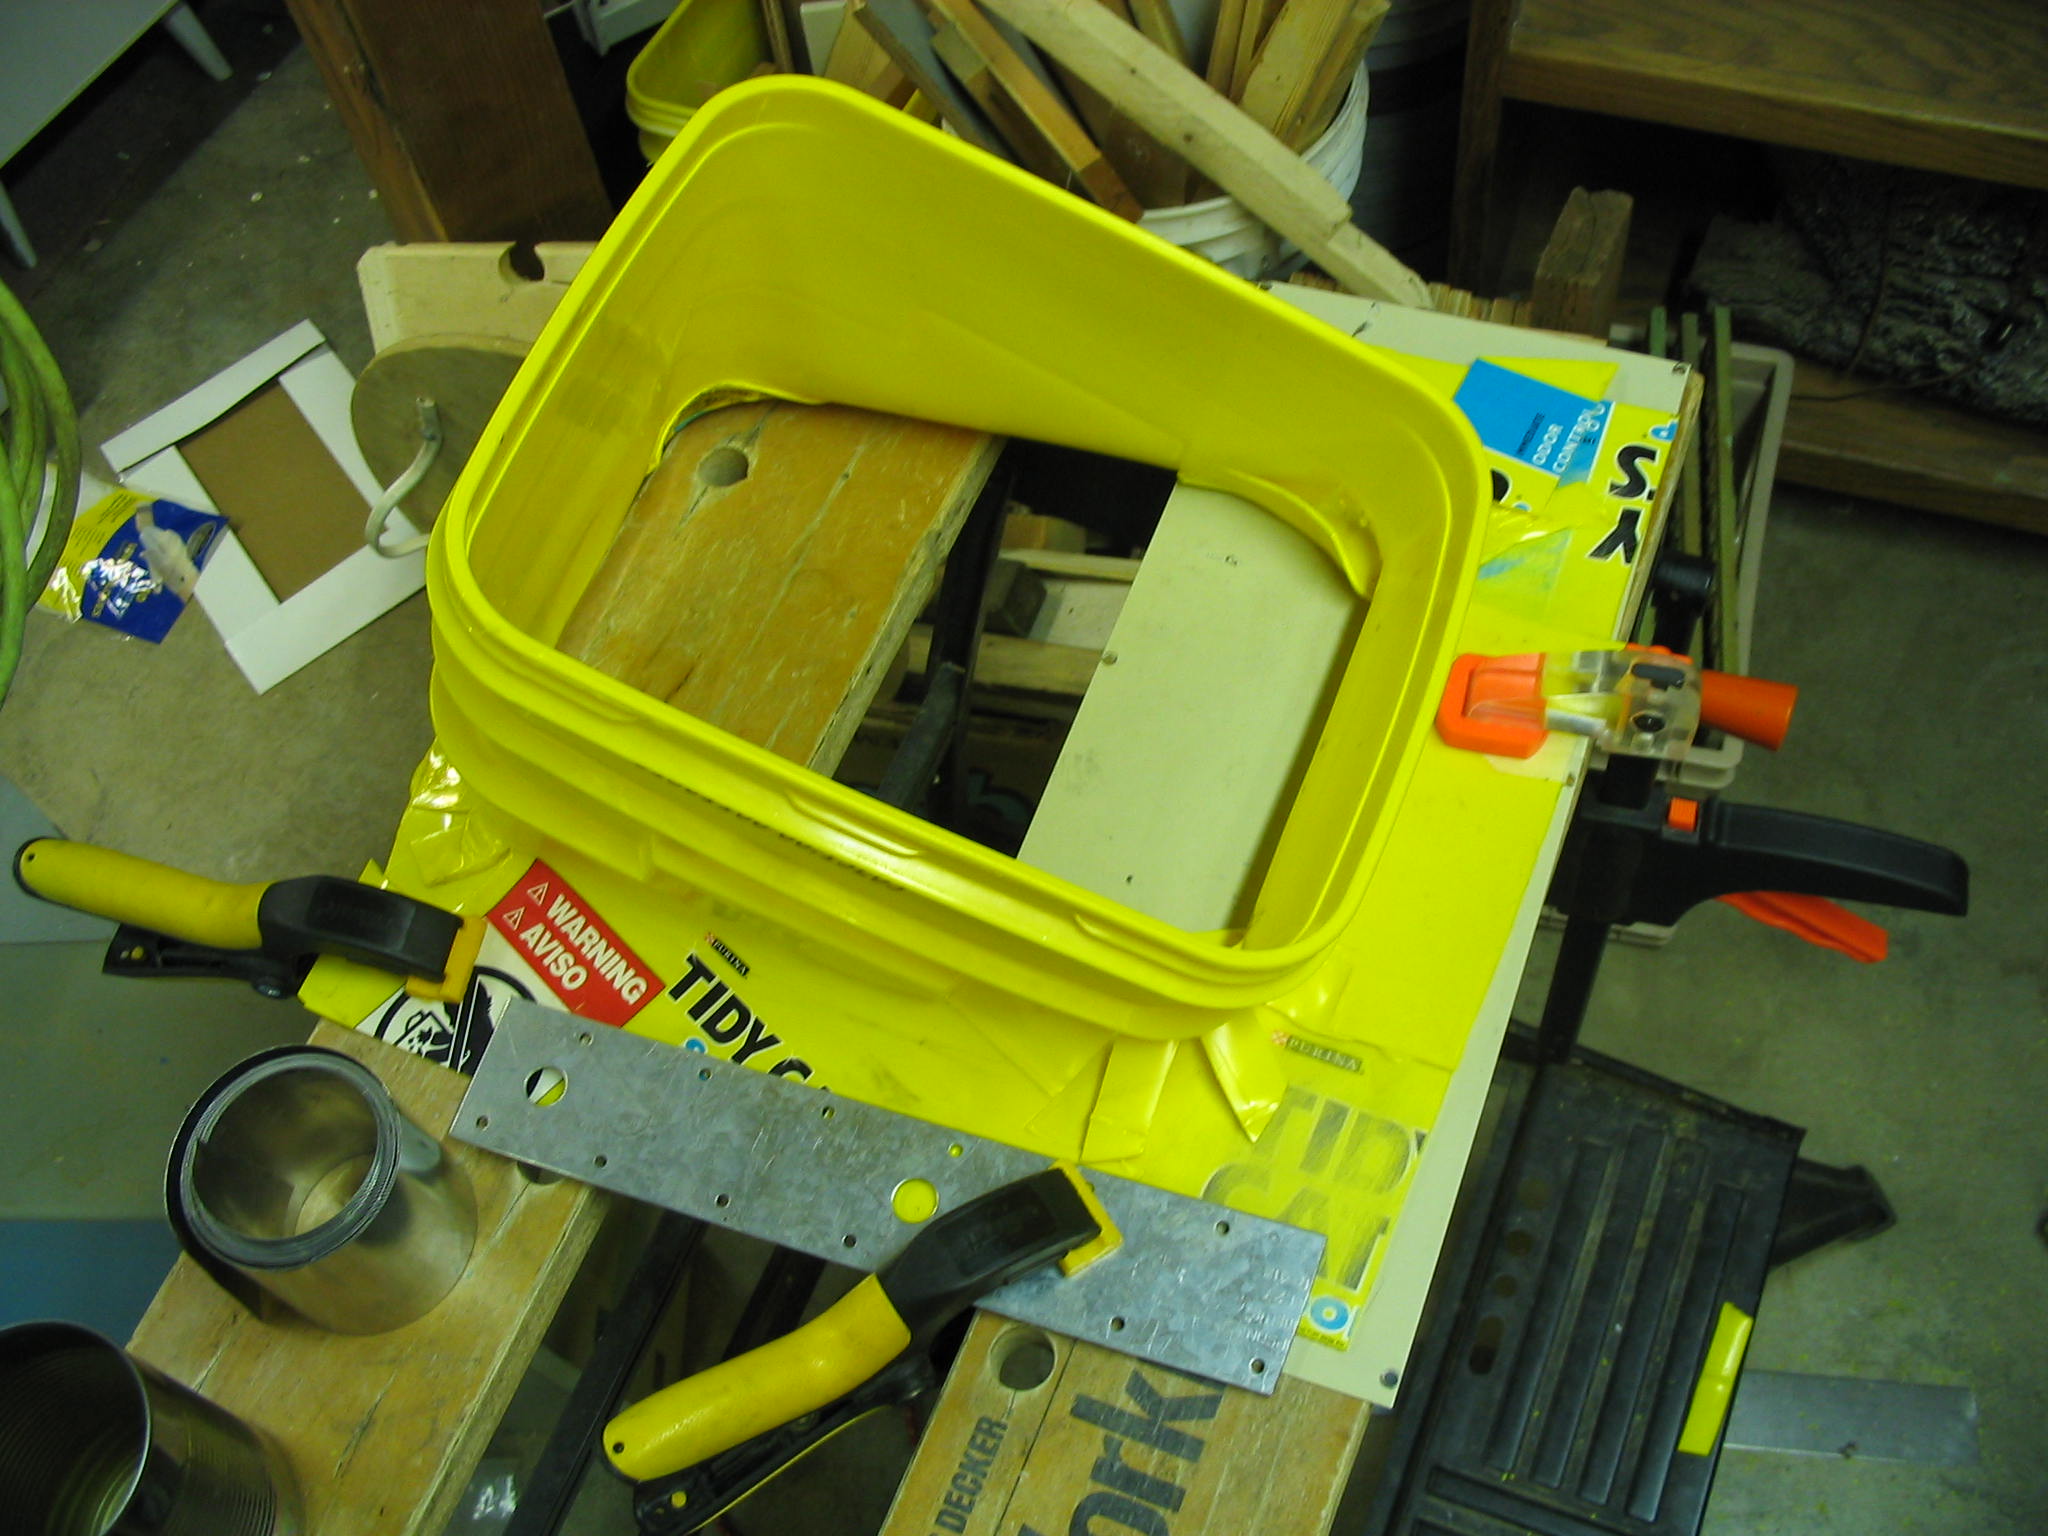
 

Clamping while coolingThe best method I found to weld plastic pieces like this is to heat the two faces of the tabs or overlapping pieces until they are soft, and then press them together and let them cool.  The plastic will fuse, creating a single piece.  It is a little tricky to heat the plastic just enough, but not too much.  If you heat it too much it will simply melt and fall apart.  The main thing is to try it on a number of test pieces first, and practice.
I found that the best way to press the two parts of plastic together is between two pieces of sheet metal.  The metal will not bond to the plastic after it has cooled for thirty seconds or so, and will lift right off.

Modifying Tools 

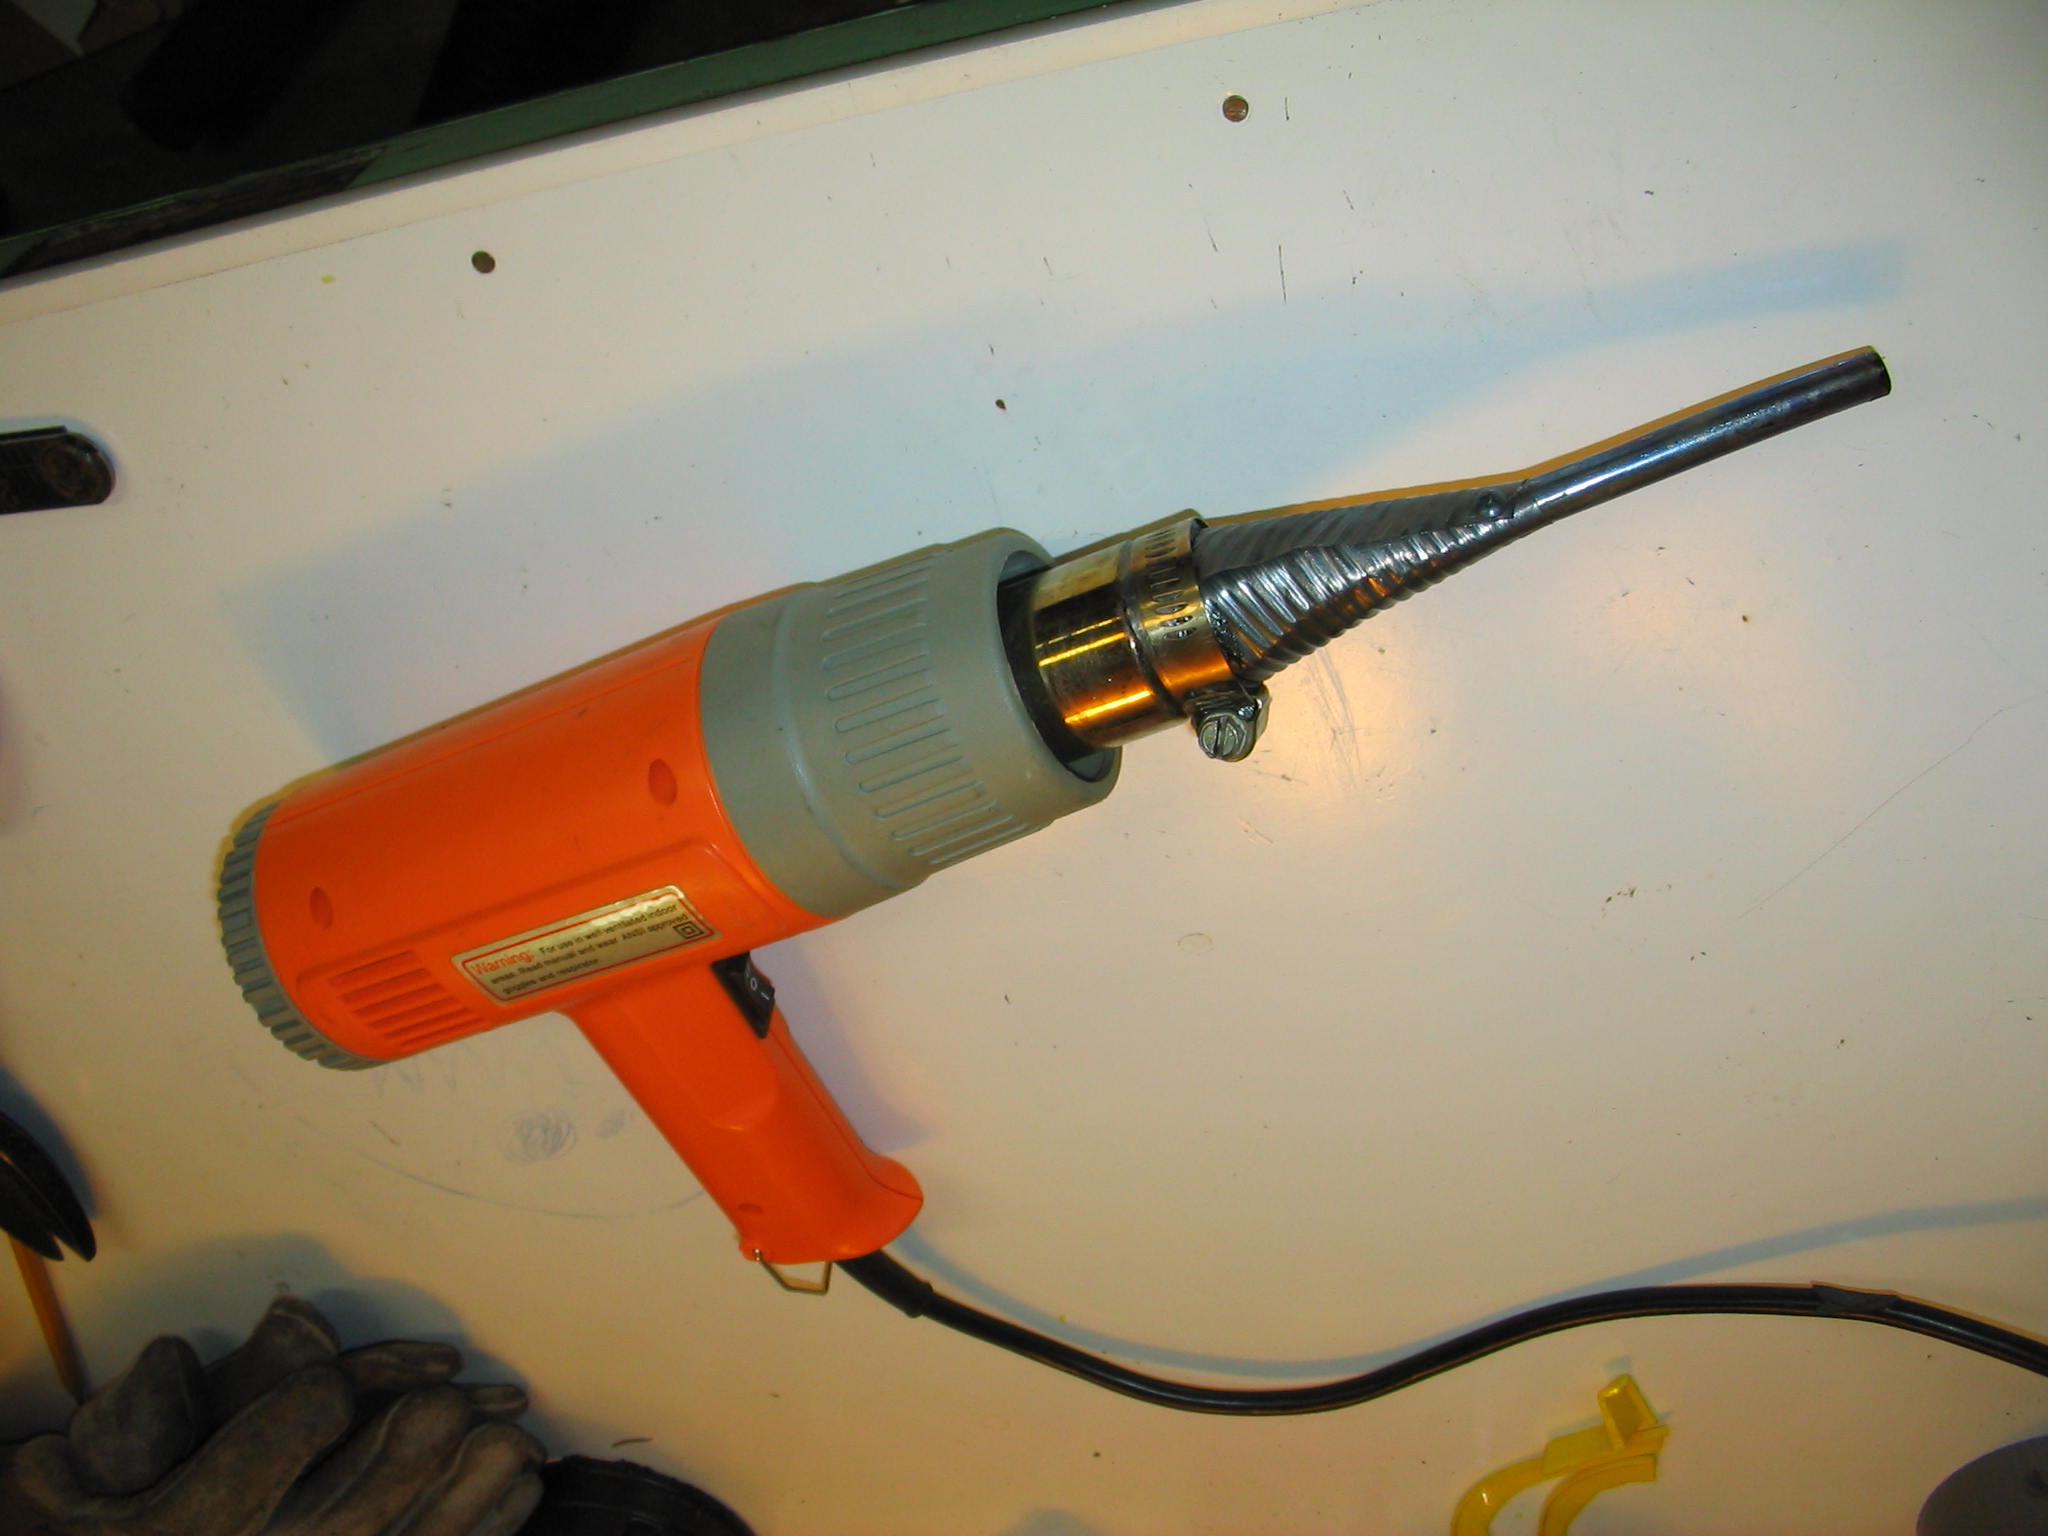
First attempt at focused nozzleThere are many times when the tool you have available does not quite fit the task, and you need to adapt it.  This was the case in using the basic heat gun to weld plastic tabs.  The provided nozzle of the heat gun produced a fairly broad current of hot air, melting around a larger area than I wanted for welding the plastic tabs together.
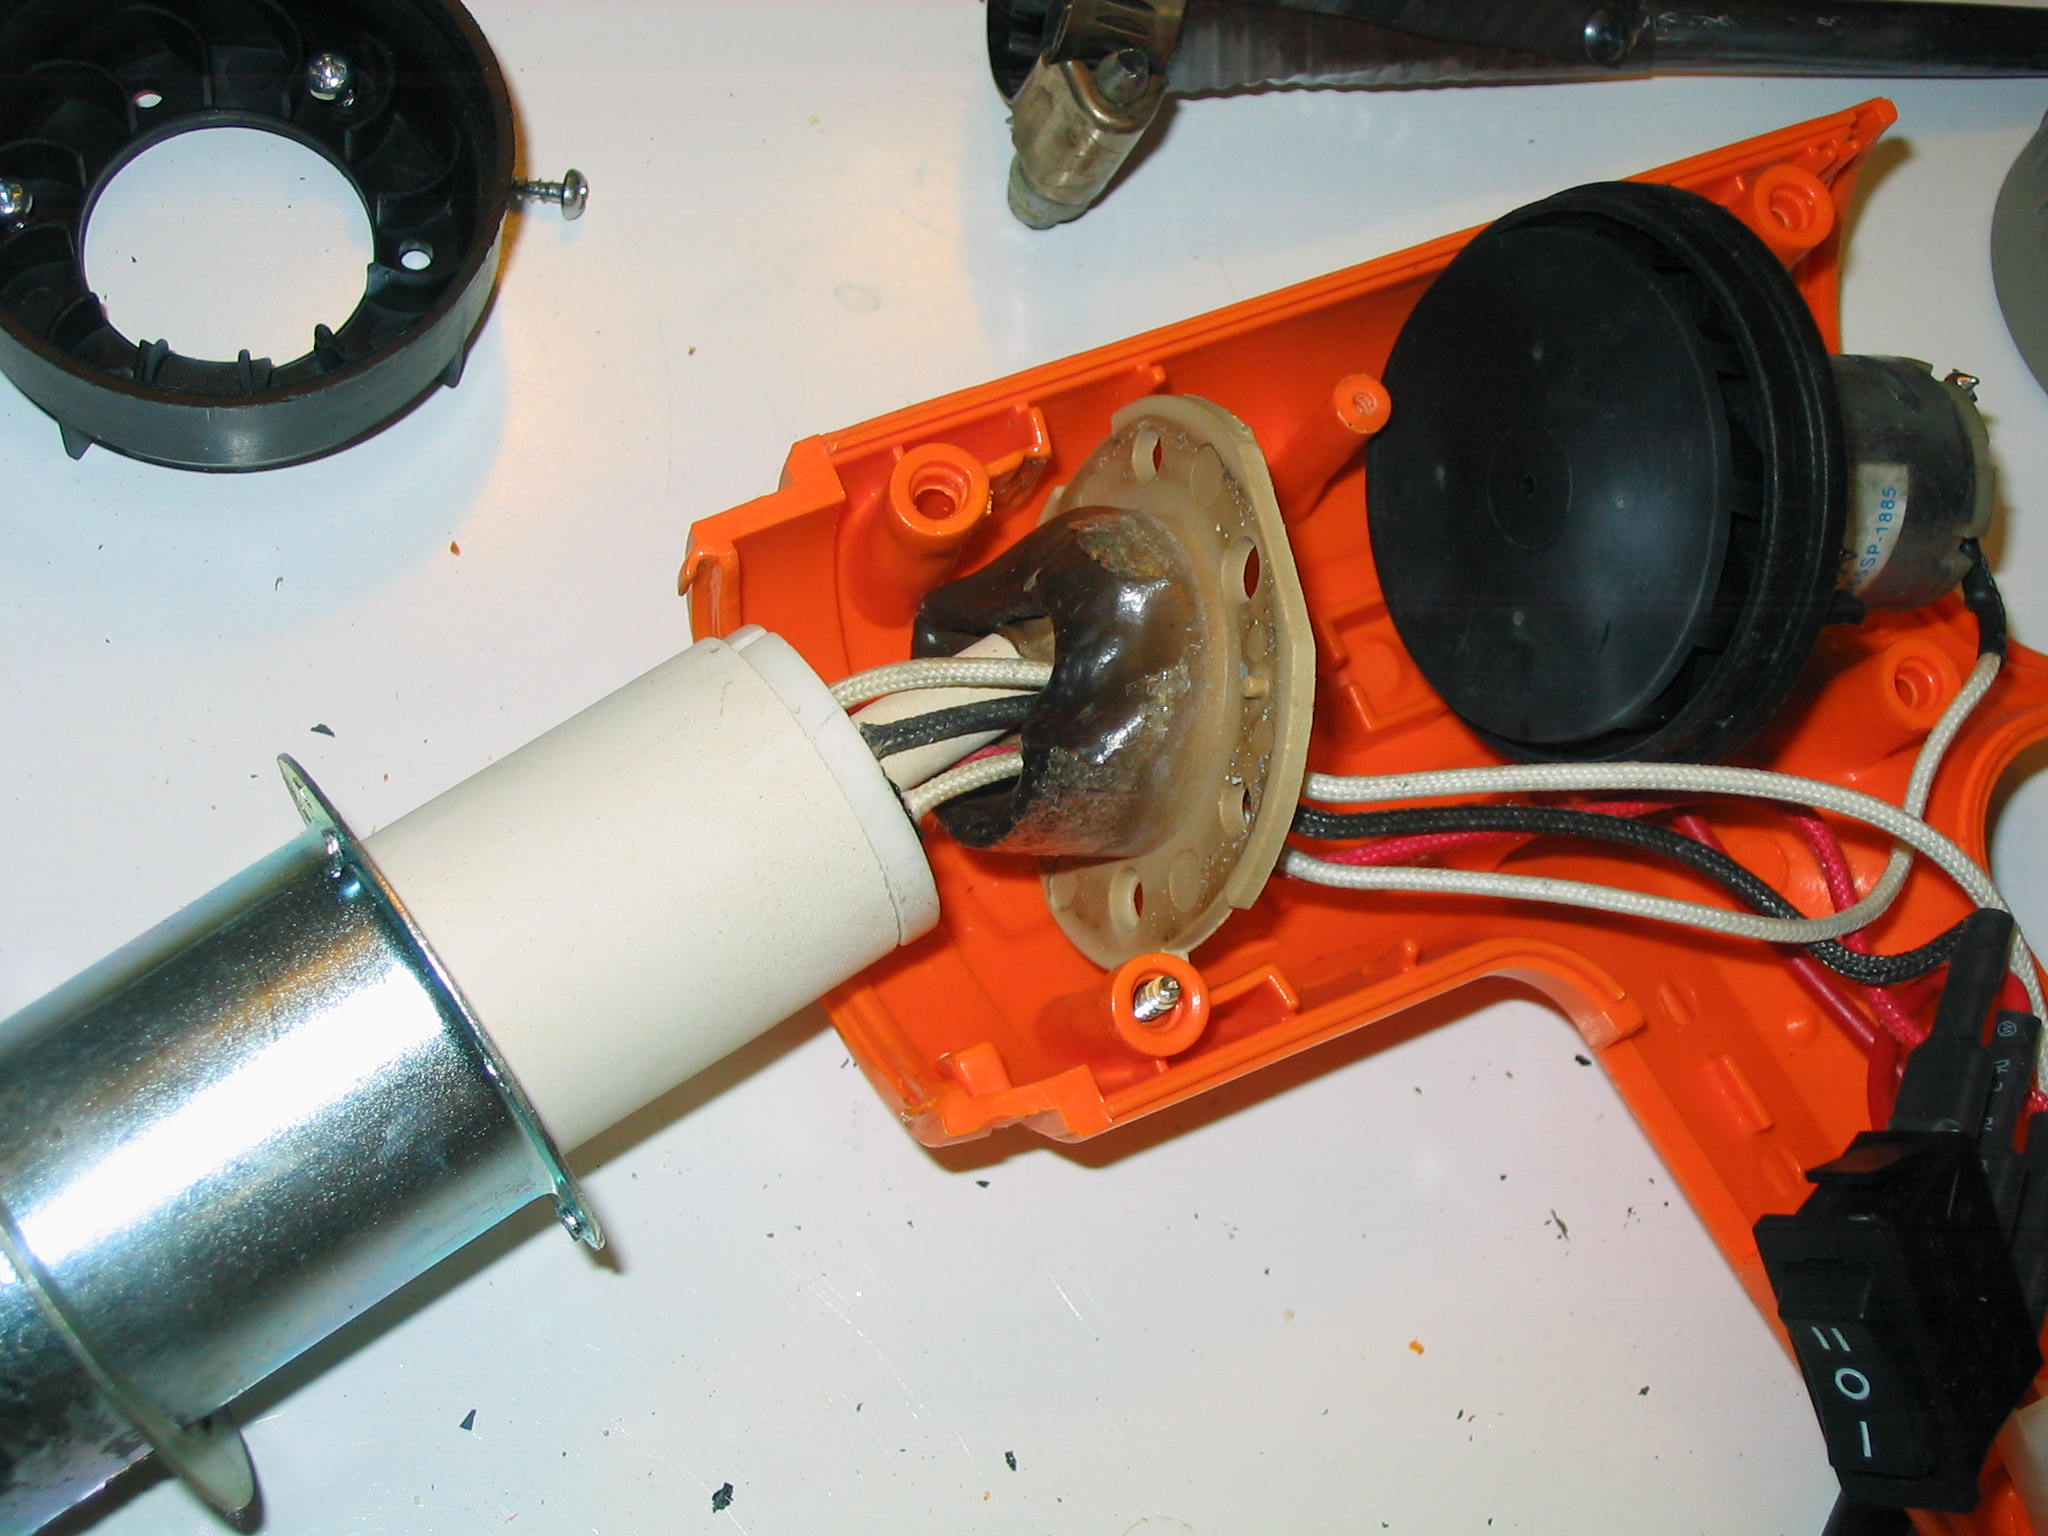
 

Result: burned-out heat gunI created a funnel for the heat gun, which focused the hot air down a narrow 3/8″ tube.  This produced excellent results in focusing the heat for welding.  It also produced a significant side-effect: it choked the air output, so the inside of the heat gun overheated and melted in part.  Result: destroyed tool.  Good thing it wasn’t expensive.
 

The lesson from this is that when you modify or adapt a tool, be careful.   Every power tool should be treated with respect as a potential source of danger, and some are more dangerous than others.  It would have been easy to start a fire and perhaps burn the house down with a tool modification like this.  Be cautious in experimenting, and have safety equiment like a fire extinguisher available.

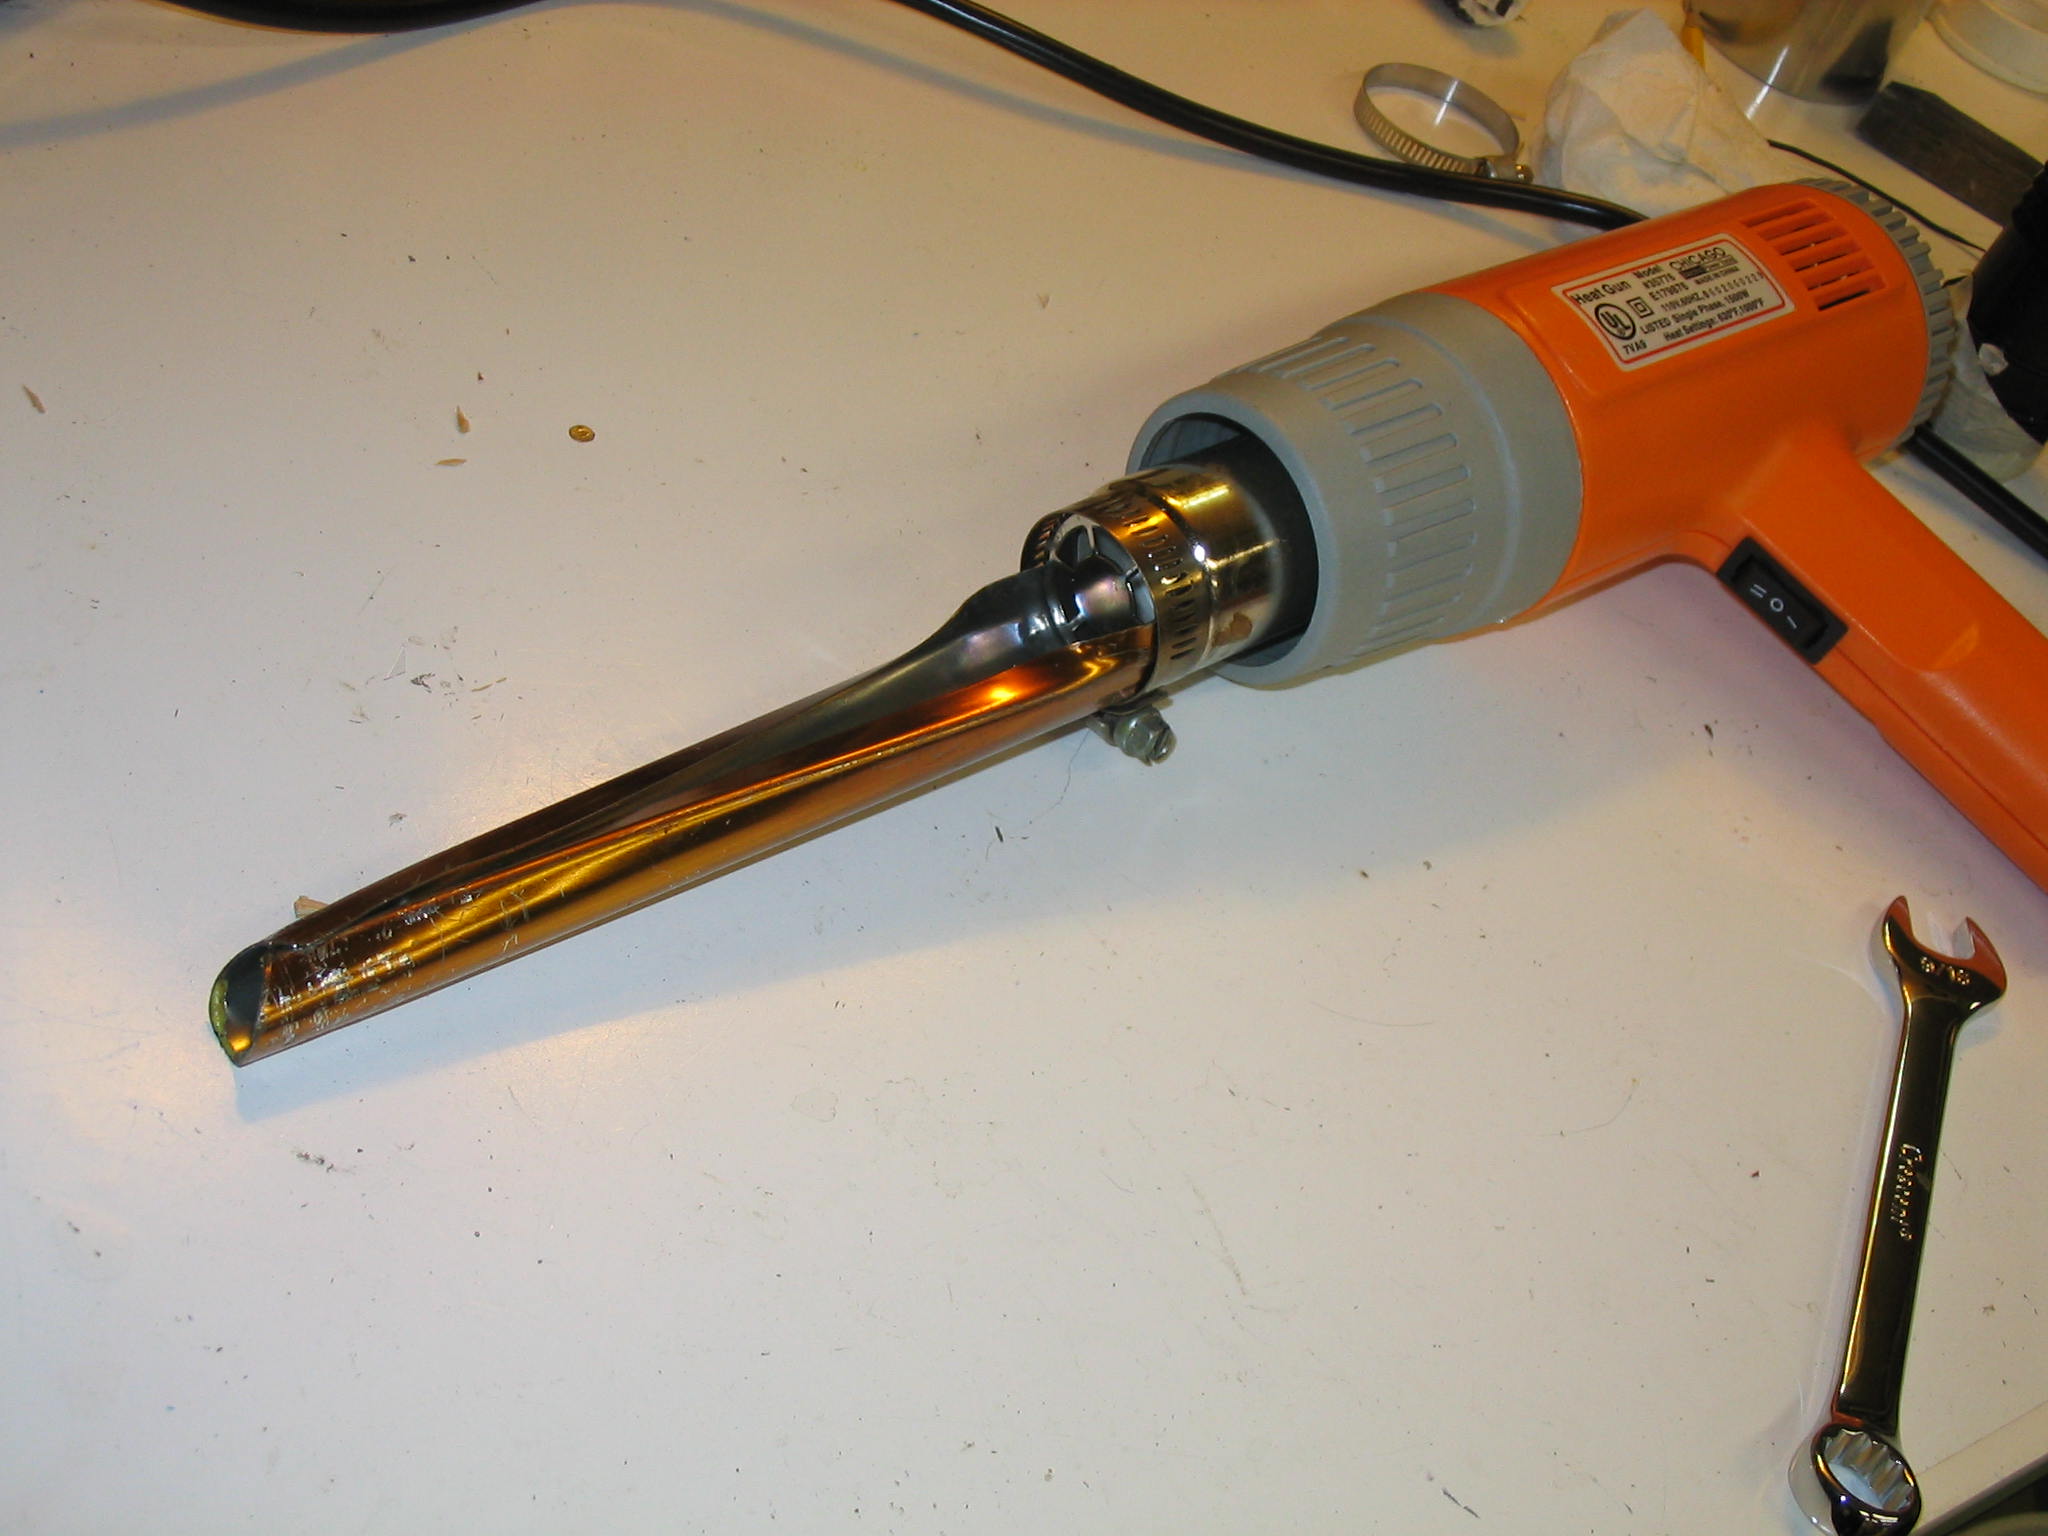
Second nozzle designIn my revised design for my replacement heat gun, I used a piece of aluminum curtain rod, with a cross-section shaped like the letter “C”.  By having a slit down the side, much of the heat goes to the tip, but the full airflow can still pass out of the heat gun nozzle so the inside of the gun does not overheat.  This did not provide as narrow a focus as the original nozzle, but it should at least save the tool from destruction.  I made up for it by simply holding another piece of sheet metal in front of areas I did not want to heat.
Spot welding attempts

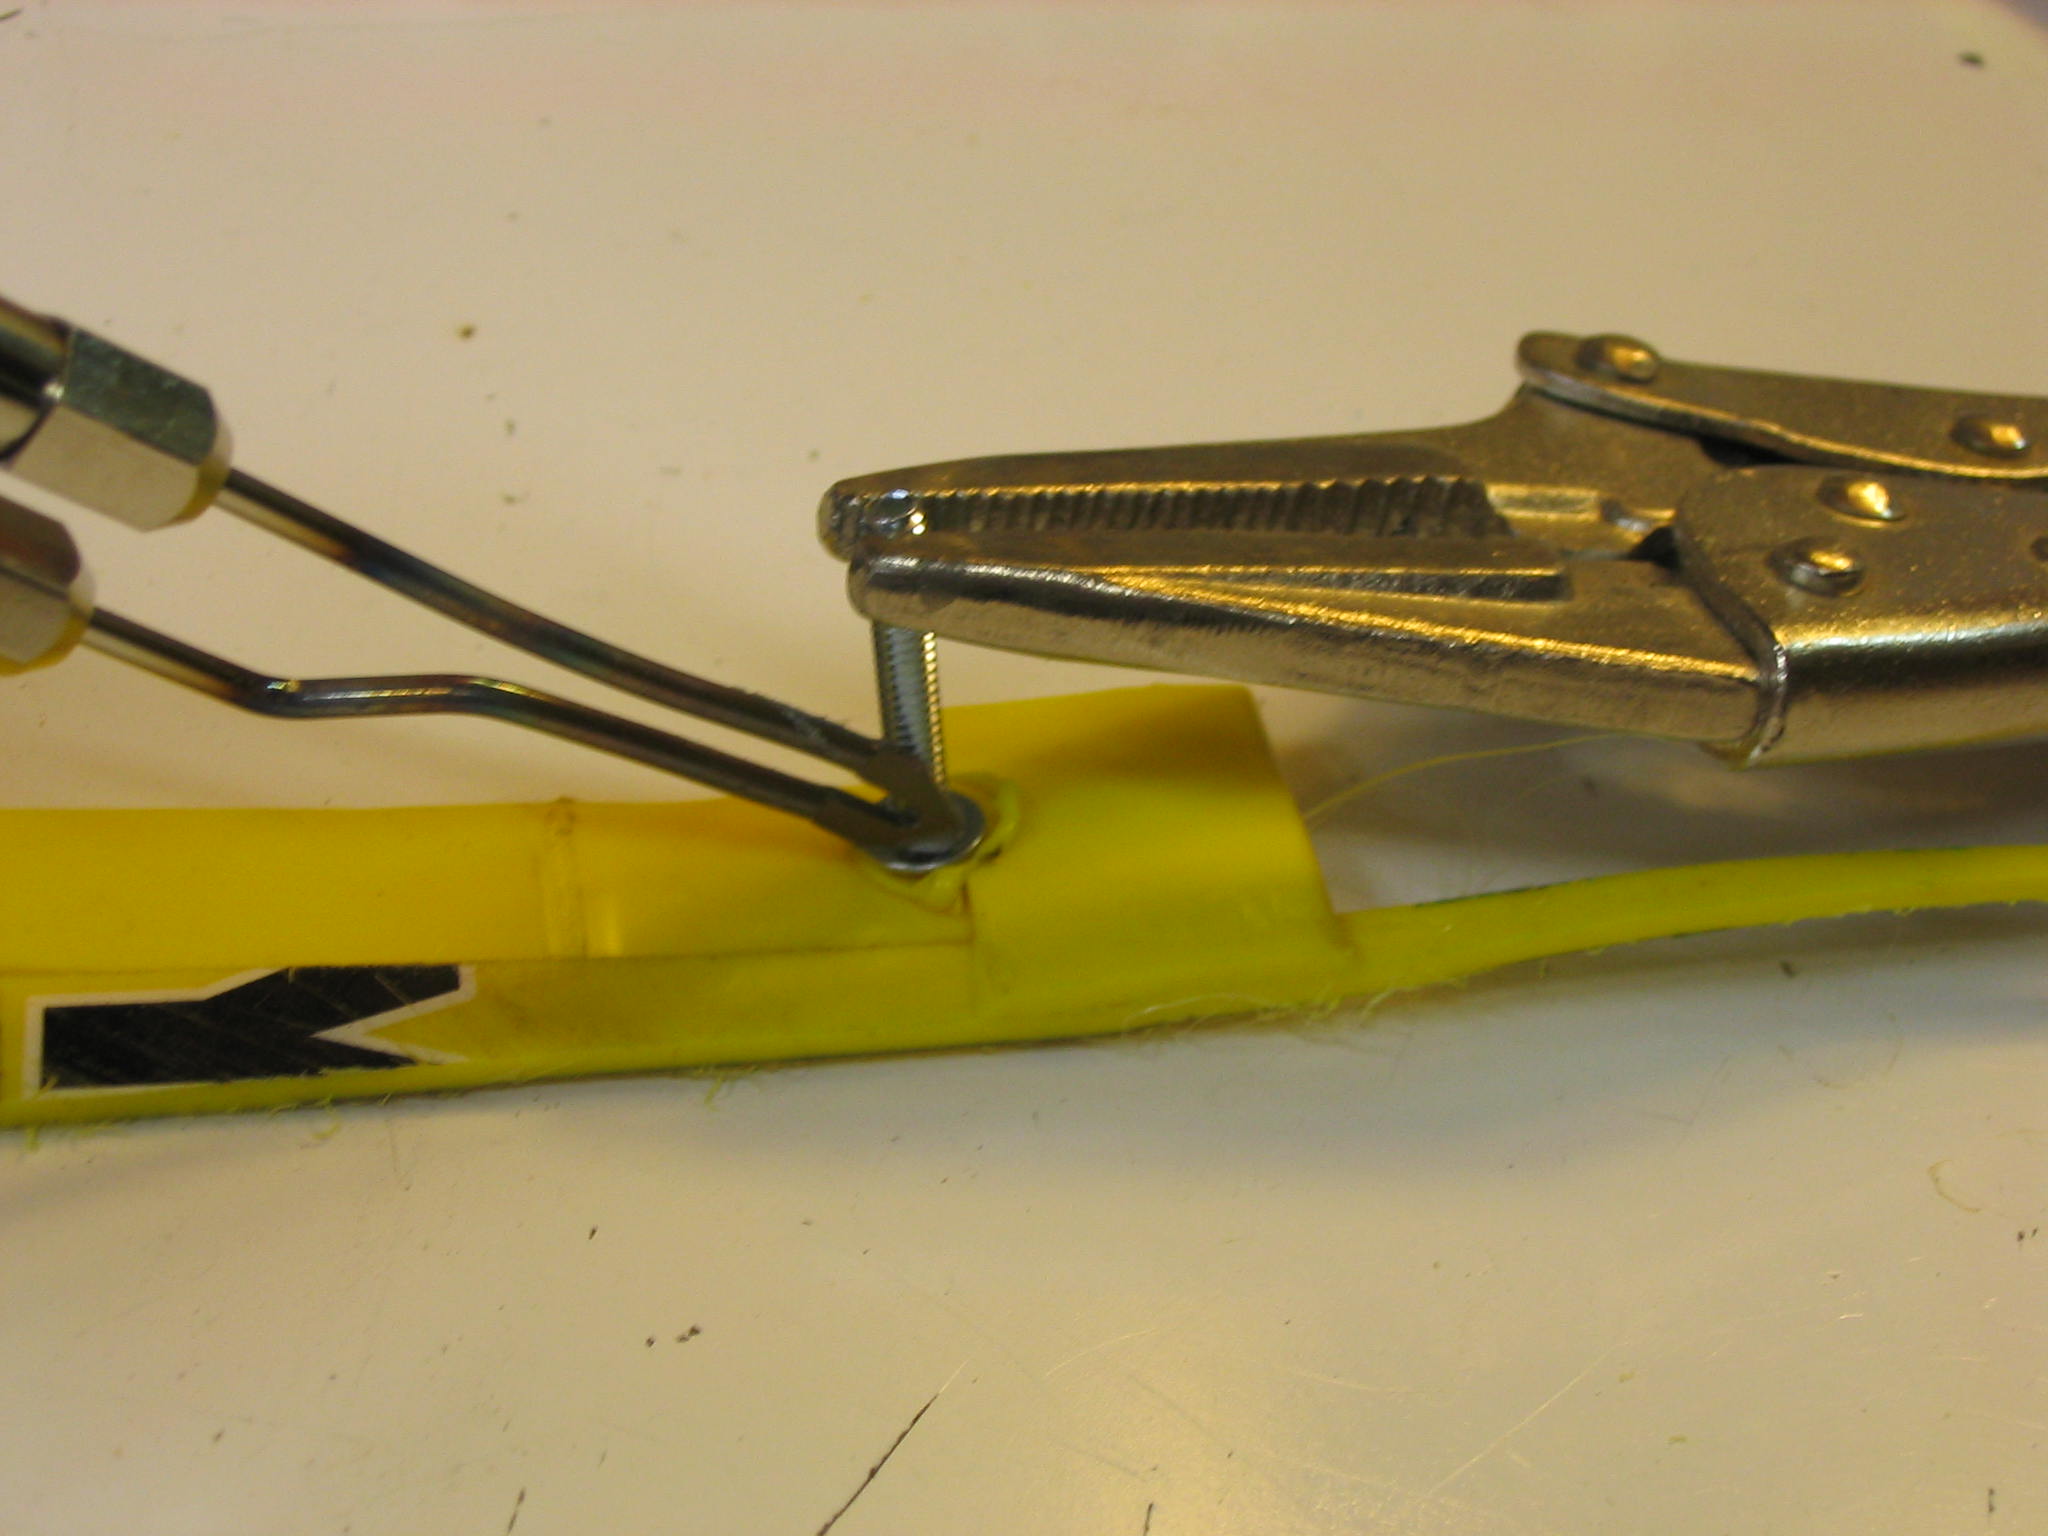
Spot welding with soldering gun and screw headOne other approach I tried was spot-welding the tabs together, but I did not come up with a satisfactory technique.  The heat gun is too broad to use for this, so I tried a soldering gun instead.  You cannot simply stick the tip of the soldering gun into the plastic and melt it, because the plastic will burn and/or make a stringy mess when you pull the soldering gun out.  Like the heat gun method, you need a piece of metal to cool with the plastic, which can be removed after a minute.
I tried heating through a piece of sheet metal with the soldering gun, but didn’t have success.  It spread the heat too broadly, melting the top tab but not the bottom tab.

The best result came from heating the head of a screw with the soldering gun until it sunk into the plastic, through the top tab down to face of the bottom tab.  It did manage to melt the two tabs together, but only in a small ring around the head of the screw, with poor mechanical strength.  Based on that, I gave up on spot welding and returned to the heat gun.

Stinky PETE 

In the movie Toy Story 2, Stinky Pete appeared to be a nice guy but turned out to be trouble.  In the world of common plastics, PETE is trouble too.  PETE, polyethylene terephthalate, is the very common plastic used for all sorts of uses.  Nearly all transparent food containers and bottles, such as the 2-liter soda bottle, are made of PETE.

Like the other polyethylene plastics, PETE cannot be glued satisfactorily with any readily available glue or solvent.  It cannot be welded with a heat gun or soldering iron either.  The thin walls of common PETE packaging will shrink and warp before melting with a heat gun.  They will melt with the soldering gun, but don’t seem to fuse to other melted pieces with any strength.  Apparently PETE can be welded with industrial plastic welding equipment, but that is beyond the scope of my attempts. I’ve read that PETE can be glued with a hot-melt glue gun, and supposedly that’s how most retail labels are attached to PETE containers.  But I didn’t have any success with it; the glue just peeled off.  Contact cement and silicone sealer/caulking will hold slightly, but with poor strength, and will peel also. 

The only success I have had with PETE has been with various forms of mechanical fastening.  Screws and nuts will work if large washers are used to spread any stress.  Rivets will work also.  You can use epoxy glue through a hole, with a blob on each side.  When it hardens it is essentially a rivet. One technique I like is to cut slots and tabs, like you would with a paper model.  Fit the parts together, and then use clear packing tape on each side to hold the tabs in place.  It works fairly well.

Submitted by amillar on Thu, 2006-04-06 11:10

JPEG image cropping

JPEG images are a good data format for photographs because they contain data that is compressed in a manner optimized for the human eye. However, it is a “lossy” compression, meaning that if they are unencoded and re-encoded several times, the image will lose quality.

Sometimes all I want to do is crop a picture, to chop off uninteresting areas of the photo. Several tools can do this by working on the native JPEG data, meaning there is no loss of information from re-encoding the image.

The command-line tool jpegtran is designed to make a number of transformations to JPEG pictures with no data loss, including rotation and cropping. However, being a command-line tool, it requires you to specify x and y coordinates to crop. It is not convenient to visually pick a section of a picture to save.

A Windows application called jpegcrop gives you the ability to display a JPEG picture on the screen and select the portion to crop out. It saves the cropped section as a new file, or you can overwrite the original file if you prefer. It even preserves the EXIF metadata of the original file. For Linux, I have not found a native graphical application like Jpegcrop, but Jpegcrop for Windows runs just fine on Linux using Wine.

Submitted by amillar on Sun, 2006-01-29 09:59

Tablesaw blade guard

Blade guard
Blade guard

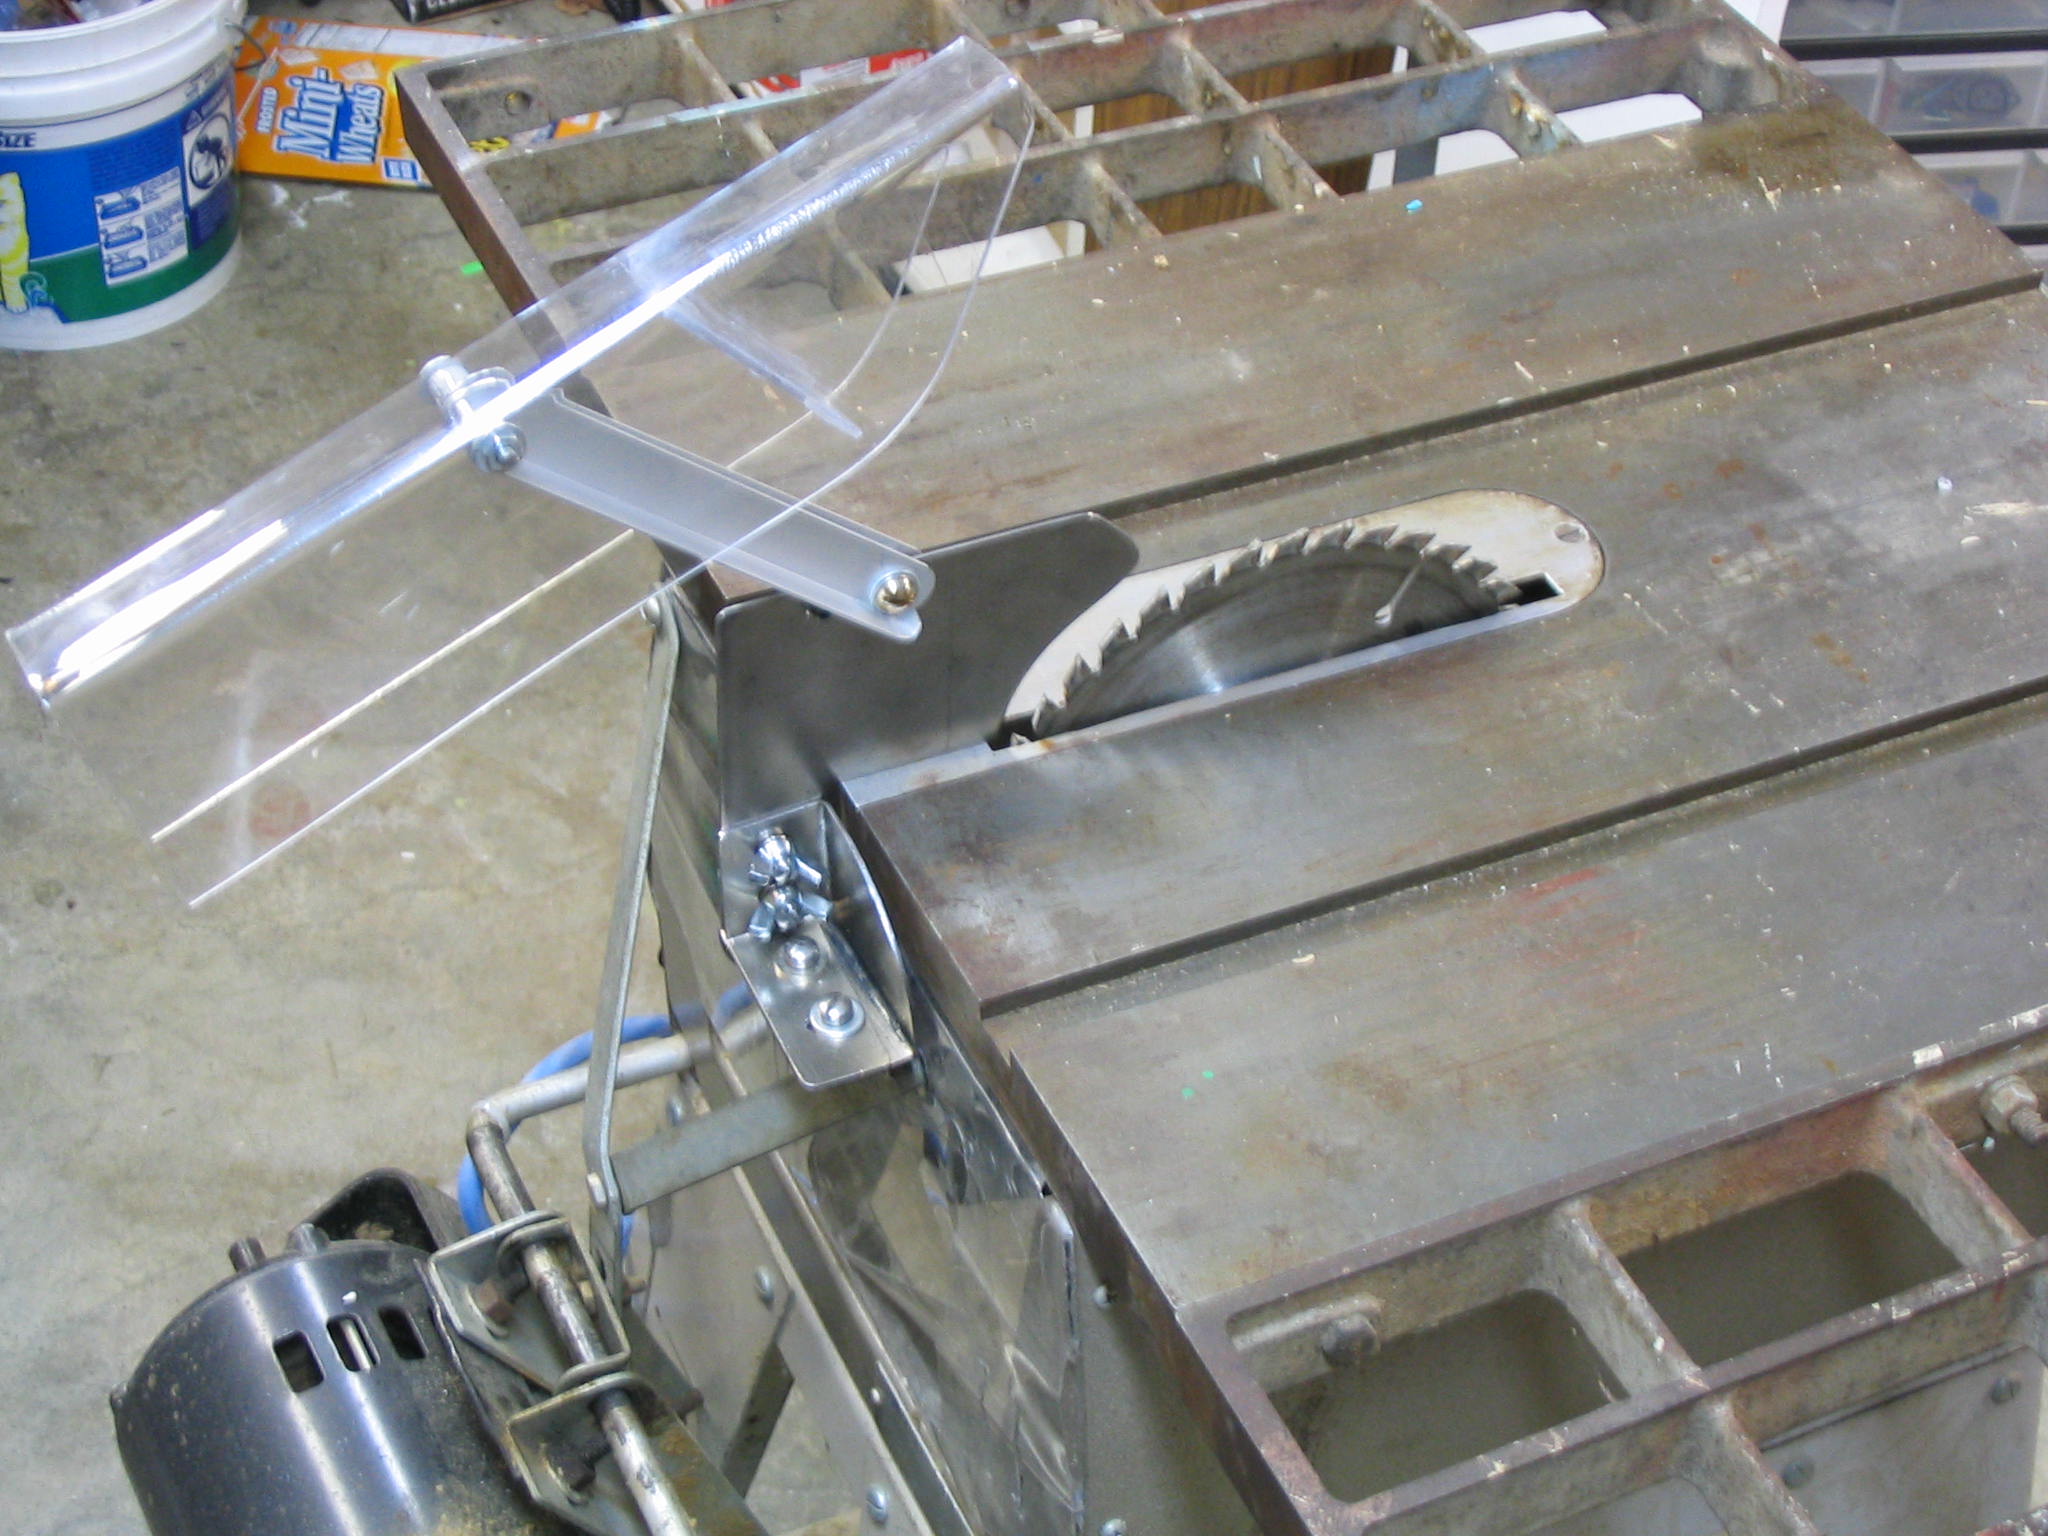
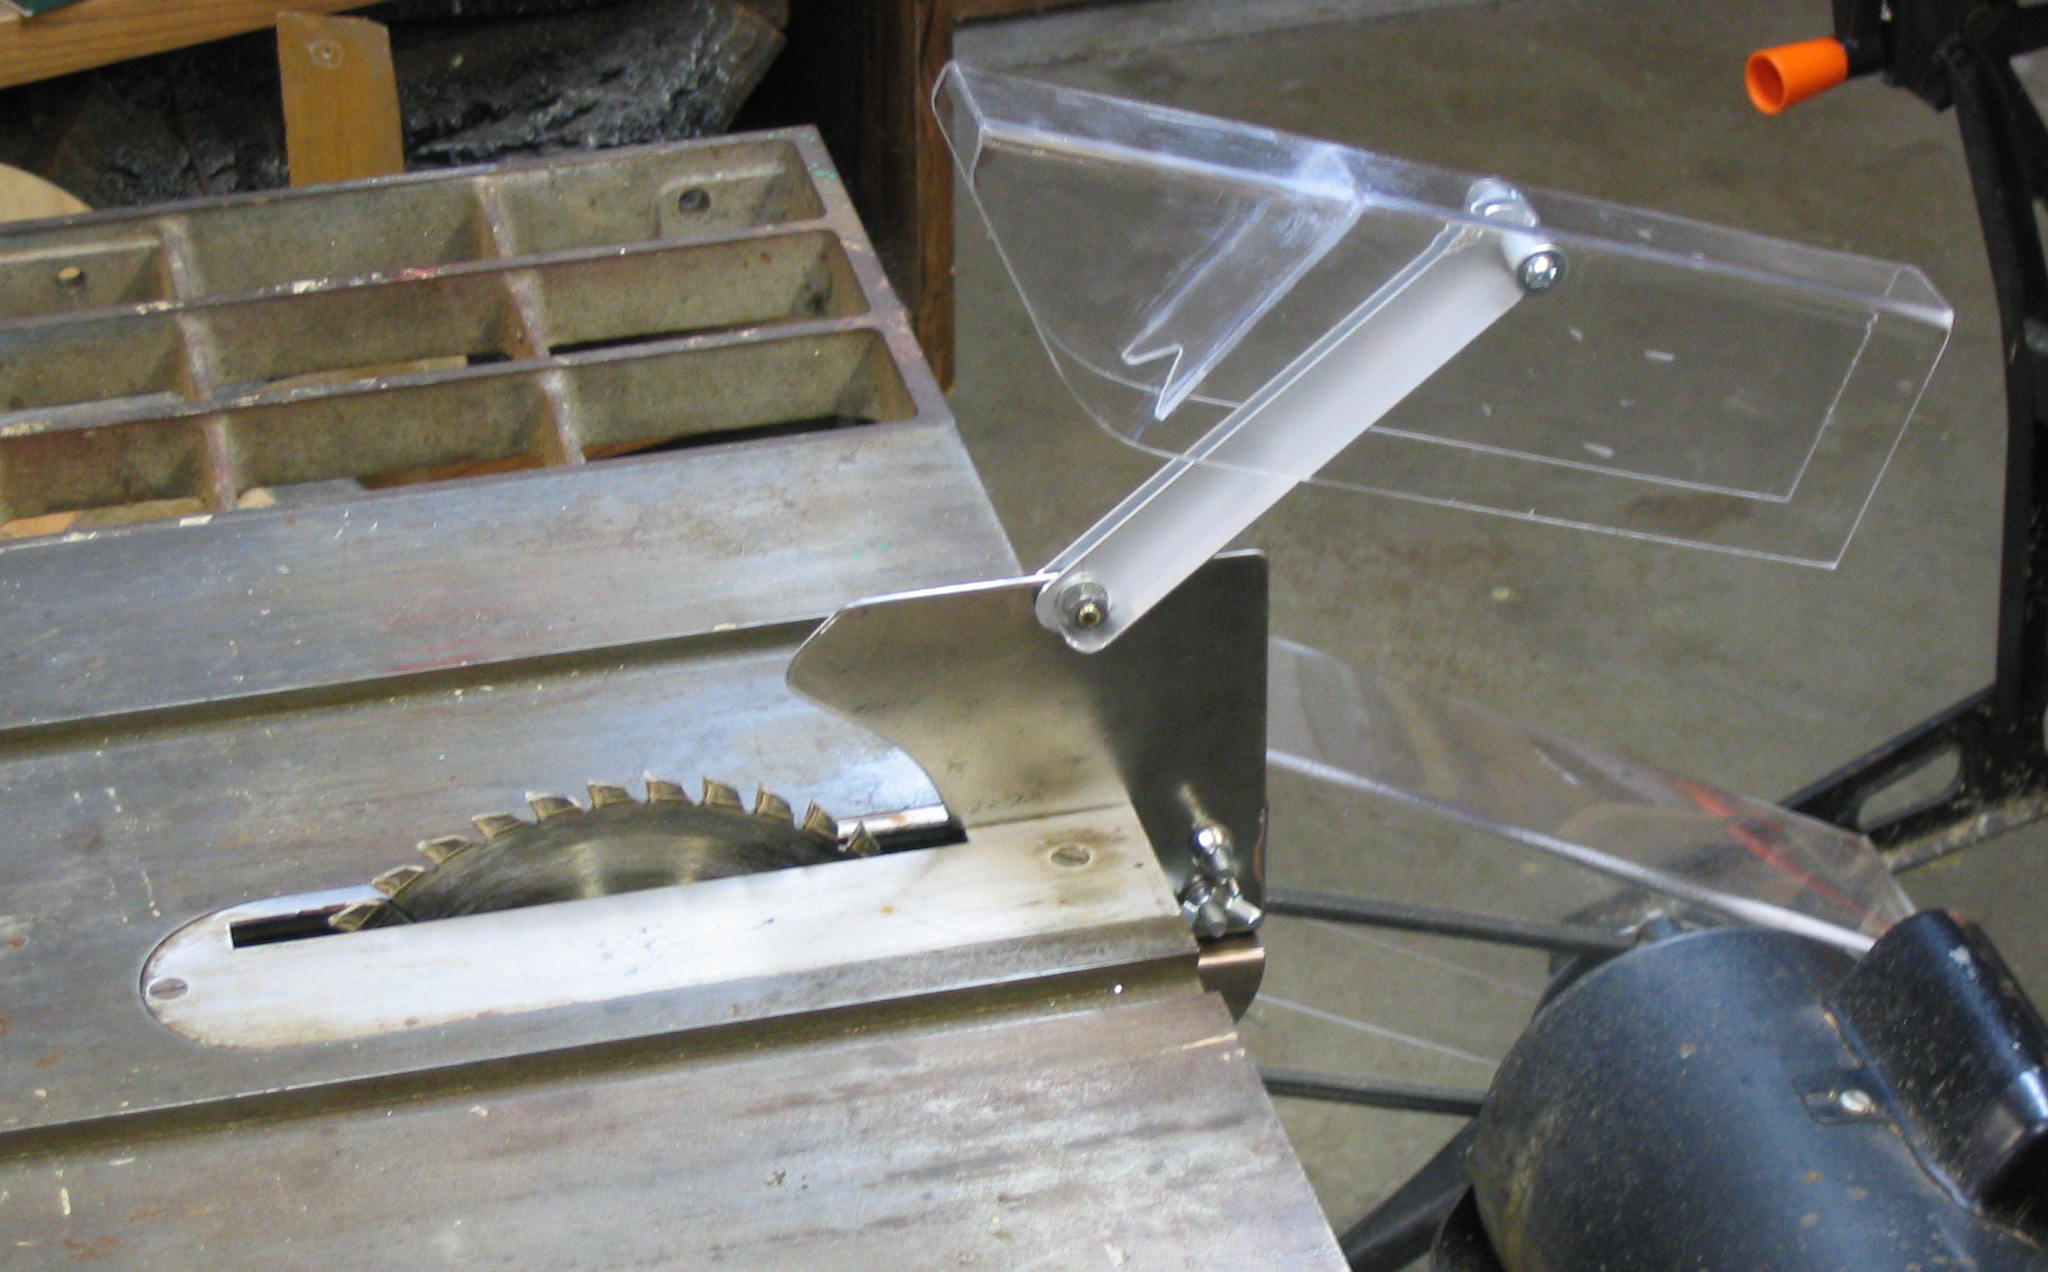
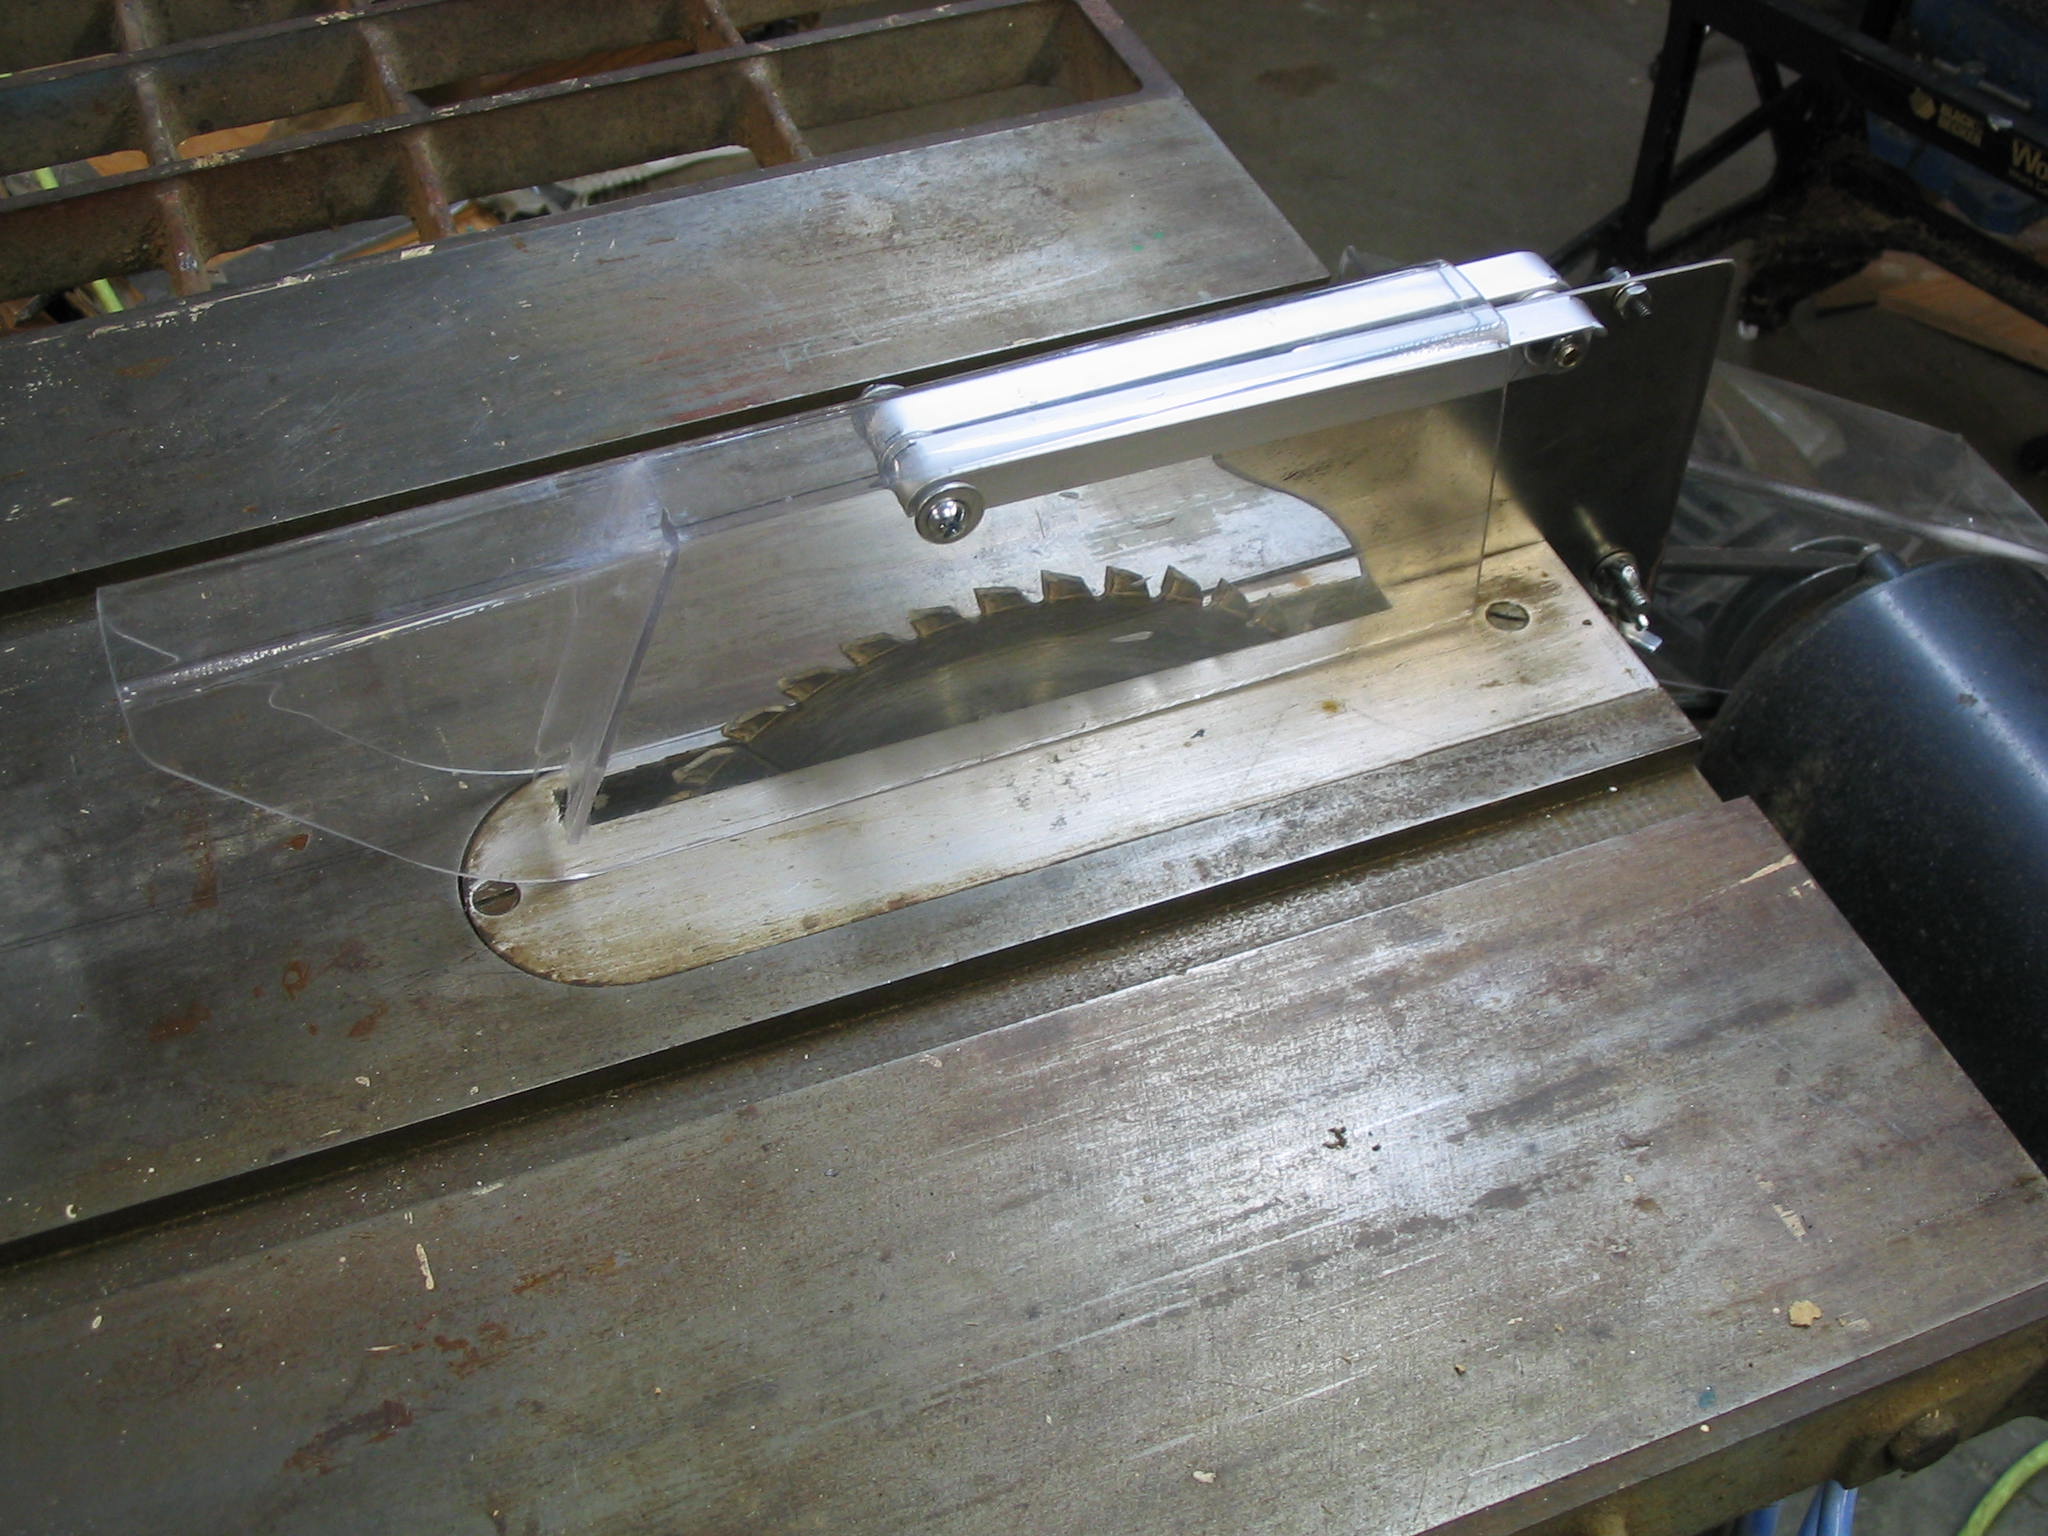
After I made the mounting bracket, then I proceeded to create the blade guard and splitter.

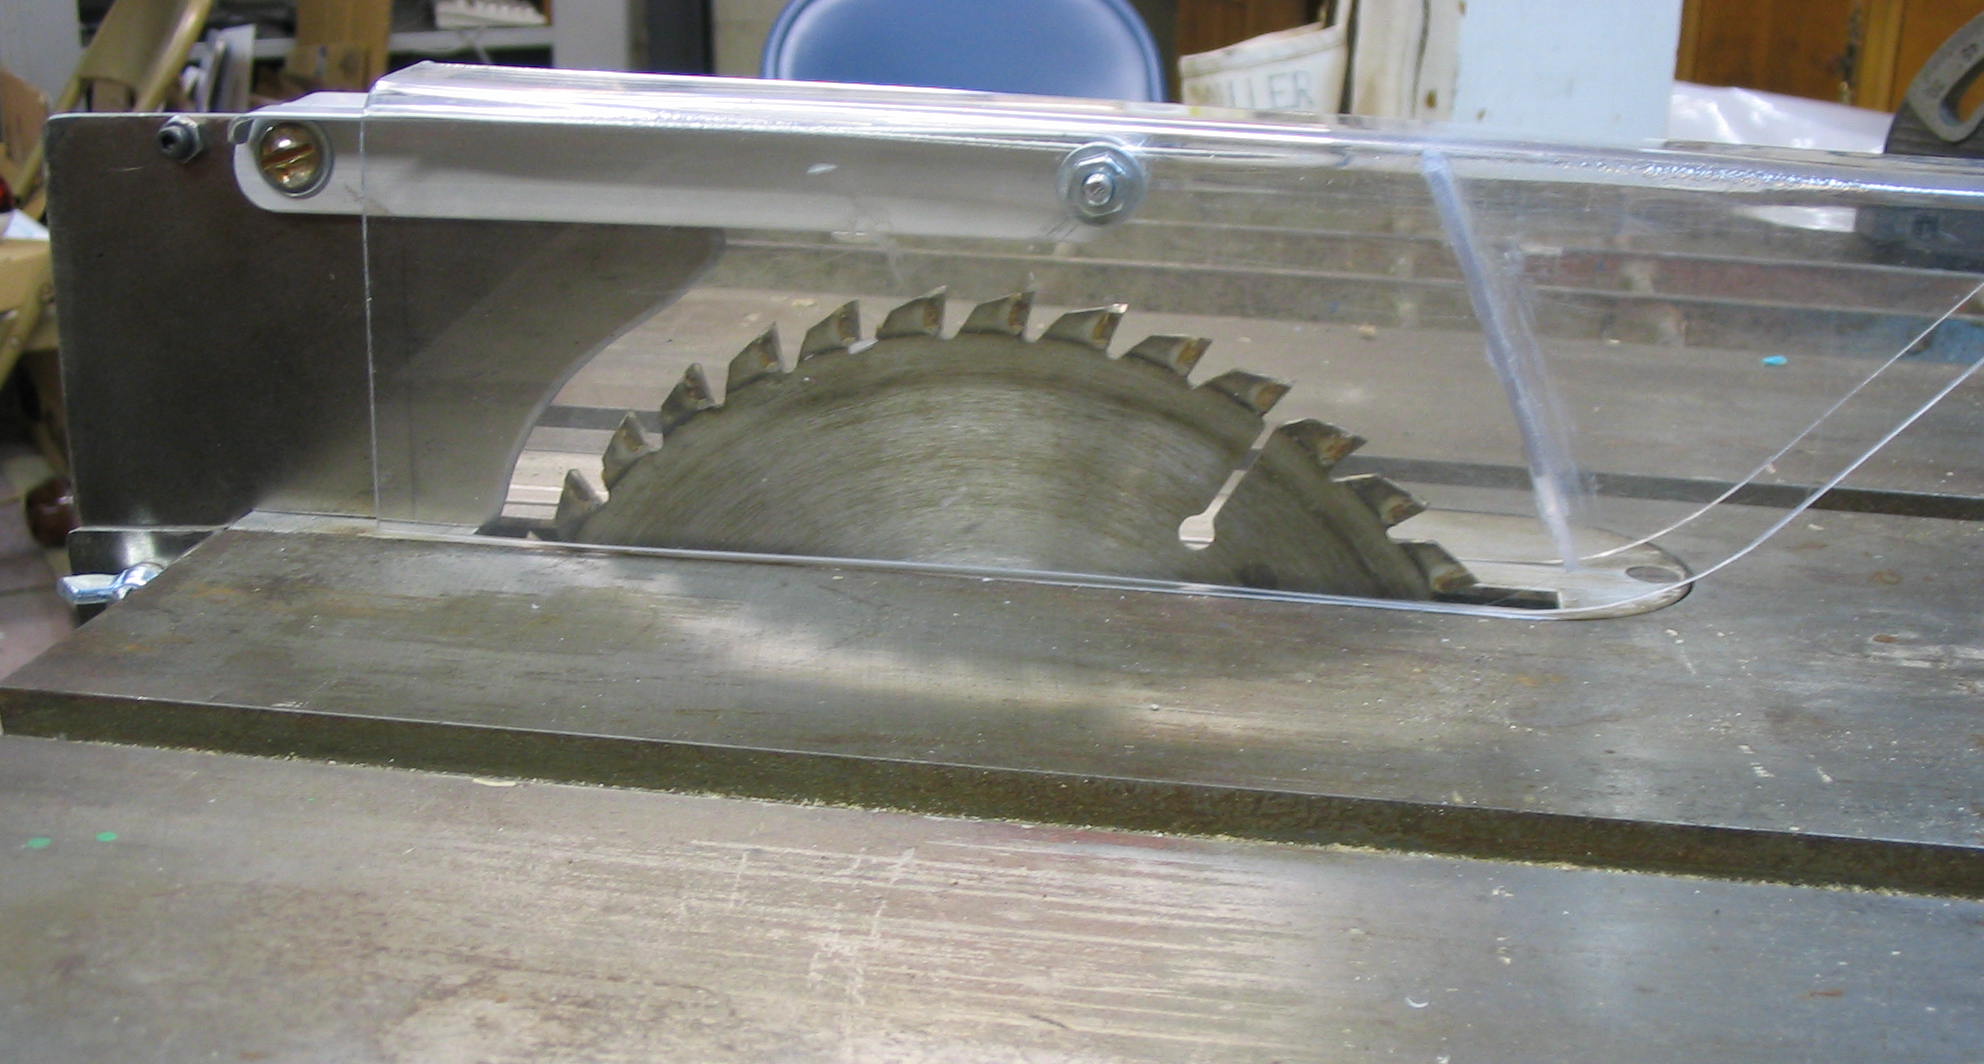
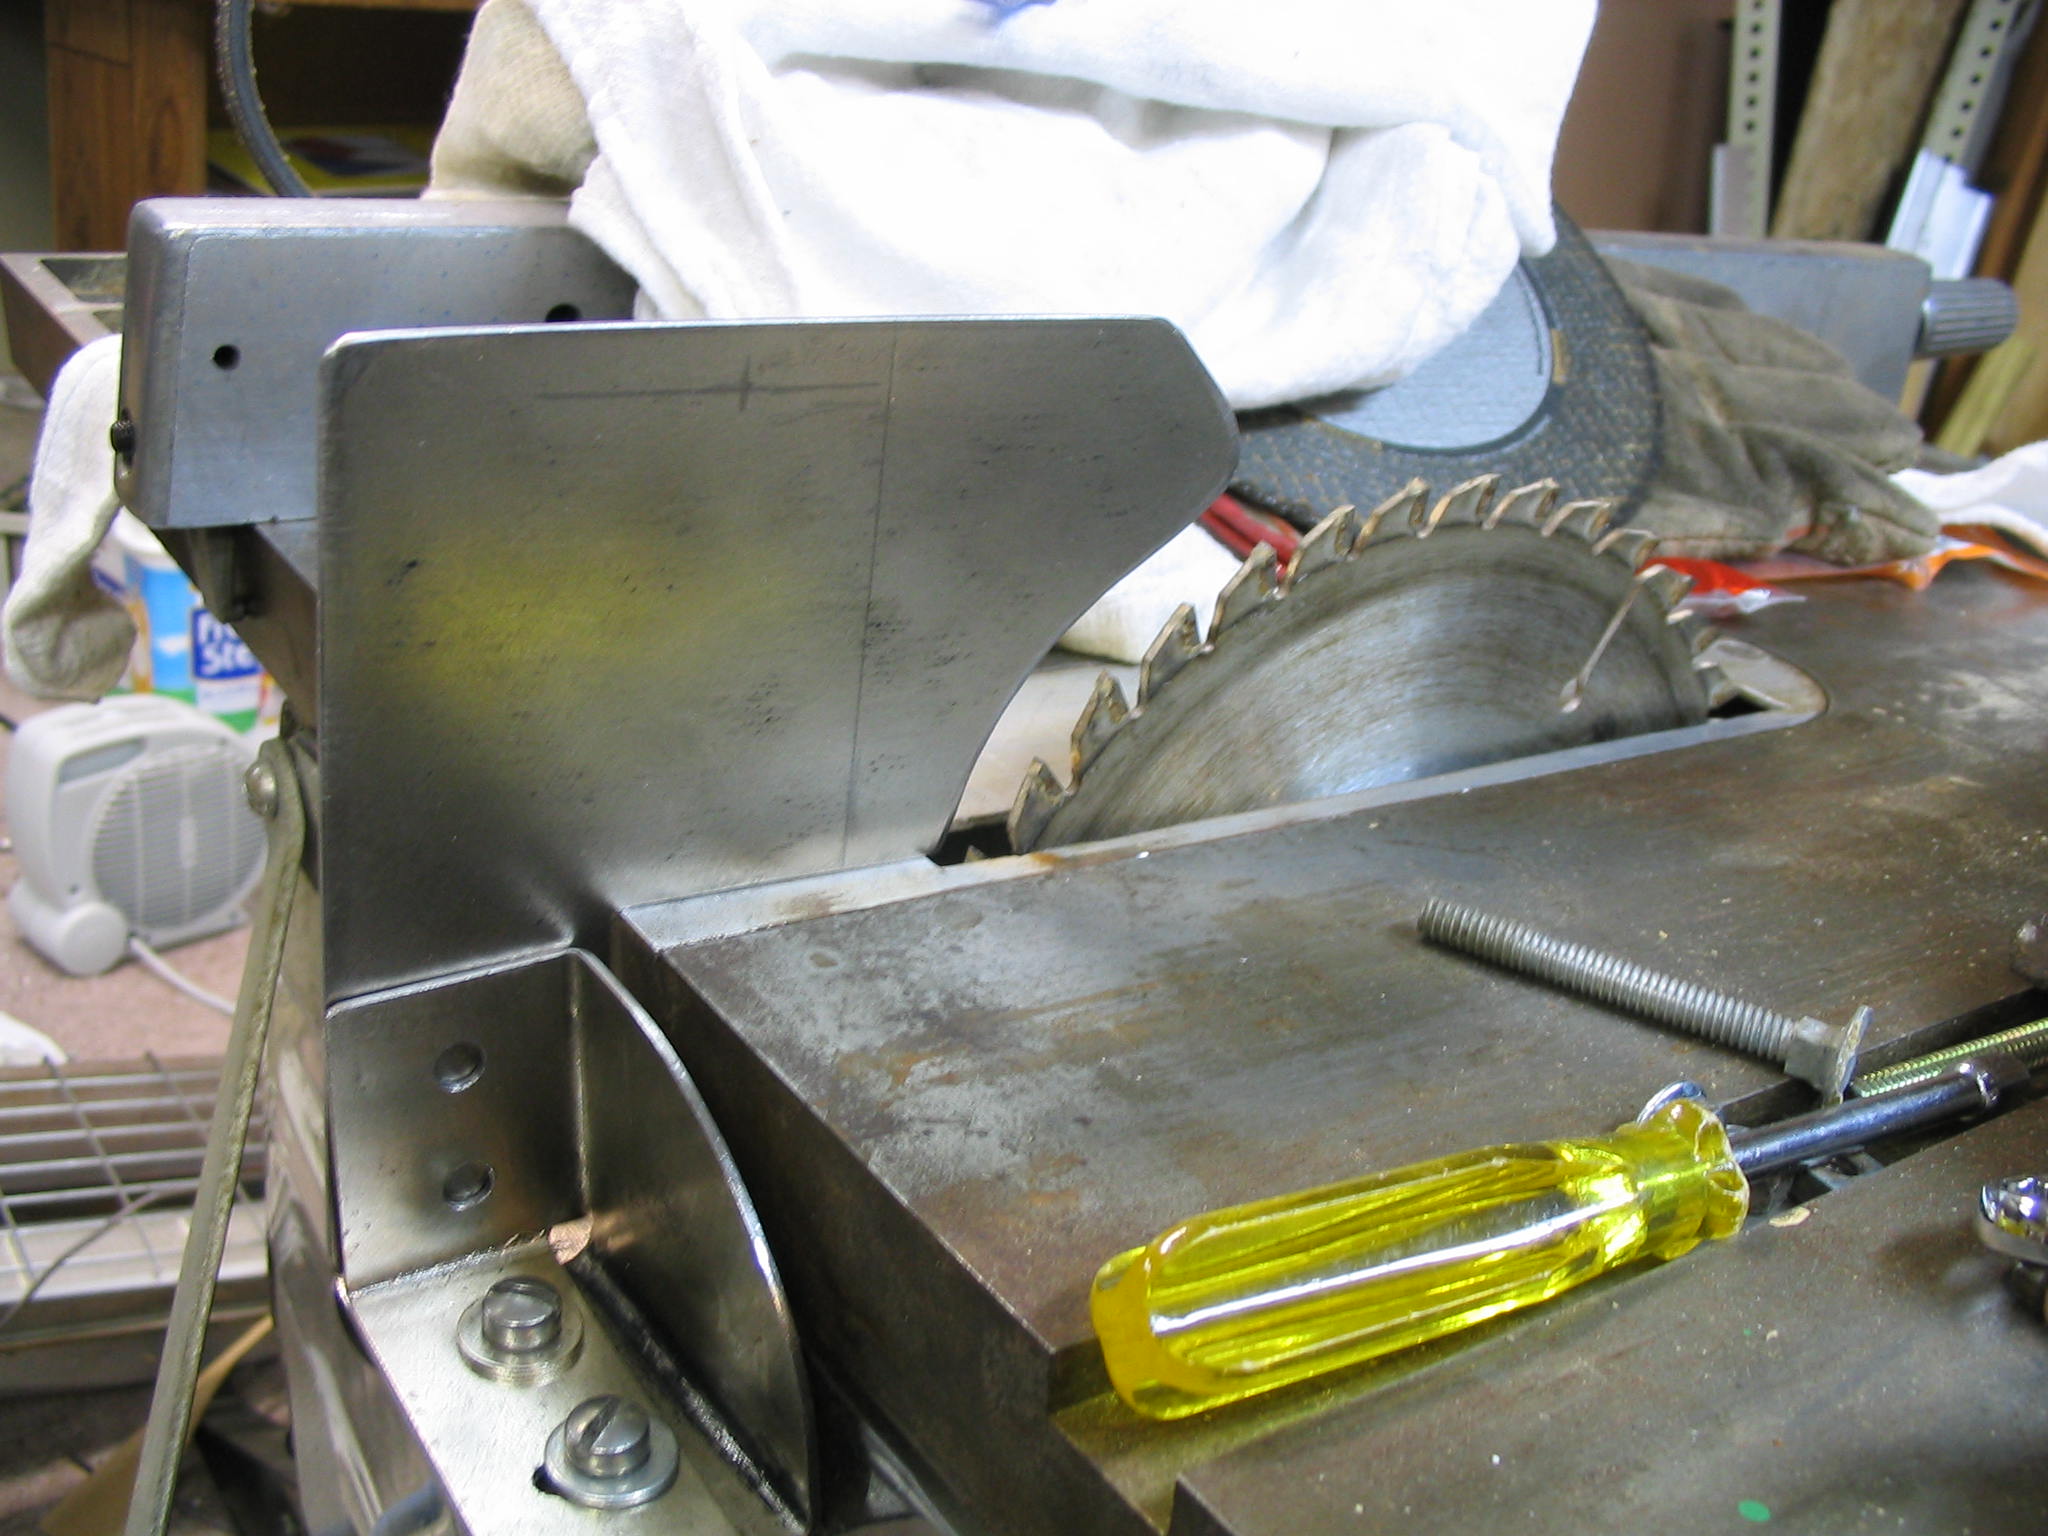
The blade guard has two main components. The cover goes over the blade, to prevent the saw operator from getting injured directly on the spinning blade. The cover is usually made of clear plastic, and is attached to the splitter. The splitter is a vertical piece of sheet metal sitting behind the blade, which guides the cut wood past the blade so it won’t bind.

Splitter

Splitter
Splitter

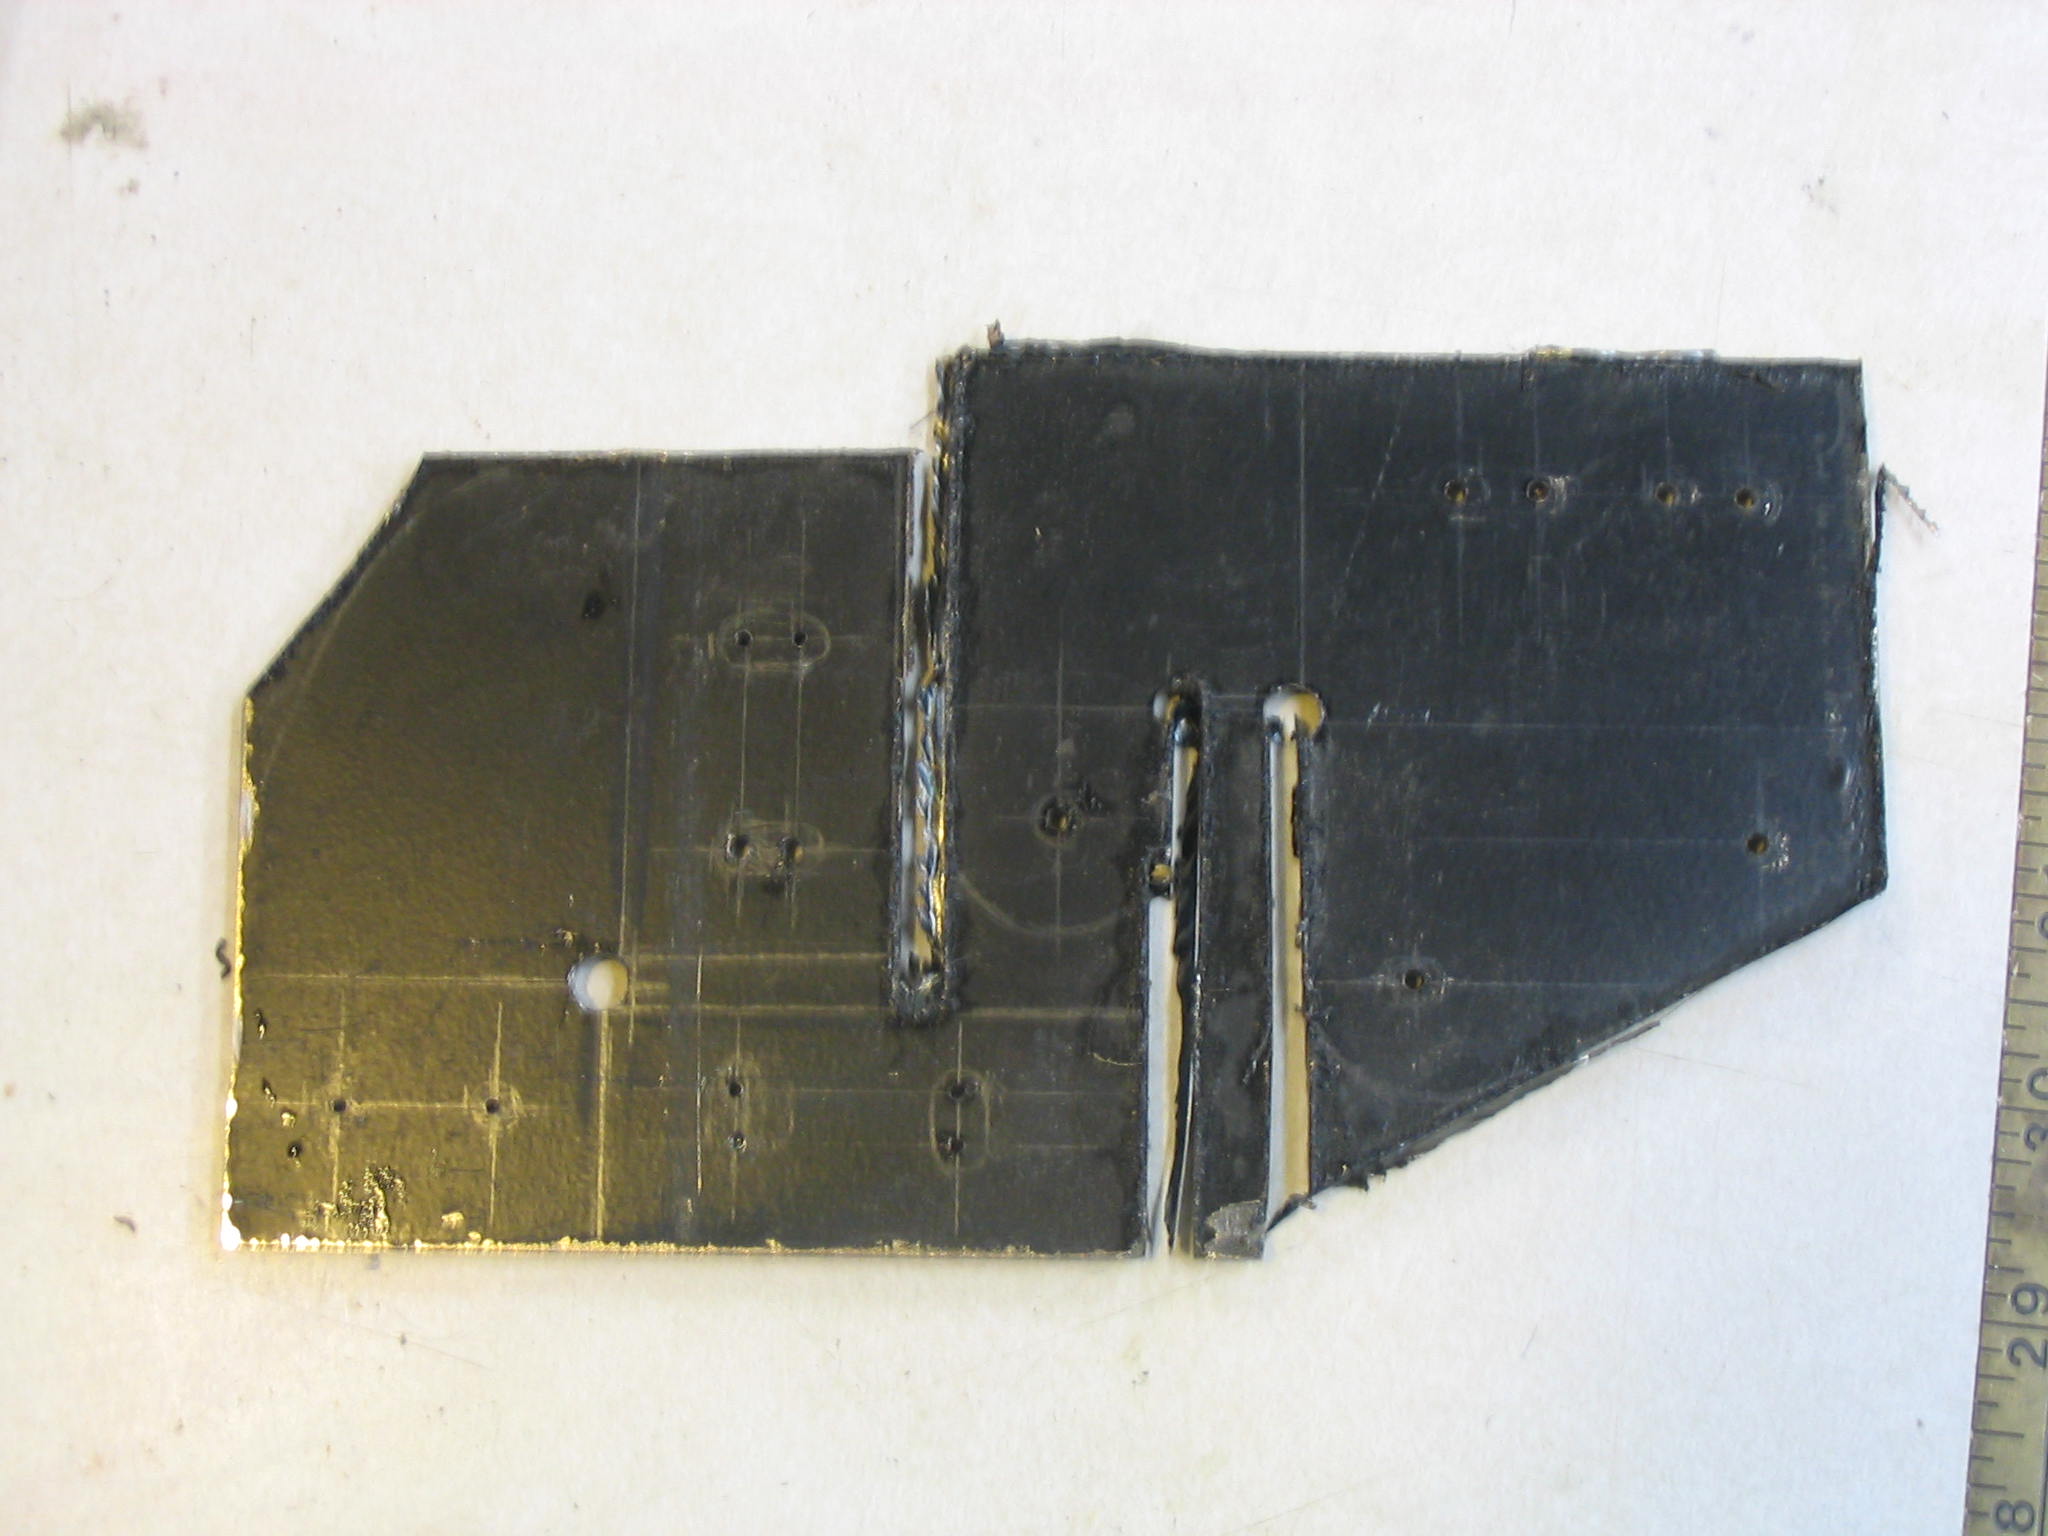
I made the splitter out of the same heavy sheet metal I used for the mounting bracket, 1/16″ steel. I used the same process, where I made a cardboard template first. That way I could ensure that I had the proper positioning on the table saw bed and around the blade, and I could make the bolt holes line up with the mounting bracket. I used 1/4″ holes and bolts on the mounting bracket, but used slightly larger 5/16″ holes on the tail of the splitter that attaches to the mounting bracket. The holes are just enough bigger that I have some adjustability in the positioning, but still have a secure fit with the bracket.

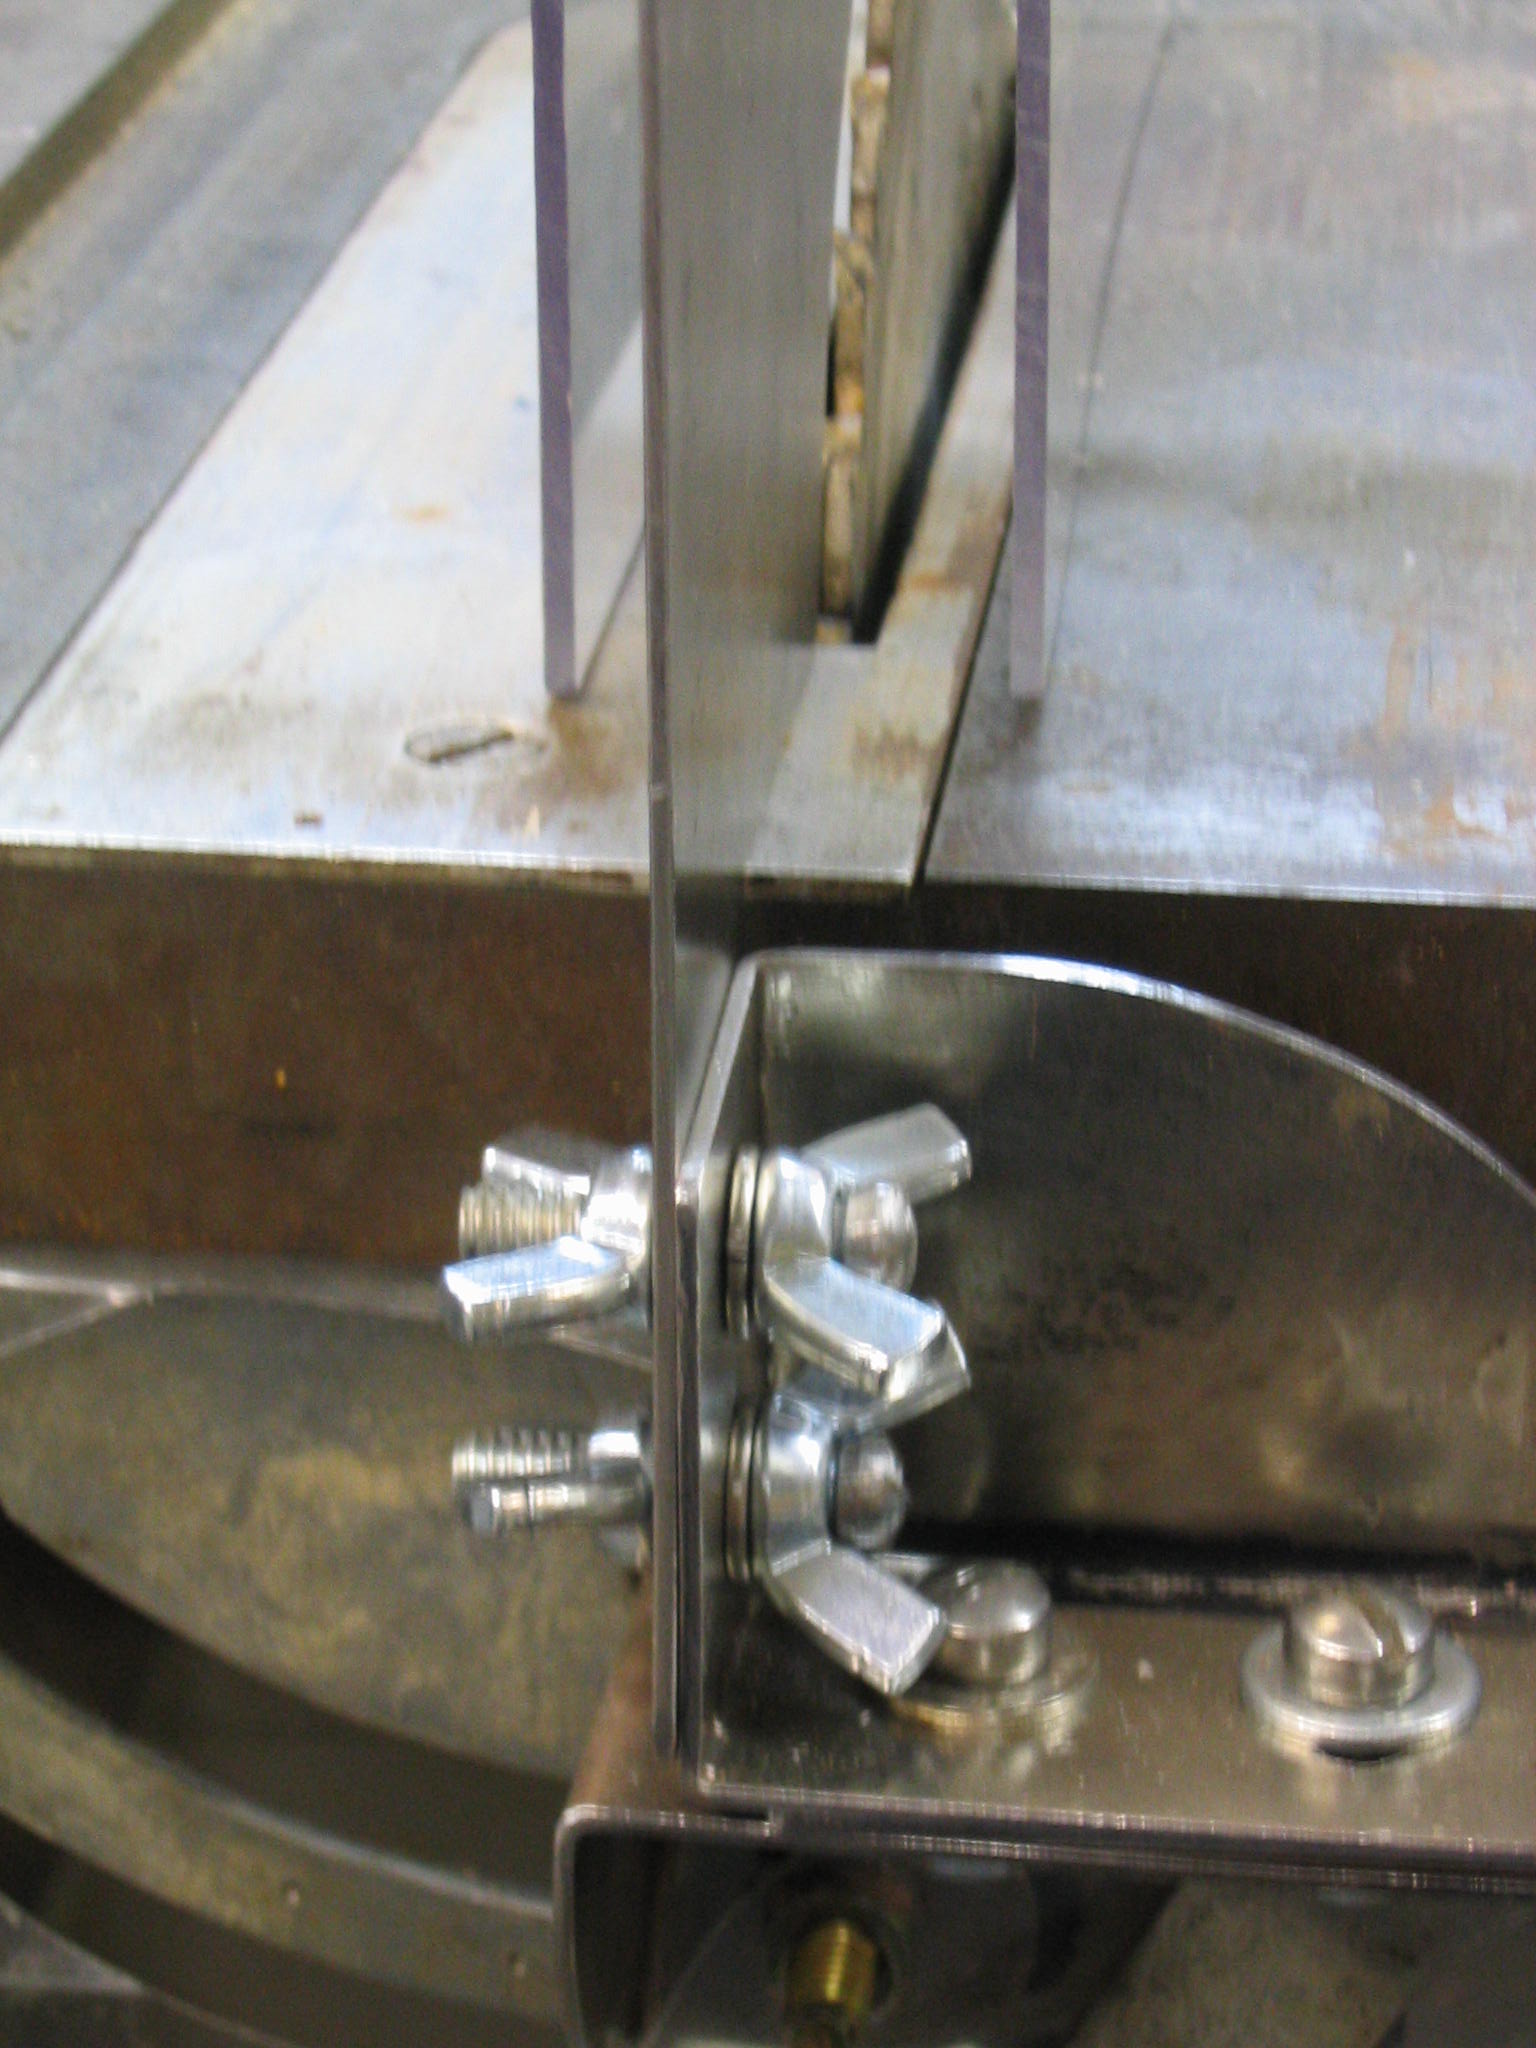
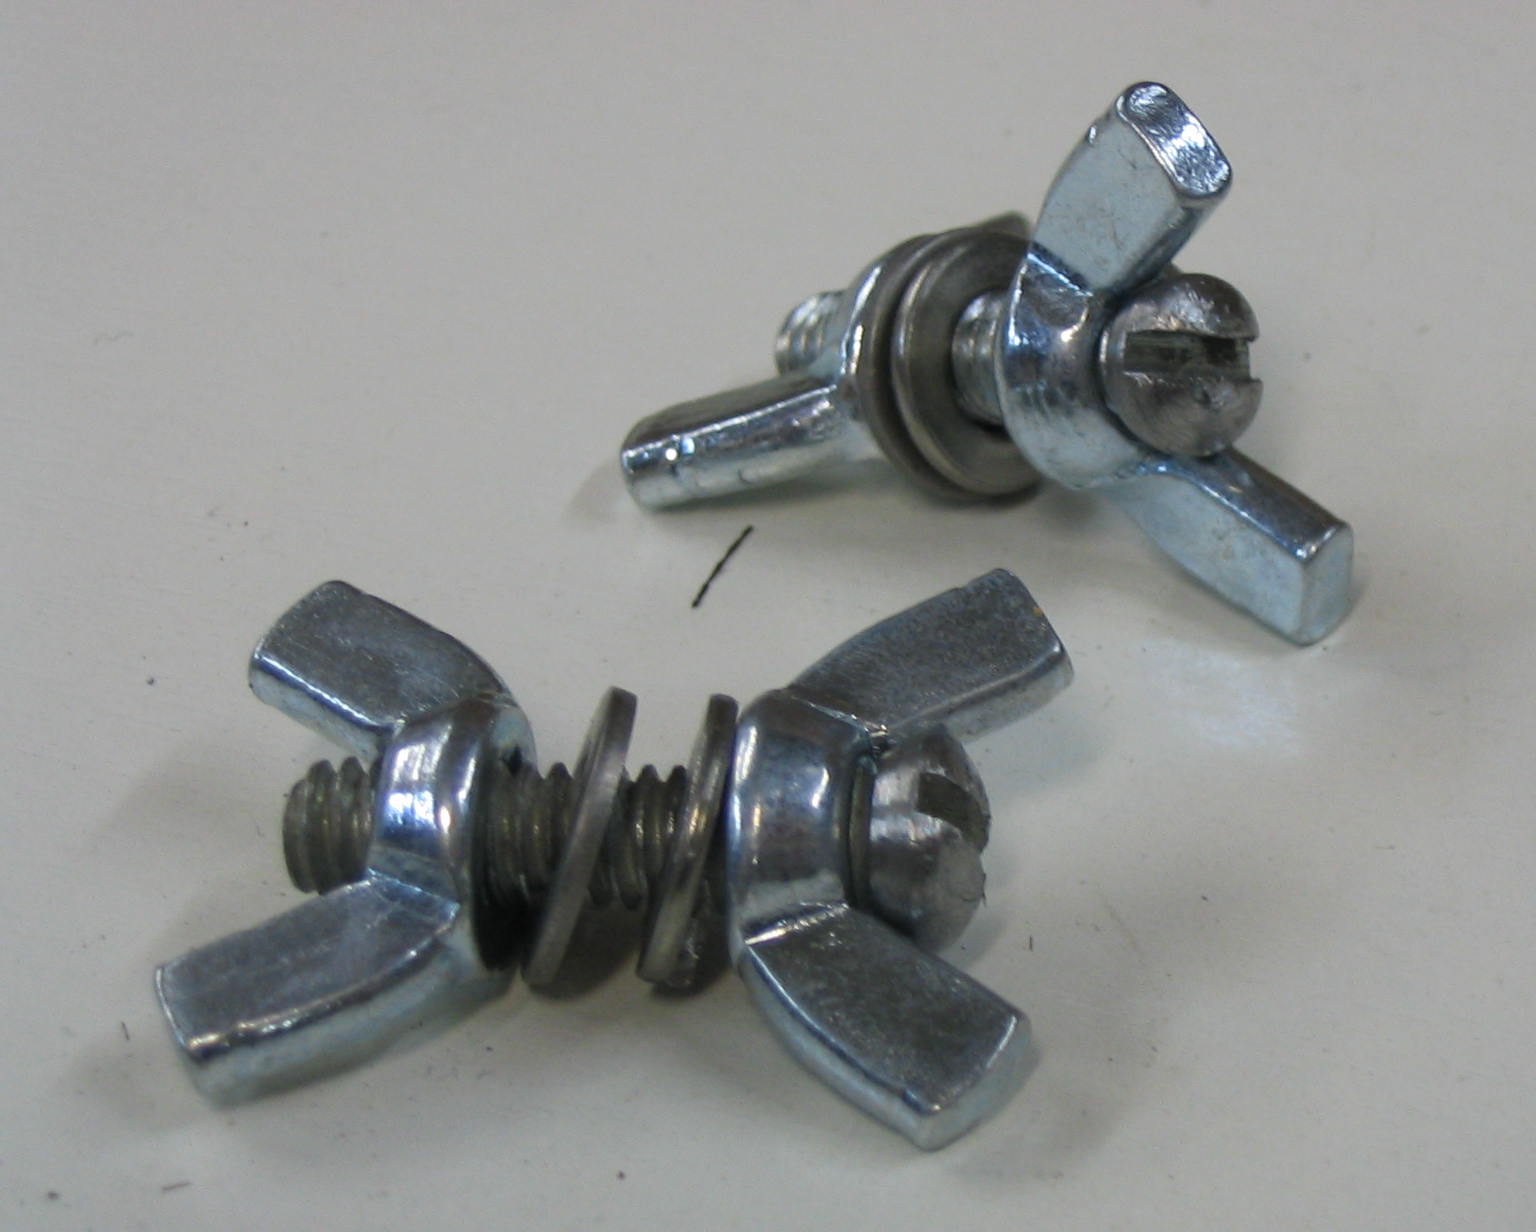
The splitter/guard should be removable for different saw operations like dadoes or shaping. Wing nuts make it easy to remove the splitter without requiring any tools. You can buy bolts with wing heads on them, but I already had extra wing nuts so I decided to put them on both sides. I had screws of the right size, but the screw heads were too wide to fit in between the wings. A lathe would be the ideal way to reduce the screw heads, but I don’t have one, so I put the screws into the chuck of my electric drill and filed them down while it spun.

Wing screws
Wing screws

Wing screws in place

Cover

Cutting plastic
Cutting plastic

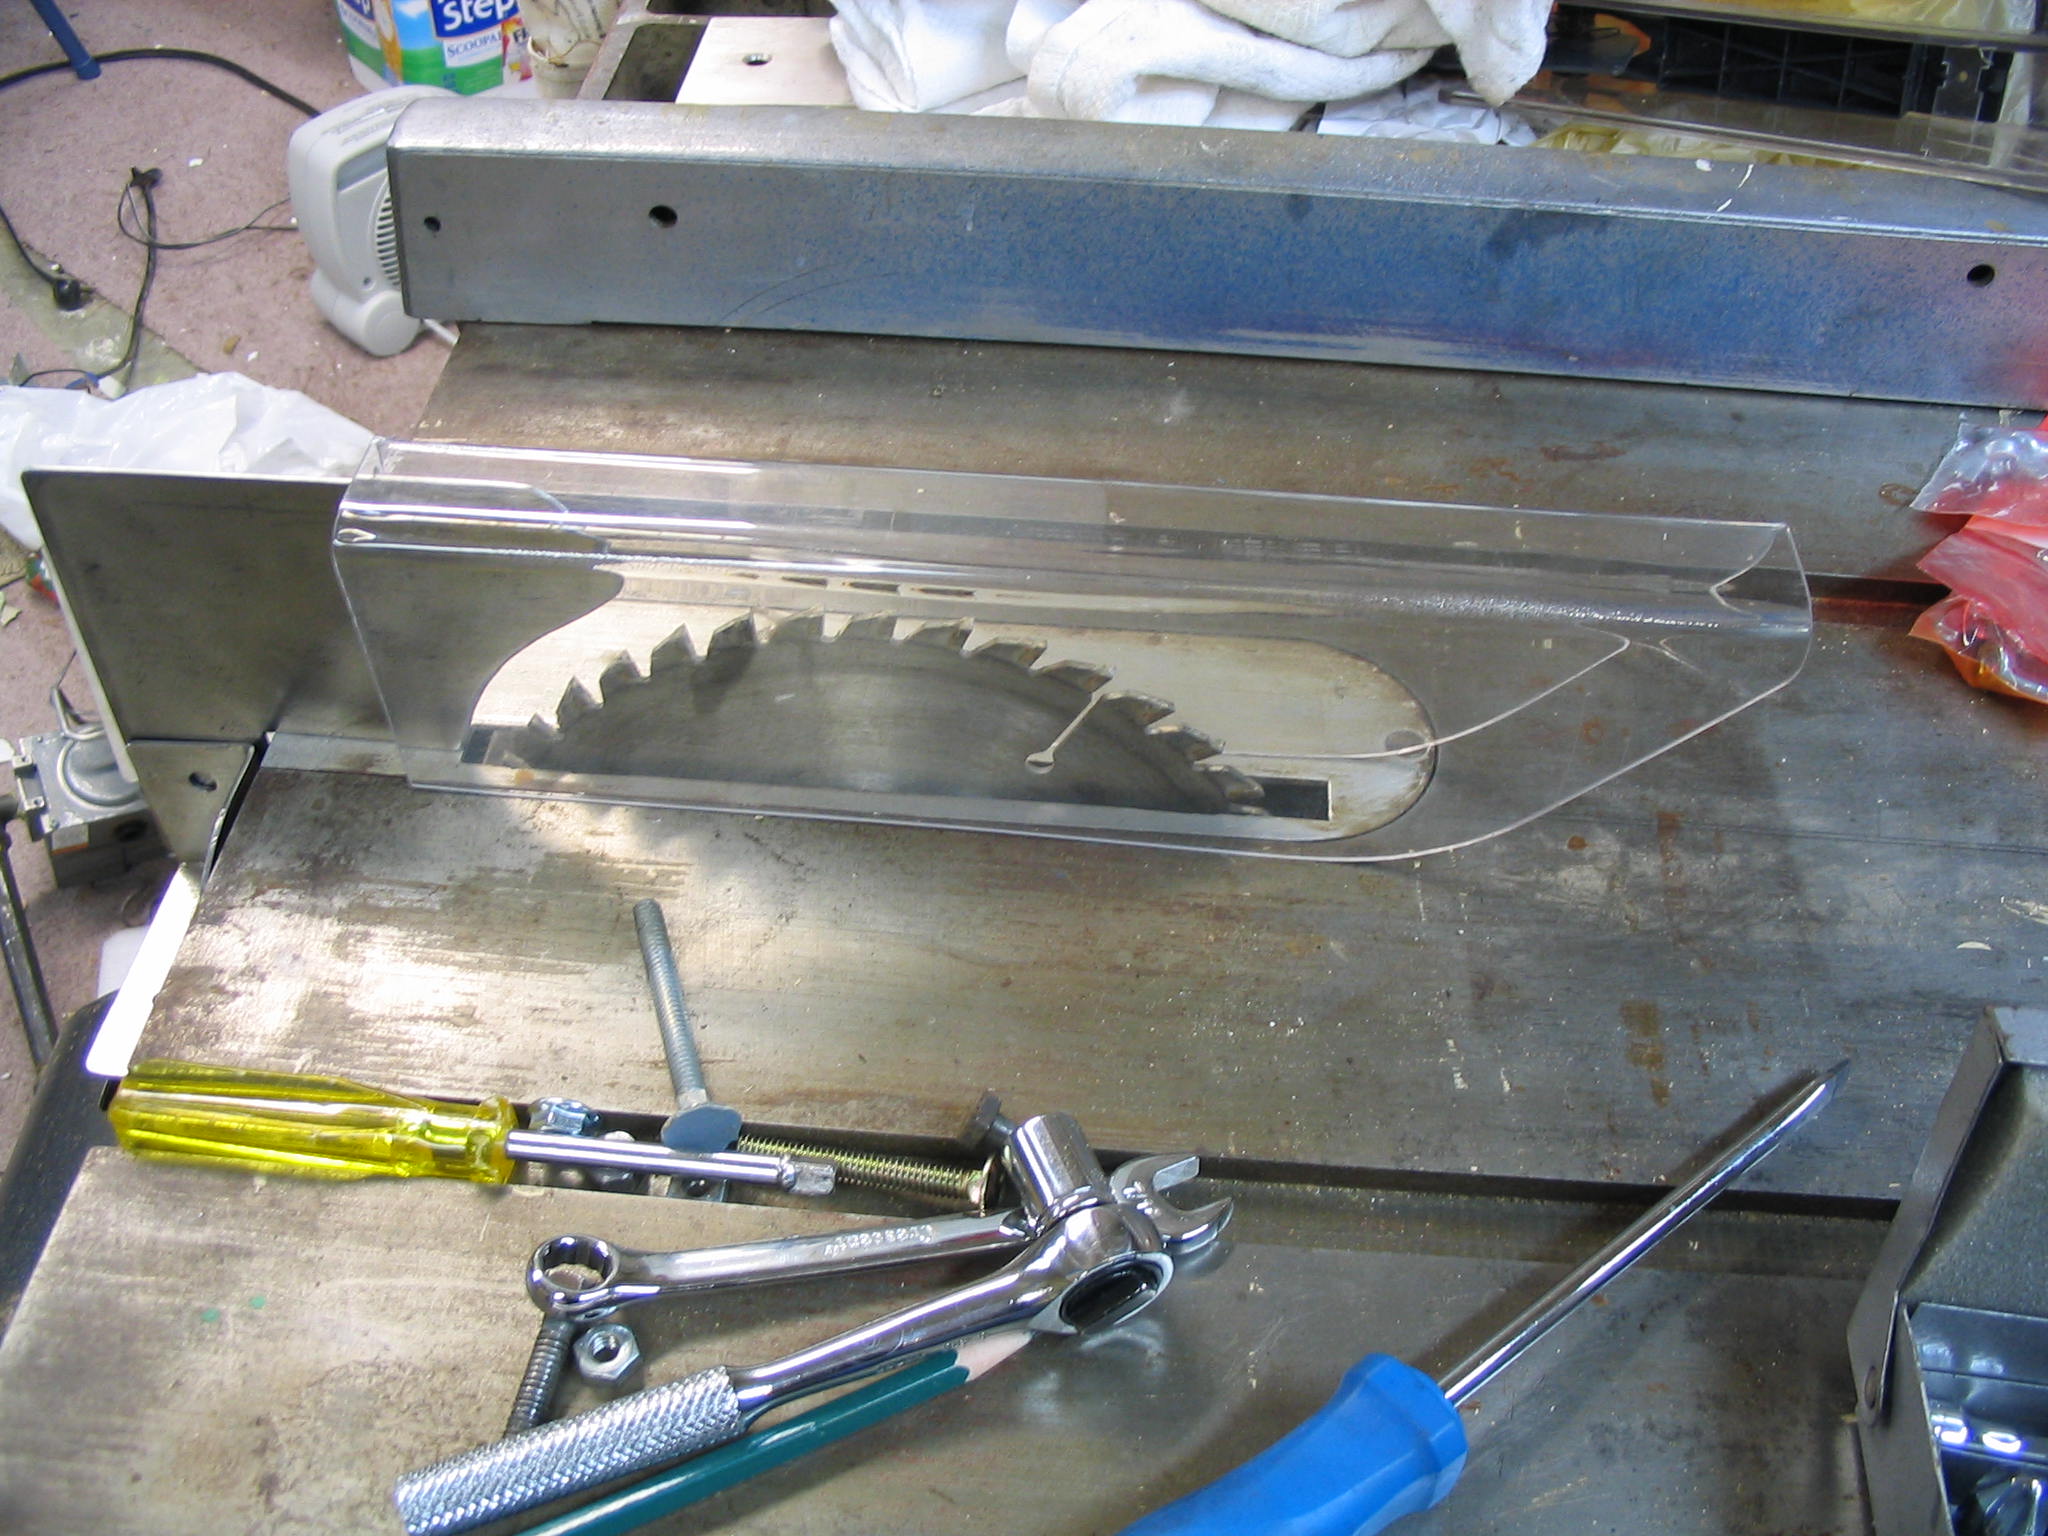
The blade cover is made of clear Lexan polycarbonate plastic, which I think is a better choice than acrylic because it is shatter-resistant. It covers the top, sides, and front of the blade.

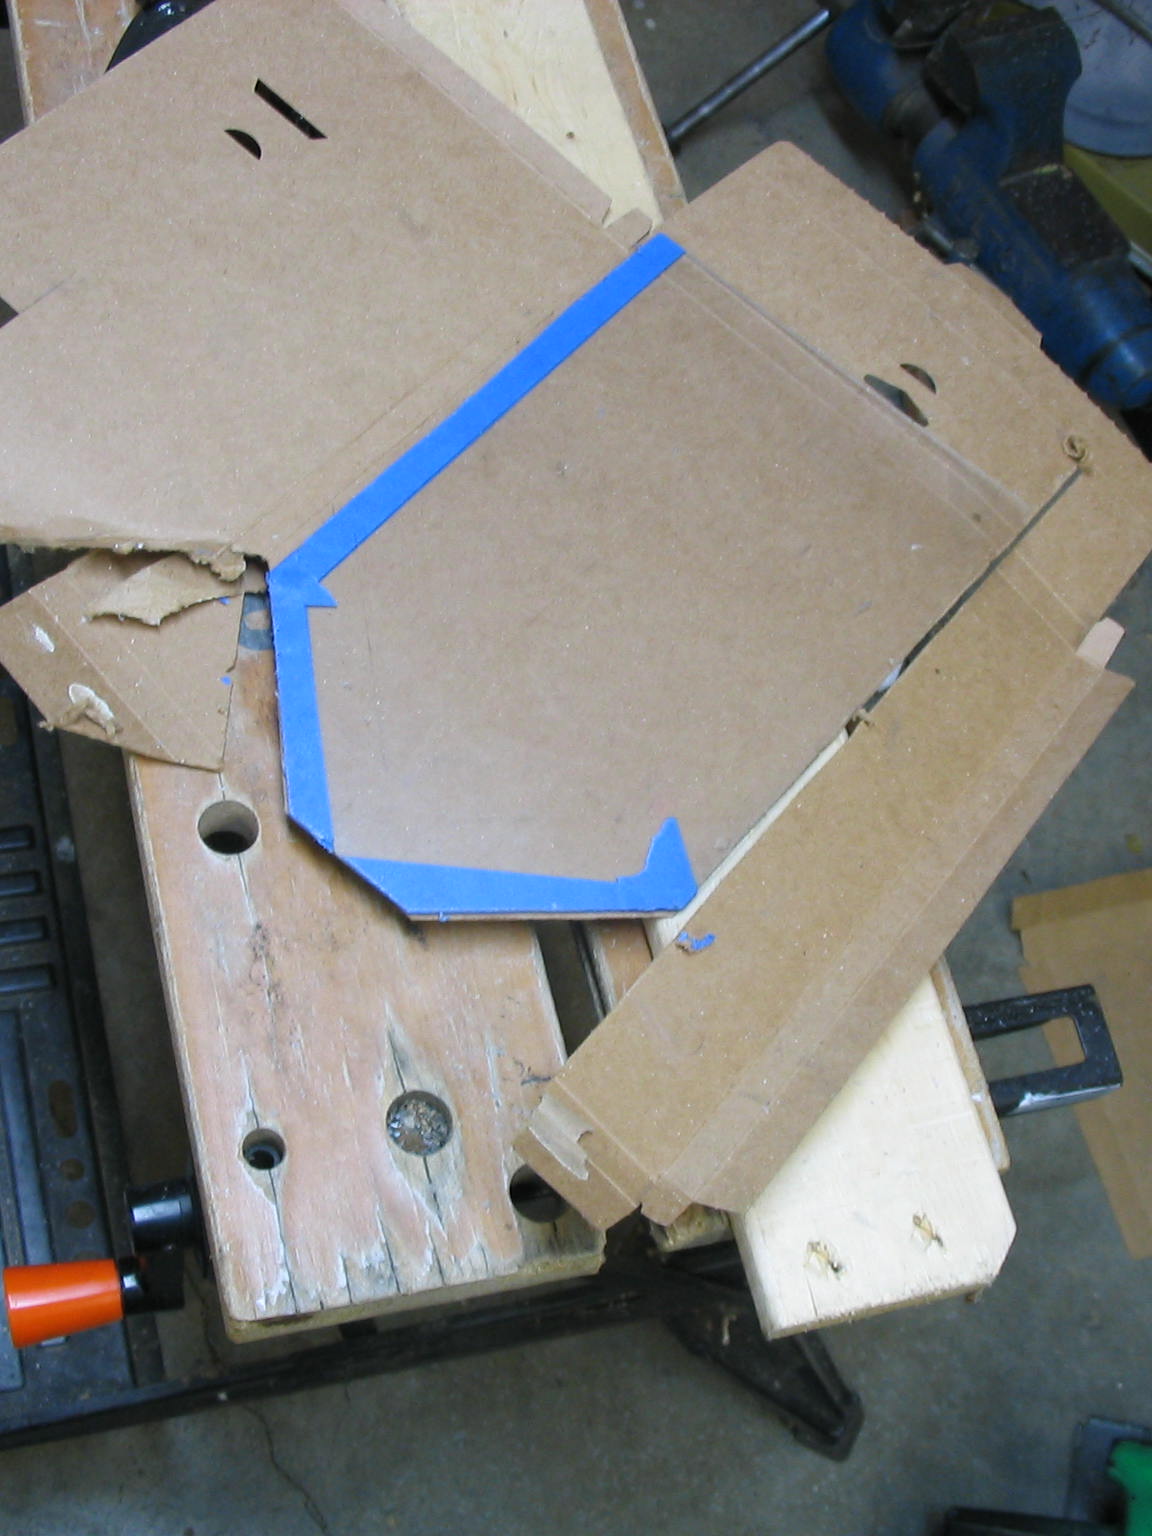
When you buy sheet plastic, it usually comes with a paper covering on both sides. This reduces scratches and also reduces chipping along the saw cuts. Since I was working with a salvaged piece of plastic from another project, I placed masking tape along the saw lines to reduce chipping, and put cardboard around the sheet to protect it from scratches and scrapes.

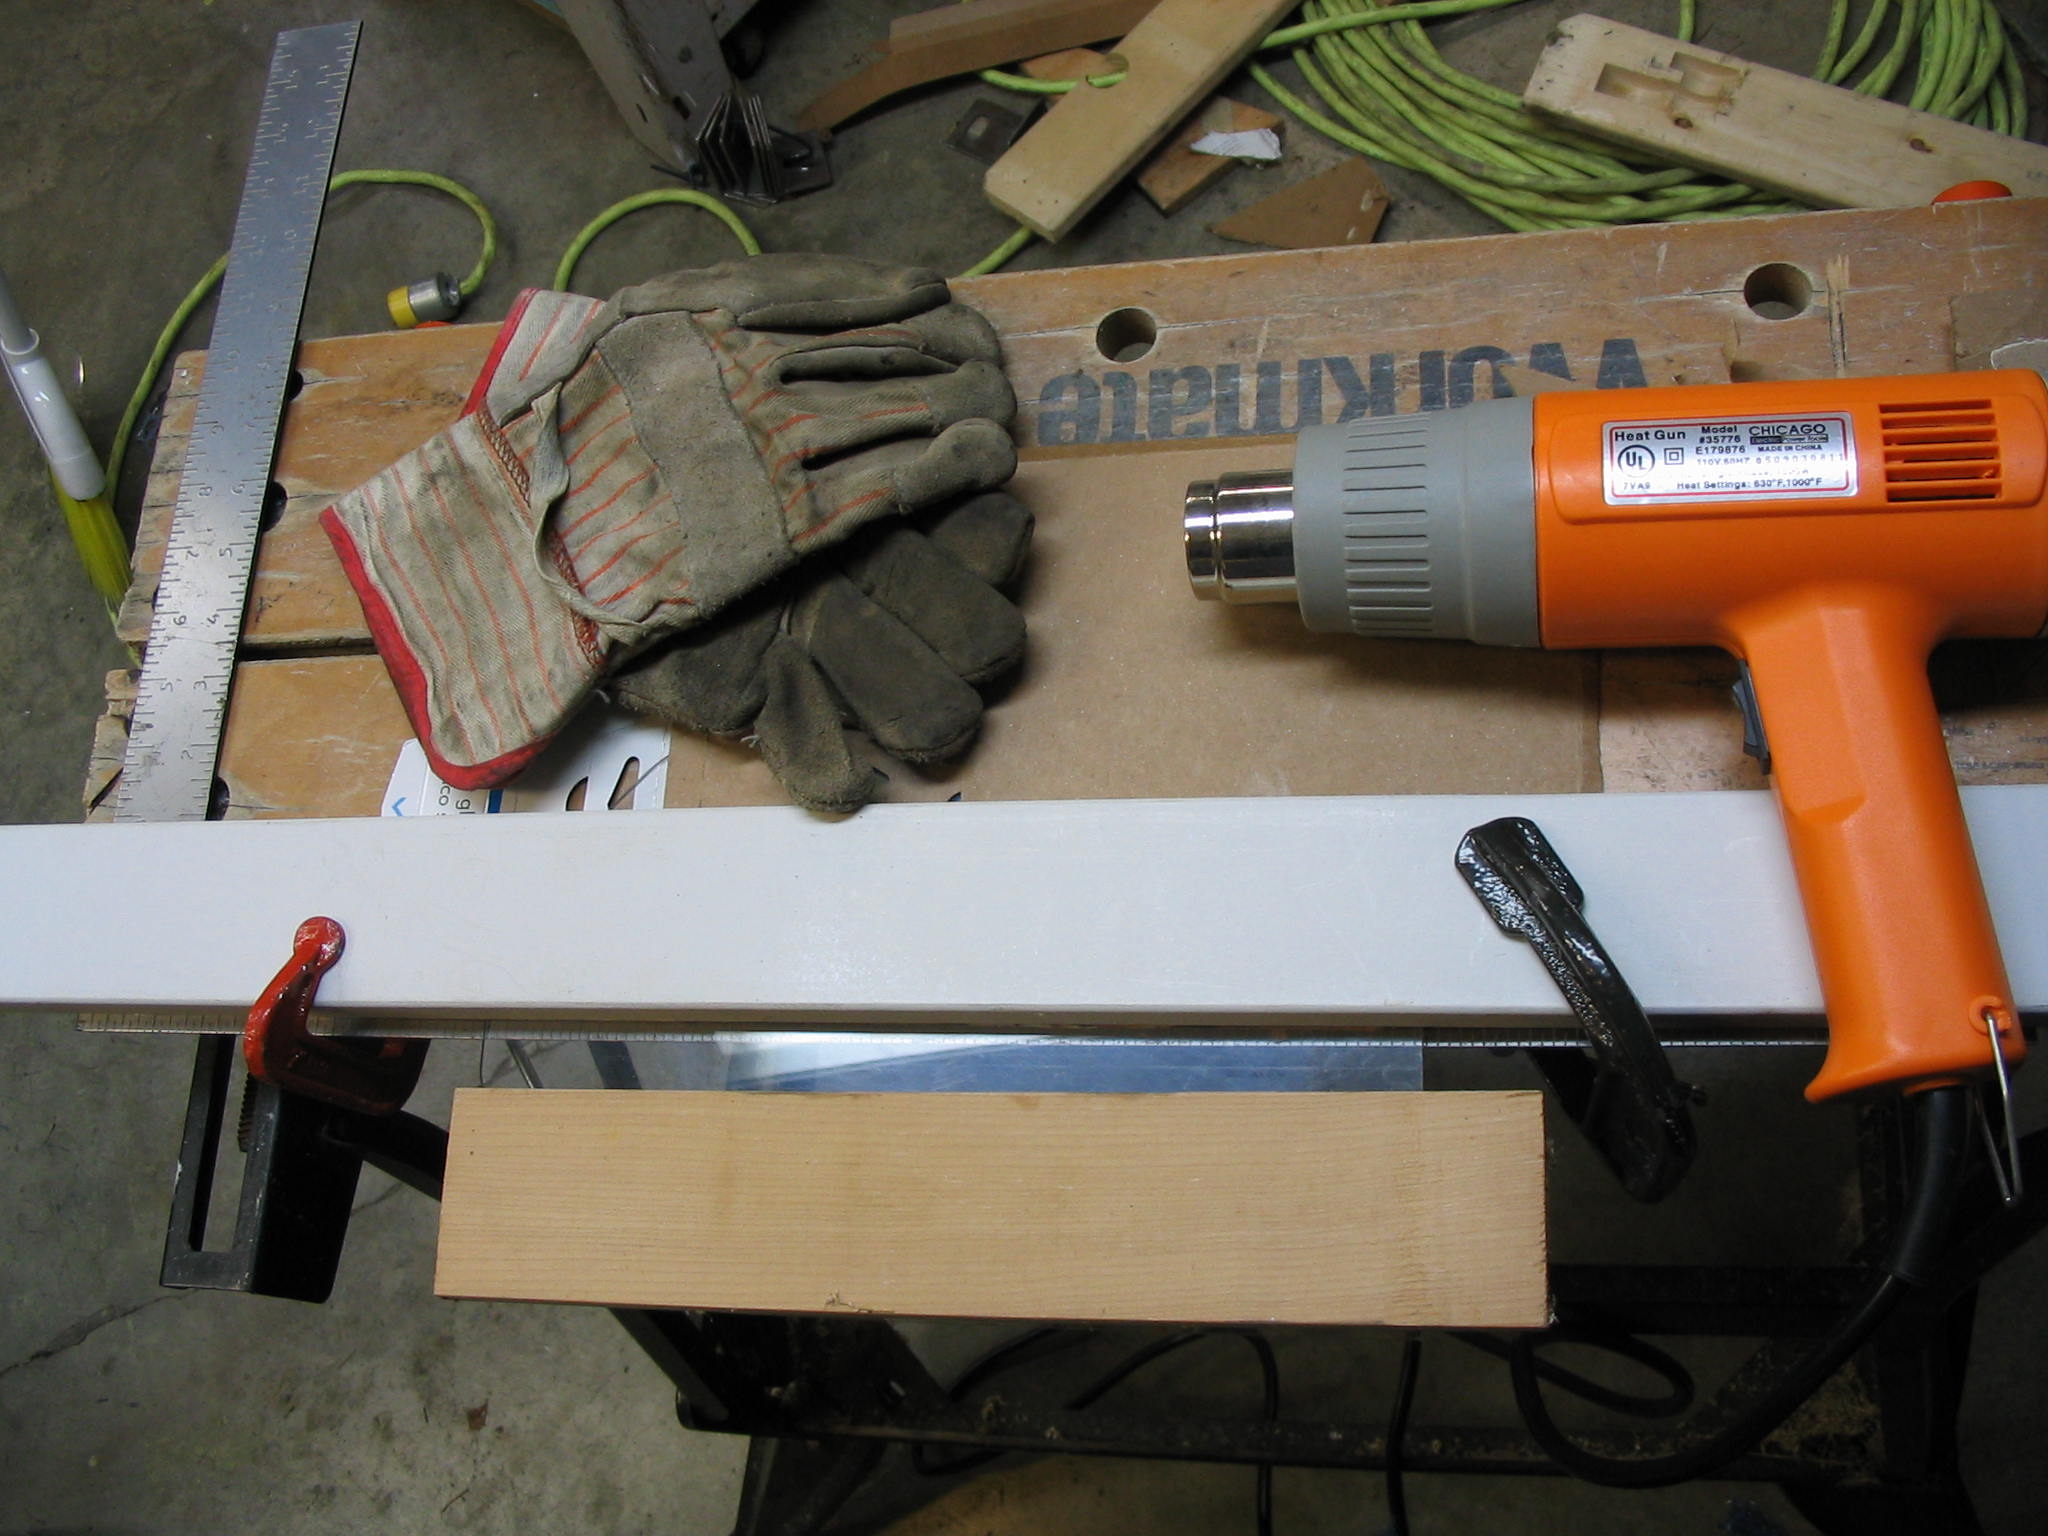
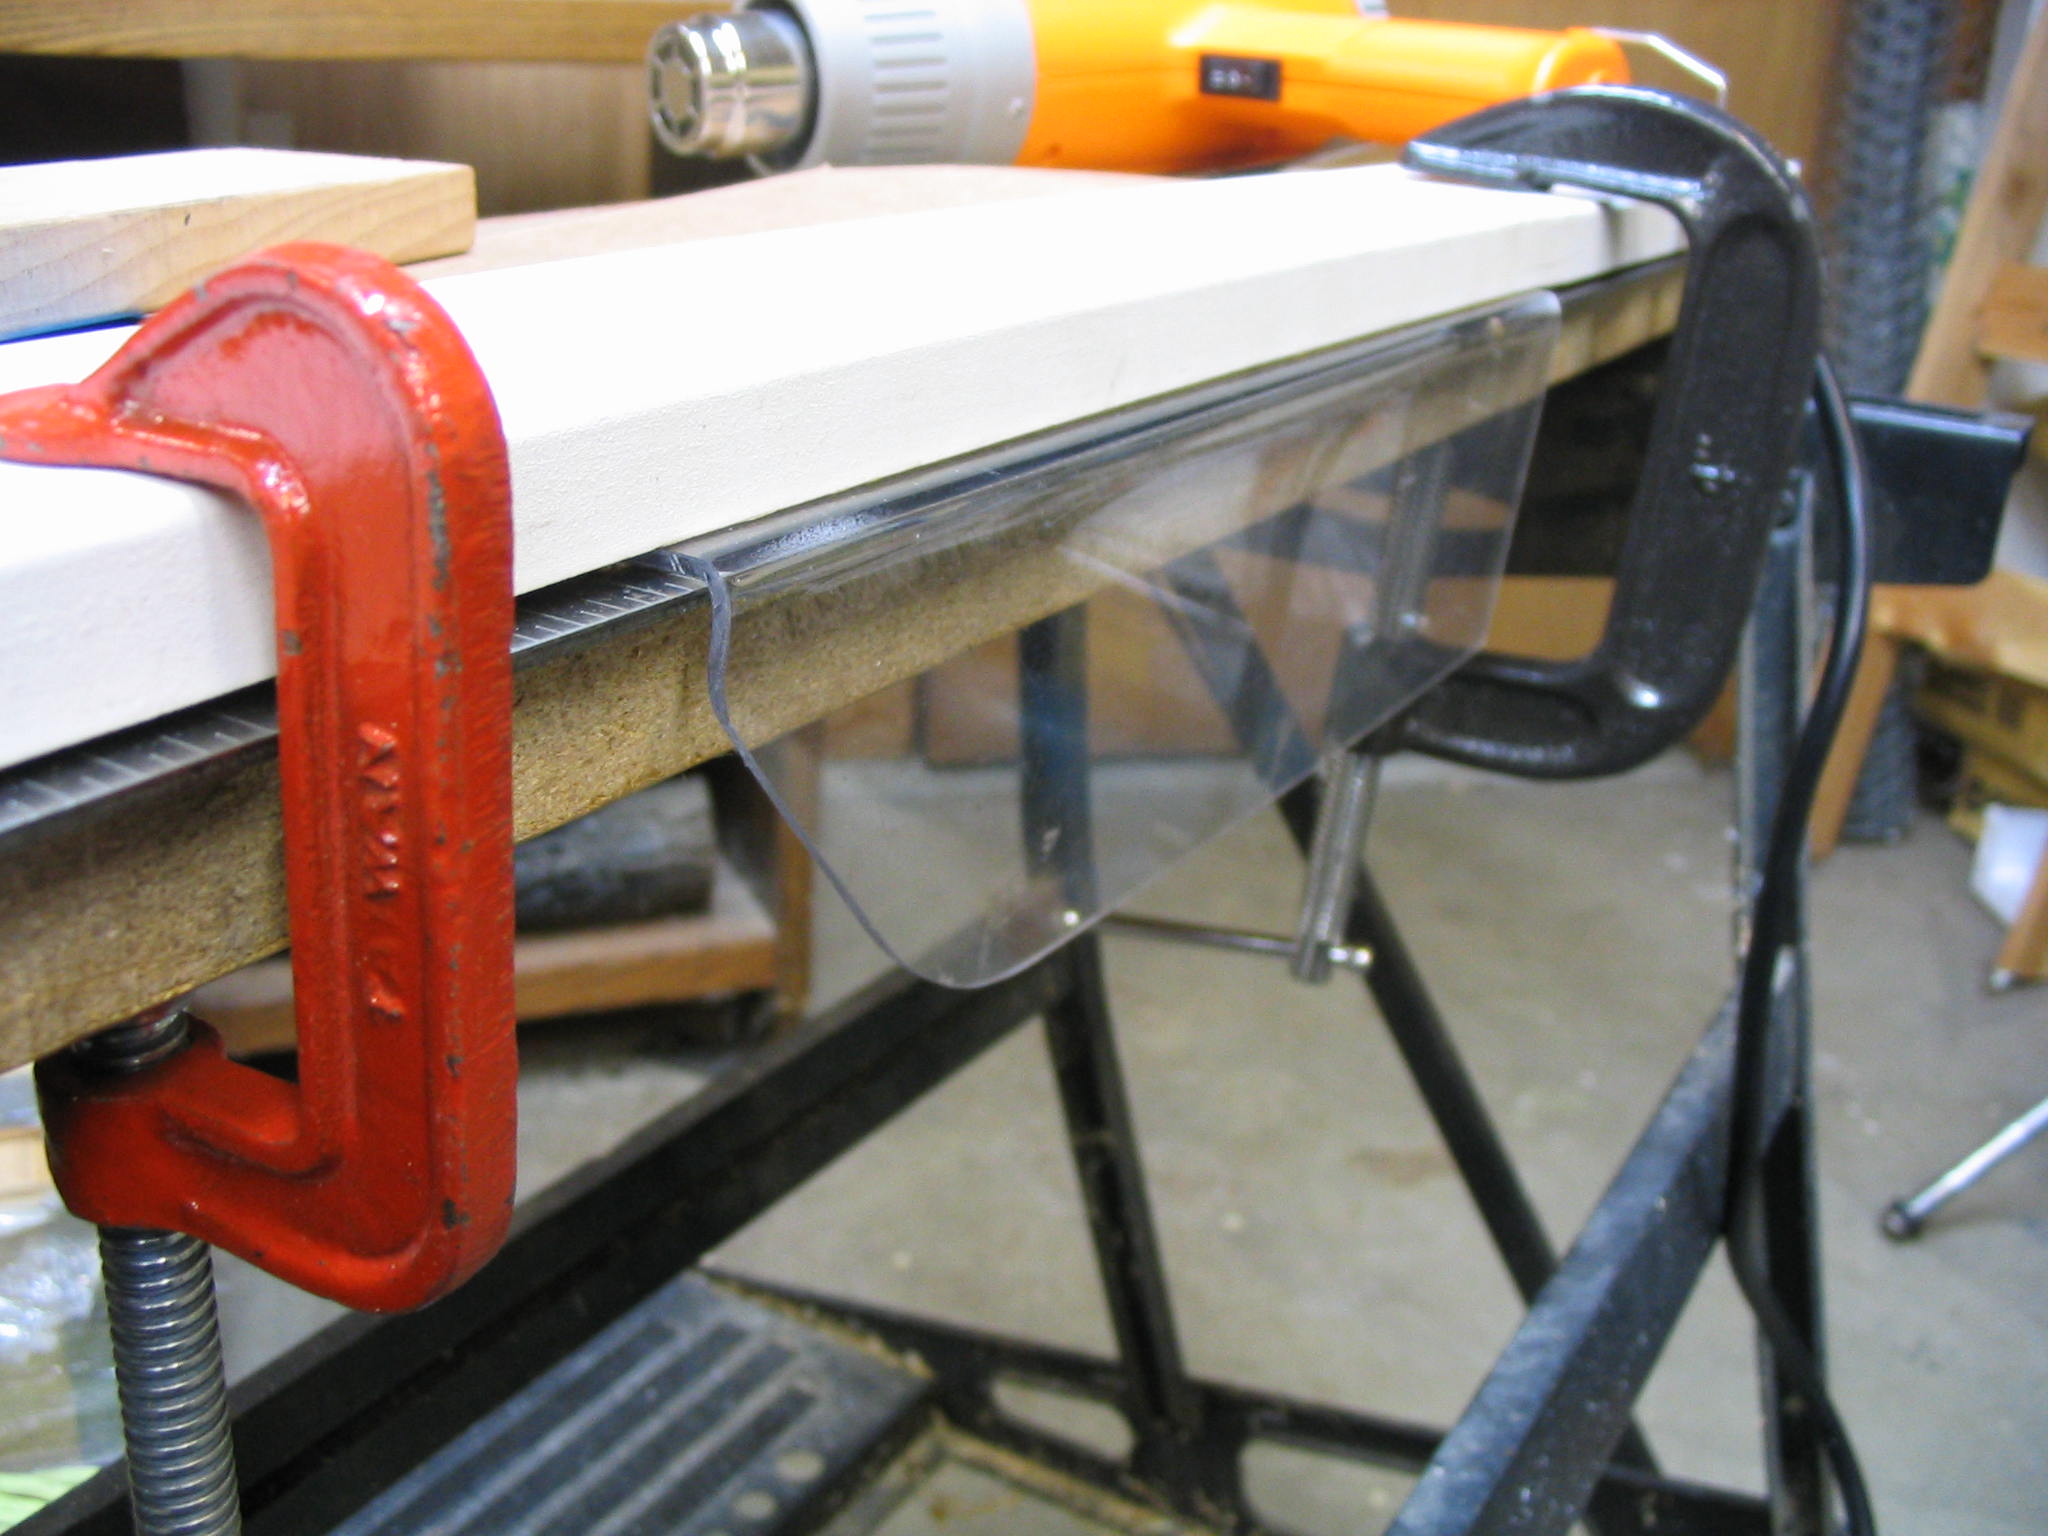
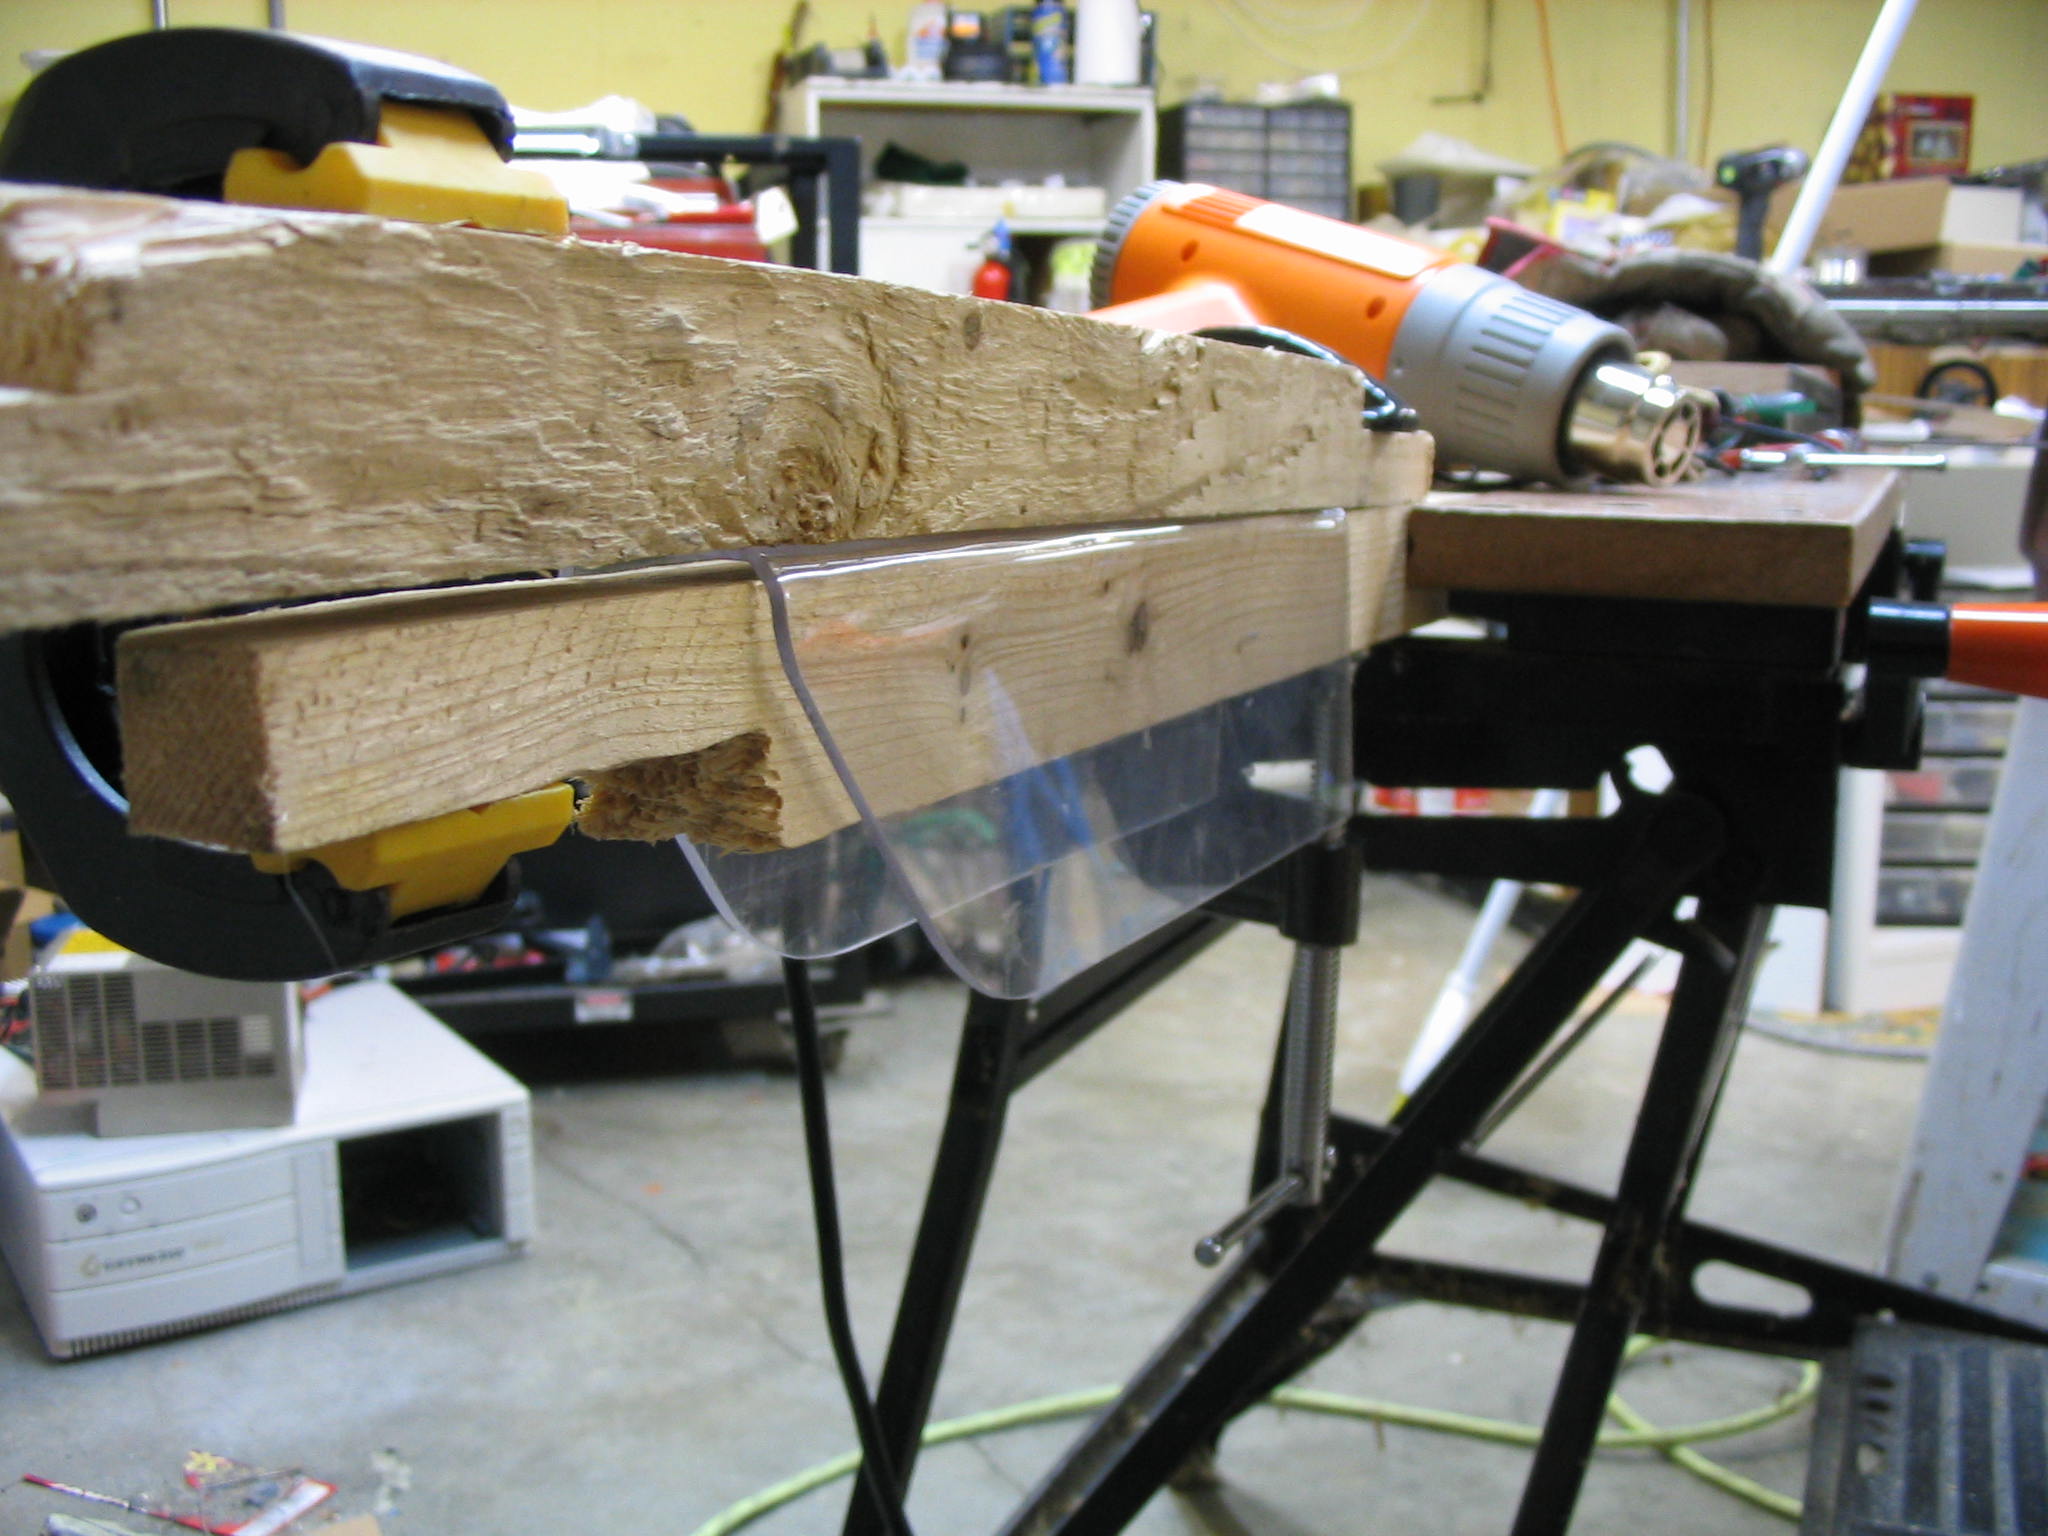
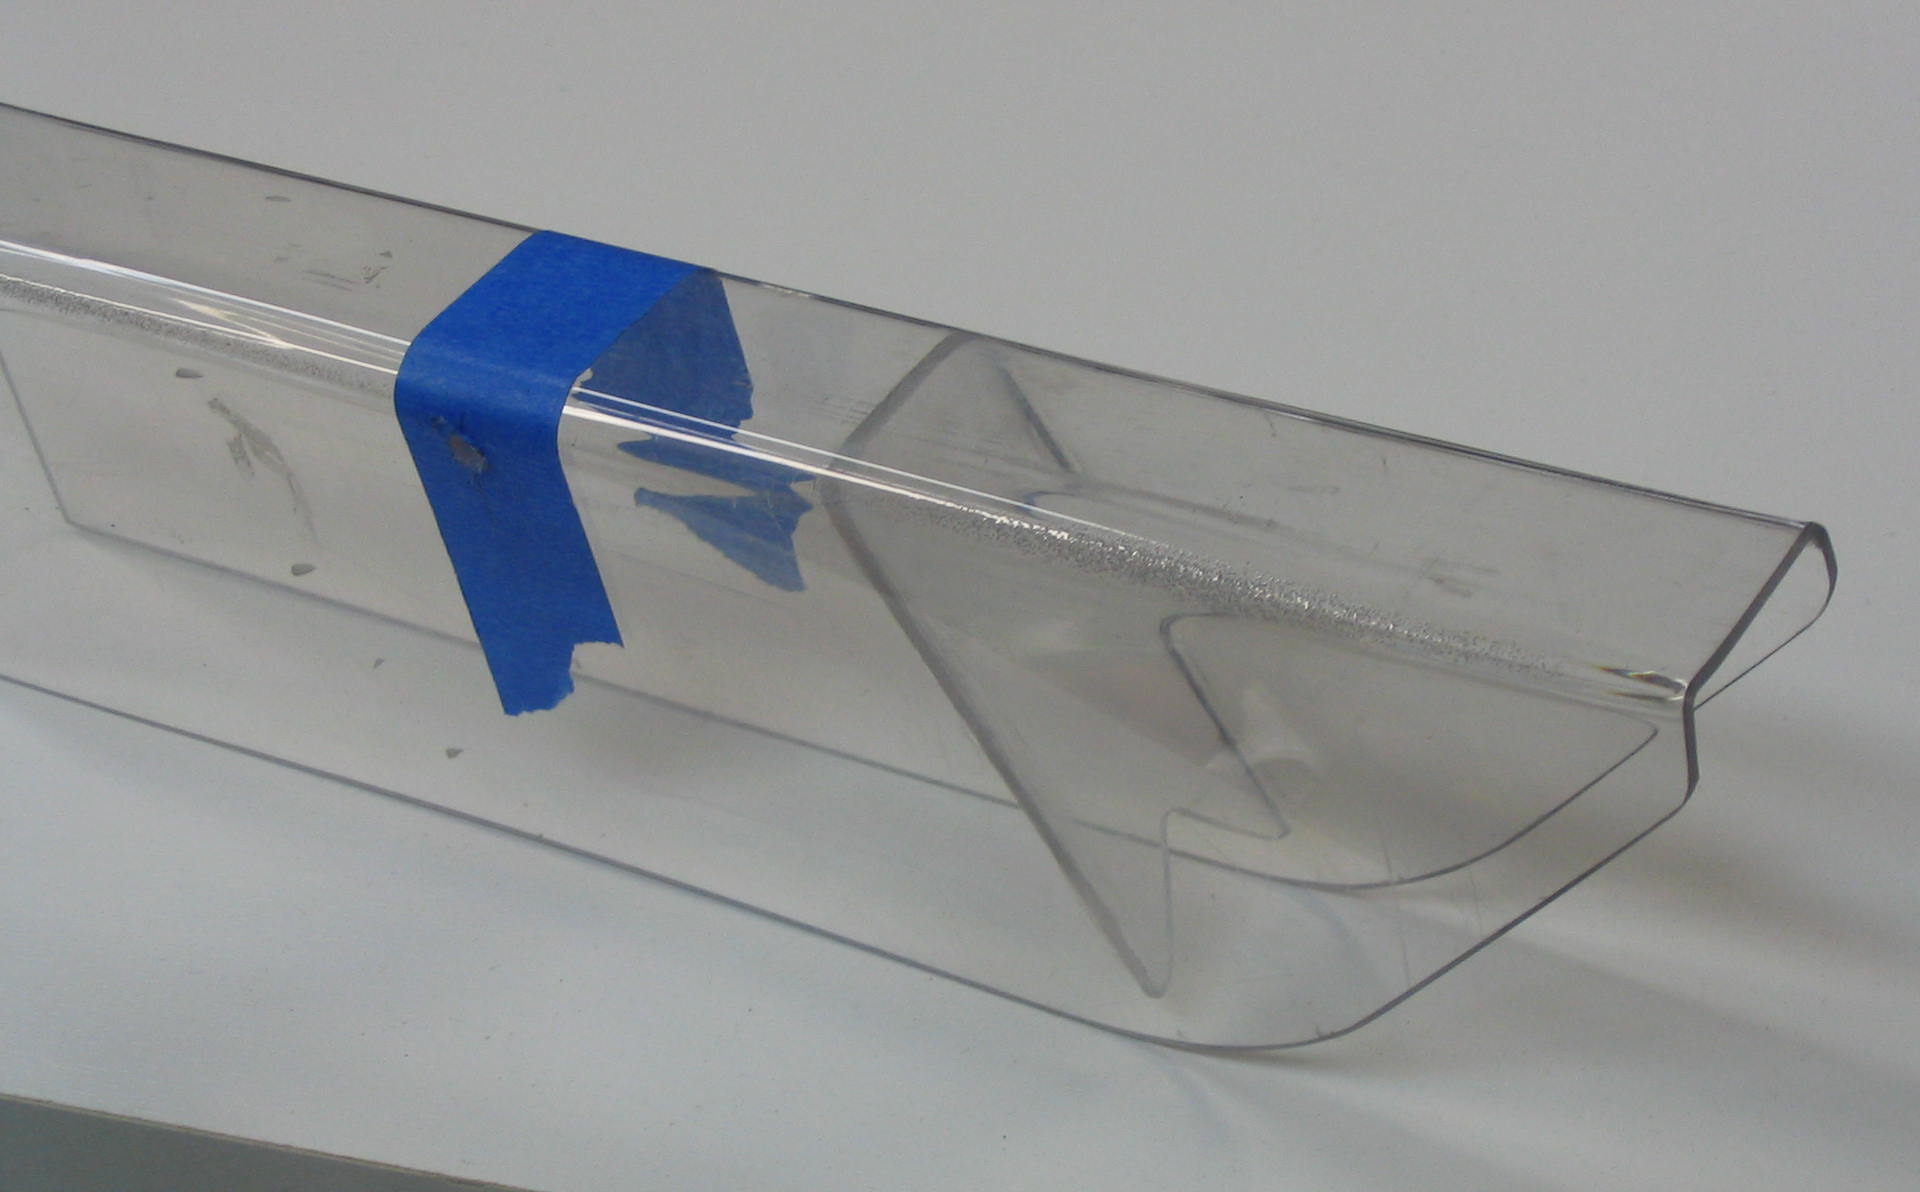
I bent a piece of Lexan into a U-shape channel using the heat gun, making two 90-degree bends. To make the bend, I clamped down the plastic between two boards, and used a metal straight-edge to bend on. I used another board to cover the rest of the plastic, leaving only a small strip of the plastic exposed between the two boards. I heated that strip by moving the heat gun back and forth along it, until the plastic became soft enough to bend. It is still a little hard to get both angles square, so I used another board which was the exact width of the channel. I reheated the corners and pressed the sides flat, producing a decent square channel.

Heat gun for bending
Bending plastic
Bending plastic
Getting sides straight

Checking fit
Checking fit

Cover front insert
Cover front insert

This covered the top and side, but not the front. Since the saw blade spins over the top toward the operator, it is useful to cover the front to prevent any chips from being flung forward. I cut out another piece of Lexan and filed it to fit the channel, and glued it with cyanoacrylate “krazy glue”.

Arms

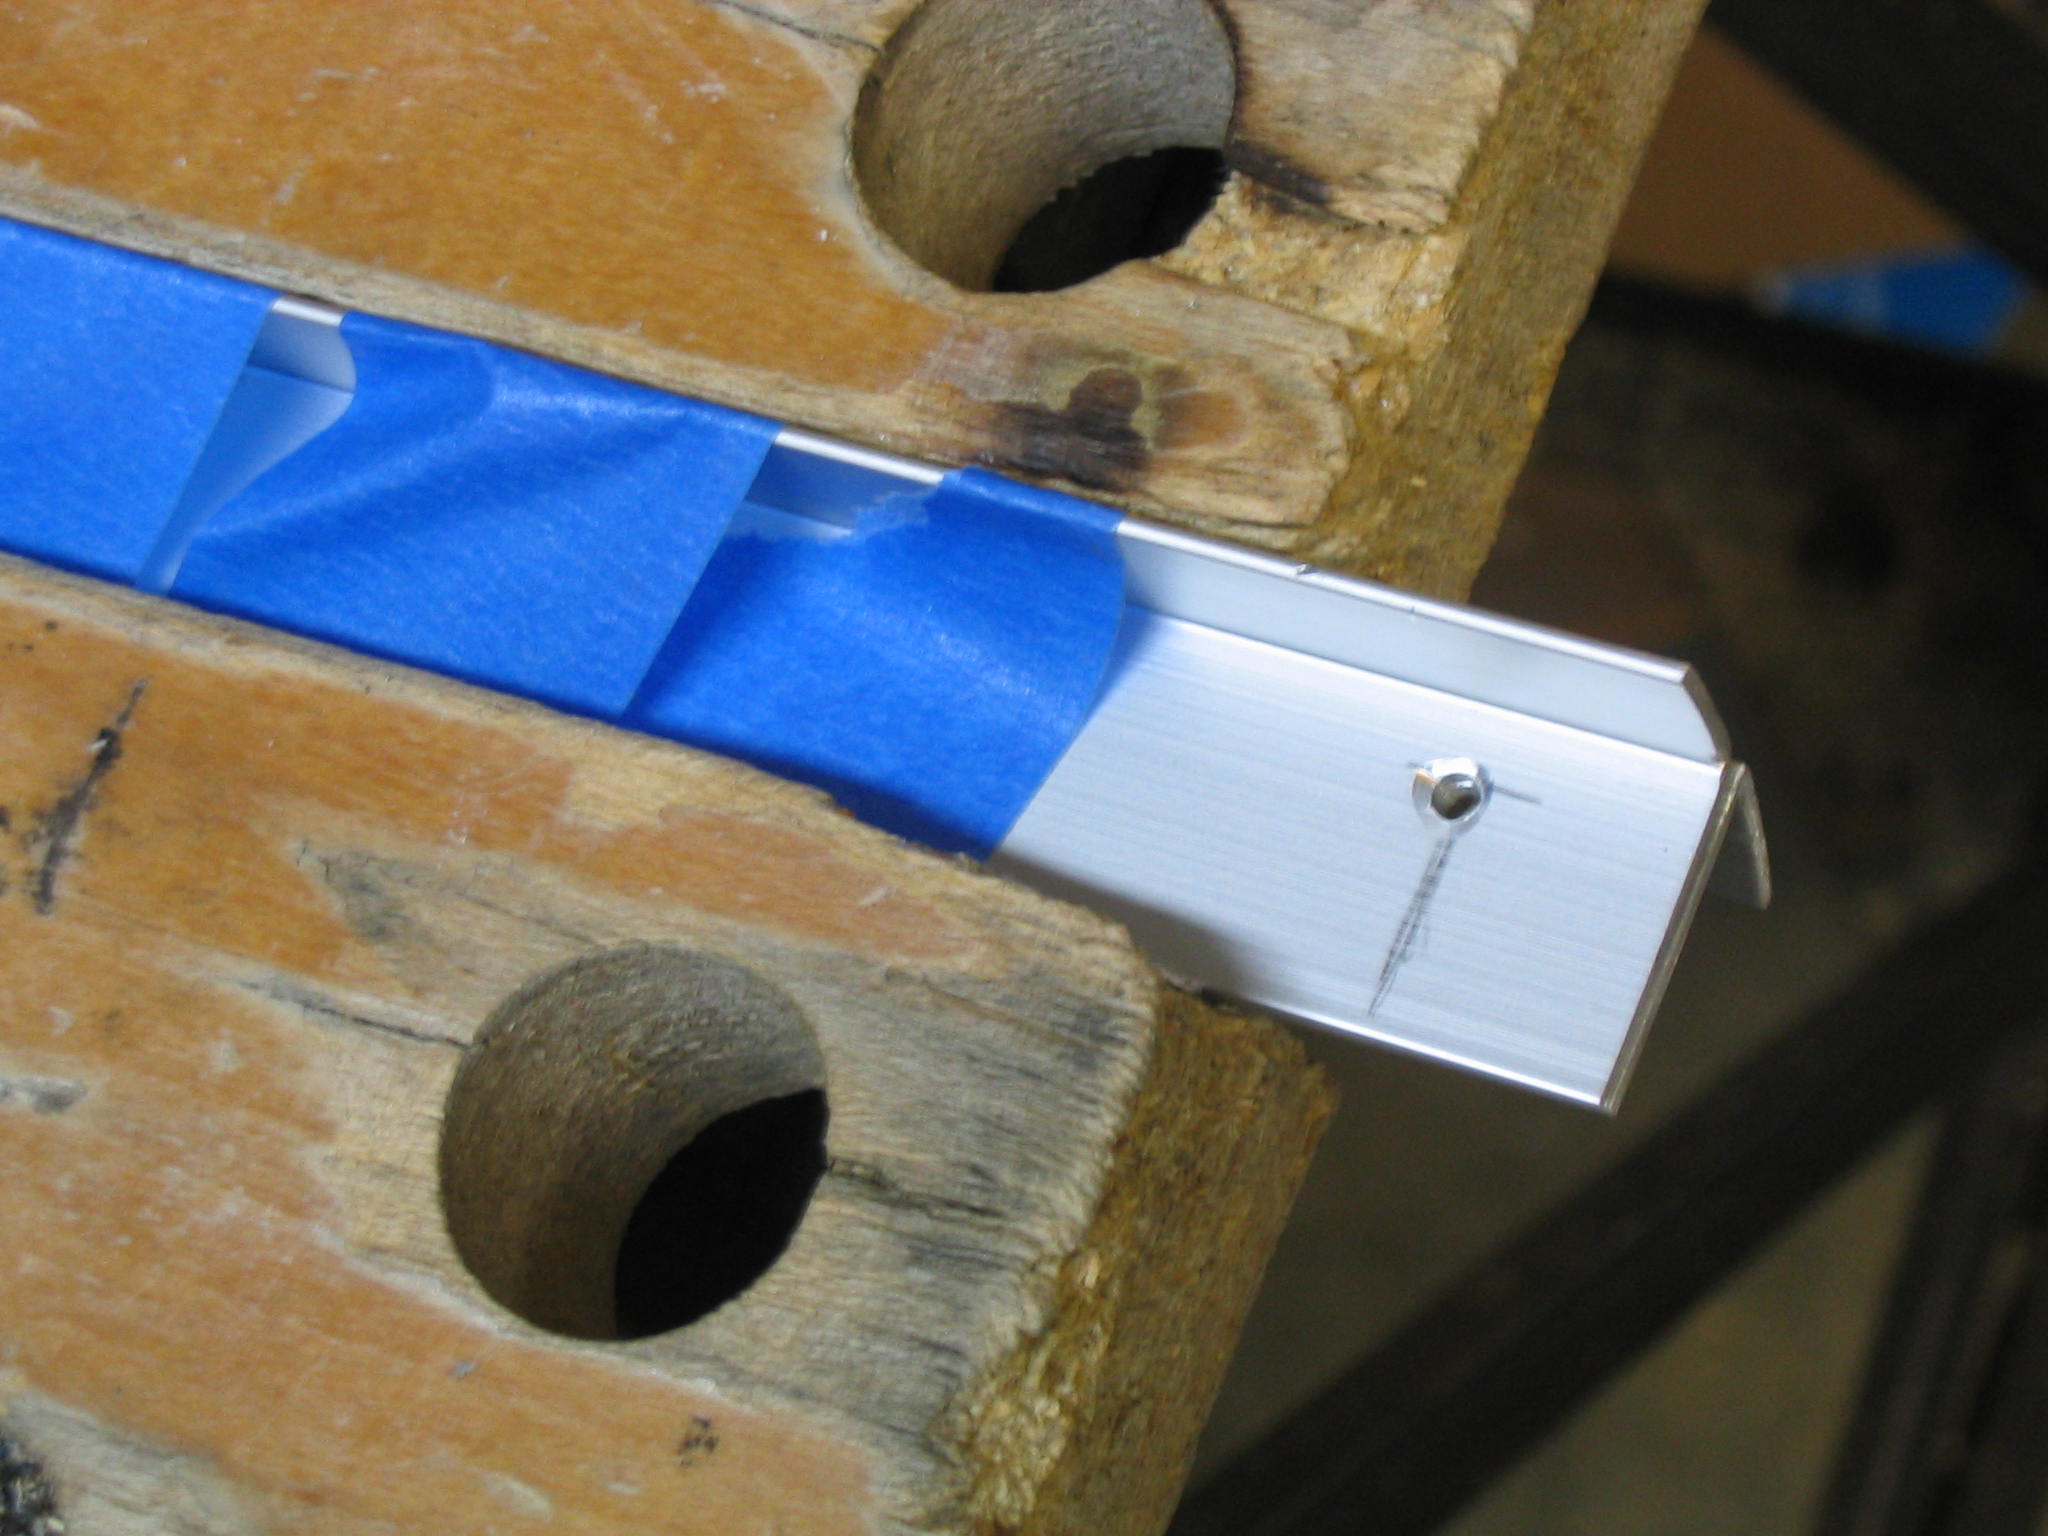
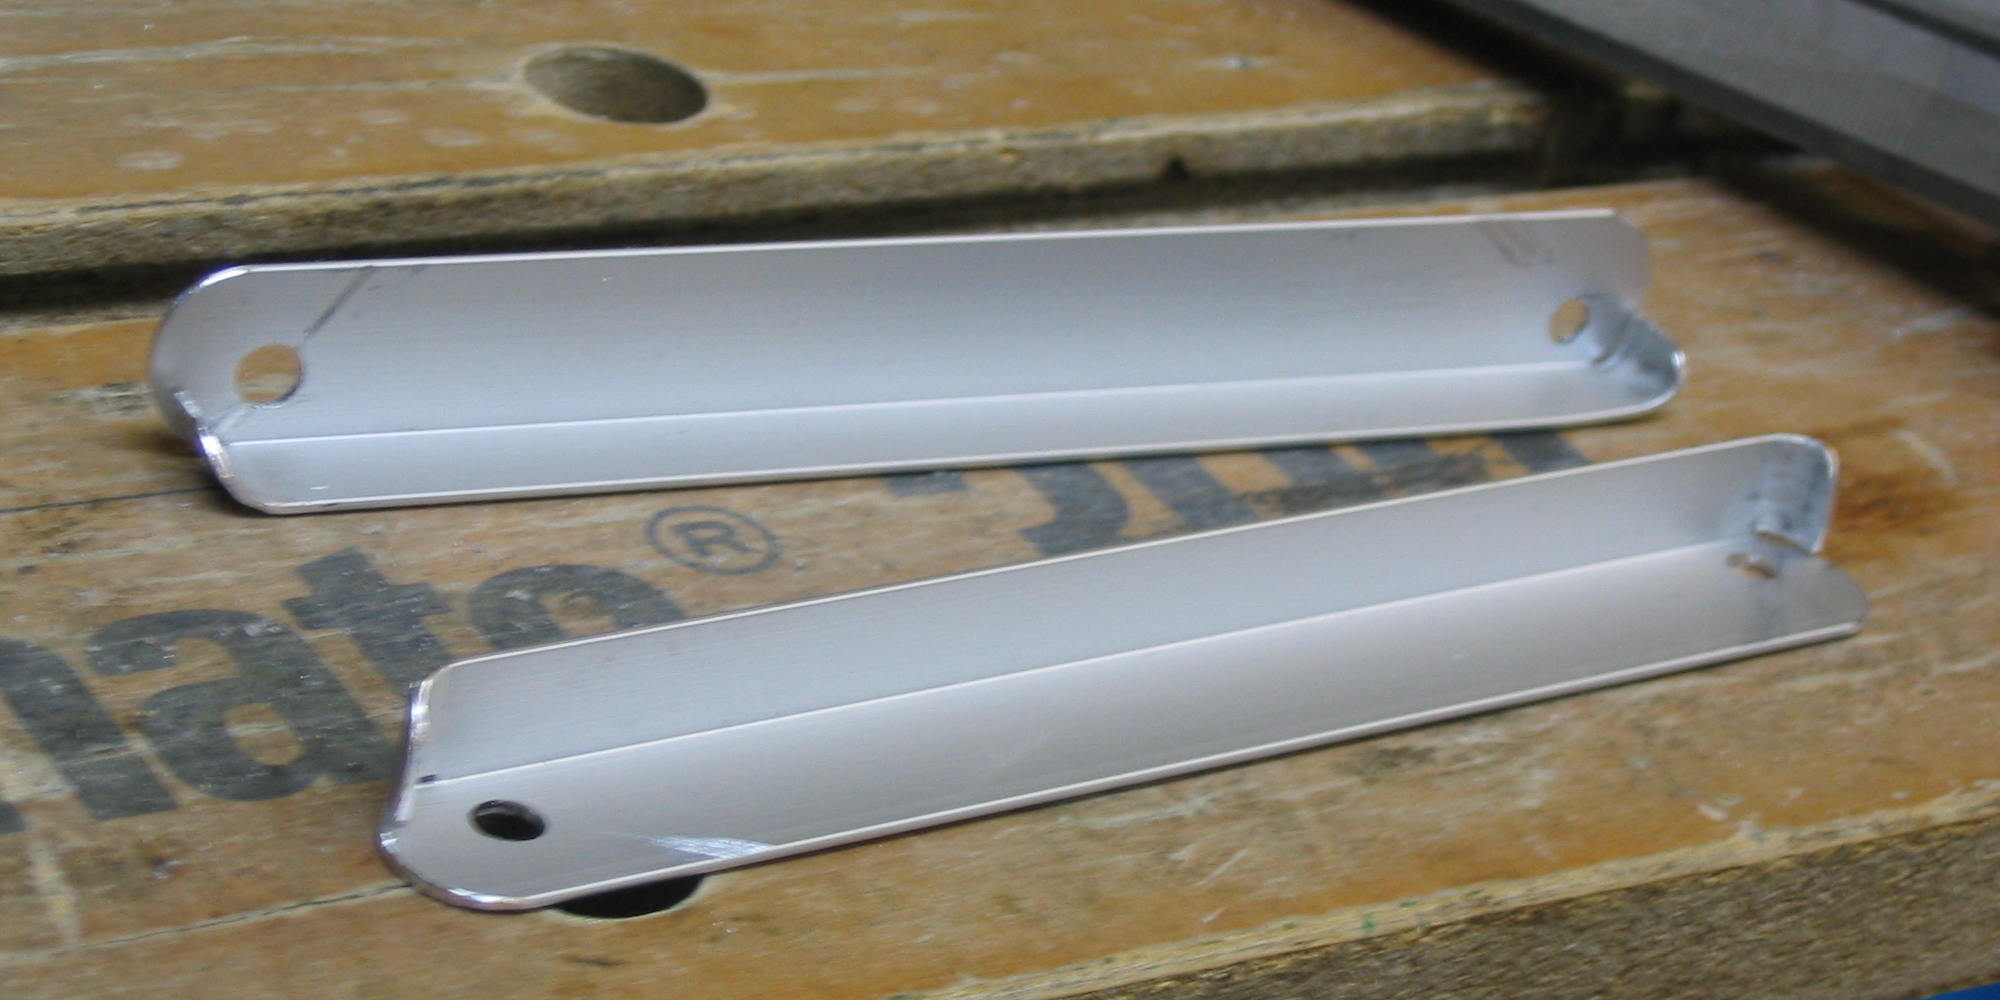
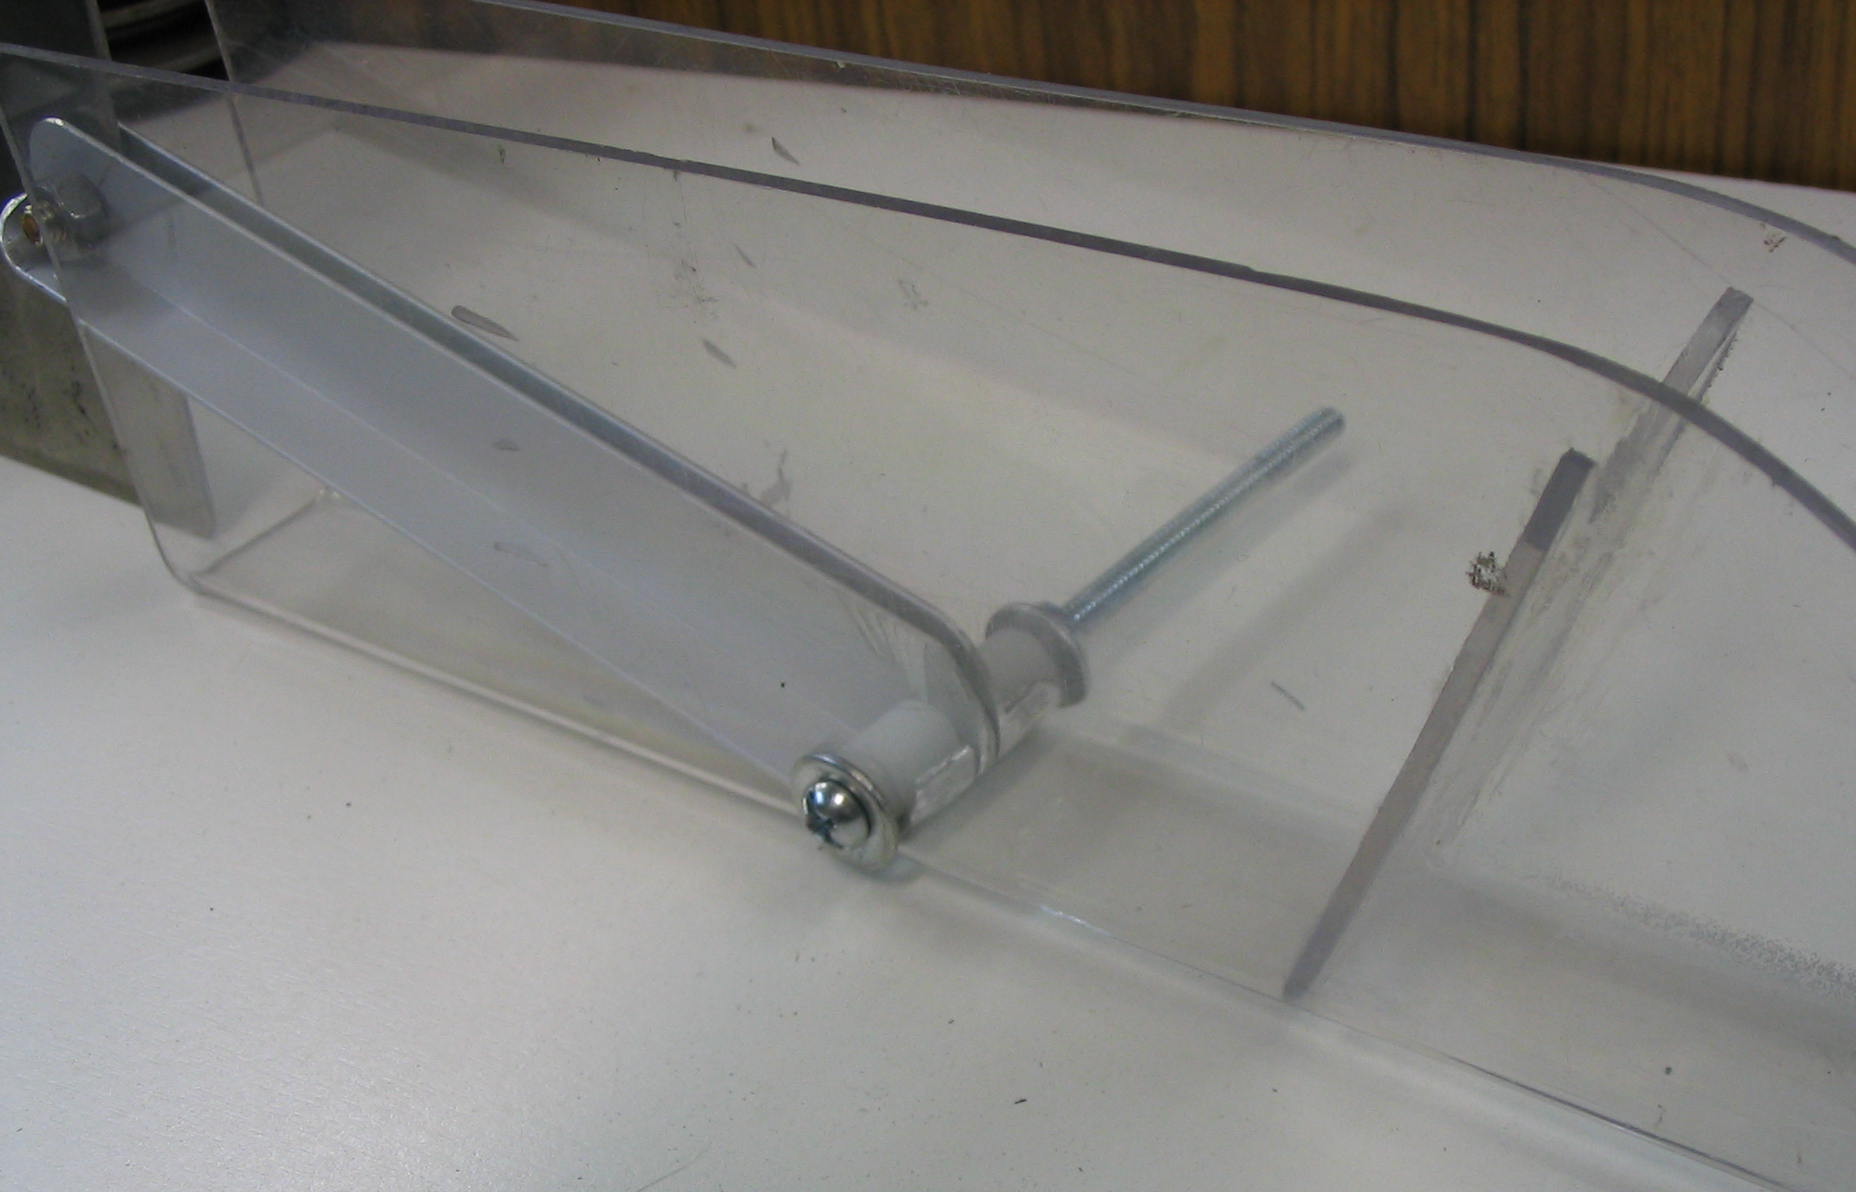
The cover is attached to the splitter by a pivoting support arm. I made this out of two pieces of aluminum L-shaped track, one on each side of the splitter. There is a hole where they connect to the splitter, and another hole where they connect to the cover. The best way to ensure that the holes line up is to drill them at the same time.

After I drilled the holes, I inserted screws with washers and locknuts to connect the arms to the blade cover and splitter.  Since the cover screw goes through the sides of the cover, it needs some extra spacers to hold the arms in the center.  I used two short pieces of 1/4″ plastic pipe.

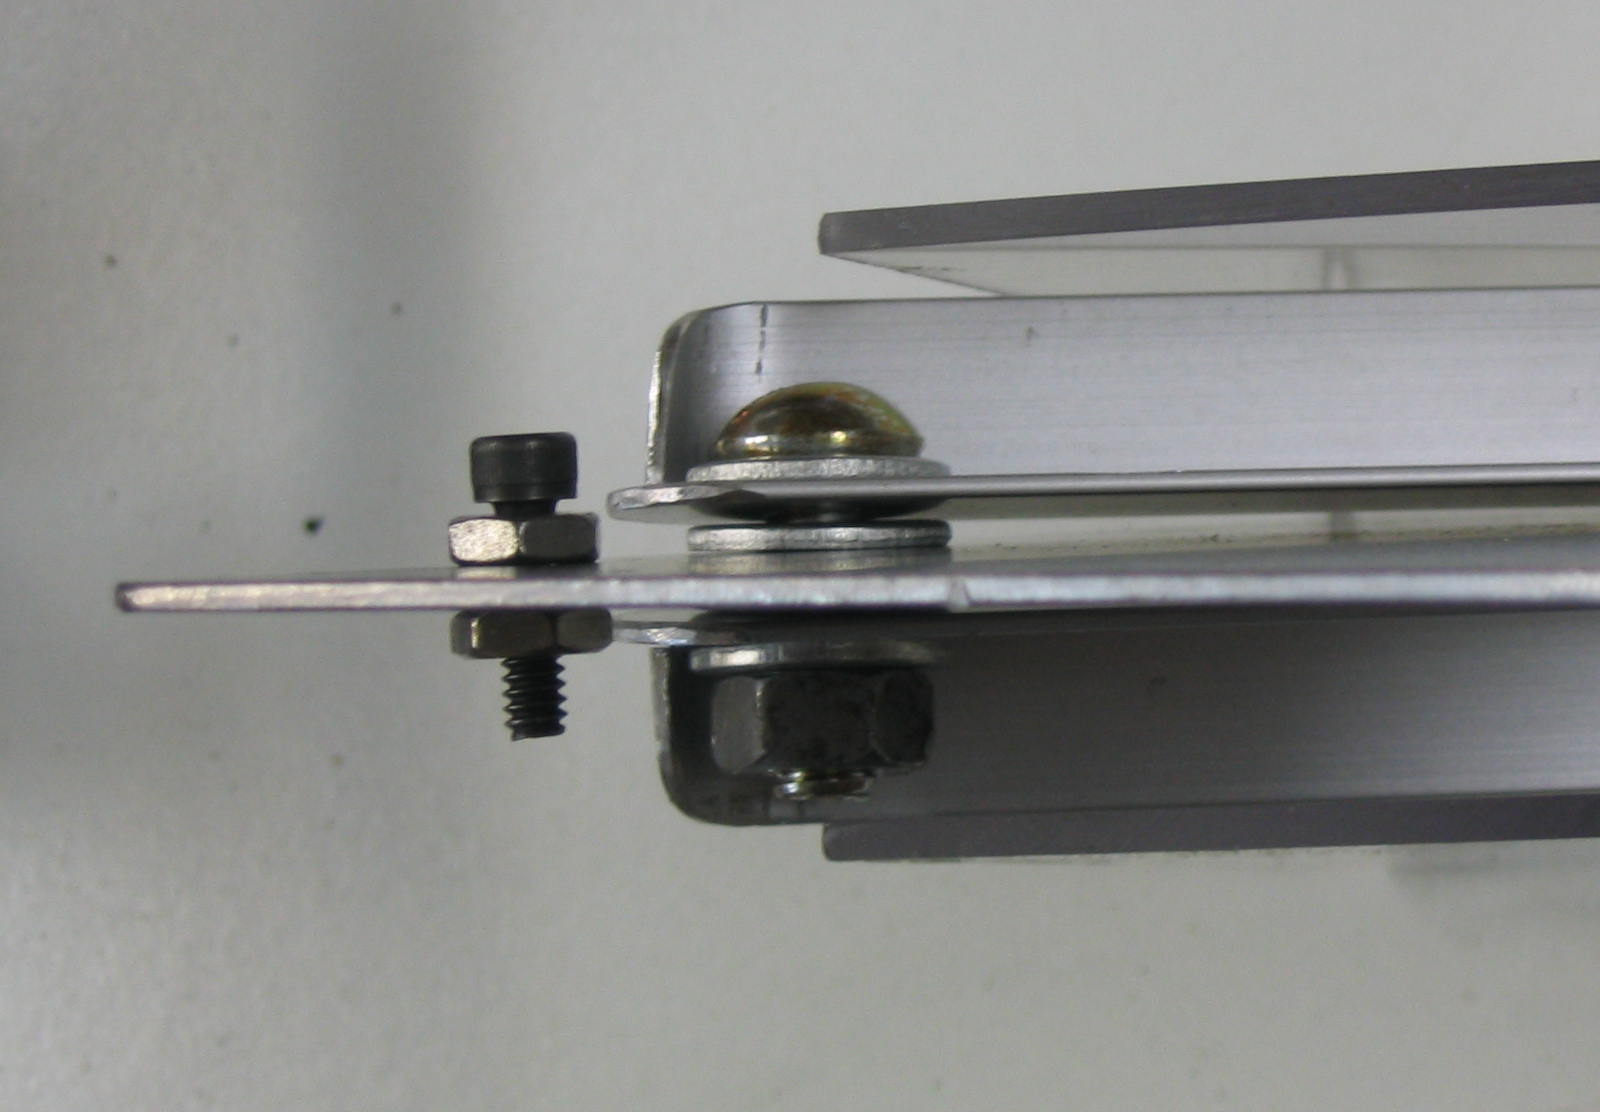
Occaisionally you may want to flip back the cover without removing the splitter.  I added a stop screw to keep the arms from flipping all the way over and blocking the wood path on the back side.

Drilling holes in arms
Rounded ends
Rounded ends
Cover arm attachment

Splitter arm and stop screw

Done

That completes the blade guard.

Cover raised
Cover raised
Cover raised
Cover raised

Cover down
Cover down

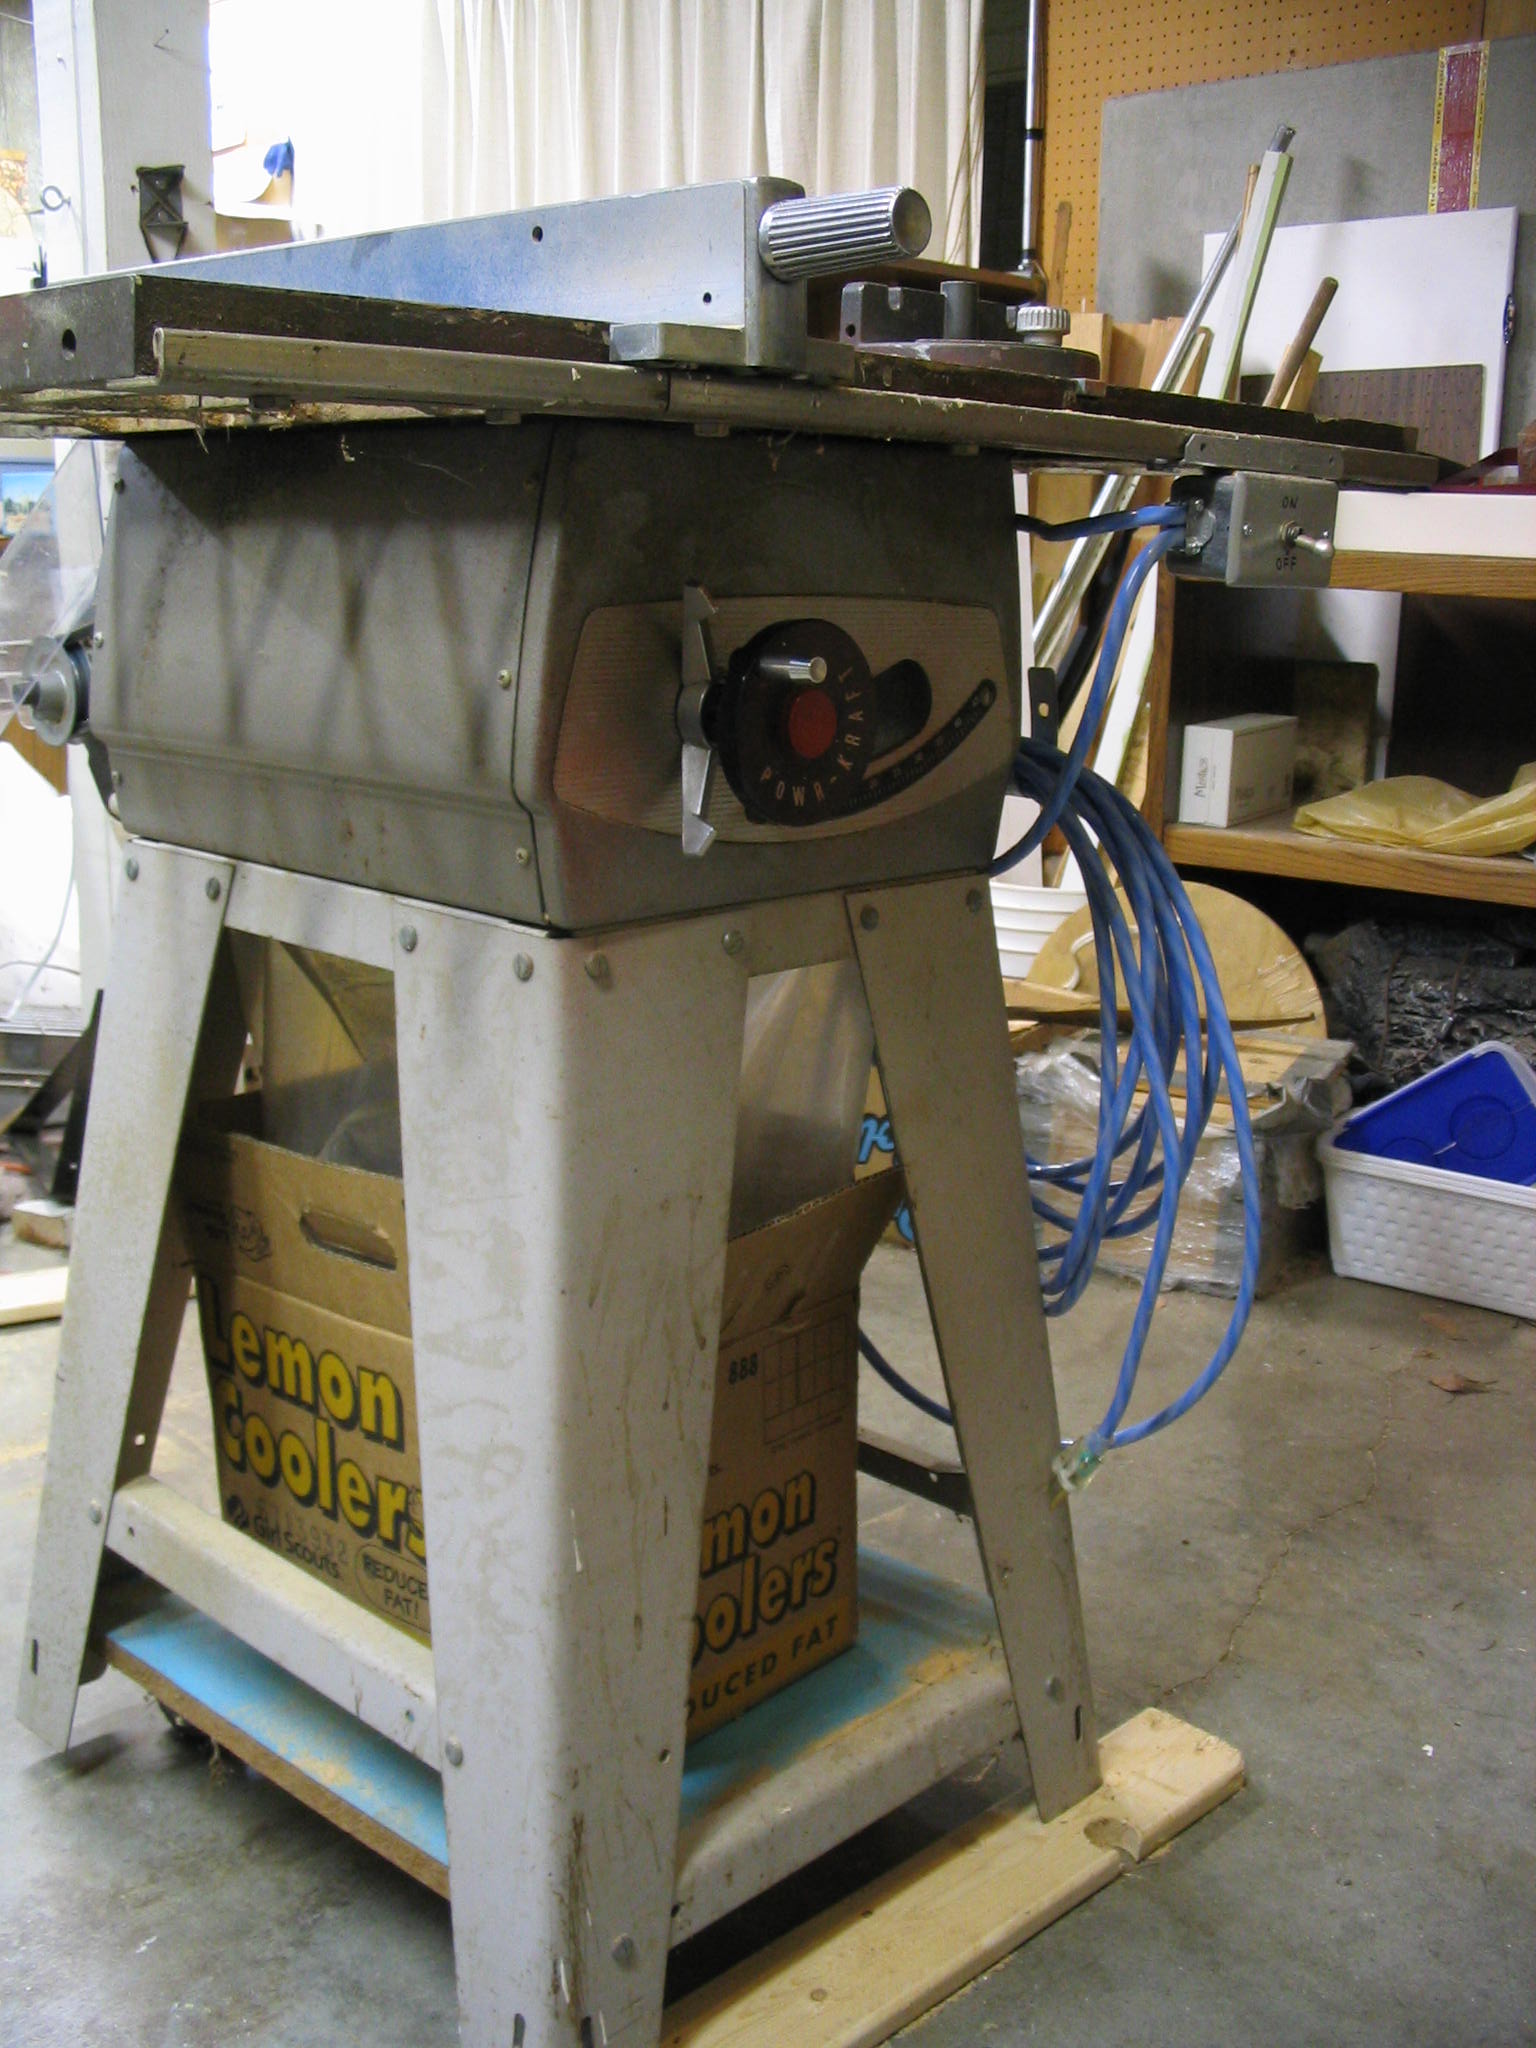
Powr-Kraft Table Saw

Powr-Kraft Tablesaw
Powr-Kraft Tablesaw

I acquired a table saw last summer at a local estate sale for $20. It needed some repair, but looked like it was likely still in fairly good condition.

The label identifies it as a Powr-Kraft model TMG-3332A from Montgomery-Wards; date unkown. Looking at it, I guessed it was from the 1960s.

The saw takes an 8-inch blade, and is belt-driven with the motor mounted on the back of the frame. Mine has a 1-horsepower Craftsman electrical motor. I know this is not the original since Craftsman is a Sears brand.

My friend Jerry helped me find more information about this saw from the Old Wood Working Machine’s Powr-Kraft page. They had a reprint of a 1956 Ward’s catalog, and my saw is right inside on the second page.

Even though it is 50 years old, it still works nicely, but there are a number of things this saw needs. The electrical wiring needs repair, and it needs some safety guards. Since it is bordering on being an antique, or at least a collector’s item, I’m making sure that any fixes or modifications are not permanent, so it could be restored to original state if desired in the future.

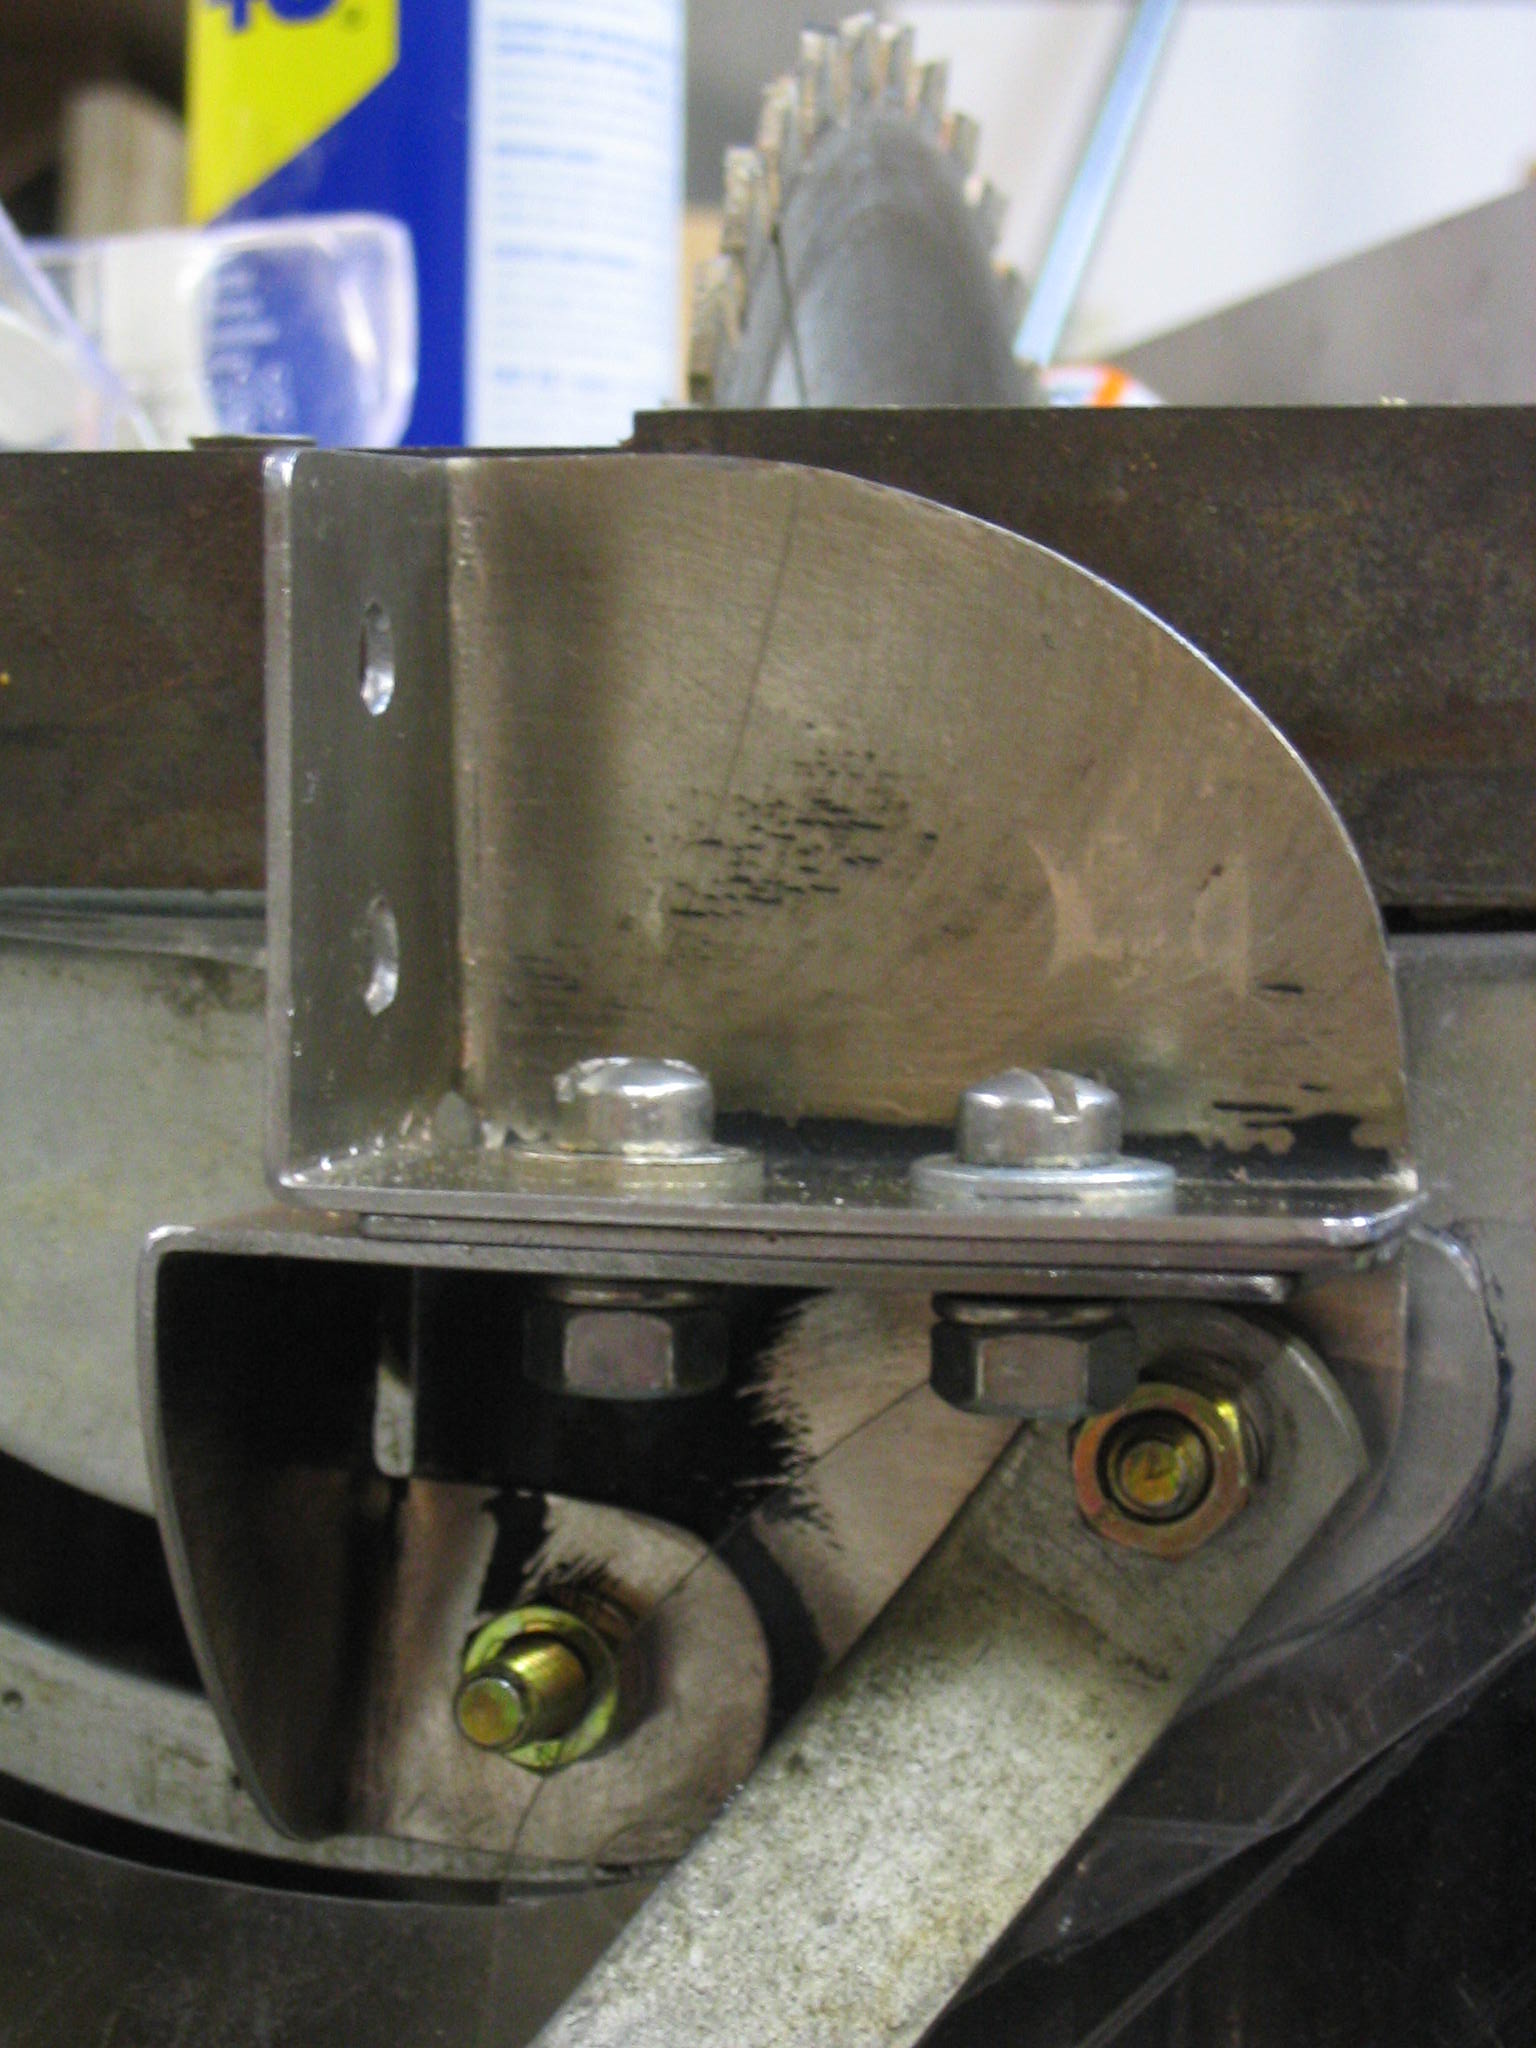
Blade guard mounting bracket

Blade guard mounting bracket

My used tablesaw came without a splitter/blade guard. This is an important safety item, so I am making one for the saw. The first step was to create a mounting bracket where it could attach.

The Table Saw Book
cover
Amazon | Powells
IndieBound

Background

A blade guard has two main components. The cover goes over the spinning blade, to prevent the saw operator from getting injured directly on the spinning blade. The cover is usually made of clear plastic nowadays, and it is mounted on the splitter. The splitter is a vertical piece of sheet metal sitting behind the blade, which guides the cut wood past the blade so it won’t bind.

The blade on the tablesaw is mounted on a shaft called the arbor. The arbor tilts up to 45 degrees to make angled cuts. The splitter must therefore also tilt along with the blade and arbor to match. The splitter must be aligned perfectly straight behind the blade, so that the cut wood does not bind against it.

Attachment

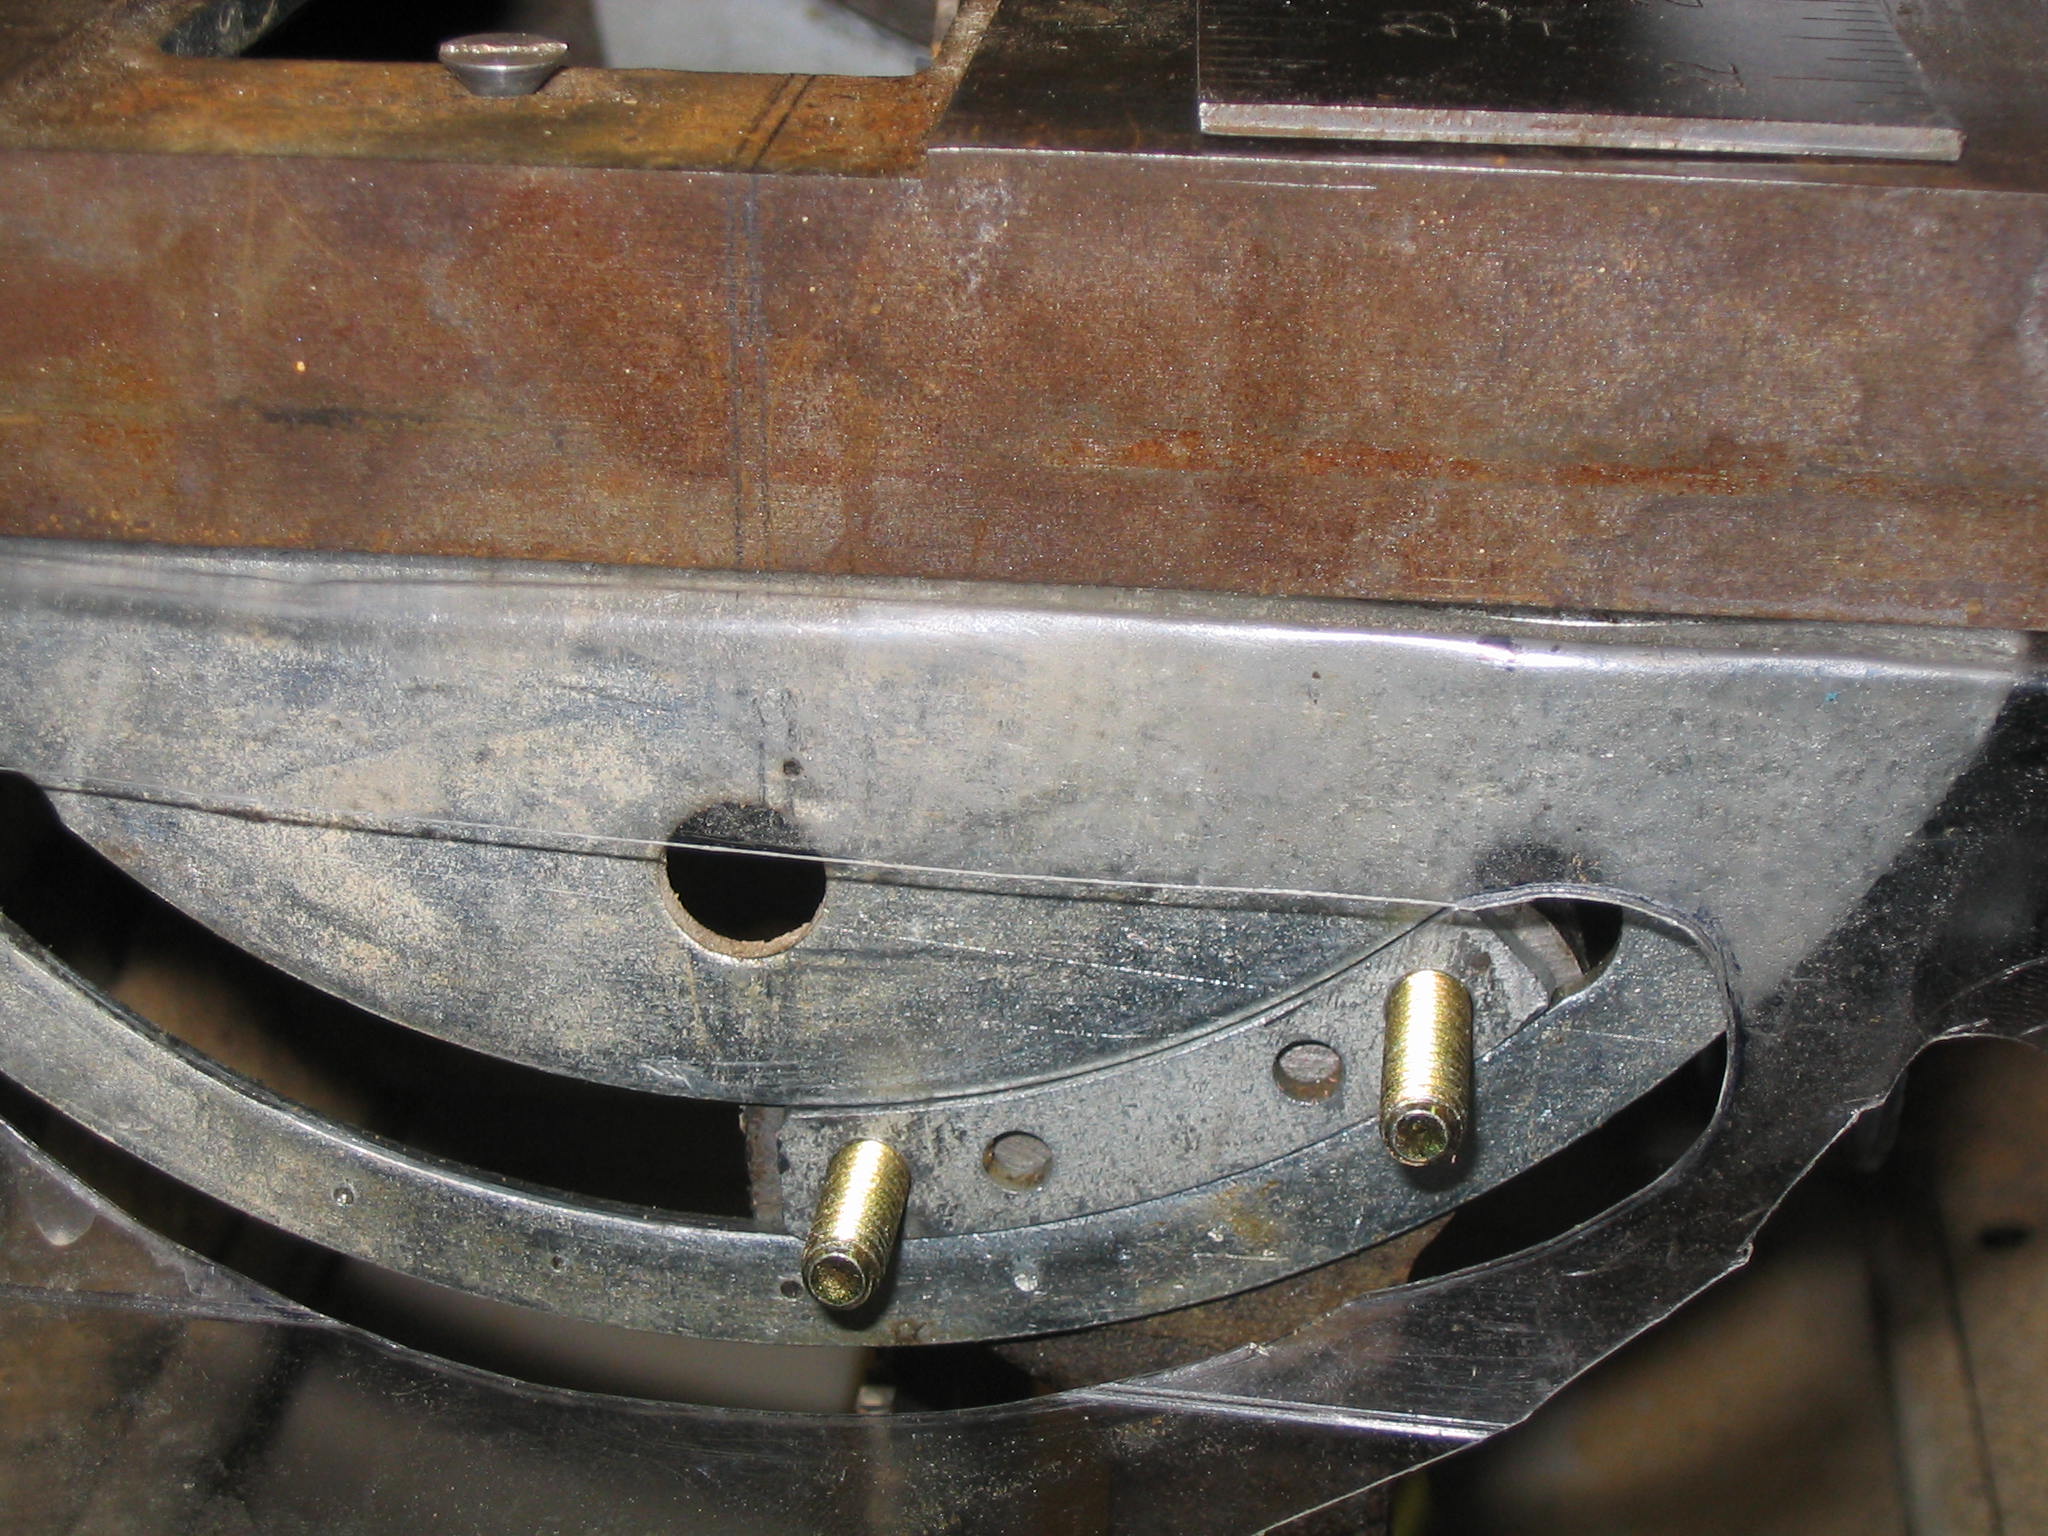
Rear trunion bolts
Rear trunion bolts

This presents an interesting challenge on a saw that did not come with an obvious mount for a guard. On my saw, the front and rear mounts of the arbor assembly, known as the trunions, slide in curved slots on the table saw frame. The bolts that hold the rear trunion in the slot look like they are the best place to attach a guard. I found a picture of my saw in an old 1956 Ward’s tool catalog, and it appears that the original (optional) guard attached to the back, presumably to the trunion bolts.

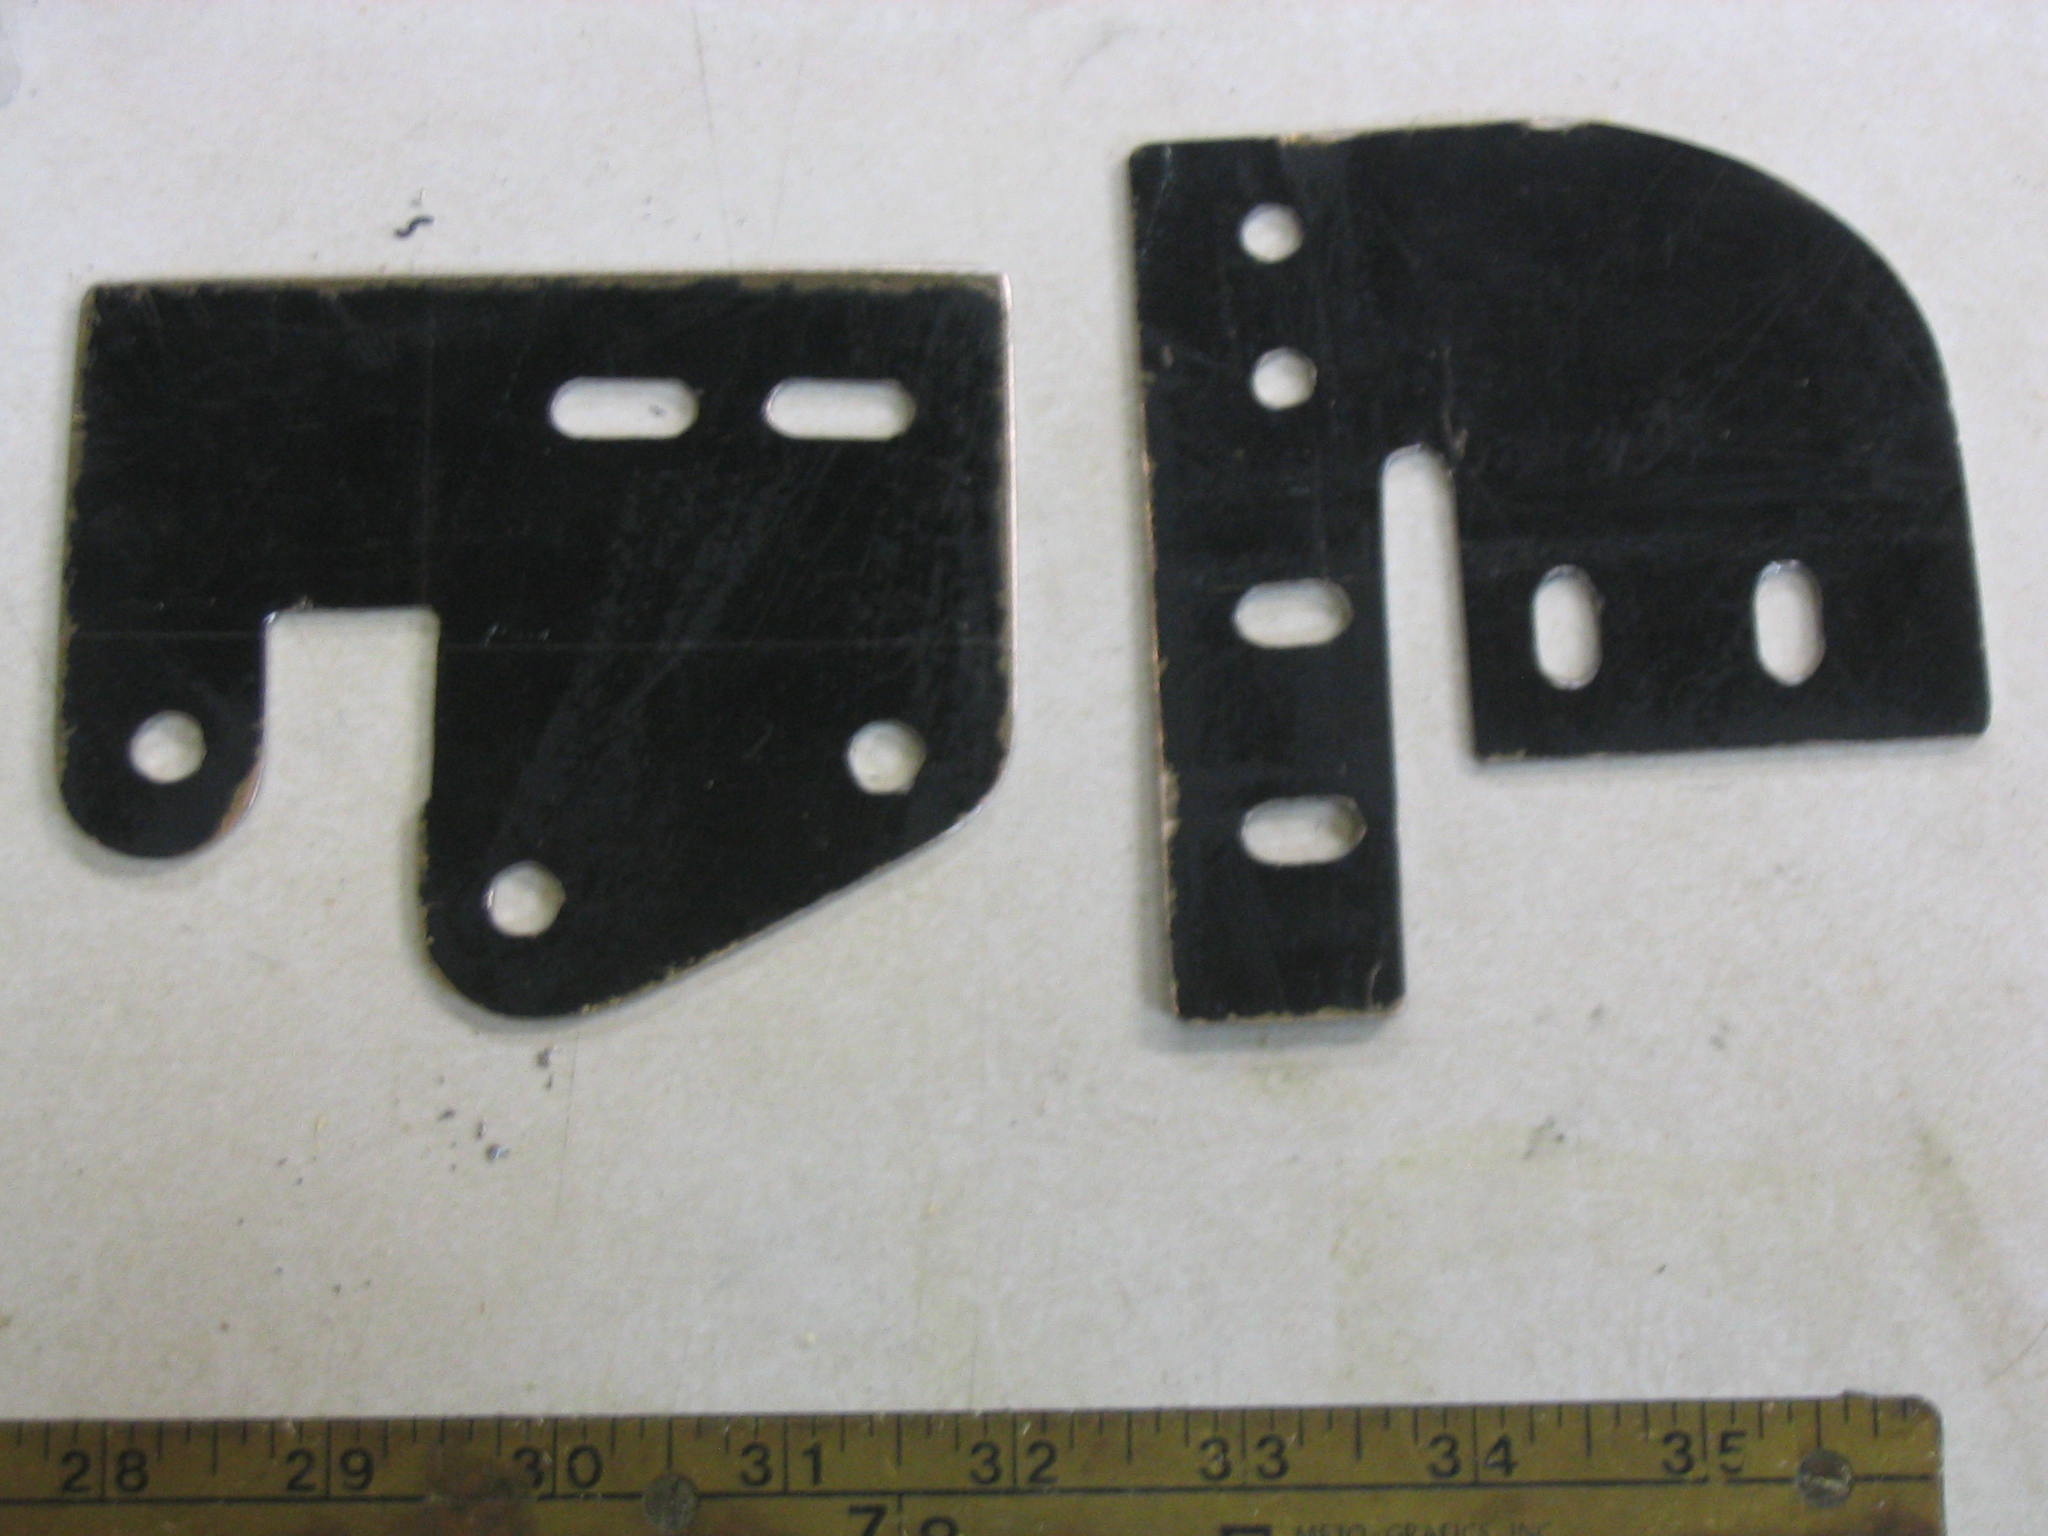
For the best adjustability, I am making a two-part bracket to attach to the trunion bolts. The two-piece design allows it to be adjusted in multiple directions and angles. The splitter will attach to this bracket.

Bracket Design

The choice of materials and construction methods affect the design. The guard must be mounted so that the splitter is aligned with the blade. I am making the guard out of materials I have on hand, and I don’t have precision metal fabrication tools. Therefore, adjustability is a major component of the guard design.

I am making the splitter and mounting bracket out of heavy sheet metal. The standard table saw blade width (“kerf”) is 1/8″, so the splitter must be thinner than that.

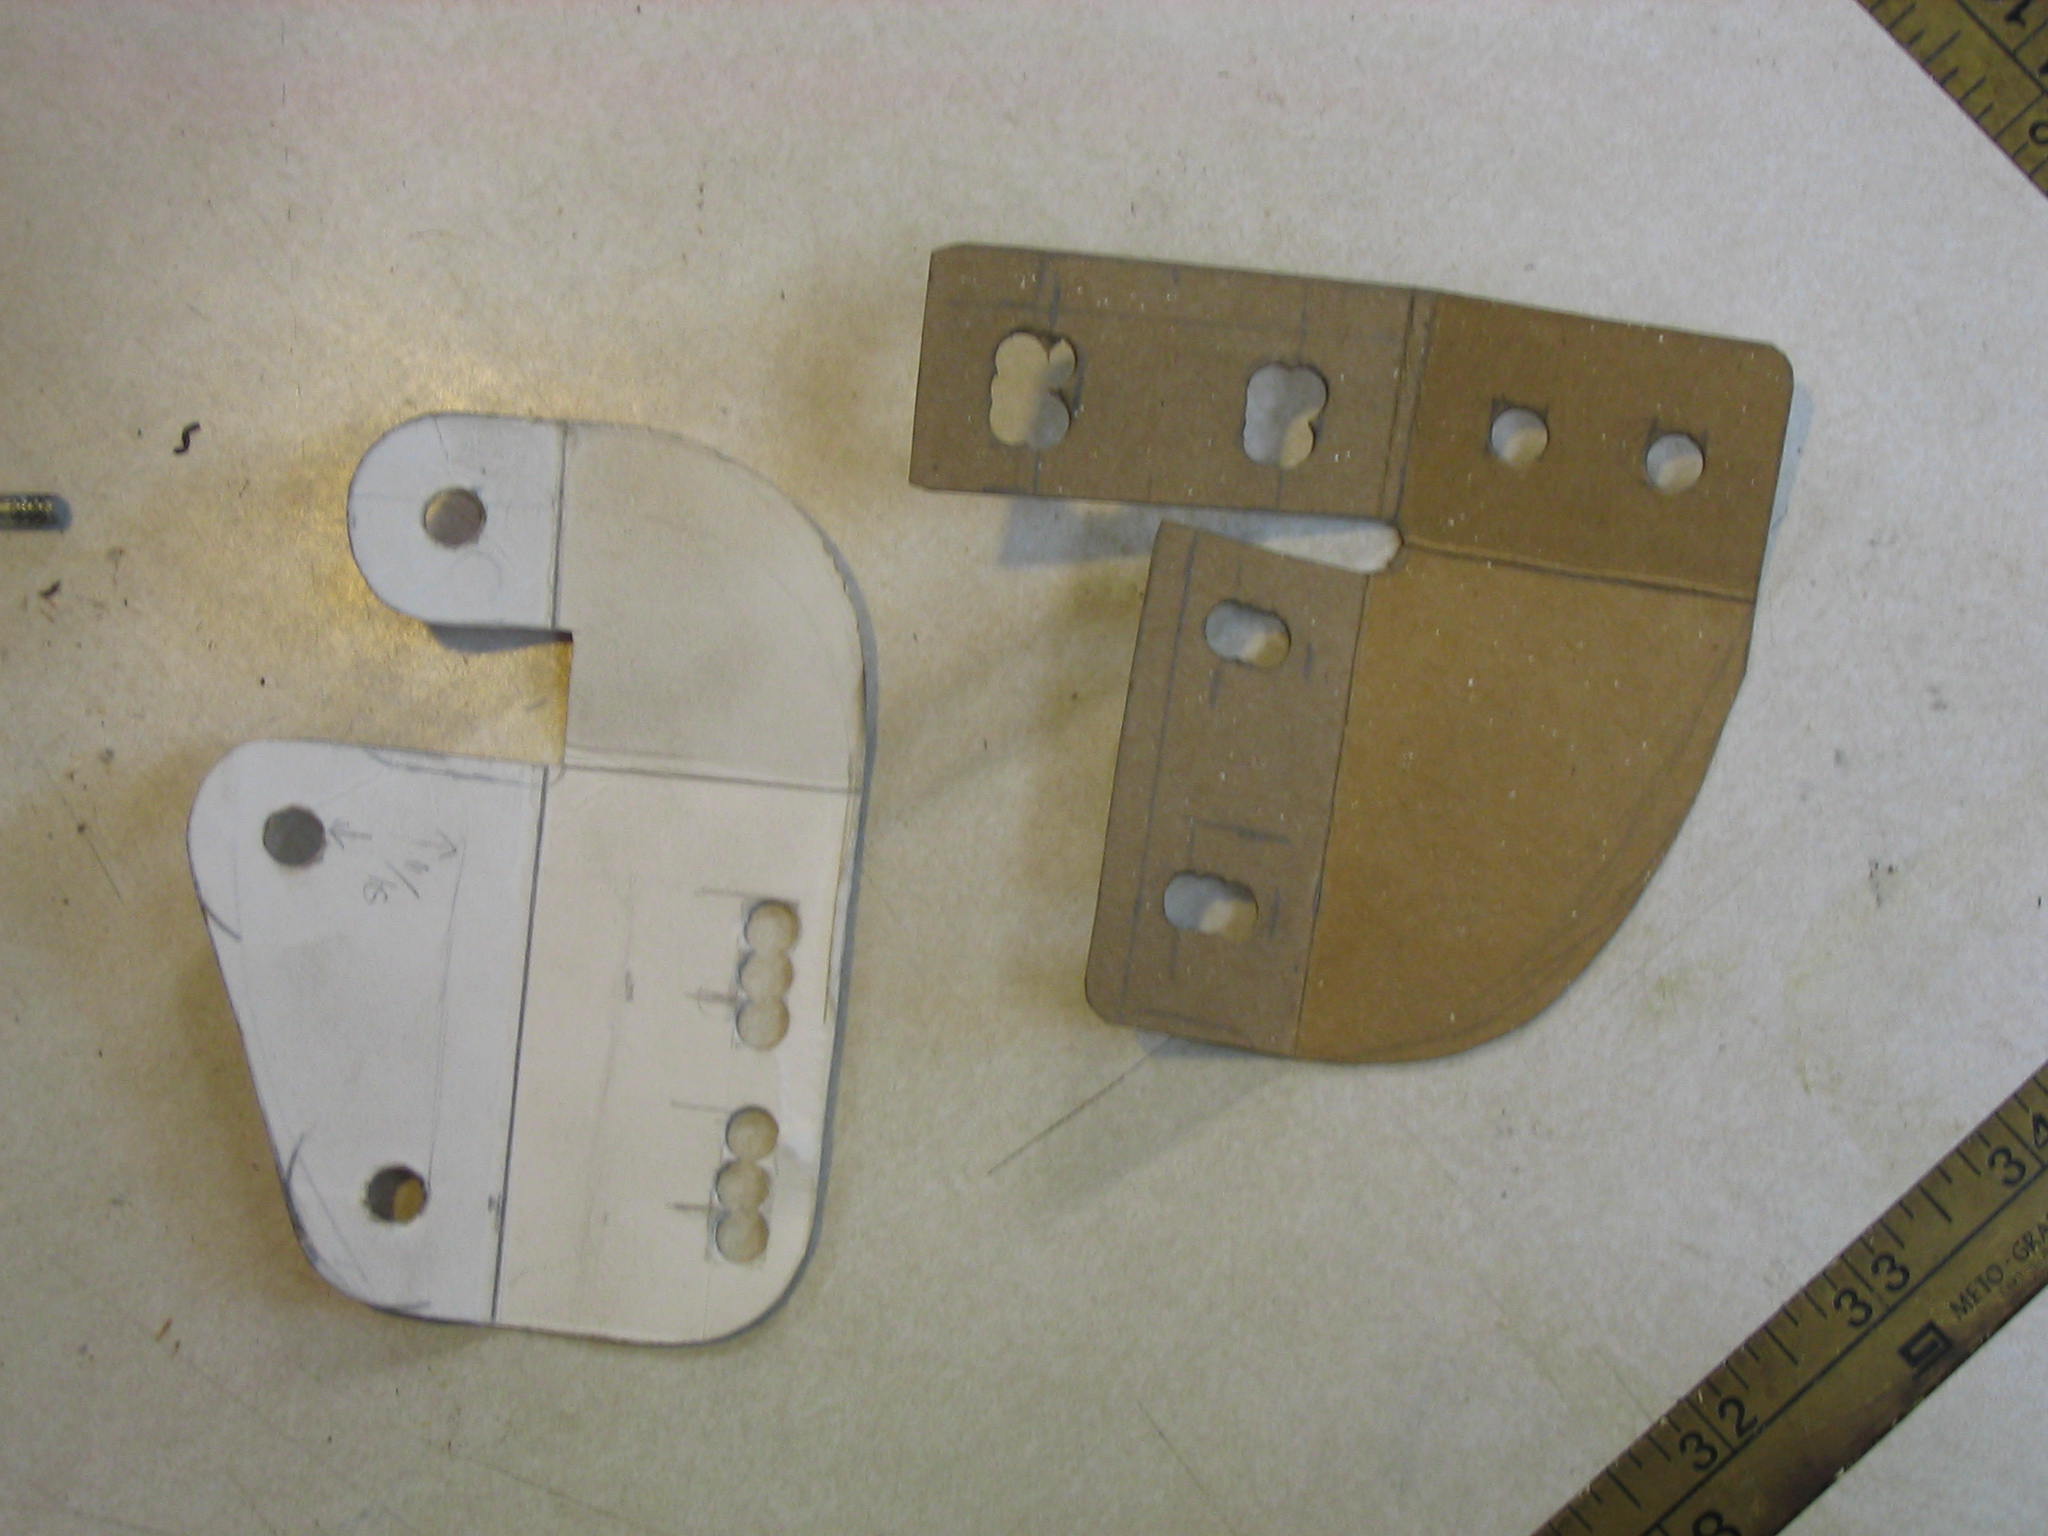
I first made some templates out of carboard, allowing me to adjust the size and positioning, before cutting any sheet metal.

Templates
Templates

Fitting templates
Fitting templates

Metalwork

Old PC case
Old PC case

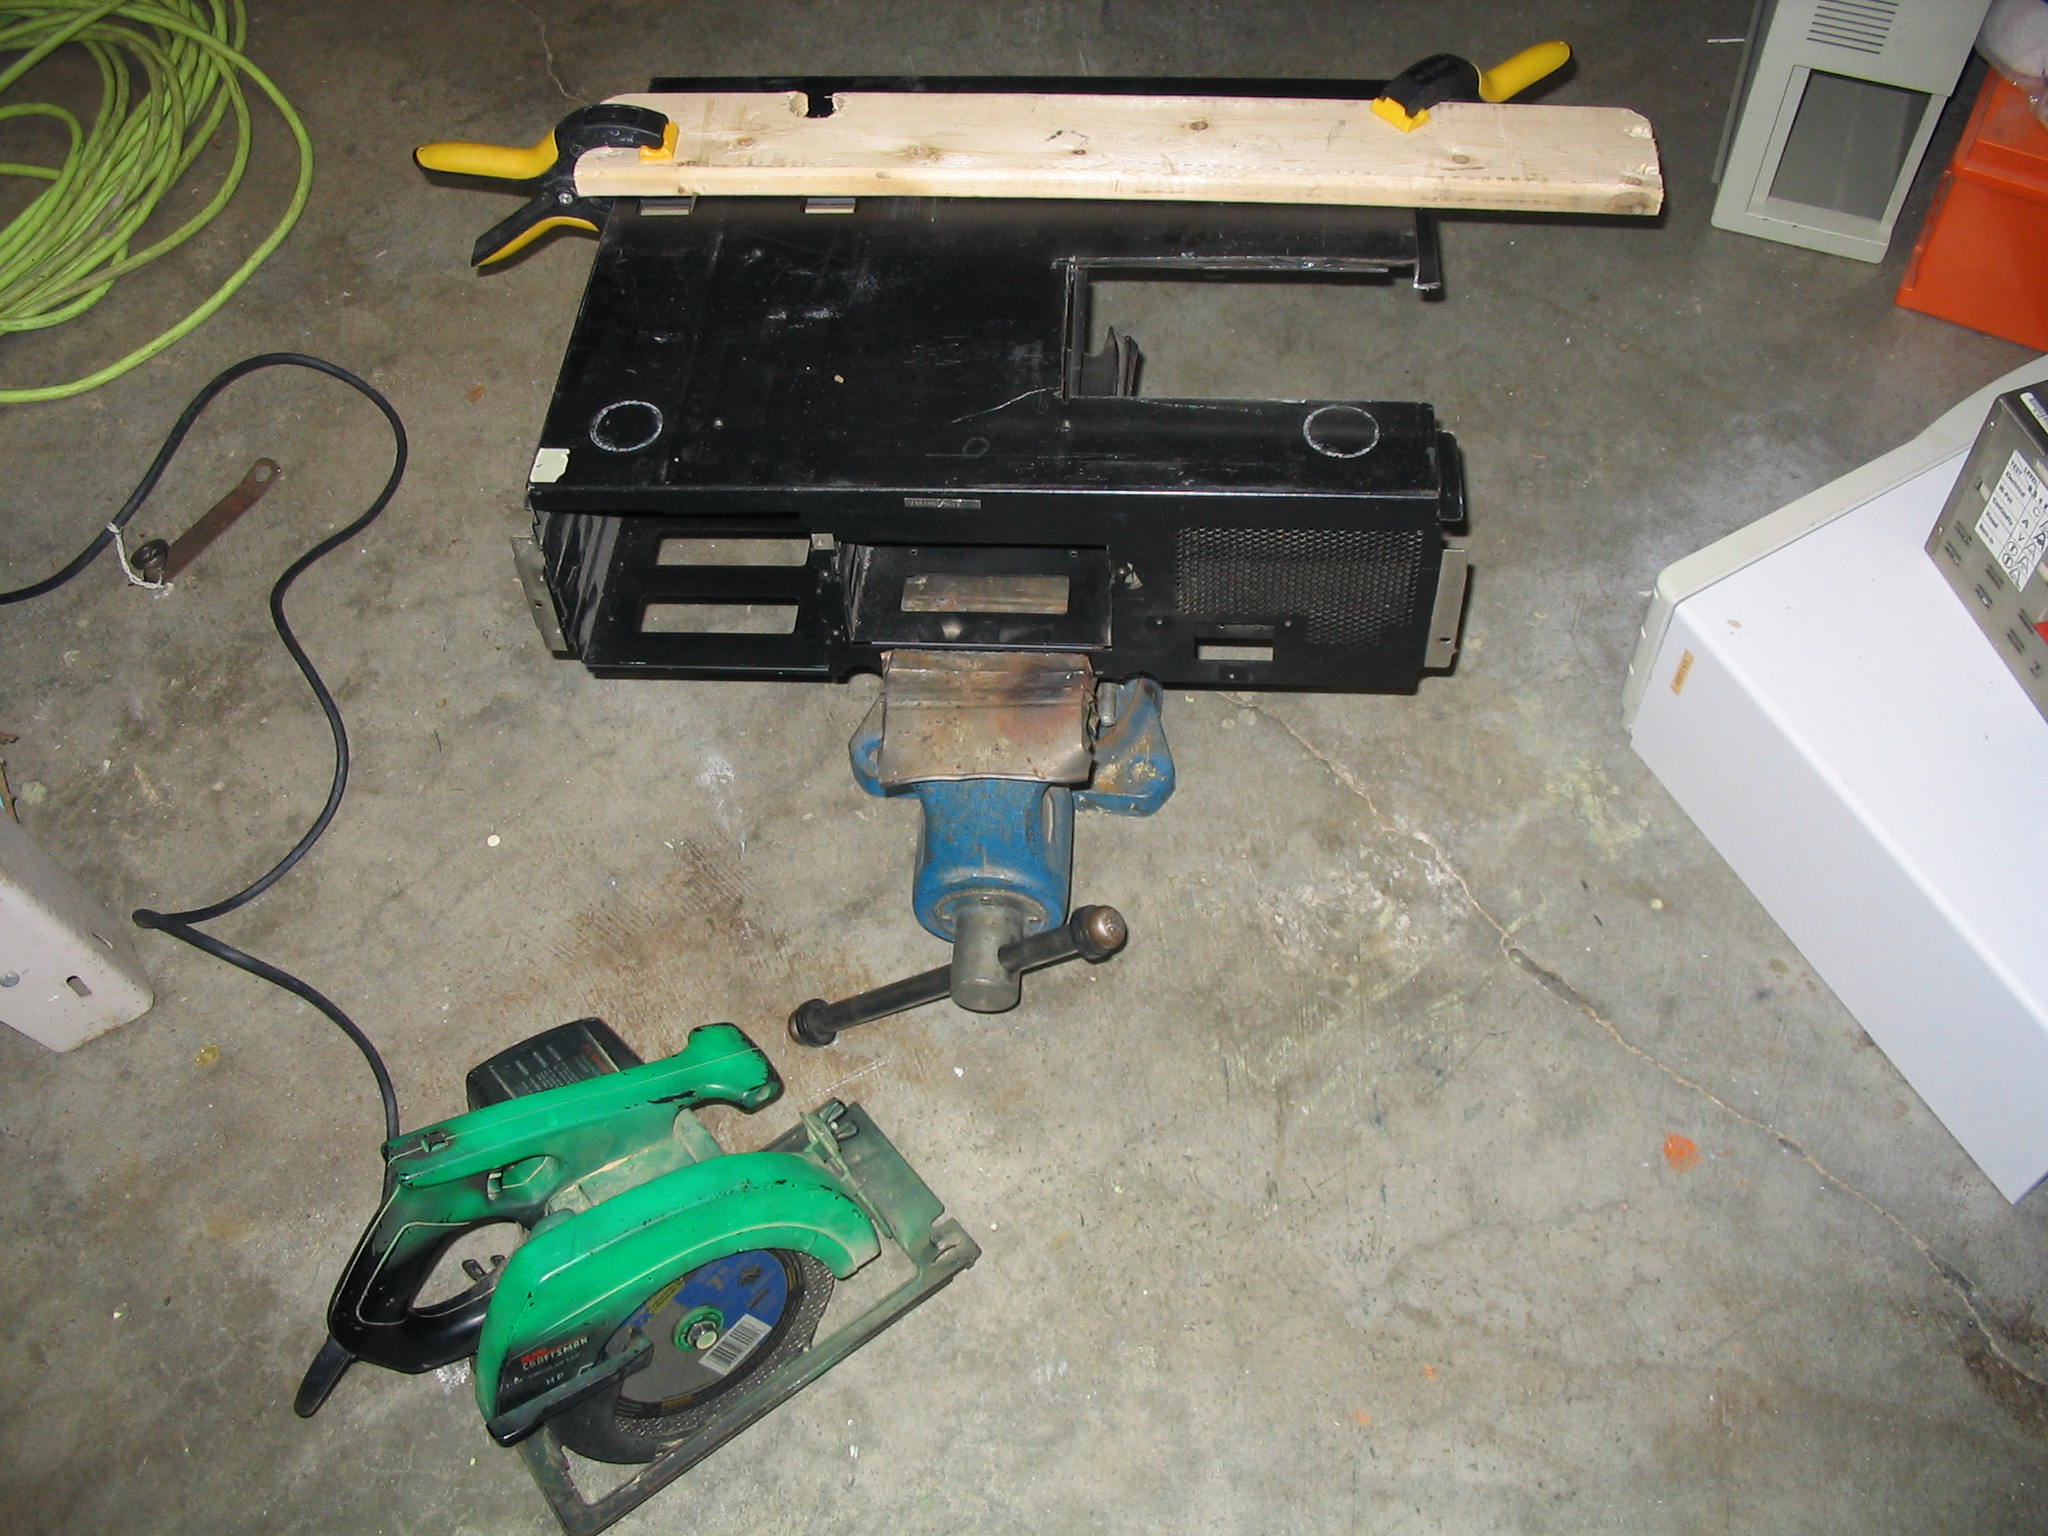
I have salvaged the sheet metal from the base of a personal computer case. This one was a genuine IBM AT 286 case, and the metal is about 1/16″ thick (1.6 mm). This heavy metal can take a while to cut with a hacksaw, so I made the rough cuts with a metal-cutting blade on my circular saw. The metal cutting blade is basically a thin grinding wheel, which spits lots of sparks and fireworks. Keep anything flammable well away from your cutting area. The metal PC case was slippery, so I clamped a wooden board down as a saw guide. The circular saw made quick work of it, and the blade was only a few dollars at the local home improvement store. If you don’t have a circular saw, a hacksaw will still work.

Drilling holes
Drilling holes

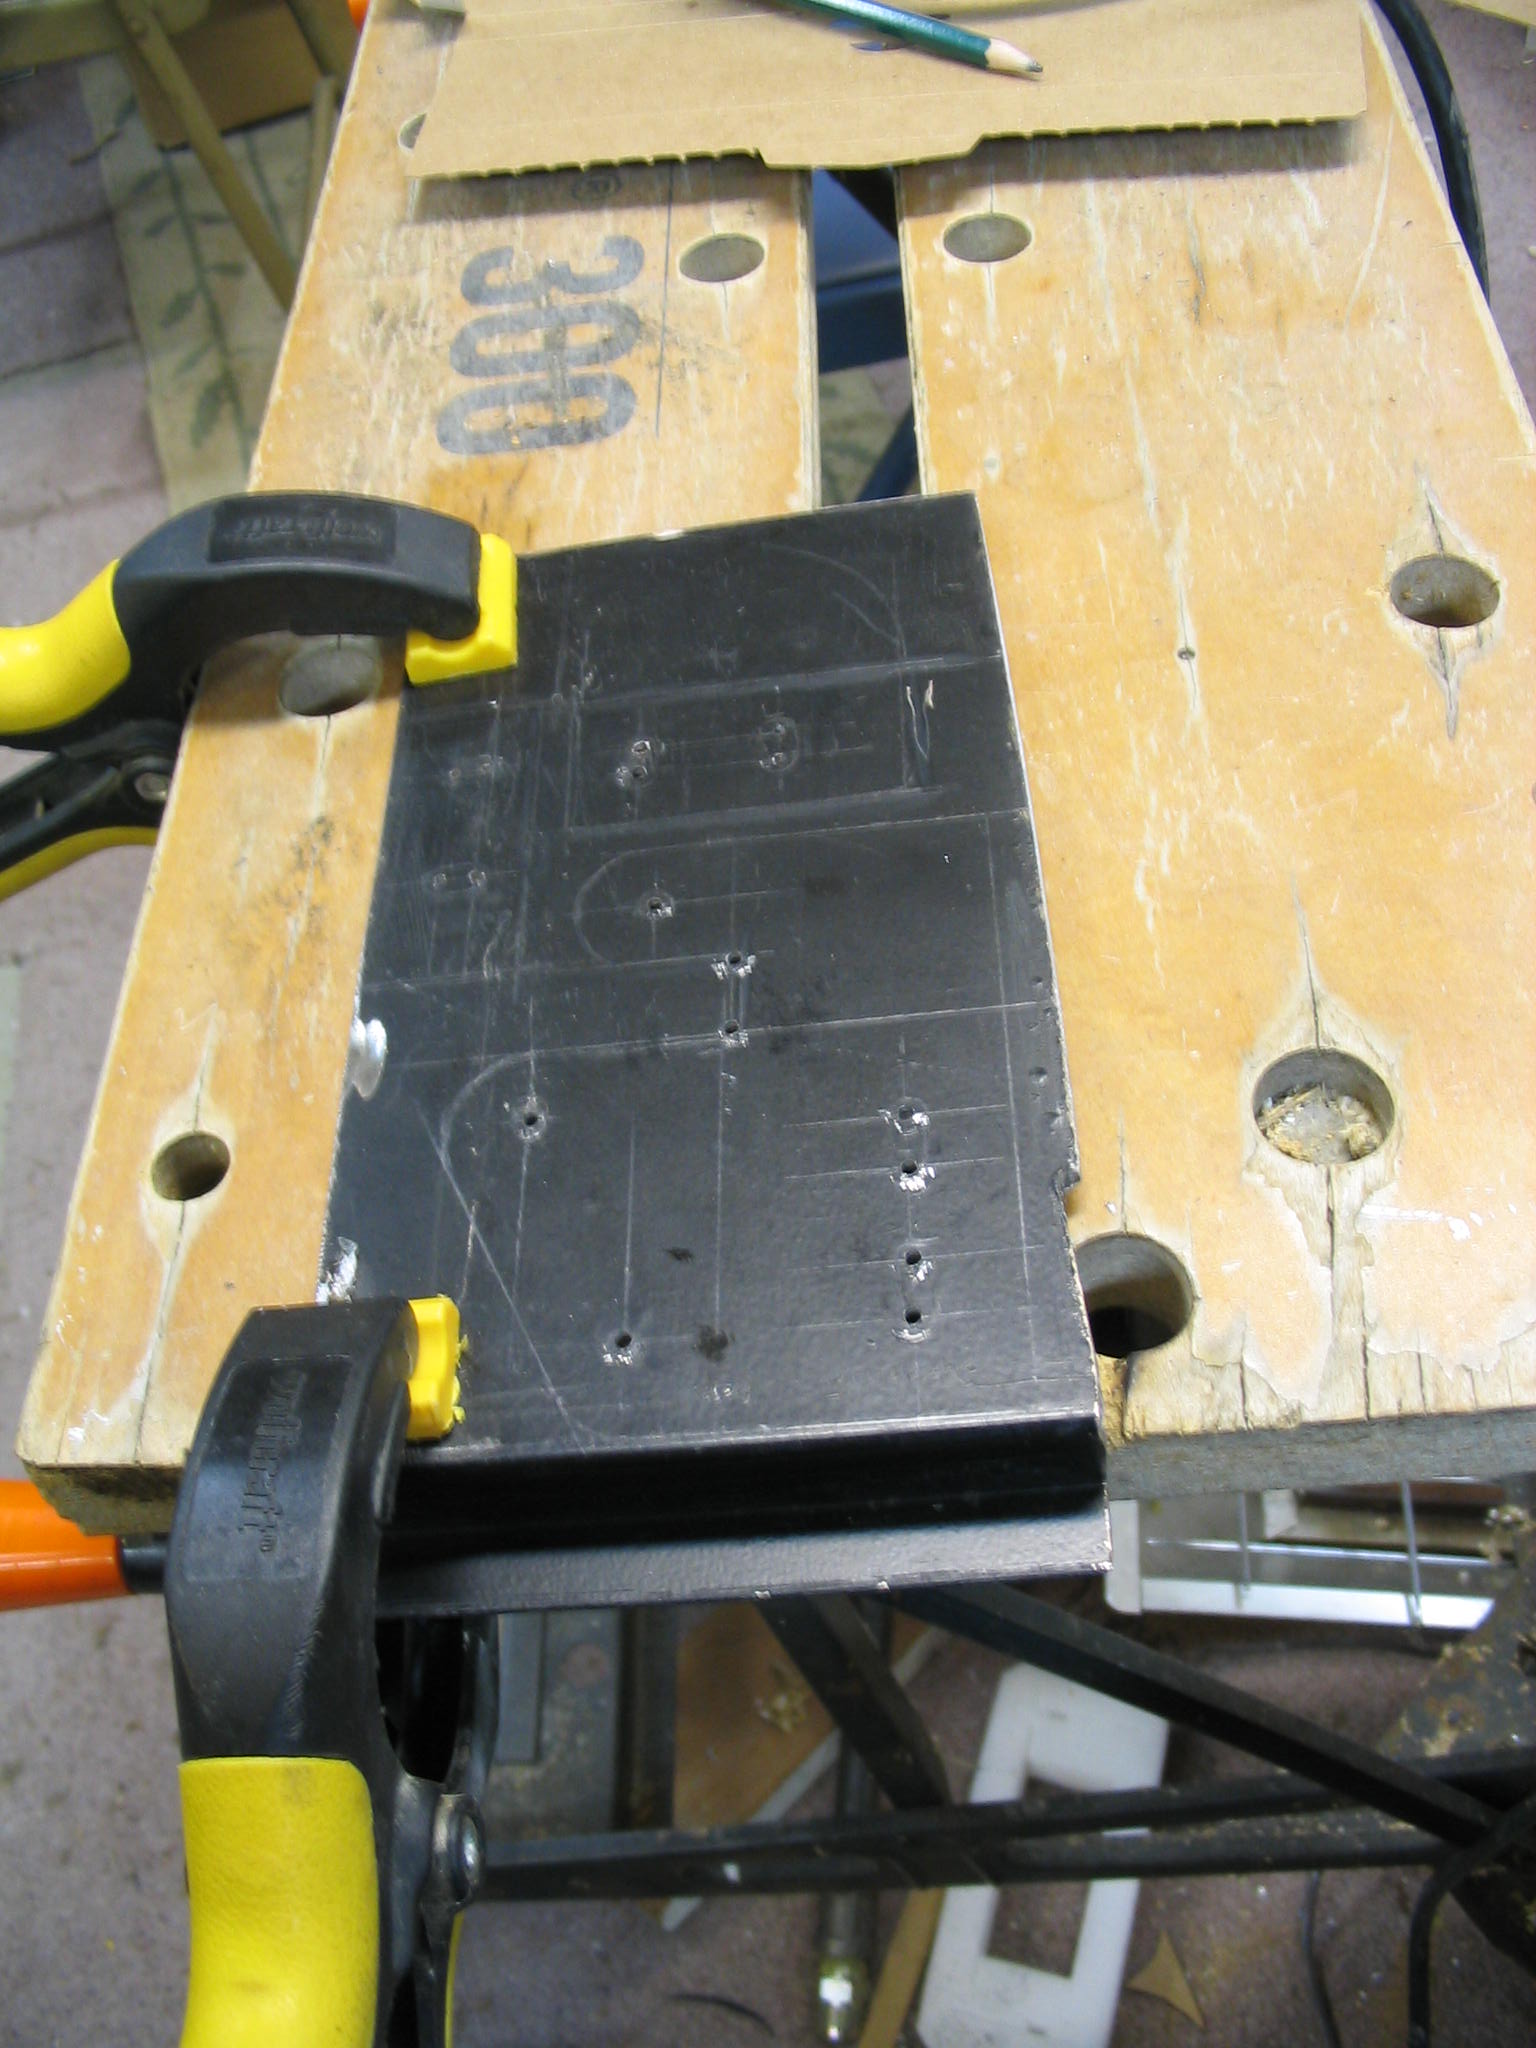
After cutting out a rough blank piece and filing the burrs off, I transferred my cardboard template onto the metal.

The trunion bolts are 1/4″ diameter (6 mm), so I’m using the same size on the rest of the holes and bolts. When drilling holes in metal like this, the drill bit can drift easily and the hole can end up in the wrong place. To avoid this, use a hammer and center-punch to make a dimple where you want the center of the hole. If you don’t have a center punch, pound a sharp deck screw with a hammer as a substitute punch. Then drill a pilot hole the center with a small bit, say 1/16″ or 3/32″. Then your larger bit will stay in proper place for the actual hole.

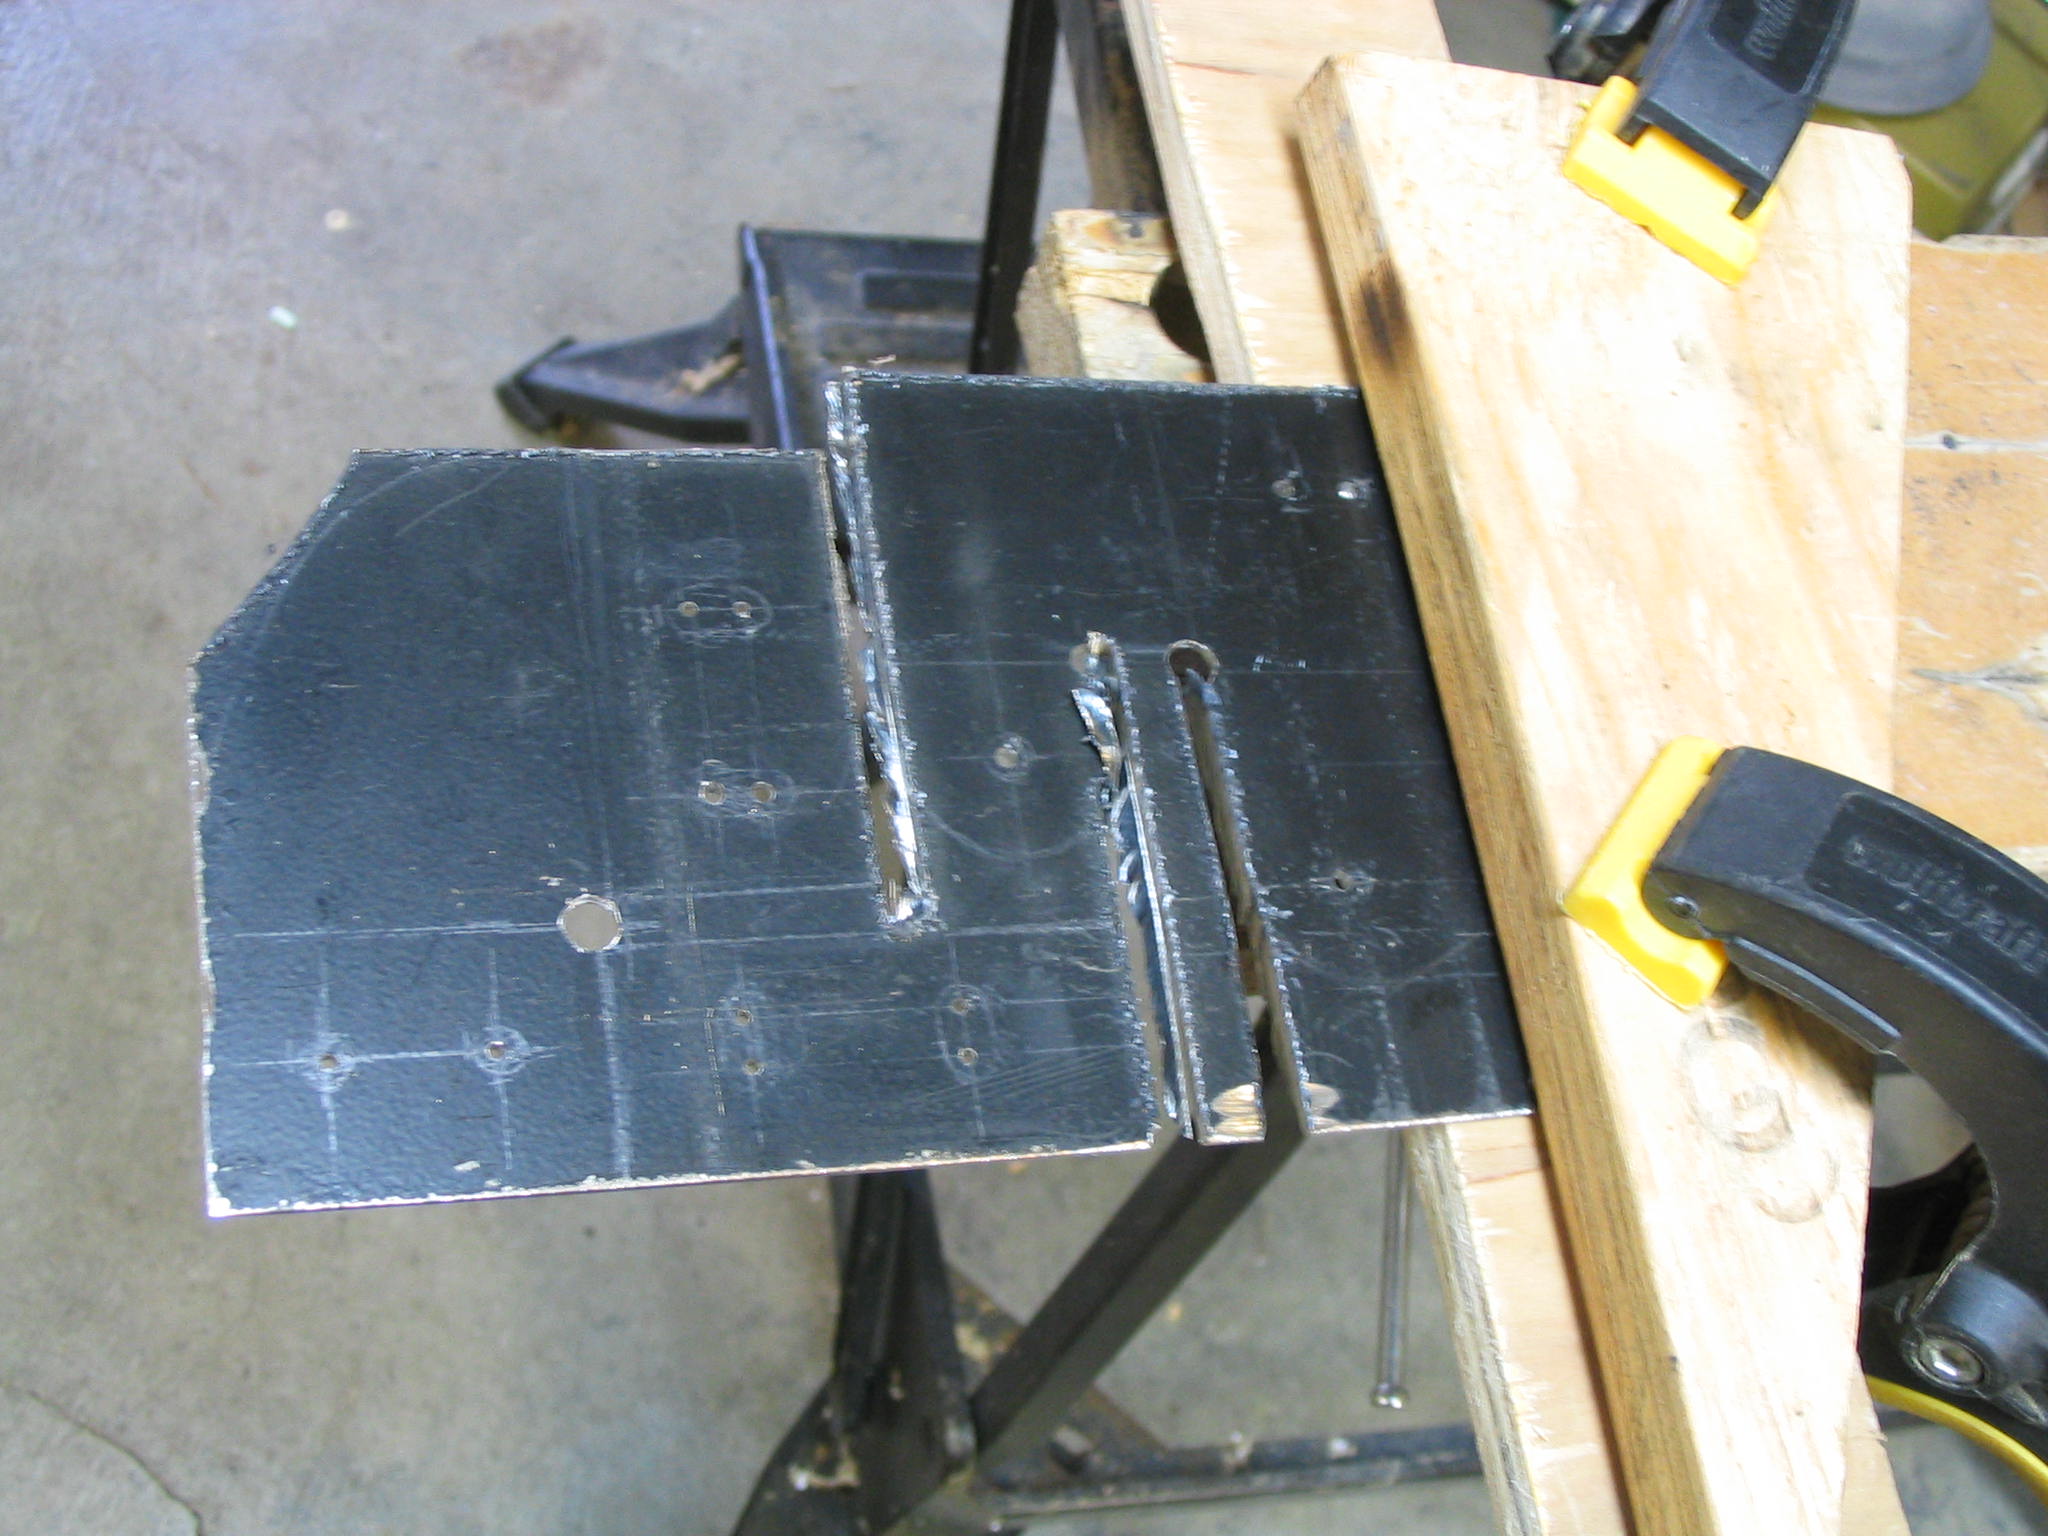
I used the circular saw to make the rough cuts of the brackets. The cutting wheel heats the metal scraps enough to burn you. Use pliers to pick up any scraps, and drop them in a bucket of water.

Cutting
Cutting
Hot scrap metal
Hot scrap metal
Trimmed outline
Trimmed outline

Cut brackets
Cut brackets

Once the brackets are rough cut, finish any remaining cuts with a hacksaw, and file all of the edges smooth.

Bending

Bending
Bending

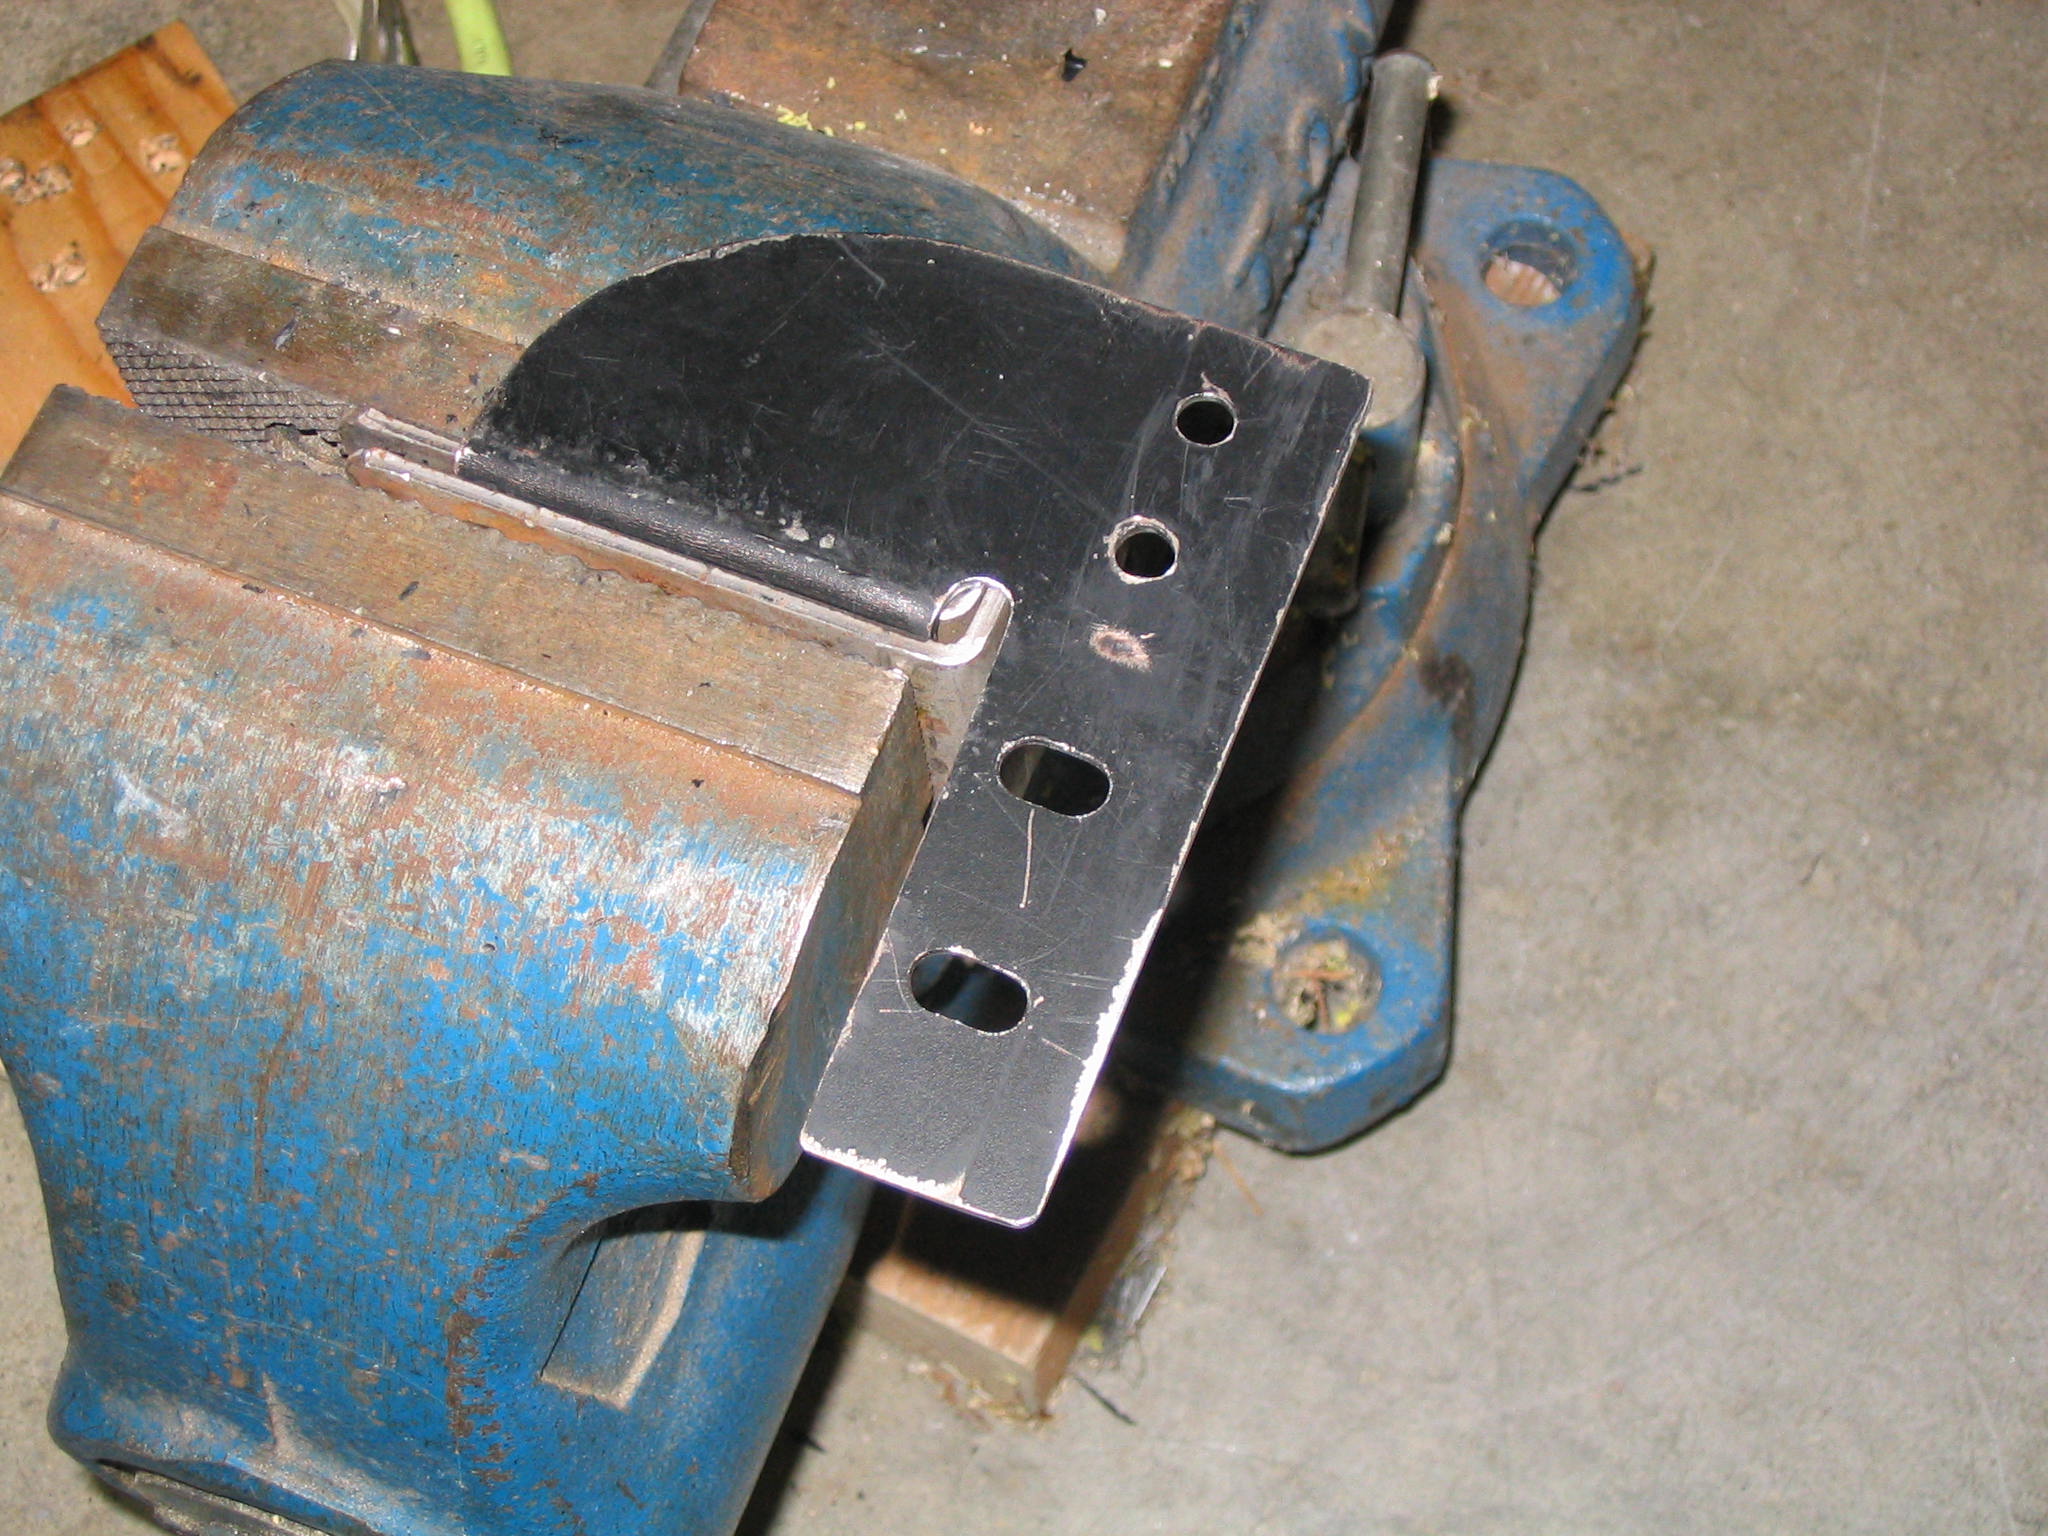
After the bracket pieces are filed to shape, they are ready to be bent. The ideal way to bend them is to use a metal brake, which most people don’t have in their garage. Alternatively, stick them in a vise and pound them with a hammer like I did.

On each bracket, there is an overlapping flange where a bolt goes through. Ideally, you should not drill the hole through the second flange until after the bracket is bent to shape. I had to widen holes on one of the brackets because my bends weren’t aligned perfectly.

Finished bracket
Finished bracket

Finished bracket

Once the bracket pieces are bent, they are ready to be attached to the table. I used split-ring lock washers on each of the bolts to ensure that they don’t work loose with the vibration of the saw. The mount is now ready for use.

Wire Gauge


The Complete Guide to Home Wiring
cover
Amazon | Powells
IndieBound

When working with electricity, it is important to ensure you have electrical wires large enough to carry the load. The diameter of the wire is referred to as the wire gauge. A smaller number is a larger wire.

If your wires are too small for the current, they can overheat and start a fire. Of course, for any questions, consult a licensed electrician.

Wire size requirements are based on amperage, not voltage. There are tables available to tell you what wire gauge you need for a given amperage.

Two common sizes in household electrical wiring: 14 gauge wire can carry 15 amps safely, and 12 gauge wire can carry 20 amps.

For more sizes, see this wire gauge chart.

Submitted by amillar on Sun, 2006-01-15 23:59

ThinStation

I have been using LTSP for a while to turn old PCs into X terminals. LTSP works well for a desktop PC that can use PXE or Etherboot. LTSP does not work as cleanly on old laptops with PCMCIA network cards. In these cases, the kernel has to be installed on the laptop hard disk, but the rest of the LTSP installation runs from the server. When upgrading LTSP, the kernel on the hard disk gets out of sync with the modules on the server, and the laptops stop working as terminals.

I’ve been looking for a simpler setup for a laptop X terminal, and I’ve found ThinStation. It is a customizable Linux distribution designed for building terminals. The entire terminal image can run locally, from the hard drive or a bootable CD. The typical image takes up 5 to 10 megabytes. In this way, the server software can change versions, but the terminal is still standalone for its software versions. Thinstation does support centralized configuration files, giving you centralized control of options without linked dependencies.

Thinstation comes with software for several terminal types, including X Windows, VNC, NX, and Windows RDP.

Tablesaw belt guard

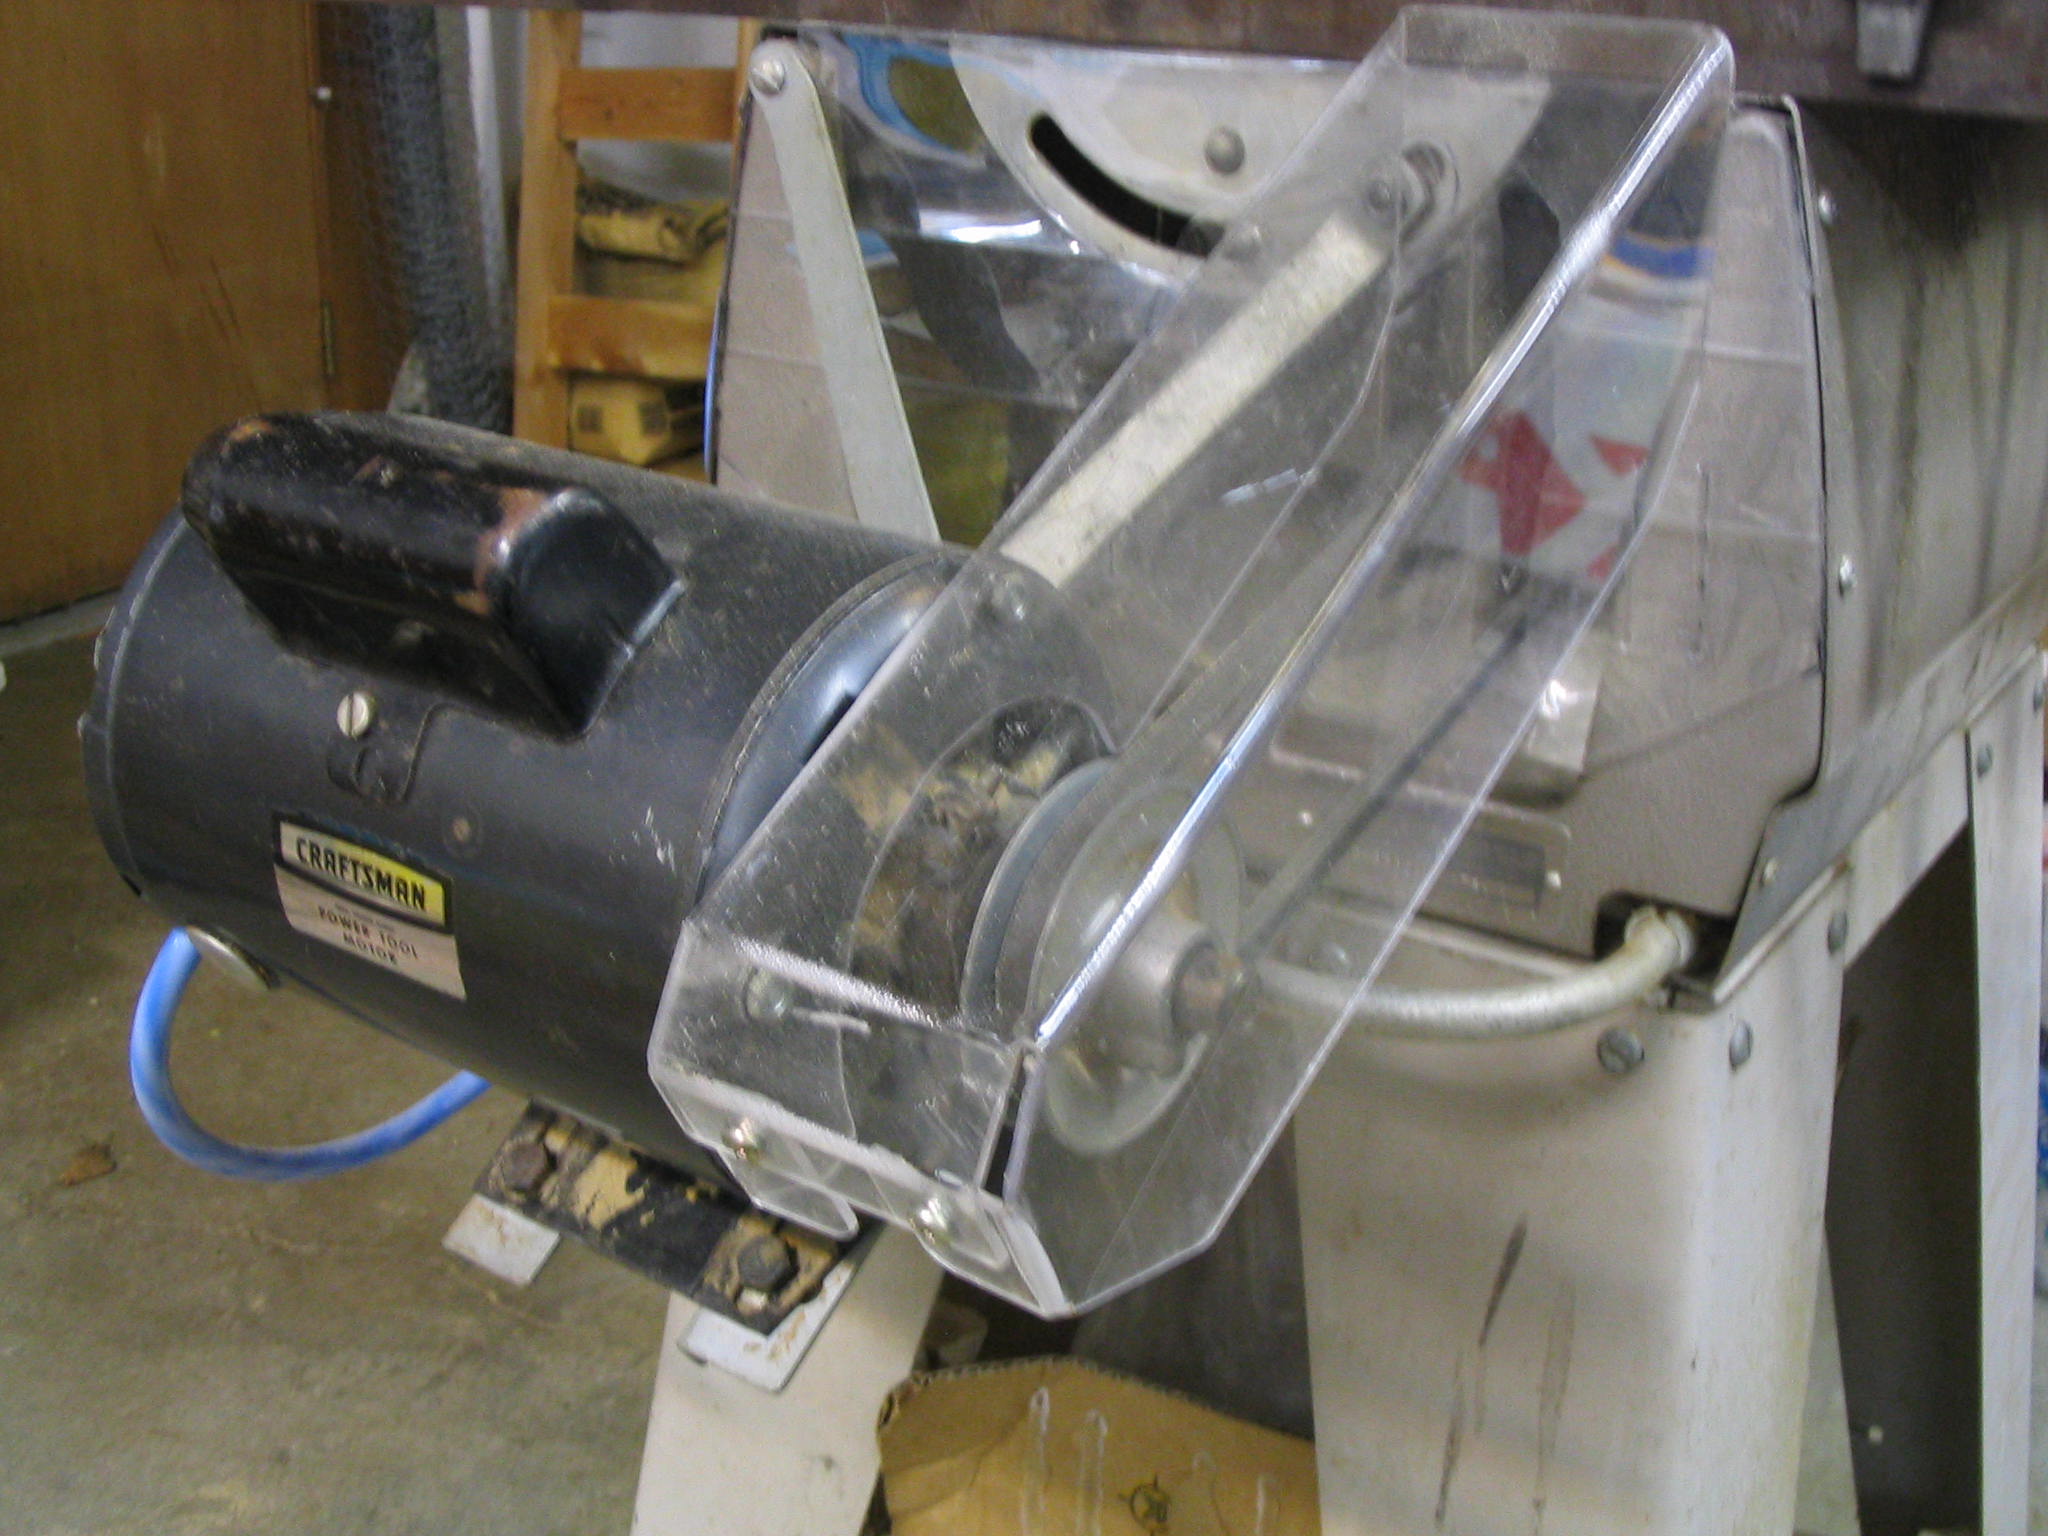
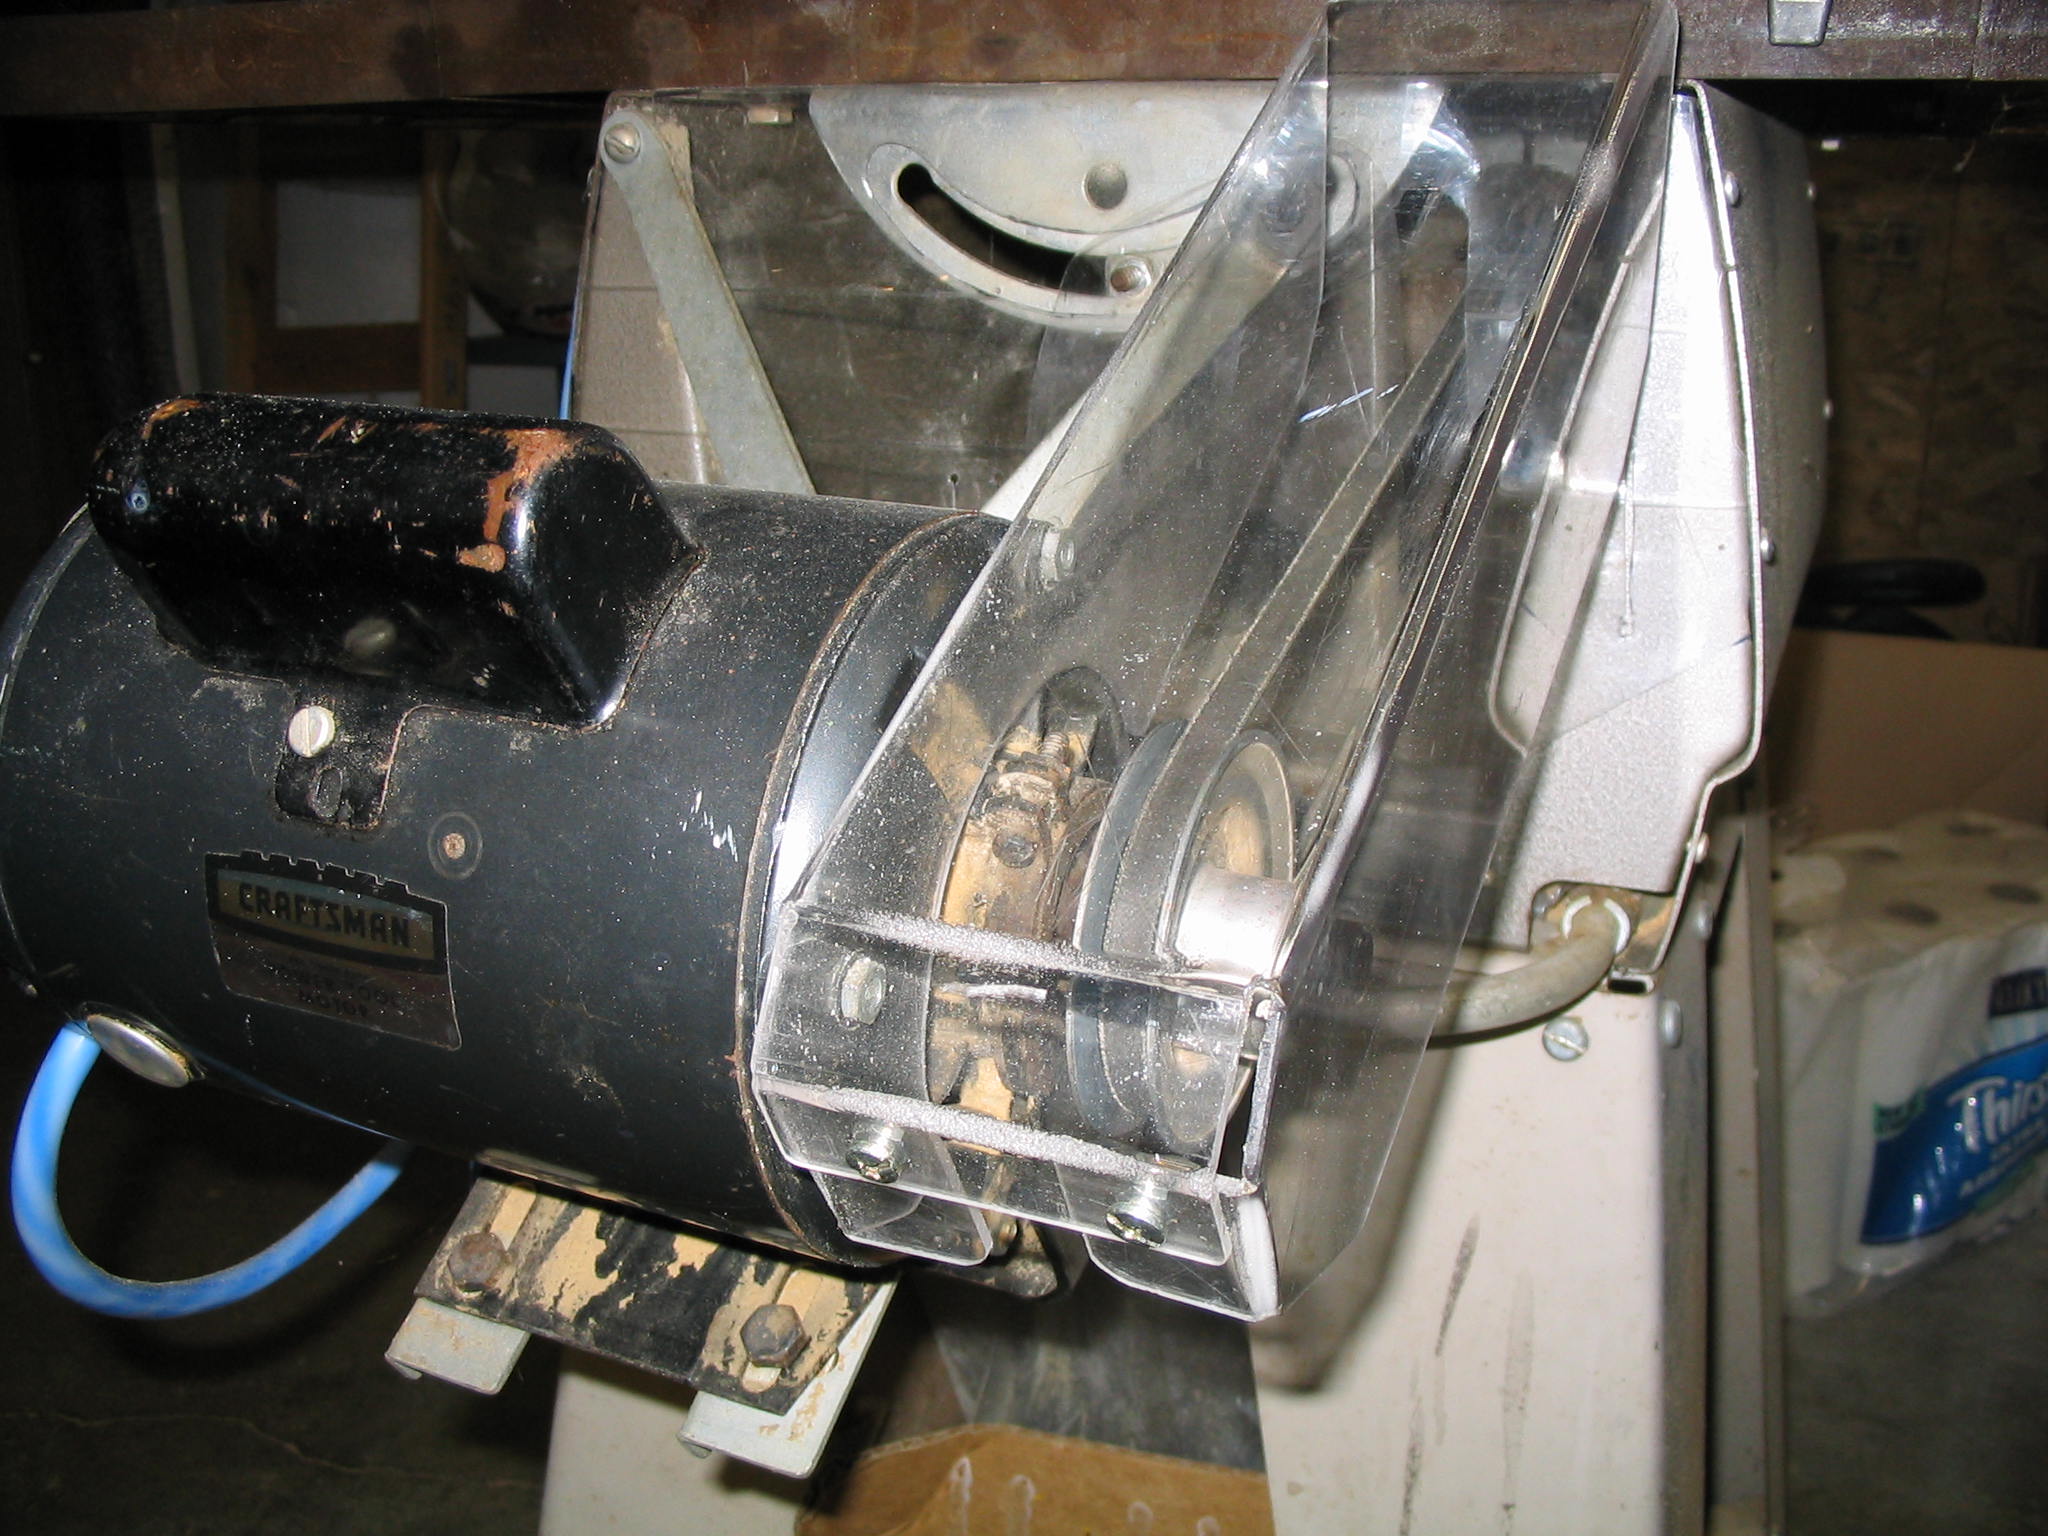
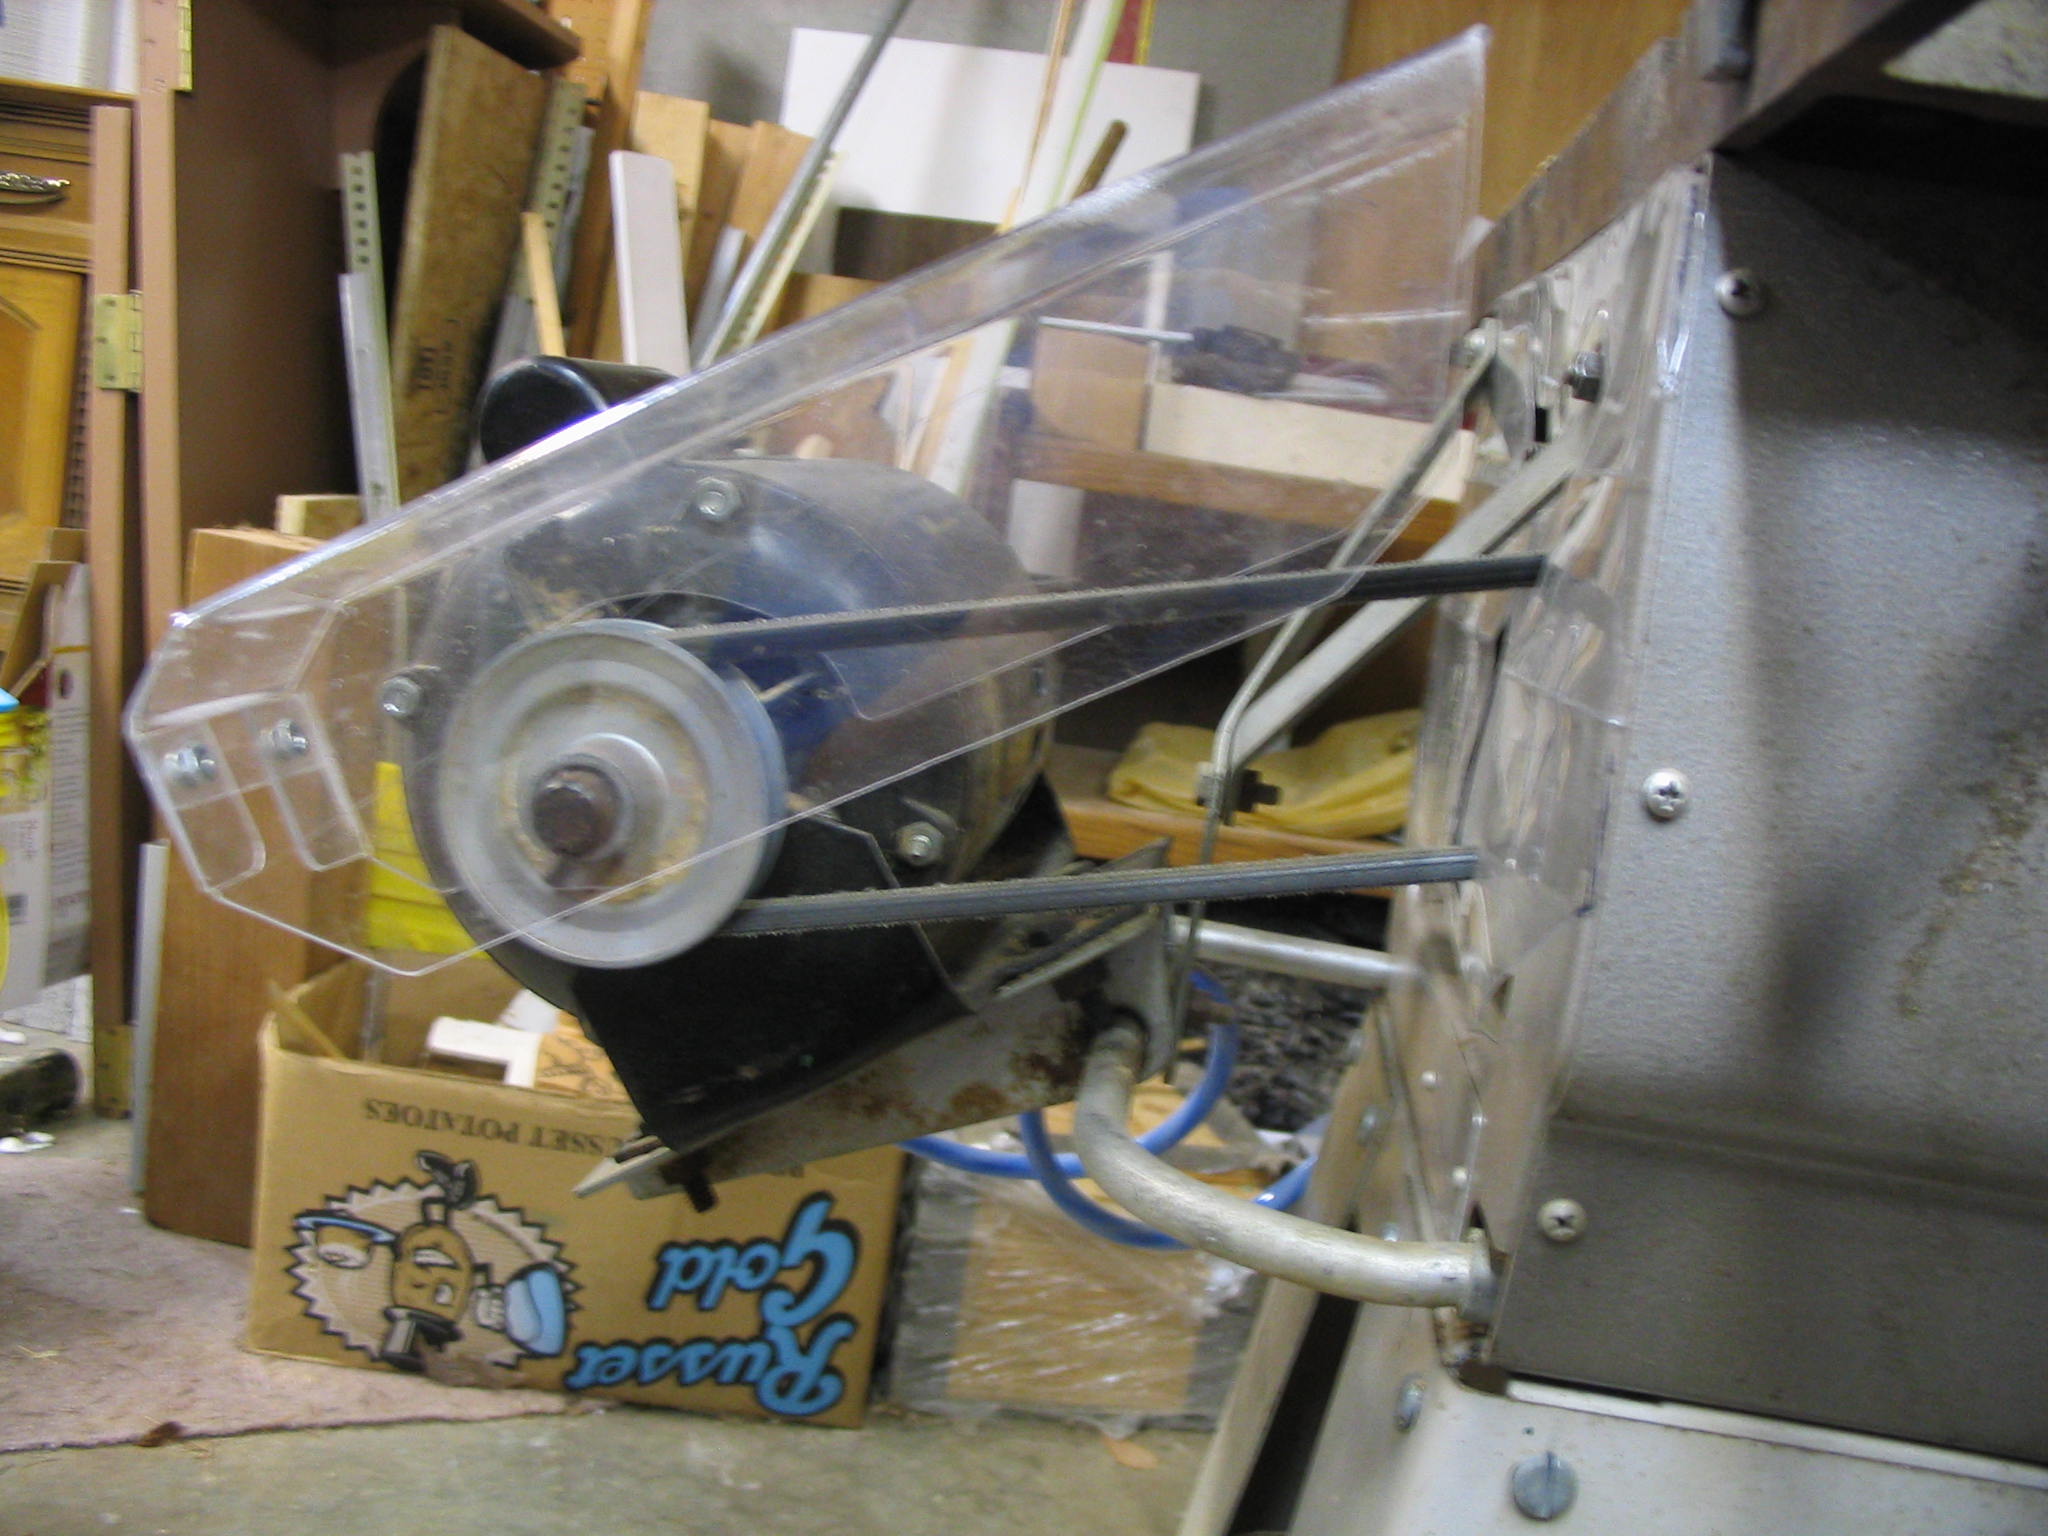
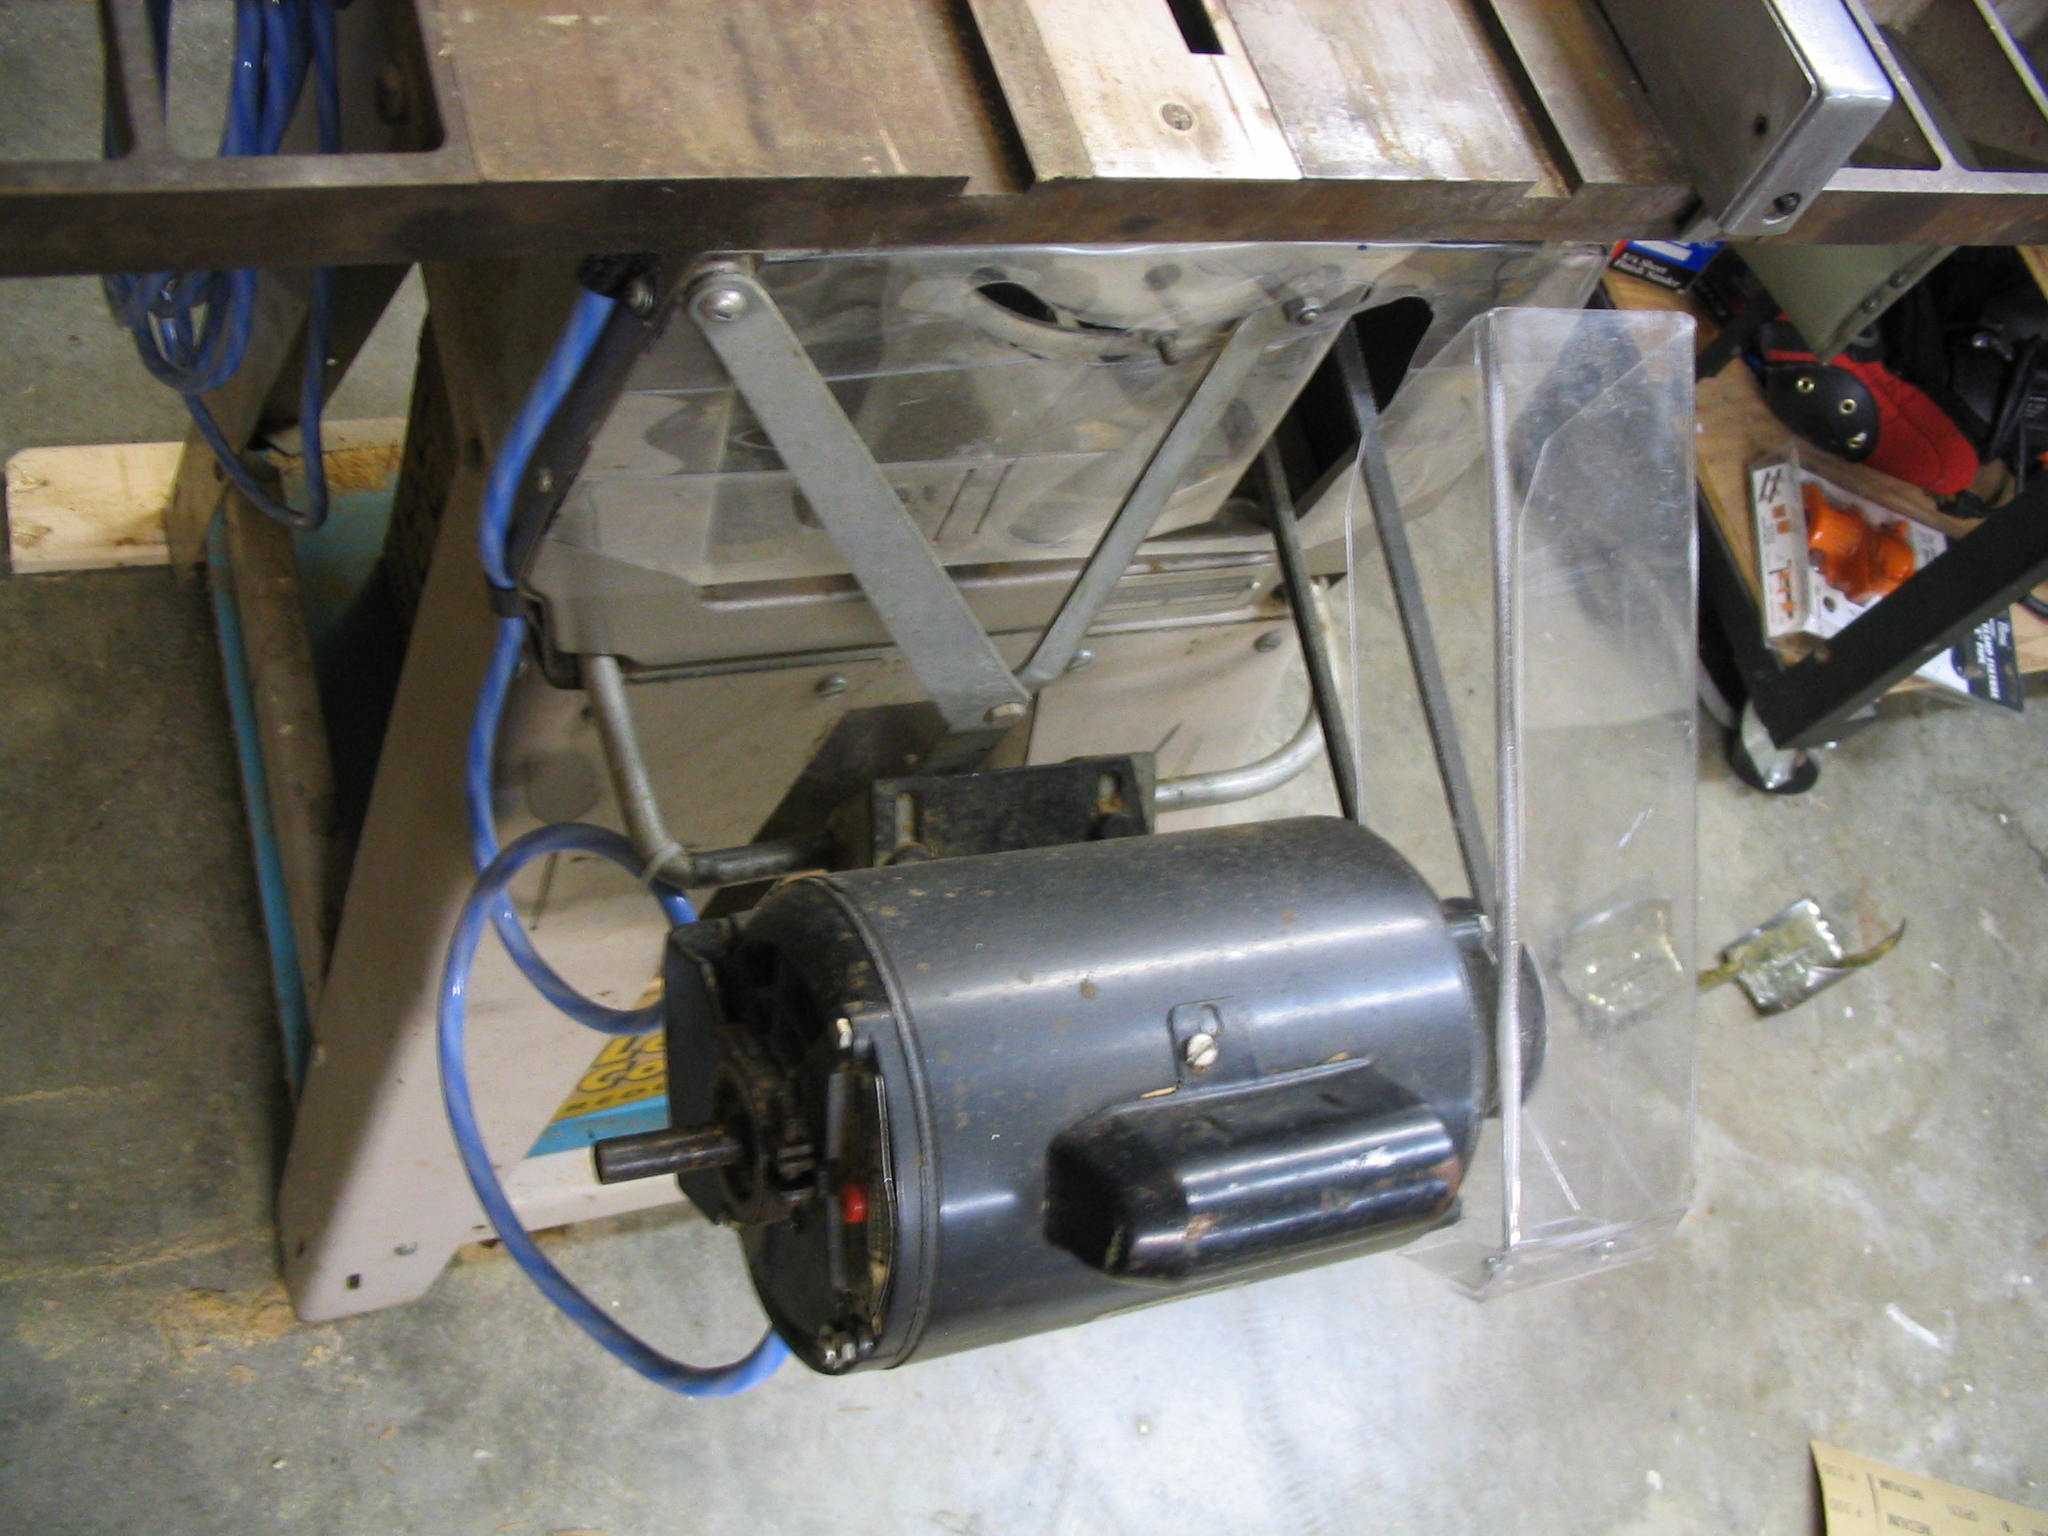
Belt guardAfter I repaired the electrical wiring on my garage-sale table saw, I inspected the mechanical workings. It appeared to be in good working condition. There were, however, no modern safety controls. I later found that this table saw was made somewhere around 1956, when blade guards were optional and belt guards weren’t even offered.
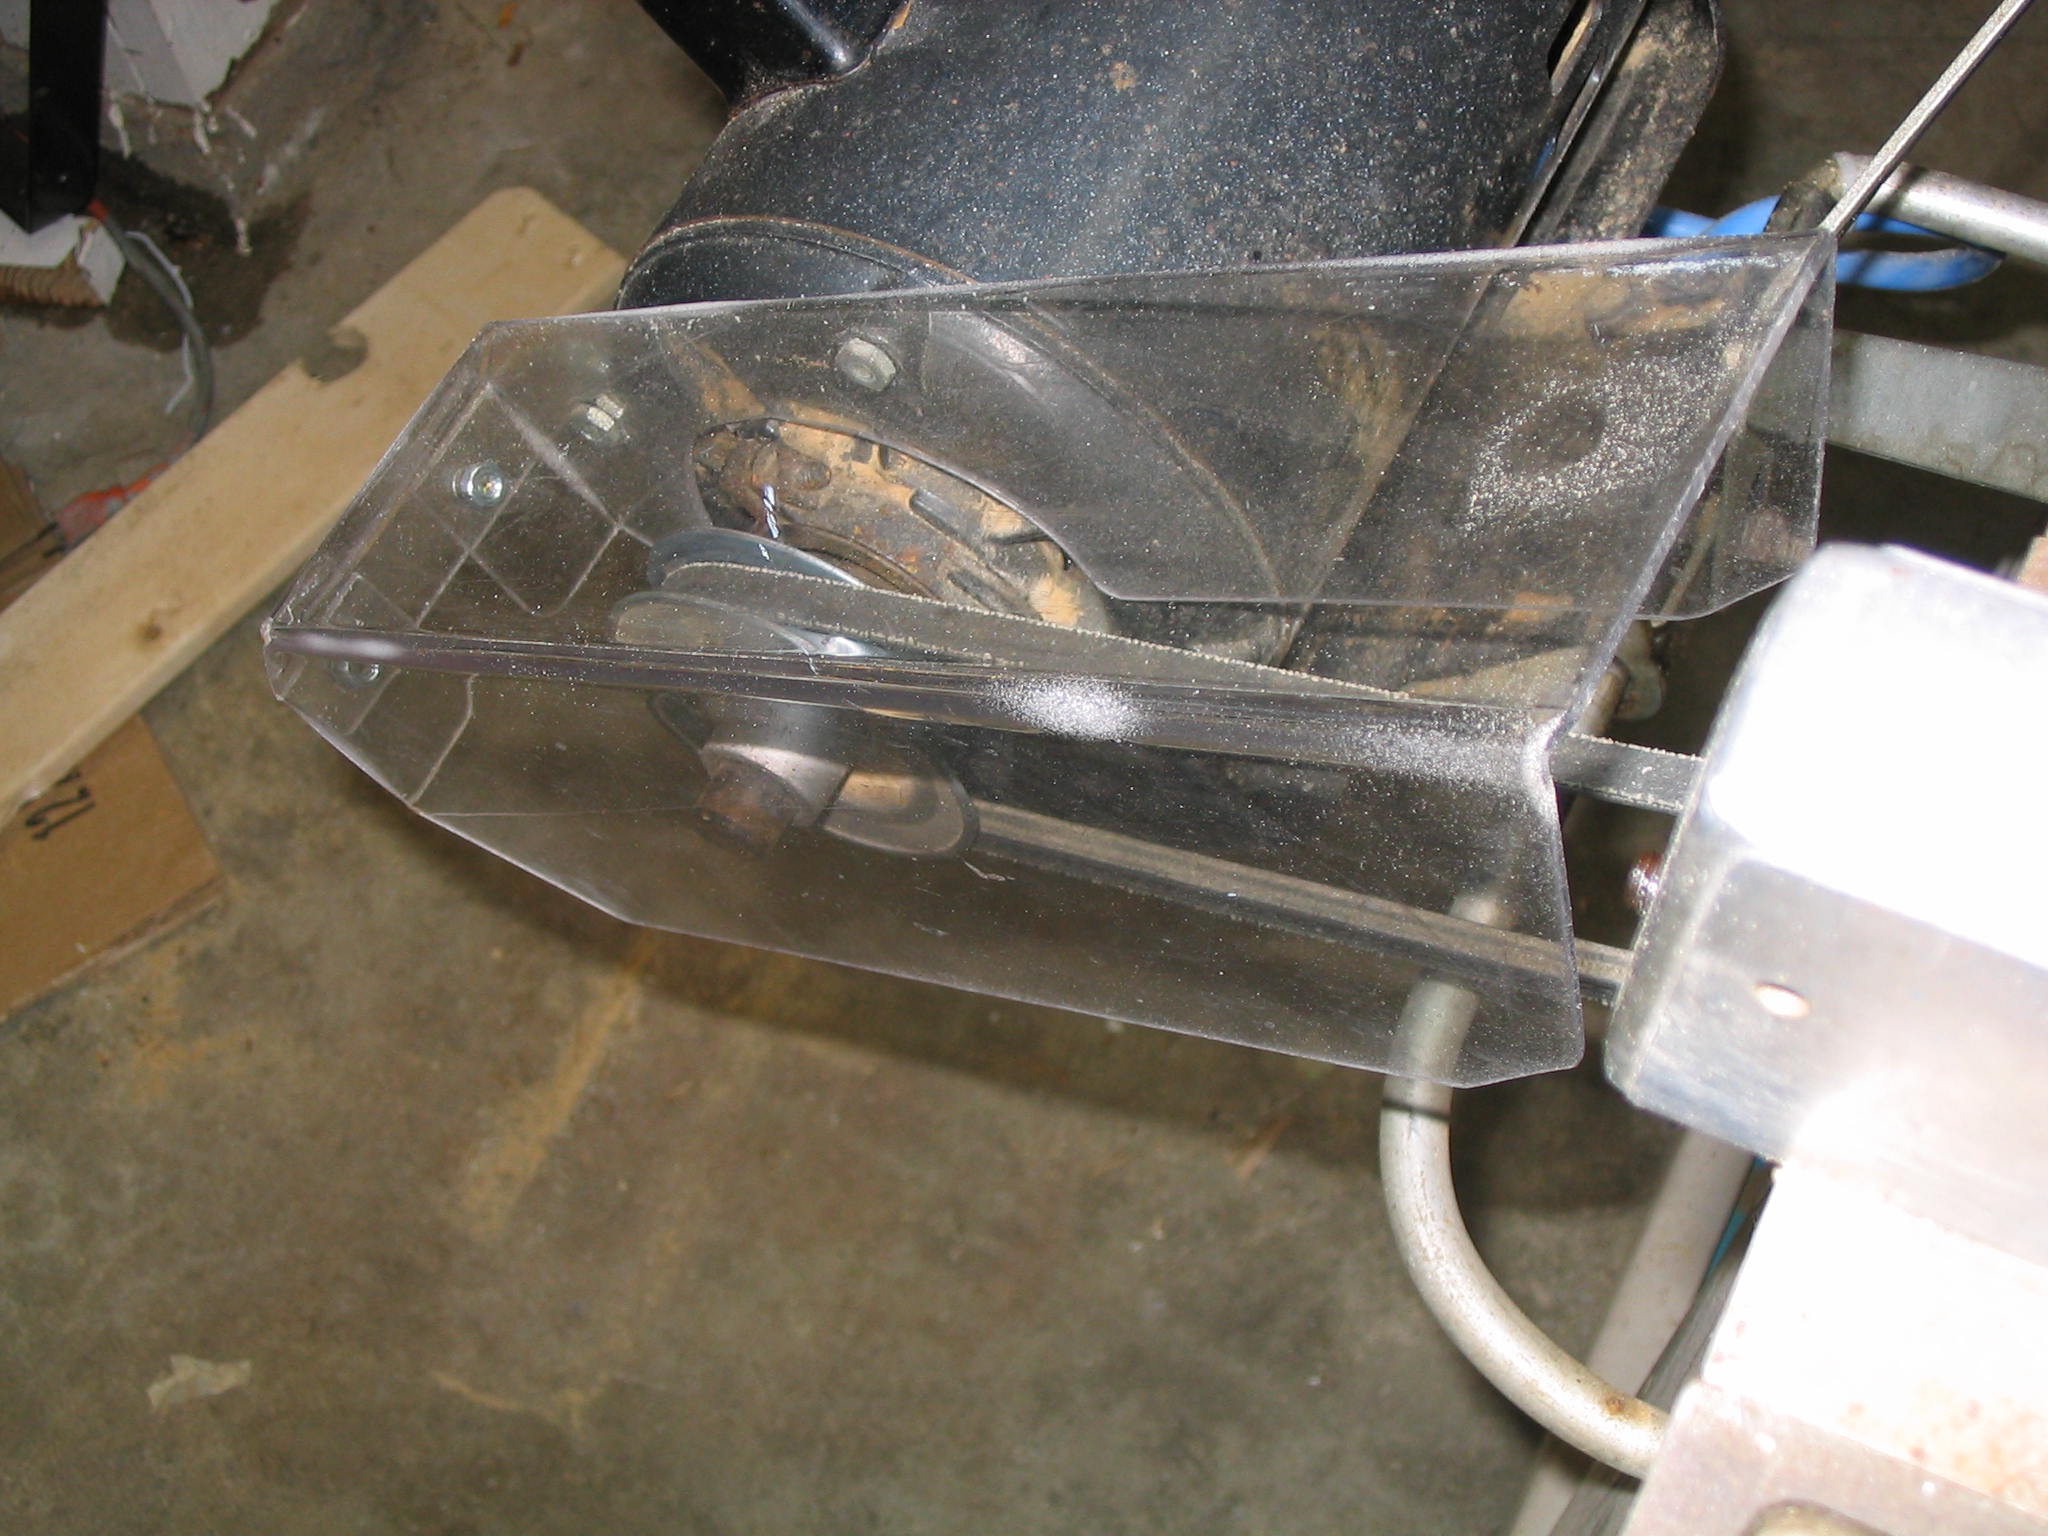
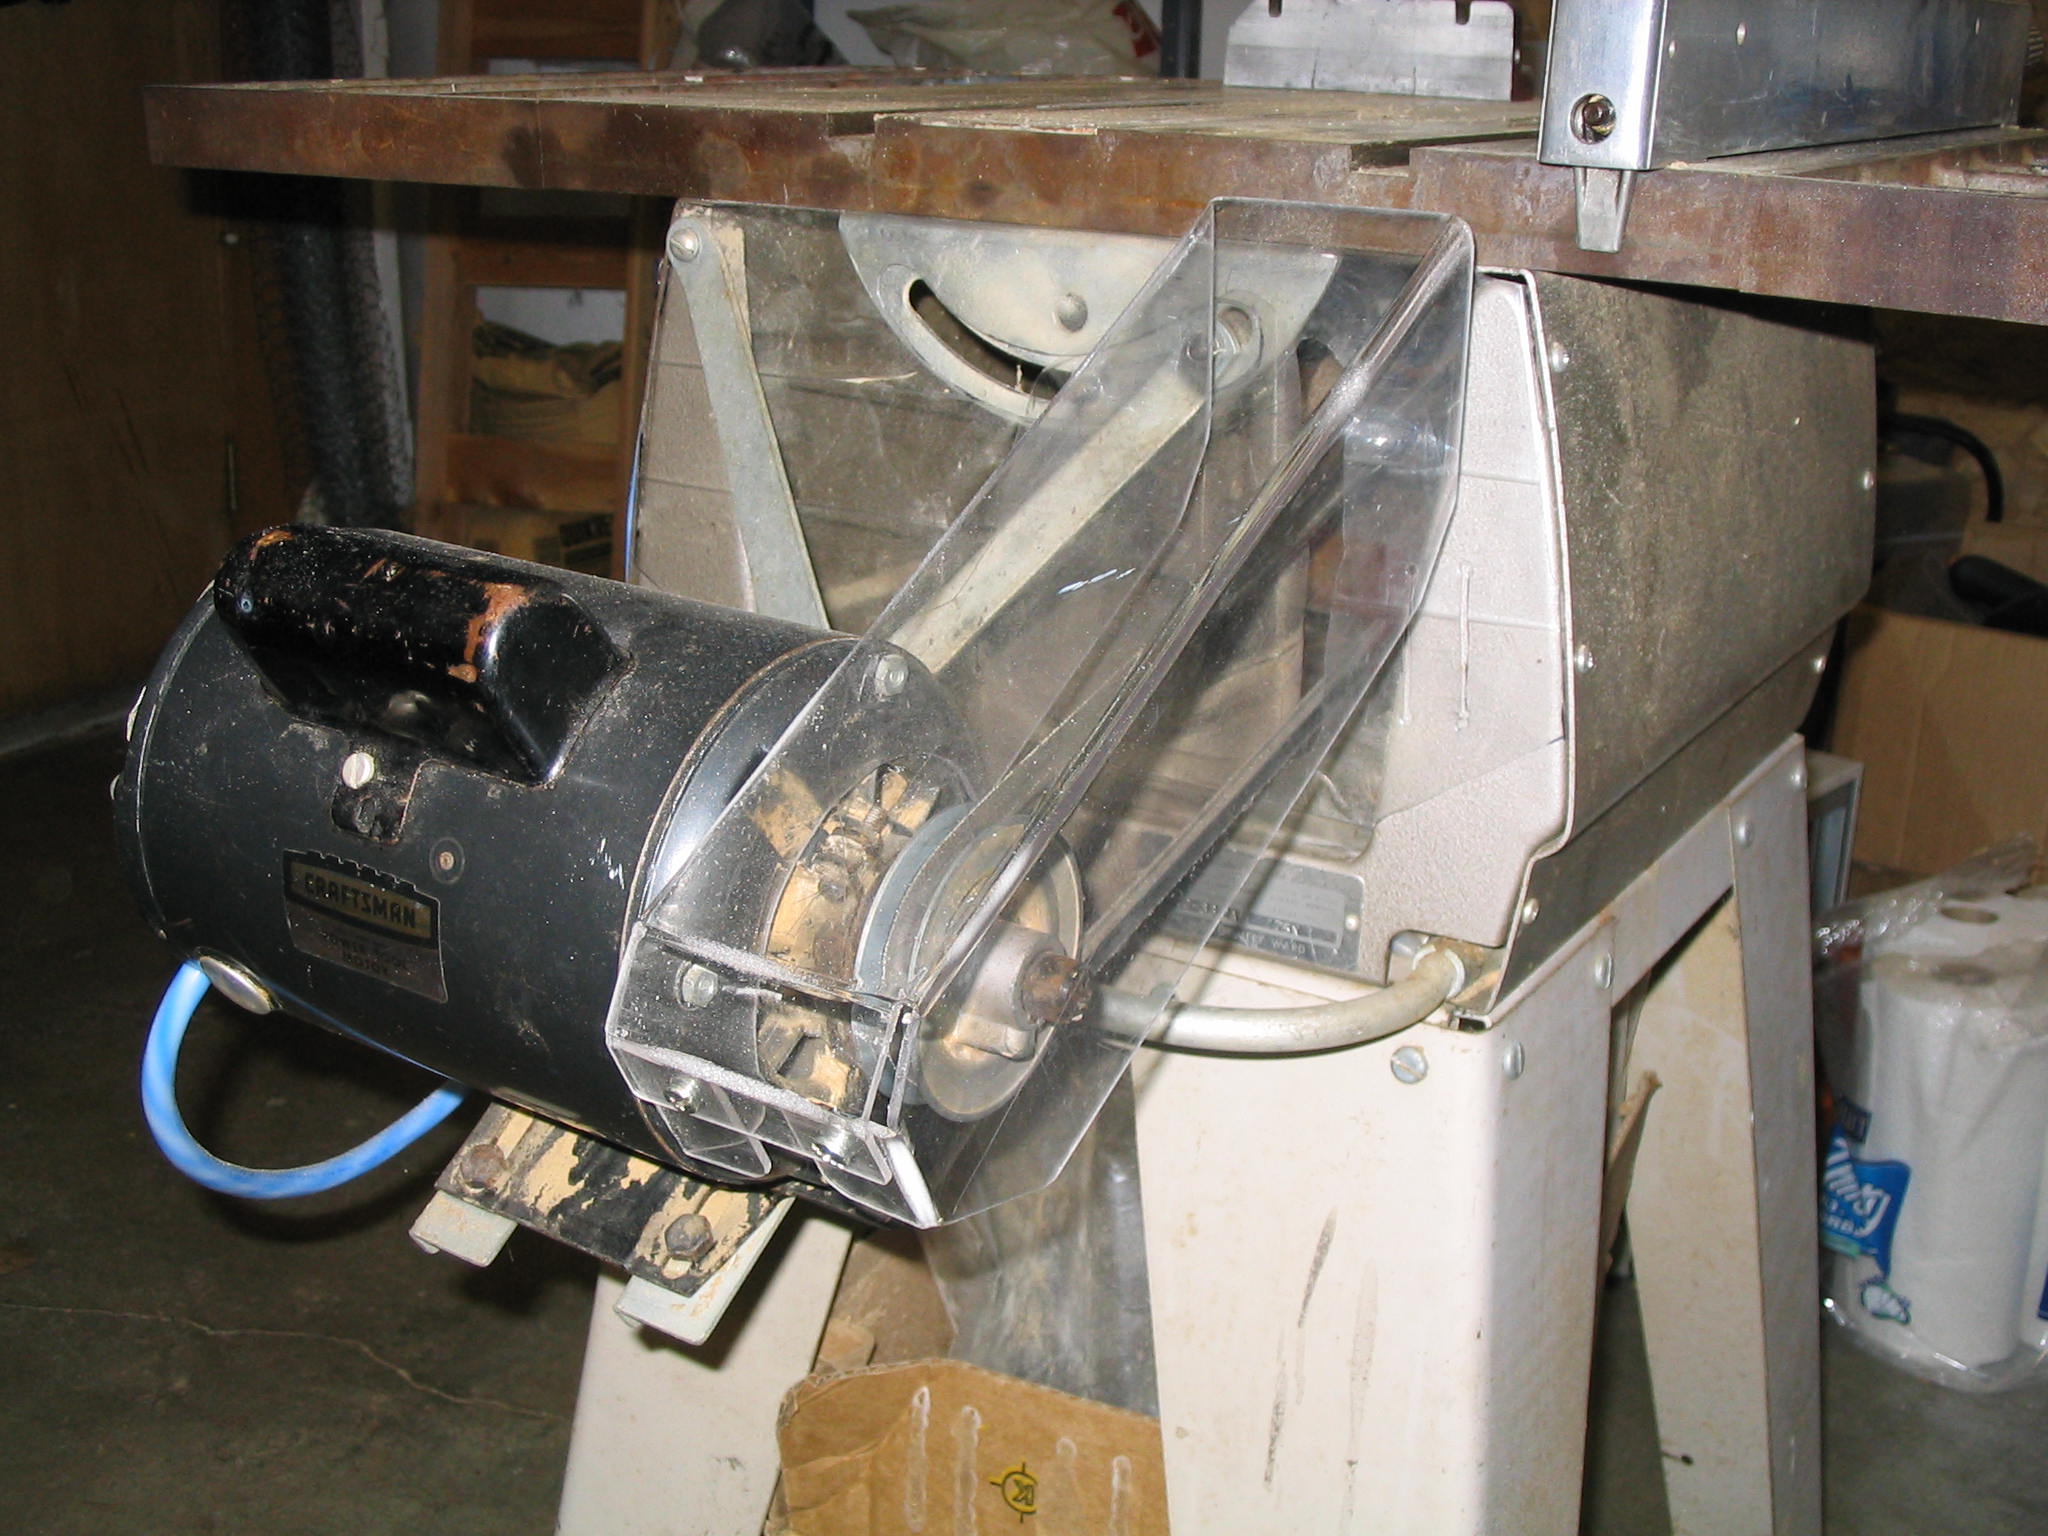
I decided to make a belt guard using a piece of Lexan shatter-resistant polycarbonate plastic, to prevent dropped items from hitting the moving belt. Don’t use acrylic plexiglass for safety features like this, since acrylic will shatter with a hard impact.

Belt guard
This saw presented one small challenge, in that the motor is not stationary. It actually slides sideways along a rail when the blade is tilted, and pivots forward and backward when the blade height is changed. Therefore I had to decide whether to mount the guard to the motor or to the table. I decided to mount it to the motor, since that gave the most consistent coverage of the belt in the various motor positions.

The Complete Table Saw Book
cover
Amazon | Powells
IndieBound

First I made a template using cardboard and fit it to shape. I moved the motor to its various limits of blade tilt and height, ensuring I still had reasonable coverage of the belt. I made sure to leave room for the ventilation holes in the motor case around the shaft, and room around the pulley to change the belt.

Then I transferred the cardboard template onto the plastic. I cut out the plastic with a saber saw and drilled the mounting holes. Then I had to bend the sides.

Lexan can be bent by brute force, but it leaves a weak joint. (Don’t even try to bend acrylic by brute force, it shatters into nasty shards.) The best way to bend it is with heat. I used a propane torch, since I had one readily available. I covered the plastic with wood pieces, leaving just a small strip where I wanted the fold. I heated it slowly, moving the flame along the line. When it softened enough, I bent it and held it in place for a minute while it cooled. This worked fairly well, although I did bubble and scorch the plastic in a few places.

After making all the bends, I screwed the end tabs together with simple nuts and screws. It could probably be glued also, but I did not investigate proper gluing for Lexan. I mounted it on the motor bolts, and declared it a success.


Submitted by amillar on Thu, 2006-01-12 12:57

Tablesaw wiring repair

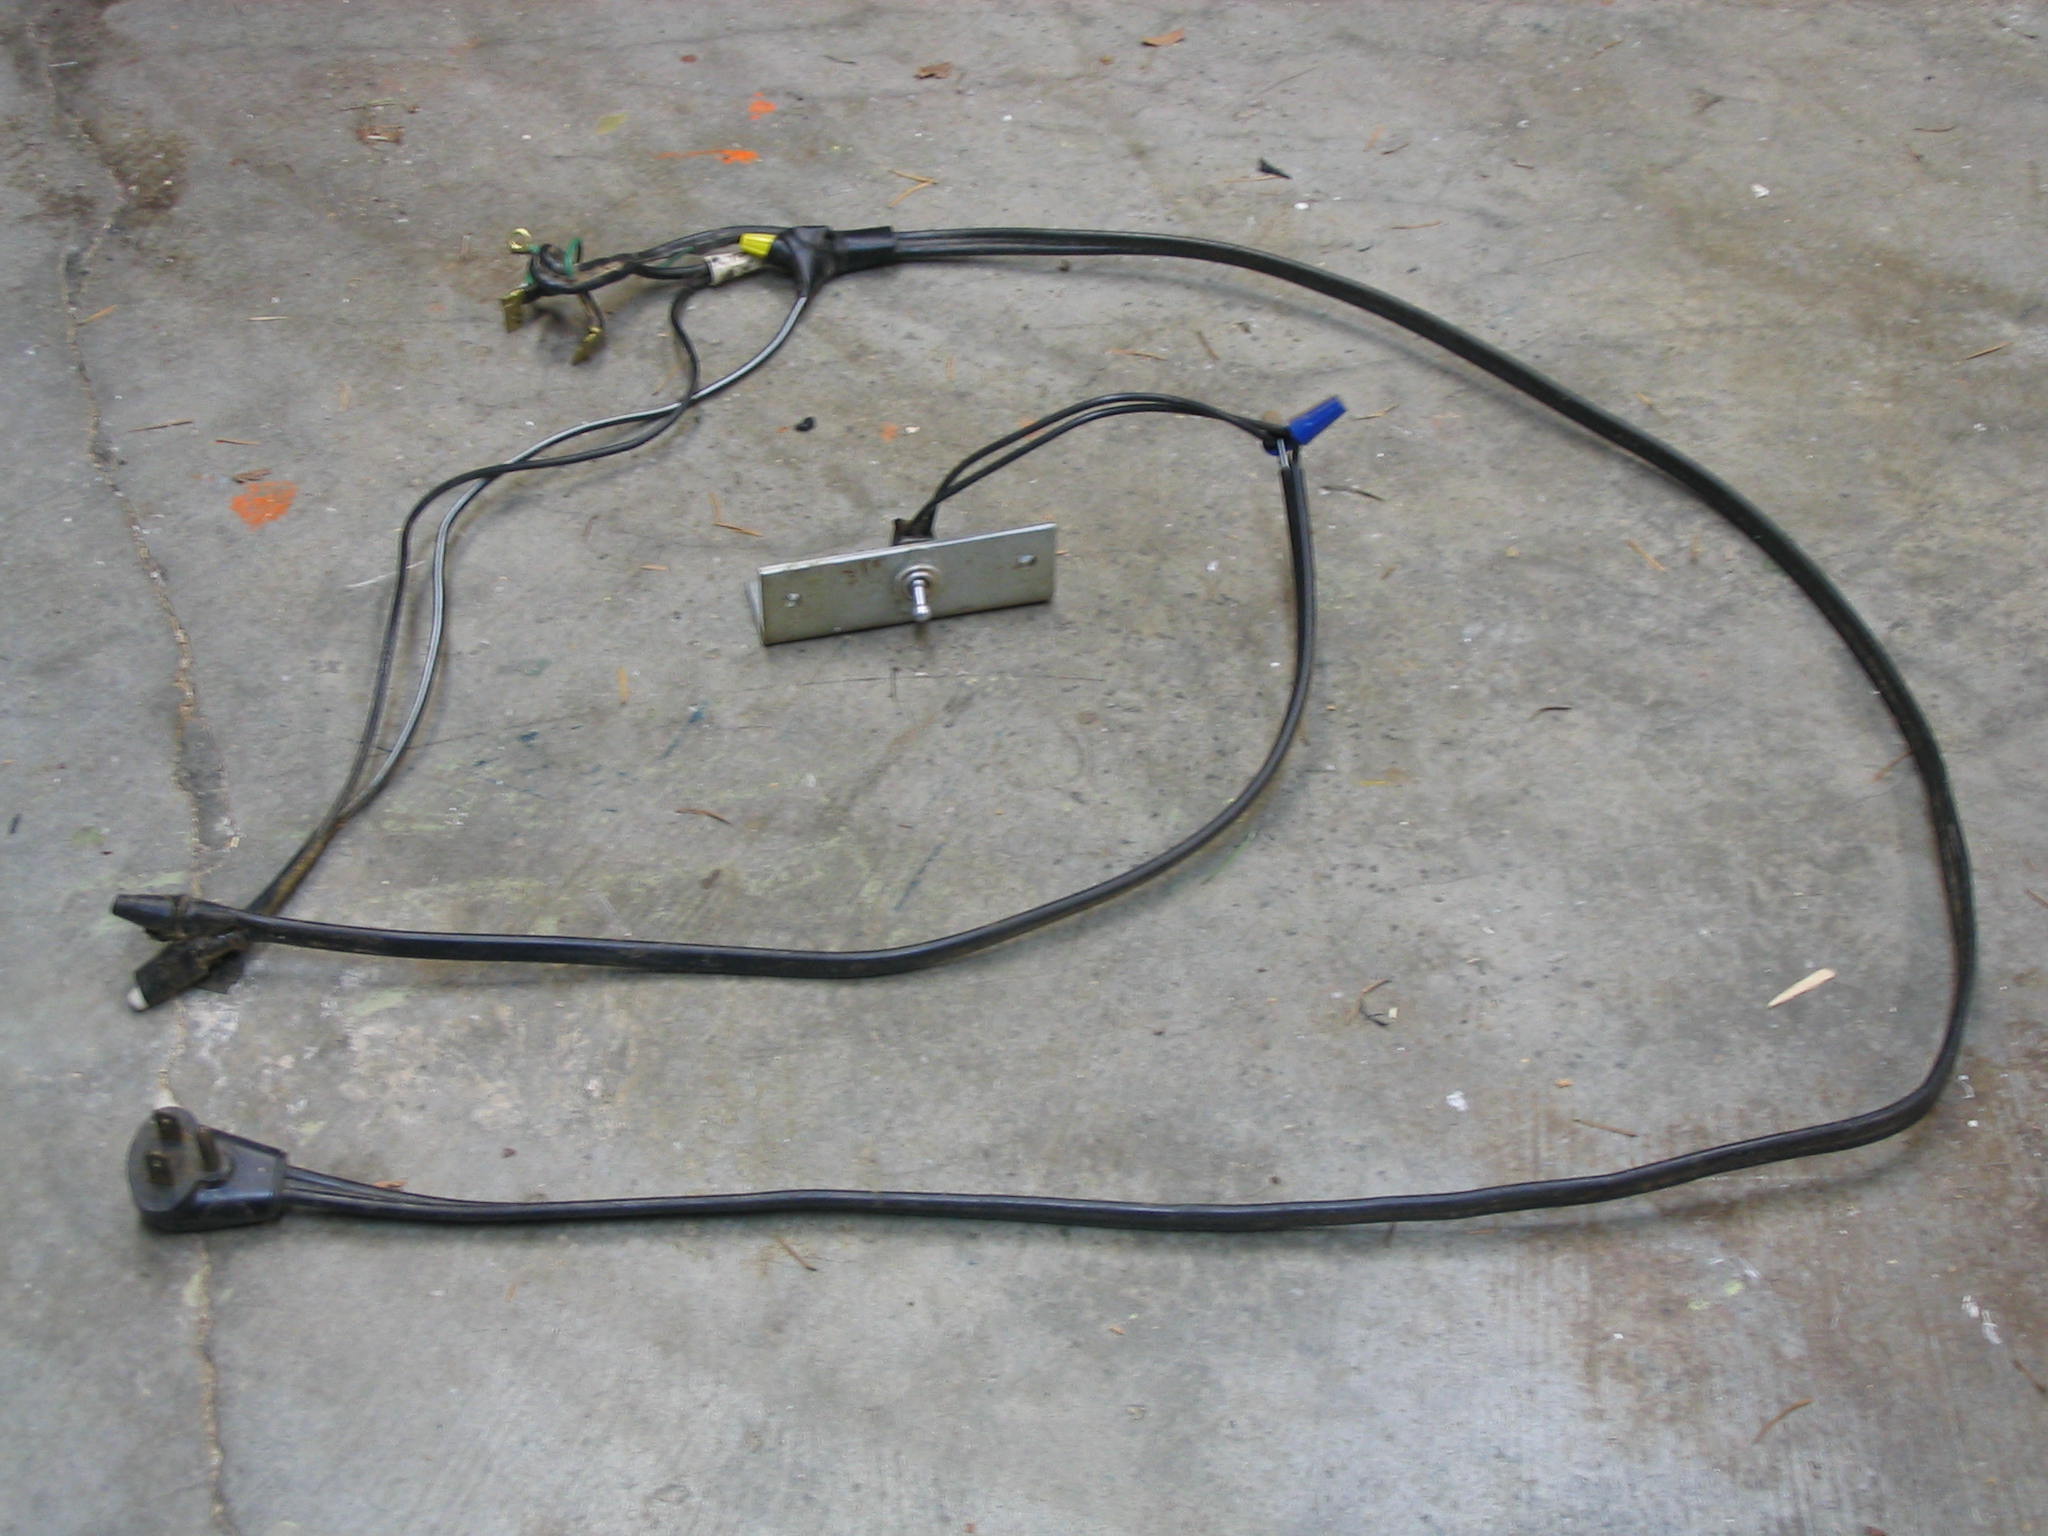
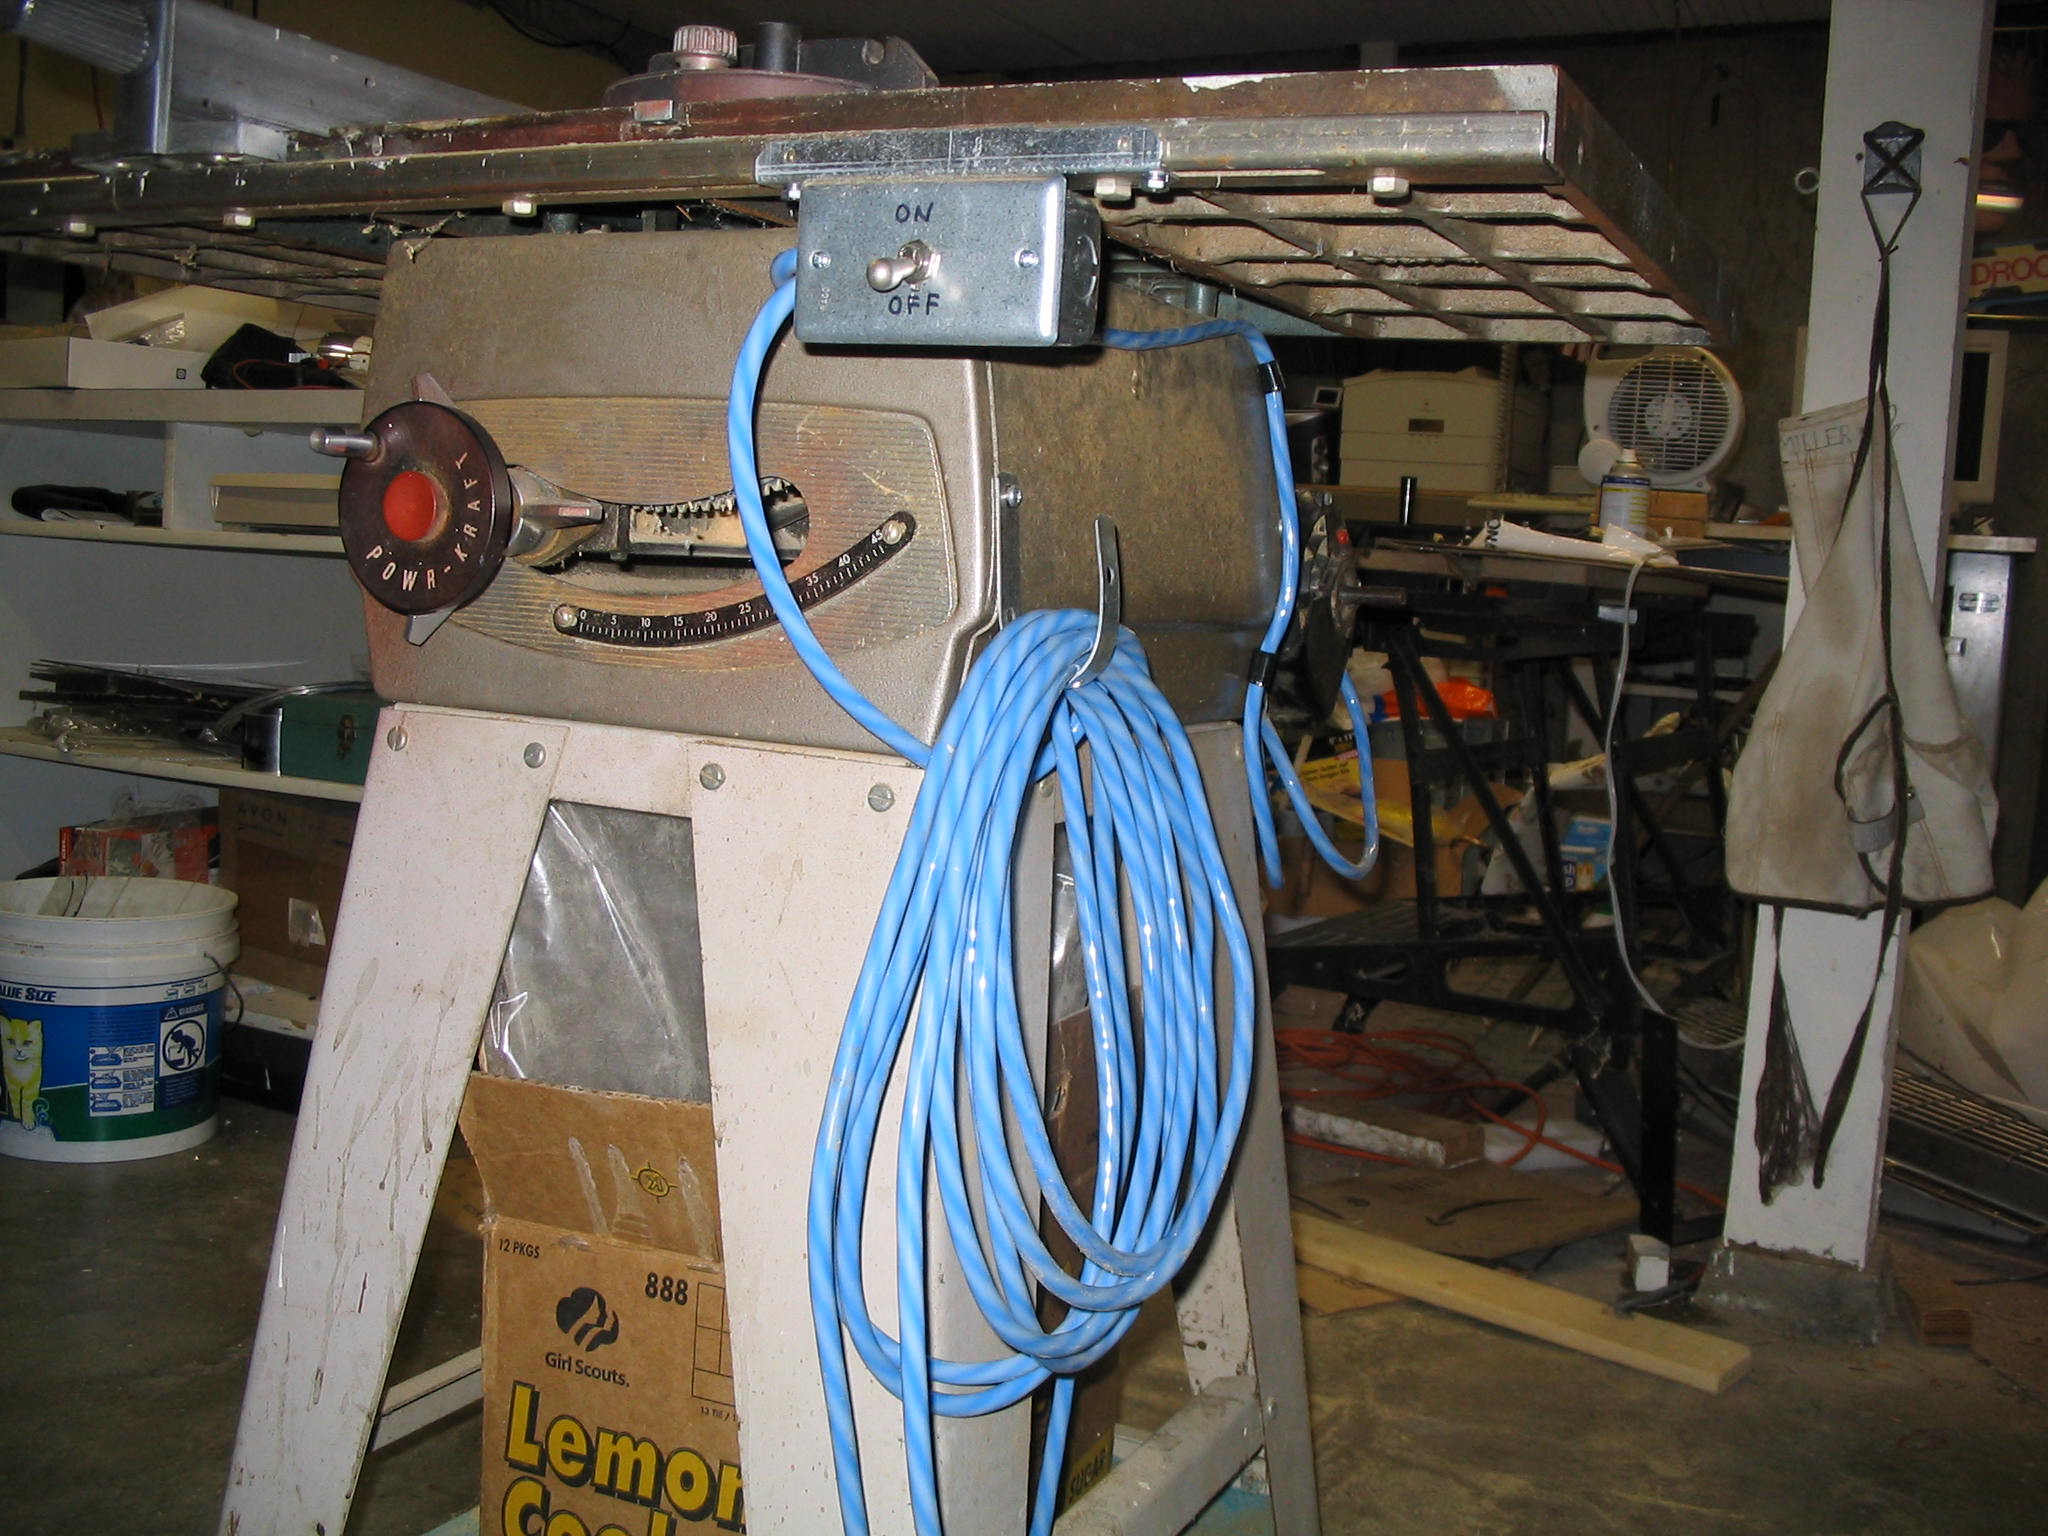
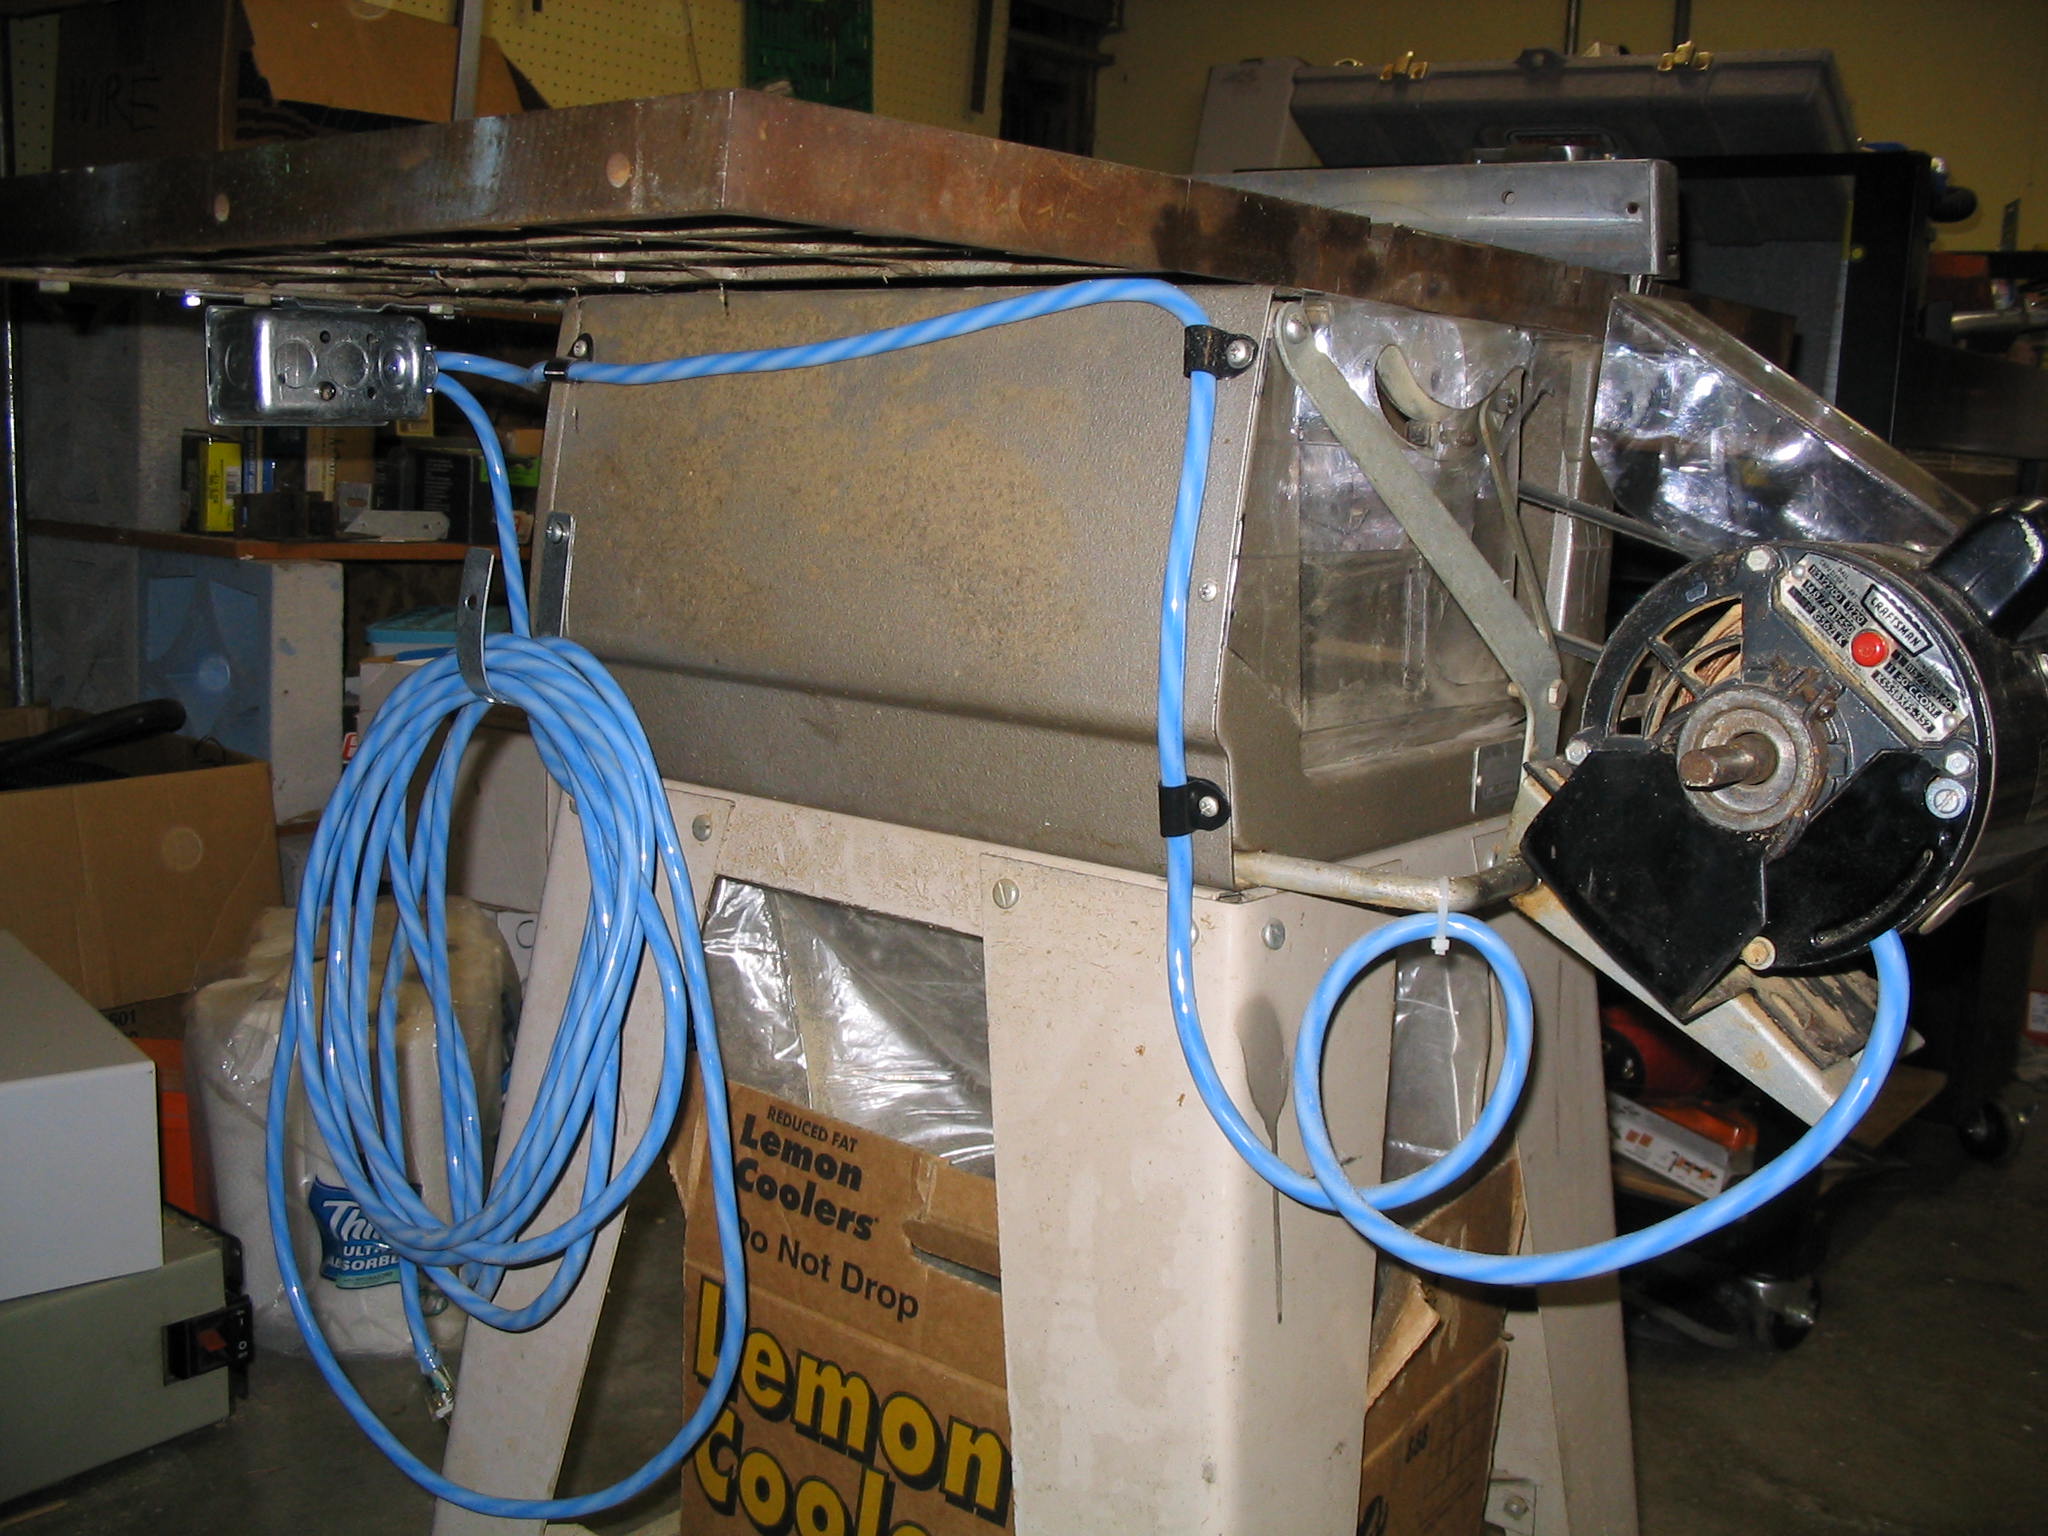
Old wiringMy used tablesaw needed a new power cord and switch. The cord was clearly in bad shape. The on-off switch was spliced in with a mess of wire nuts and electrical tape. It was time for some basic electrical repair.
New switch and wiring
The label on the motor said it would pull up to 14 amps at full load. I replaced the cord completely using a 14-gauge extension cord I got on Christmas clearance sale at Home Depot, which is rated to carry 15 amps. I added a safety switch, which must be pulled out and forward to turn it on, and mounted the switch in a proper electrical box with no exposed terminals or wires.

Motor wiring
Switchbox
There are a number of considerations when replacing a switch and cord on an appliance or power tool.

  • Maintain proper grounding. The motor already had a ground lug for the cord, which I connected securely. I also attached the ground wire to the new metal switch box I installed, thereby ensuring a good ground for the table saw frame as well.
  • Use the correct wire size. 14 gauge should carry up to 15 amps safely.
  • Switch the “hot” wire. In household AC wiring, there is a black “hot” wire and a white “neutral” wire. Although both carry electricity, the hot wire should always be switched instead of the neutral. This is important in case of a short circuit, to maintain safety.

Submitted by amillar on Thu, 2006-01-12 12:25