 After I repaired the electrical wiring on my garage-sale table saw, I inspected the mechanical workings. It appeared to be in good working condition. There were, however, no modern safety controls. I later found that this table saw was made somewhere around 1956, when blade guards were optional and belt guards weren’t even offered.
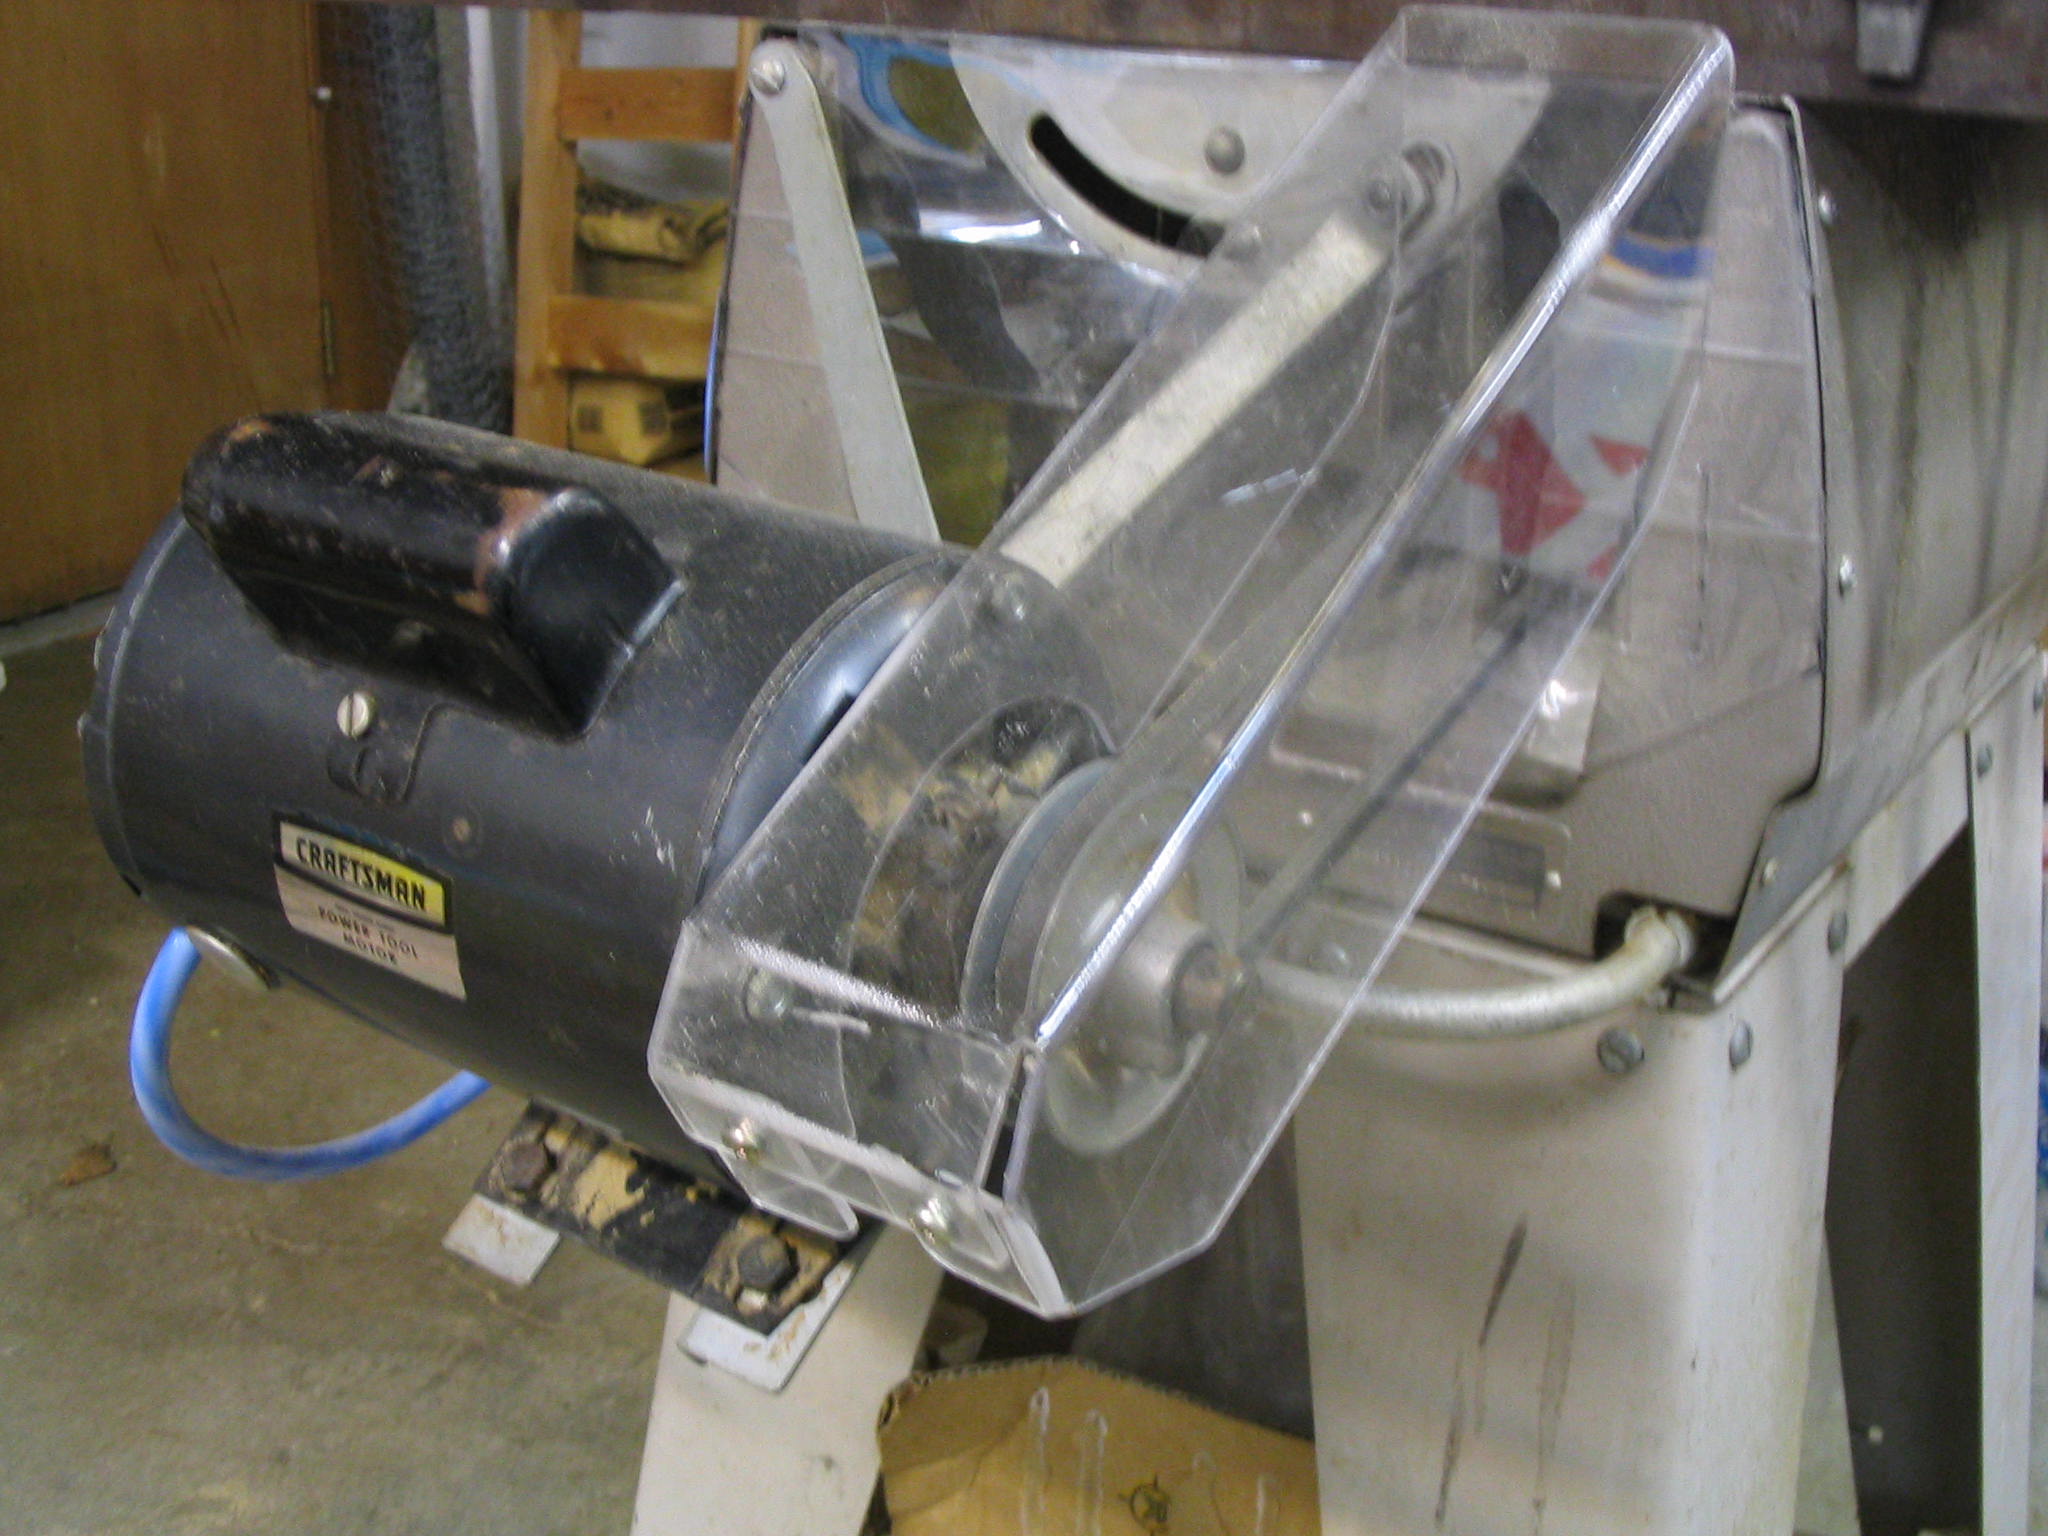
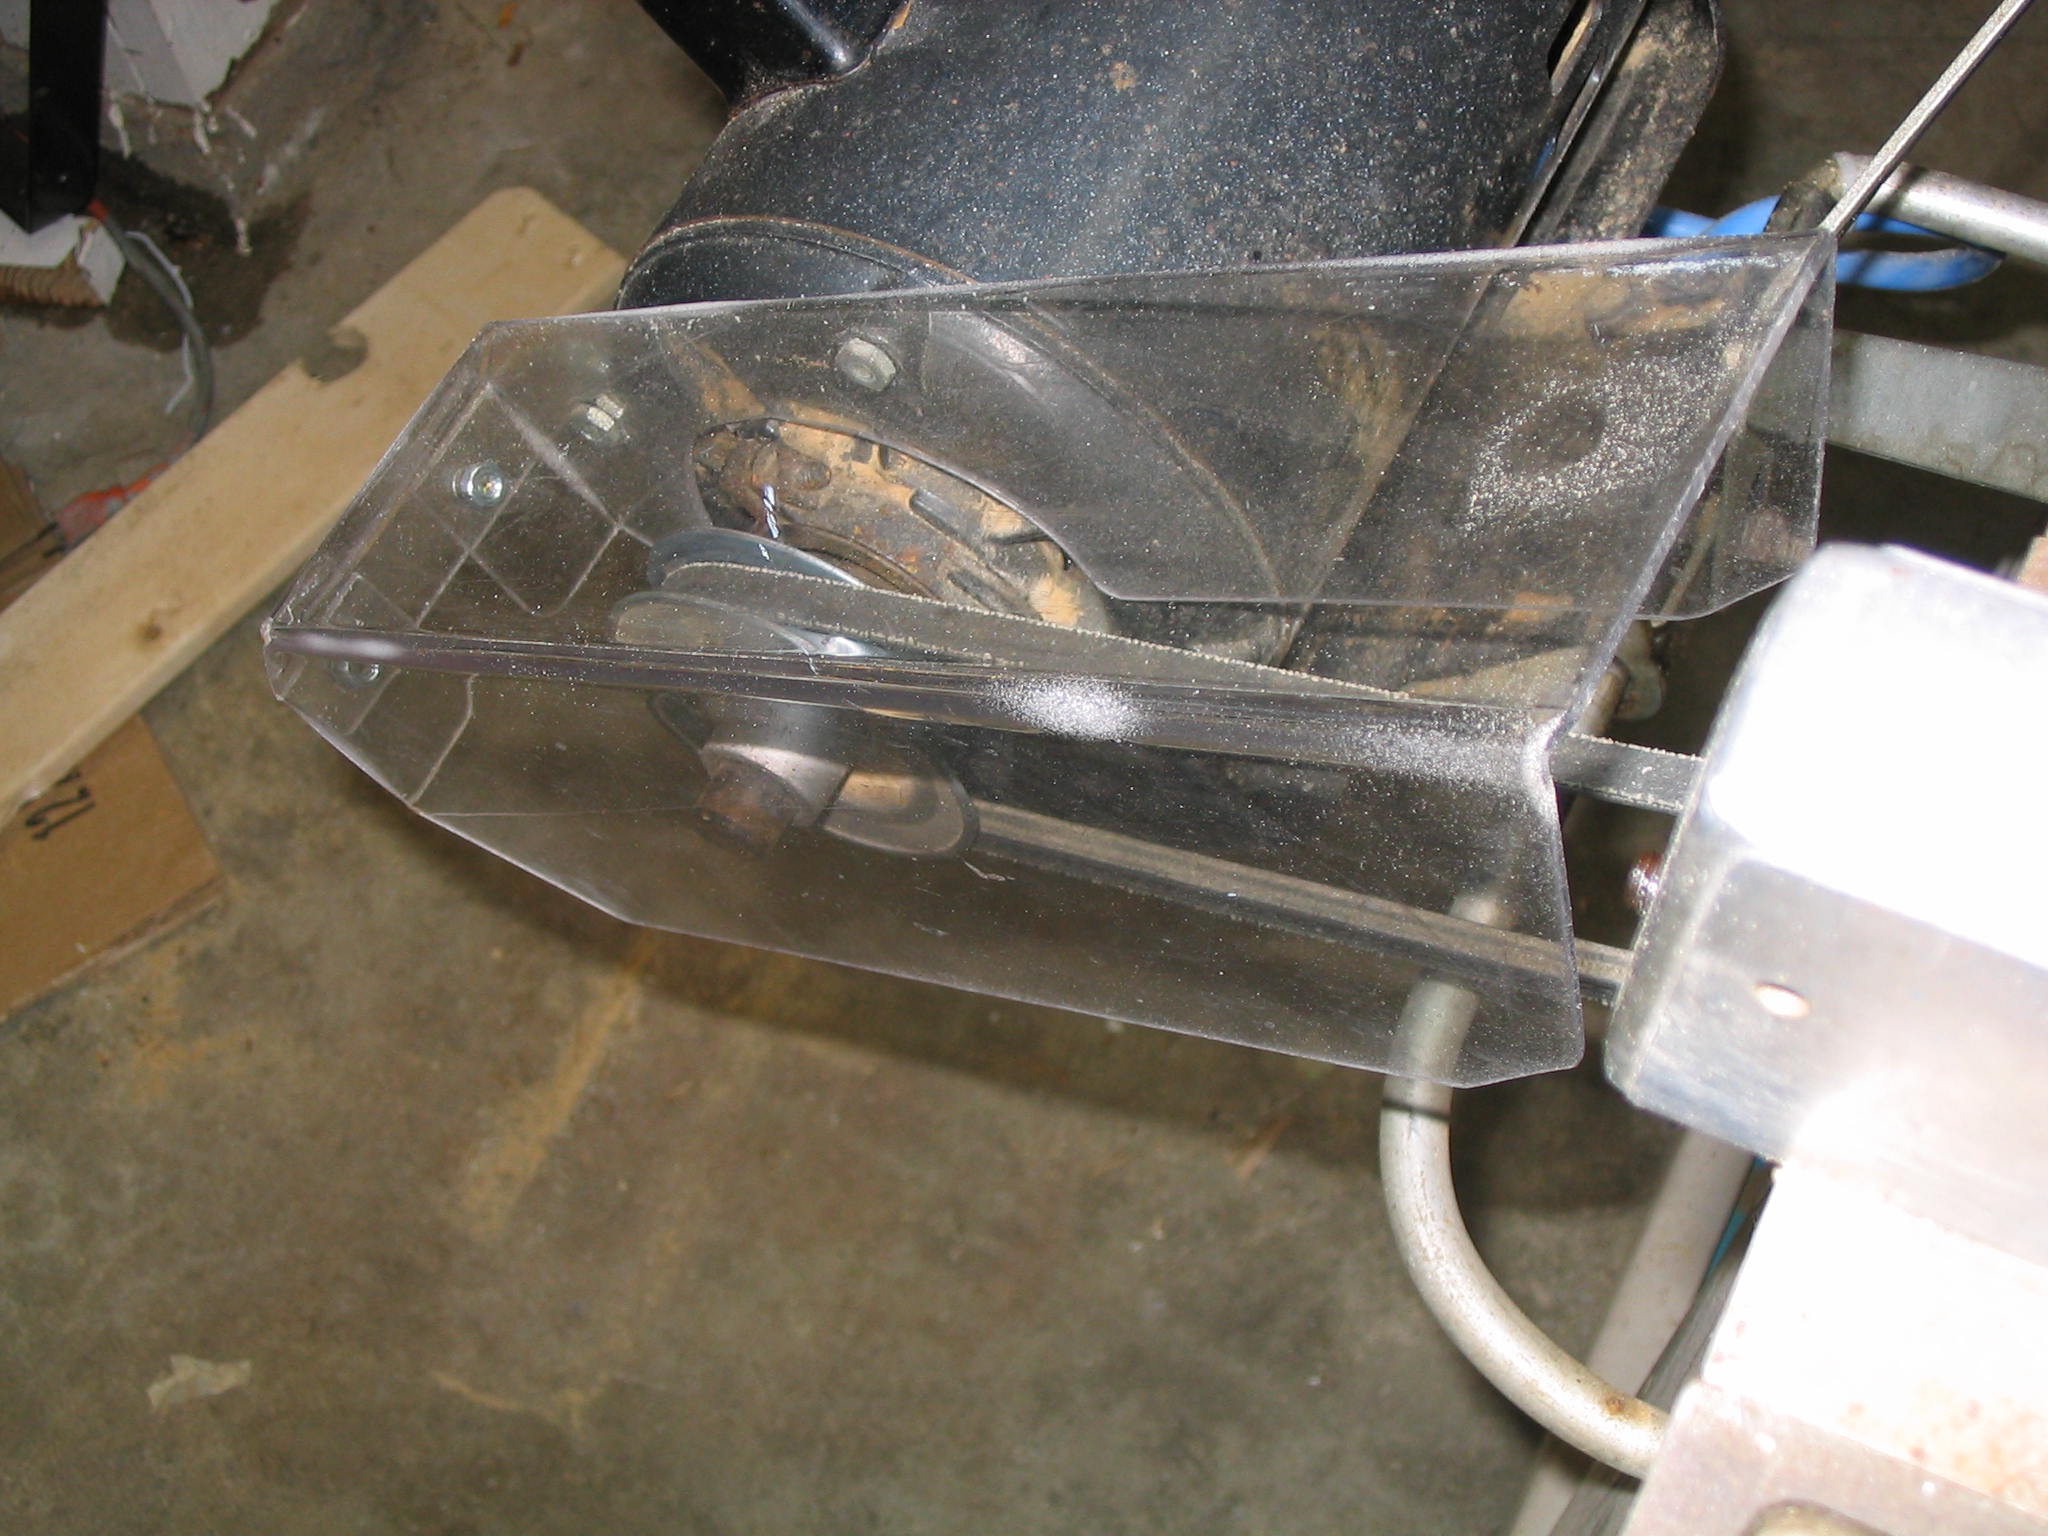
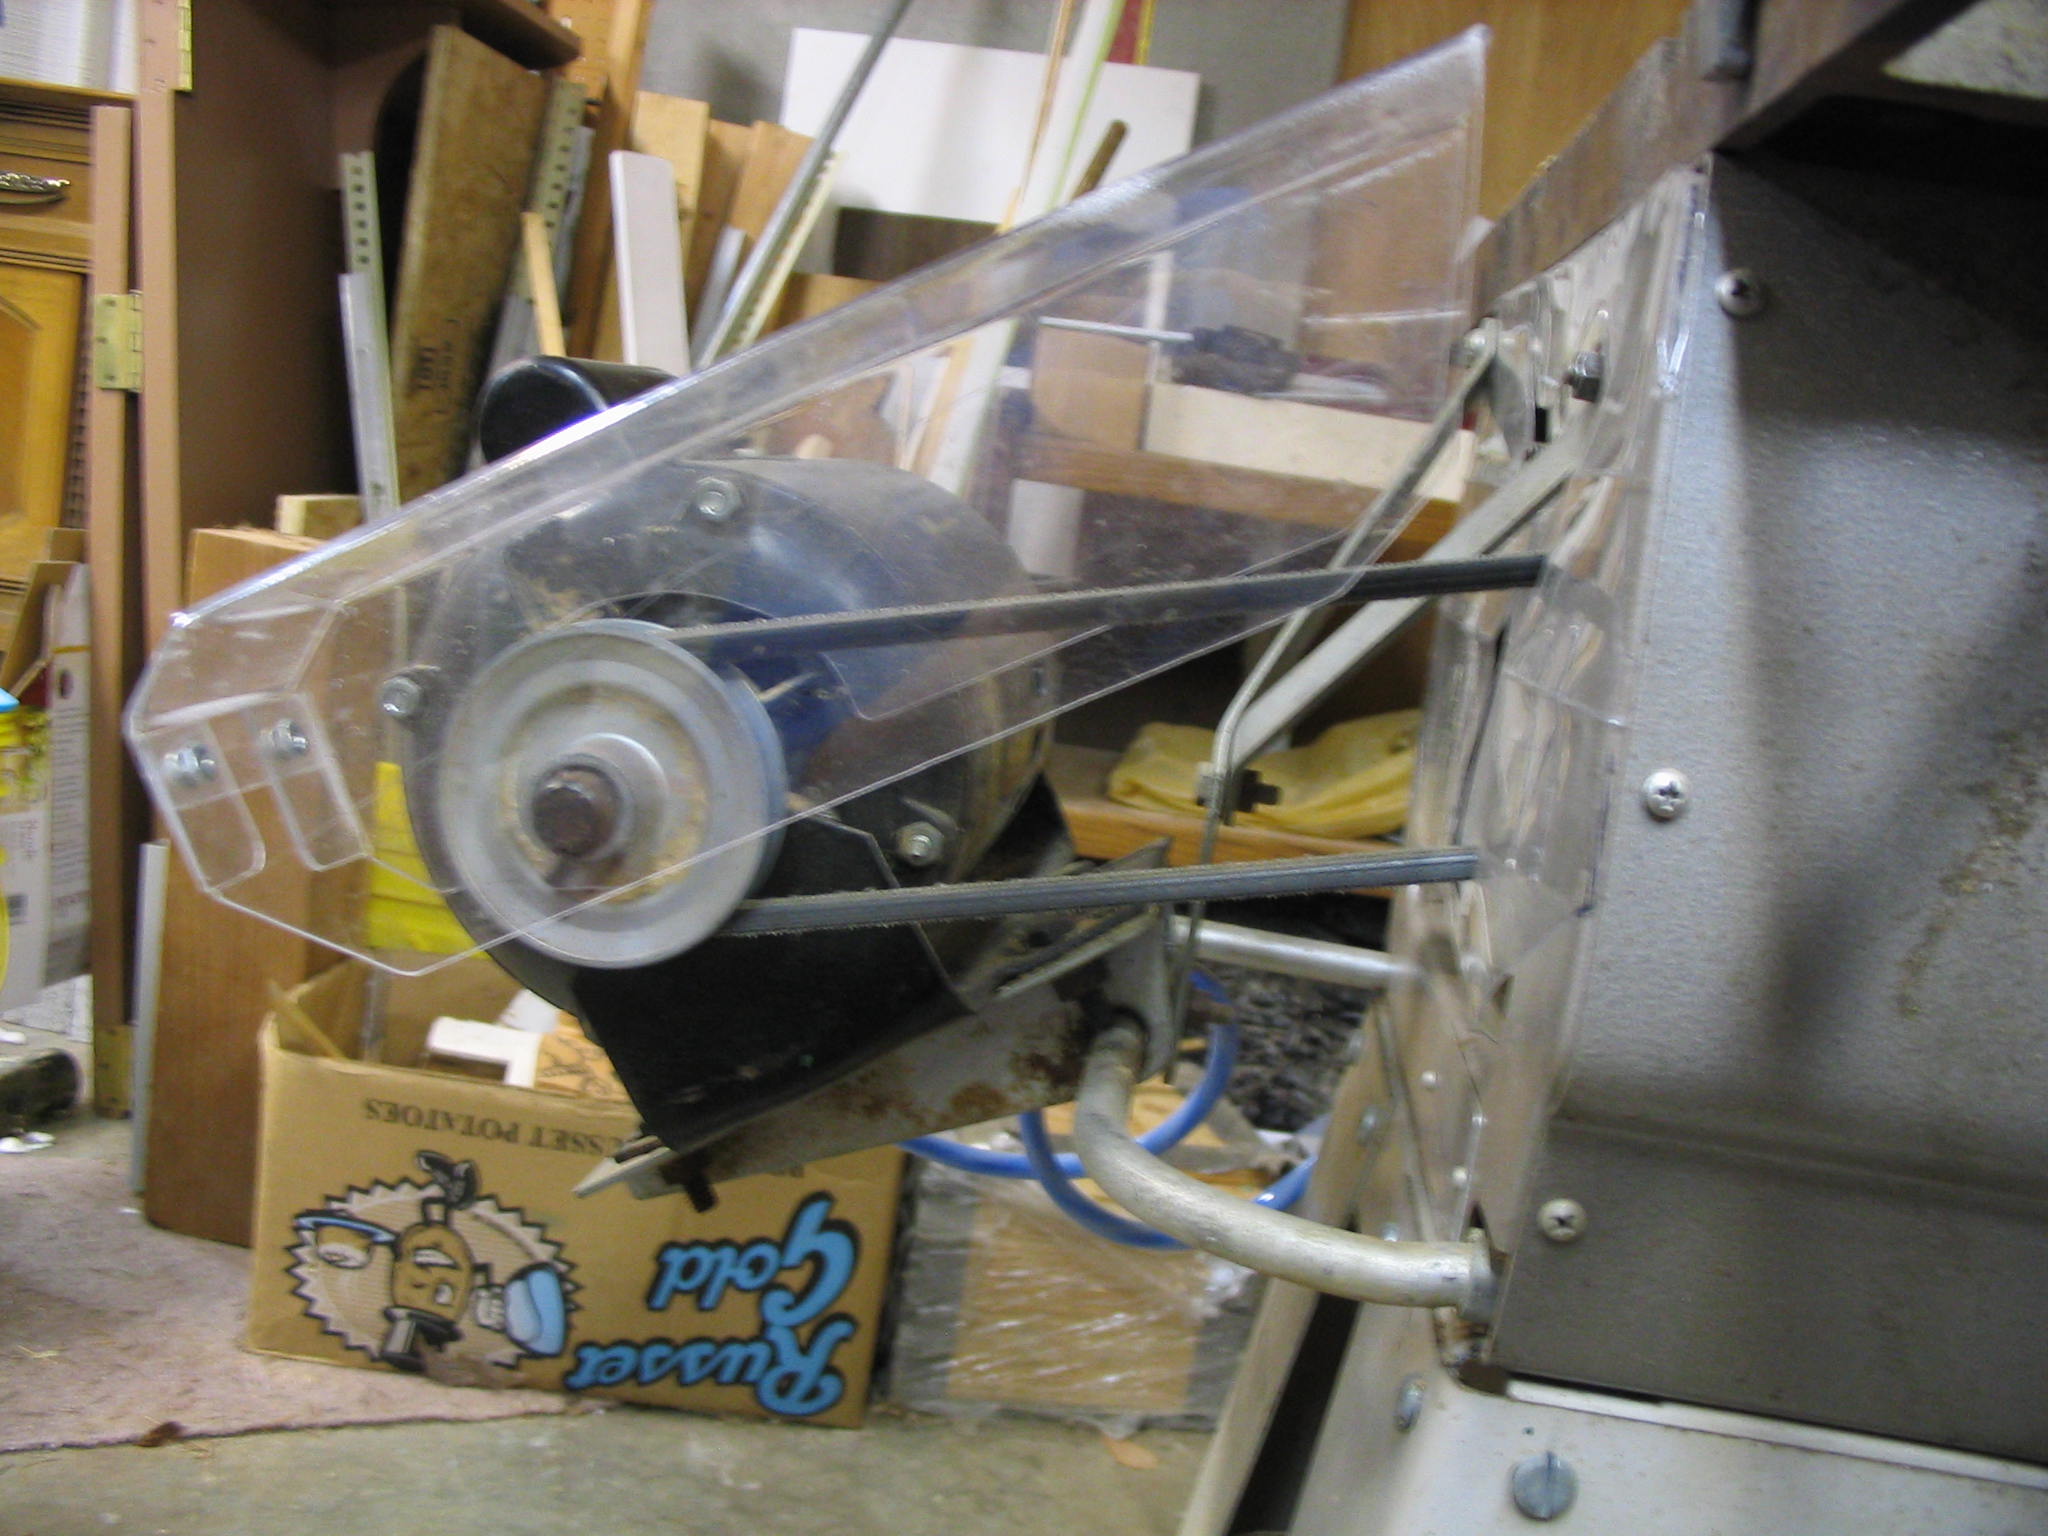
I decided to make a belt guard using a piece of Lexan shatter-resistant polycarbonate plastic, to prevent dropped items from hitting the moving belt. Don’t use acrylic plexiglass for safety features like this, since acrylic will shatter with a hard impact.
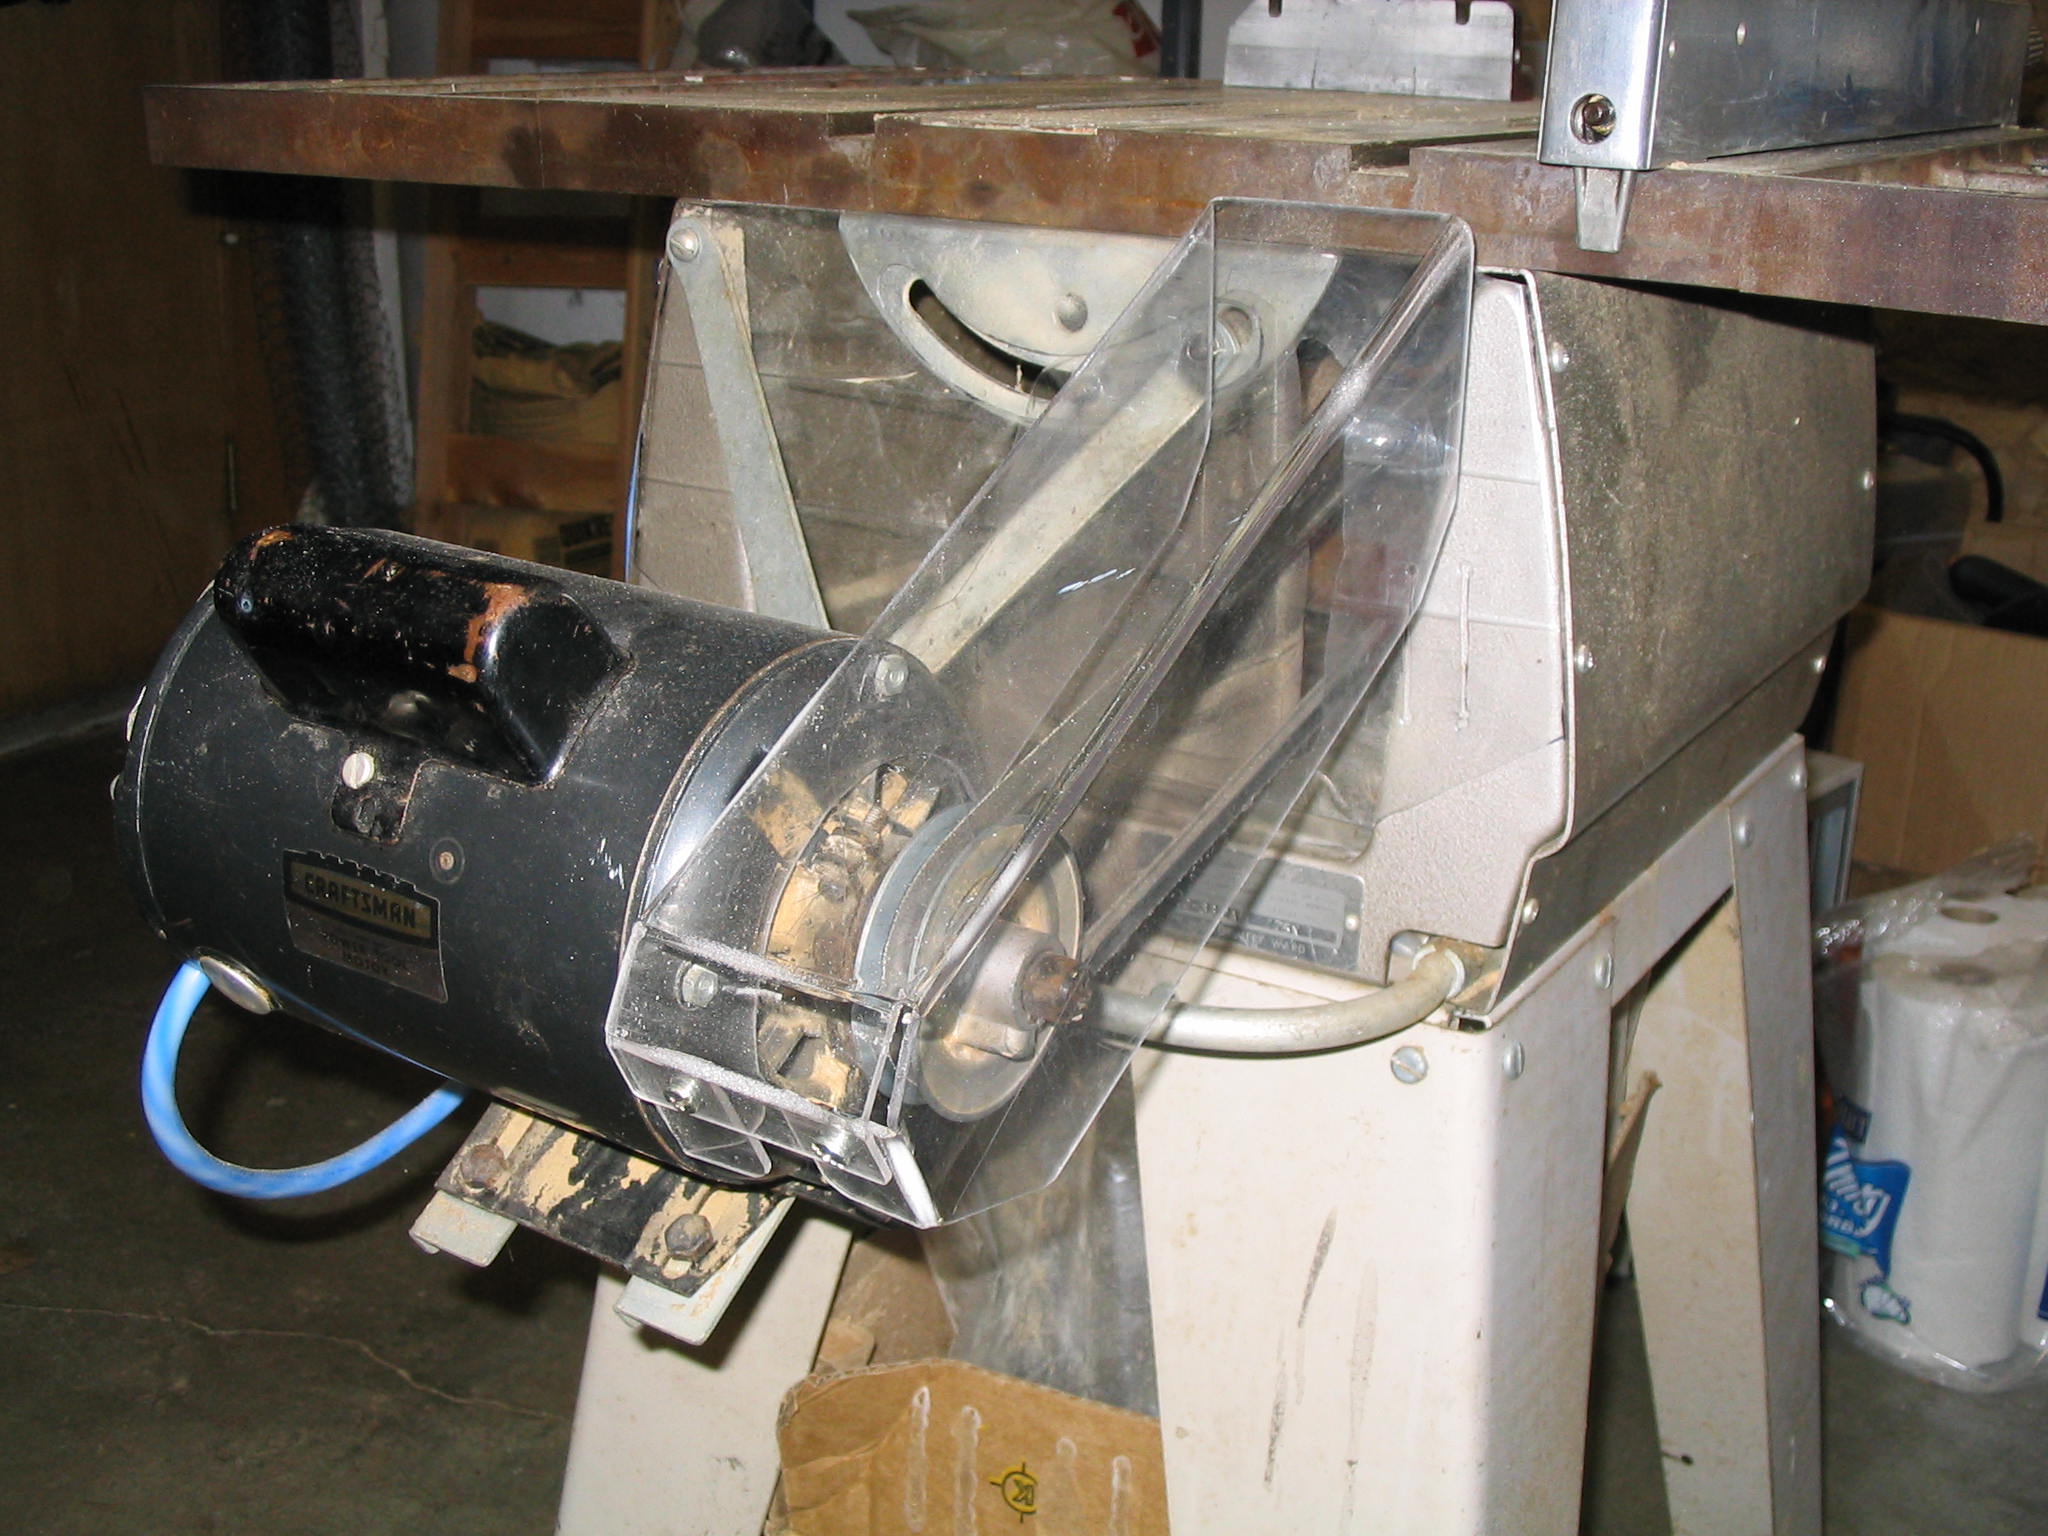
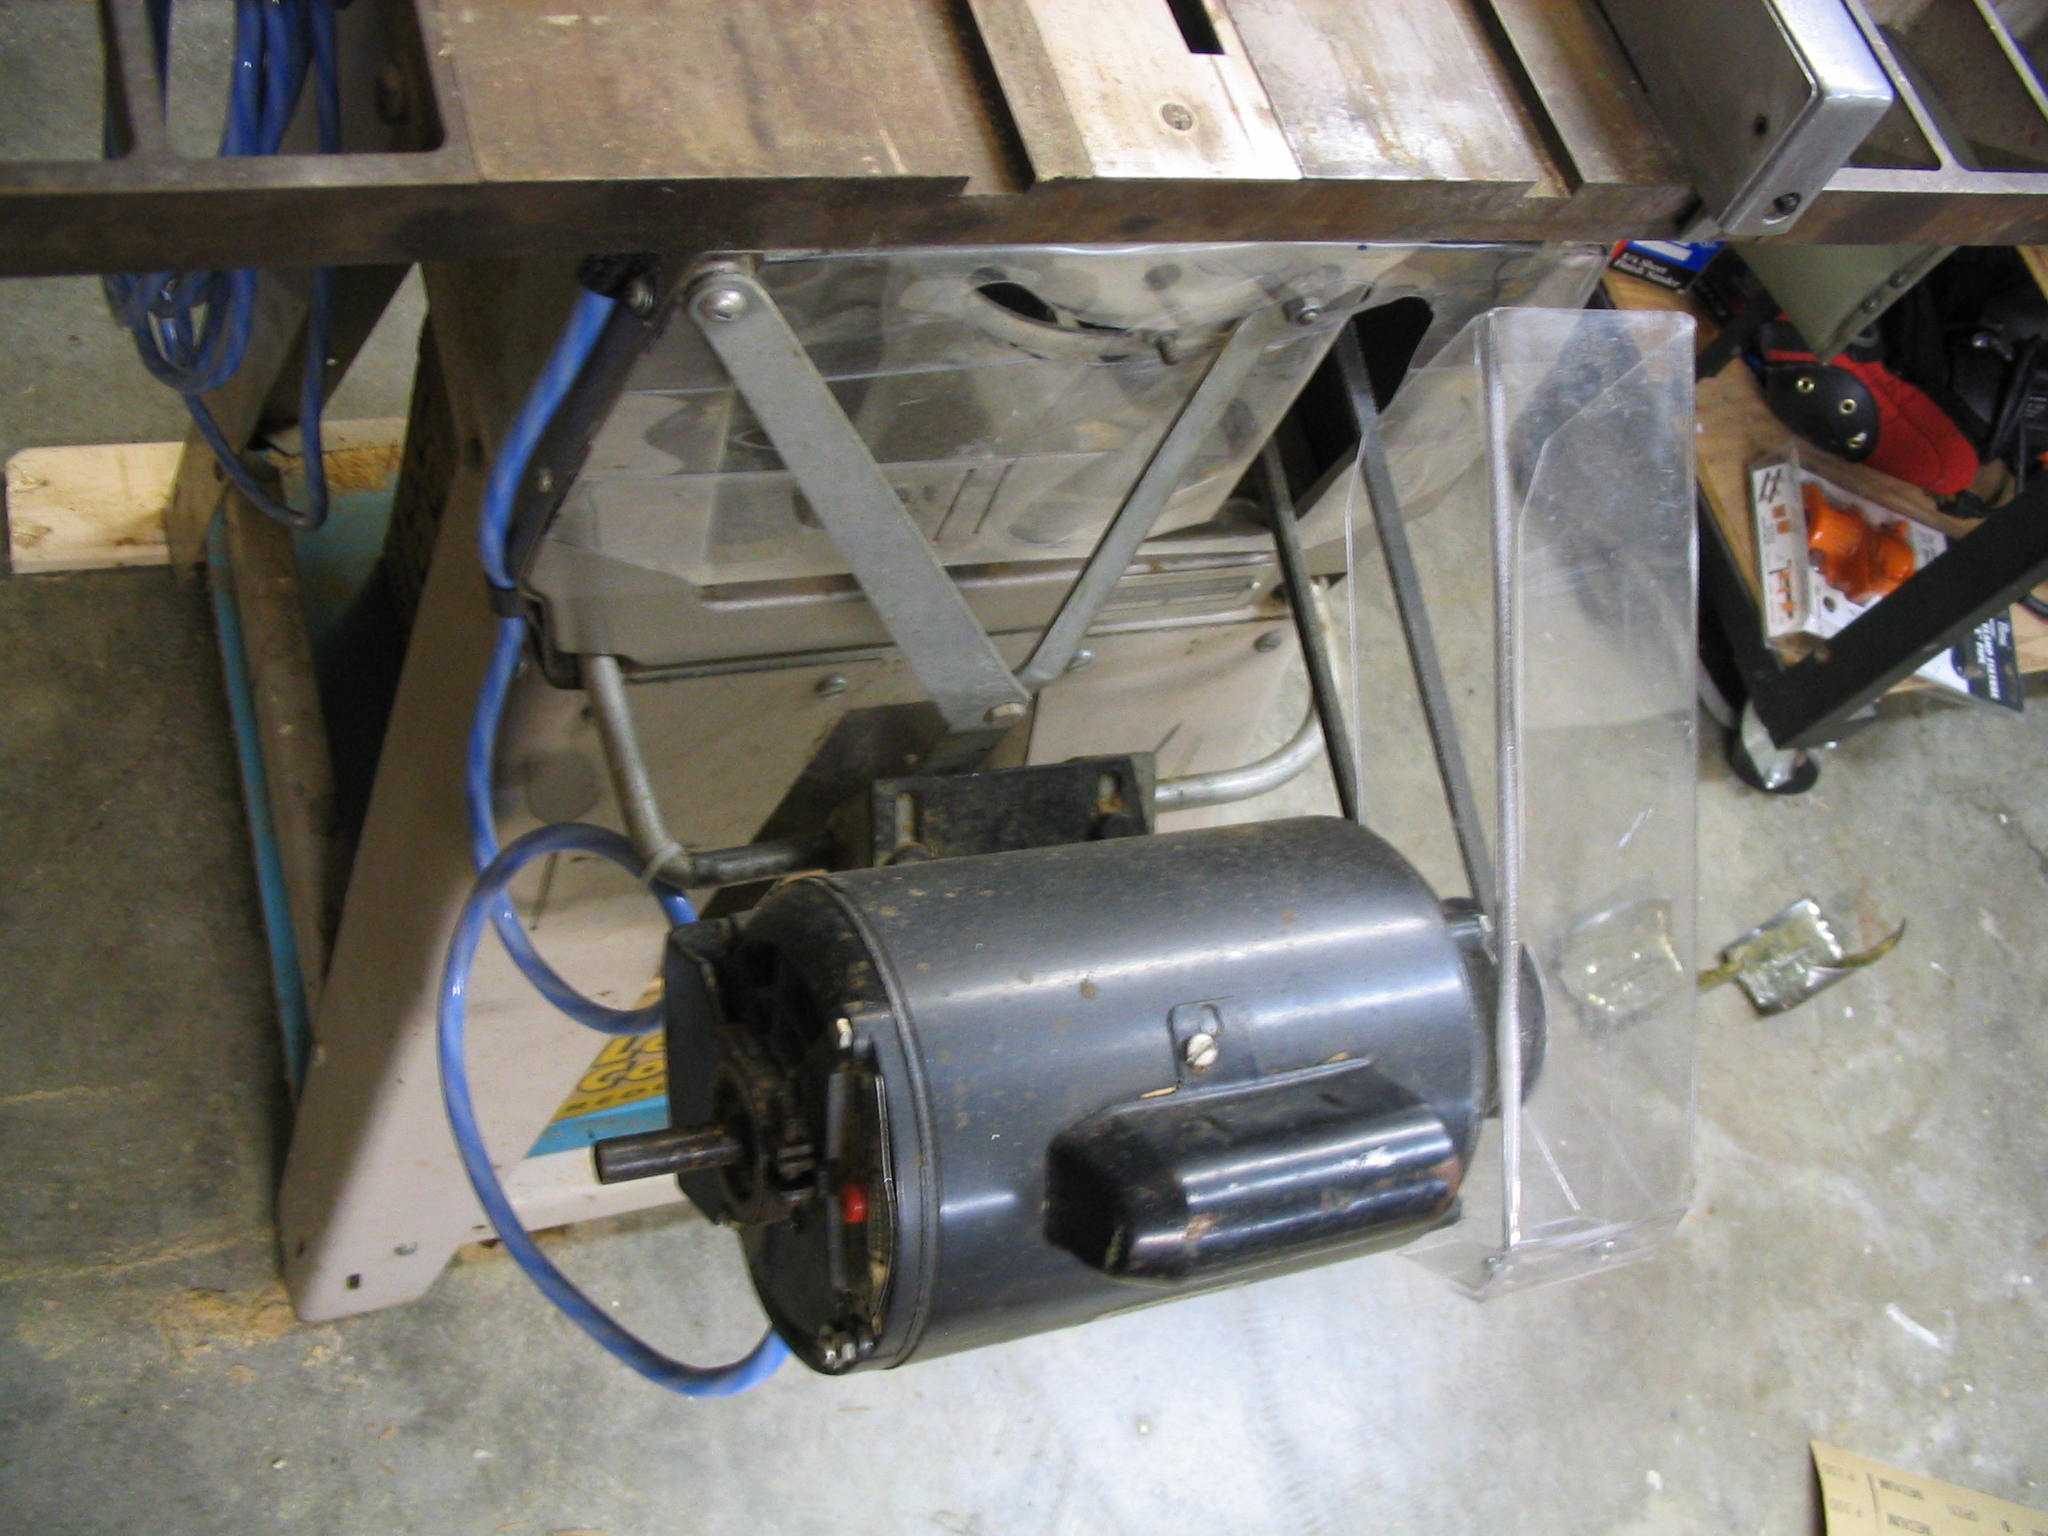
This saw presented one small challenge, in that the motor is not stationary. It actually slides sideways along a rail when the blade is tilted, and pivots forward and backward when the blade height is changed. Therefore I had to decide whether to mount the guard to the motor or to the table. I decided to mount it to the motor, since that gave the most consistent coverage of the belt in the various motor positions.
The Complete Table Saw Book Amazon IndieBound |
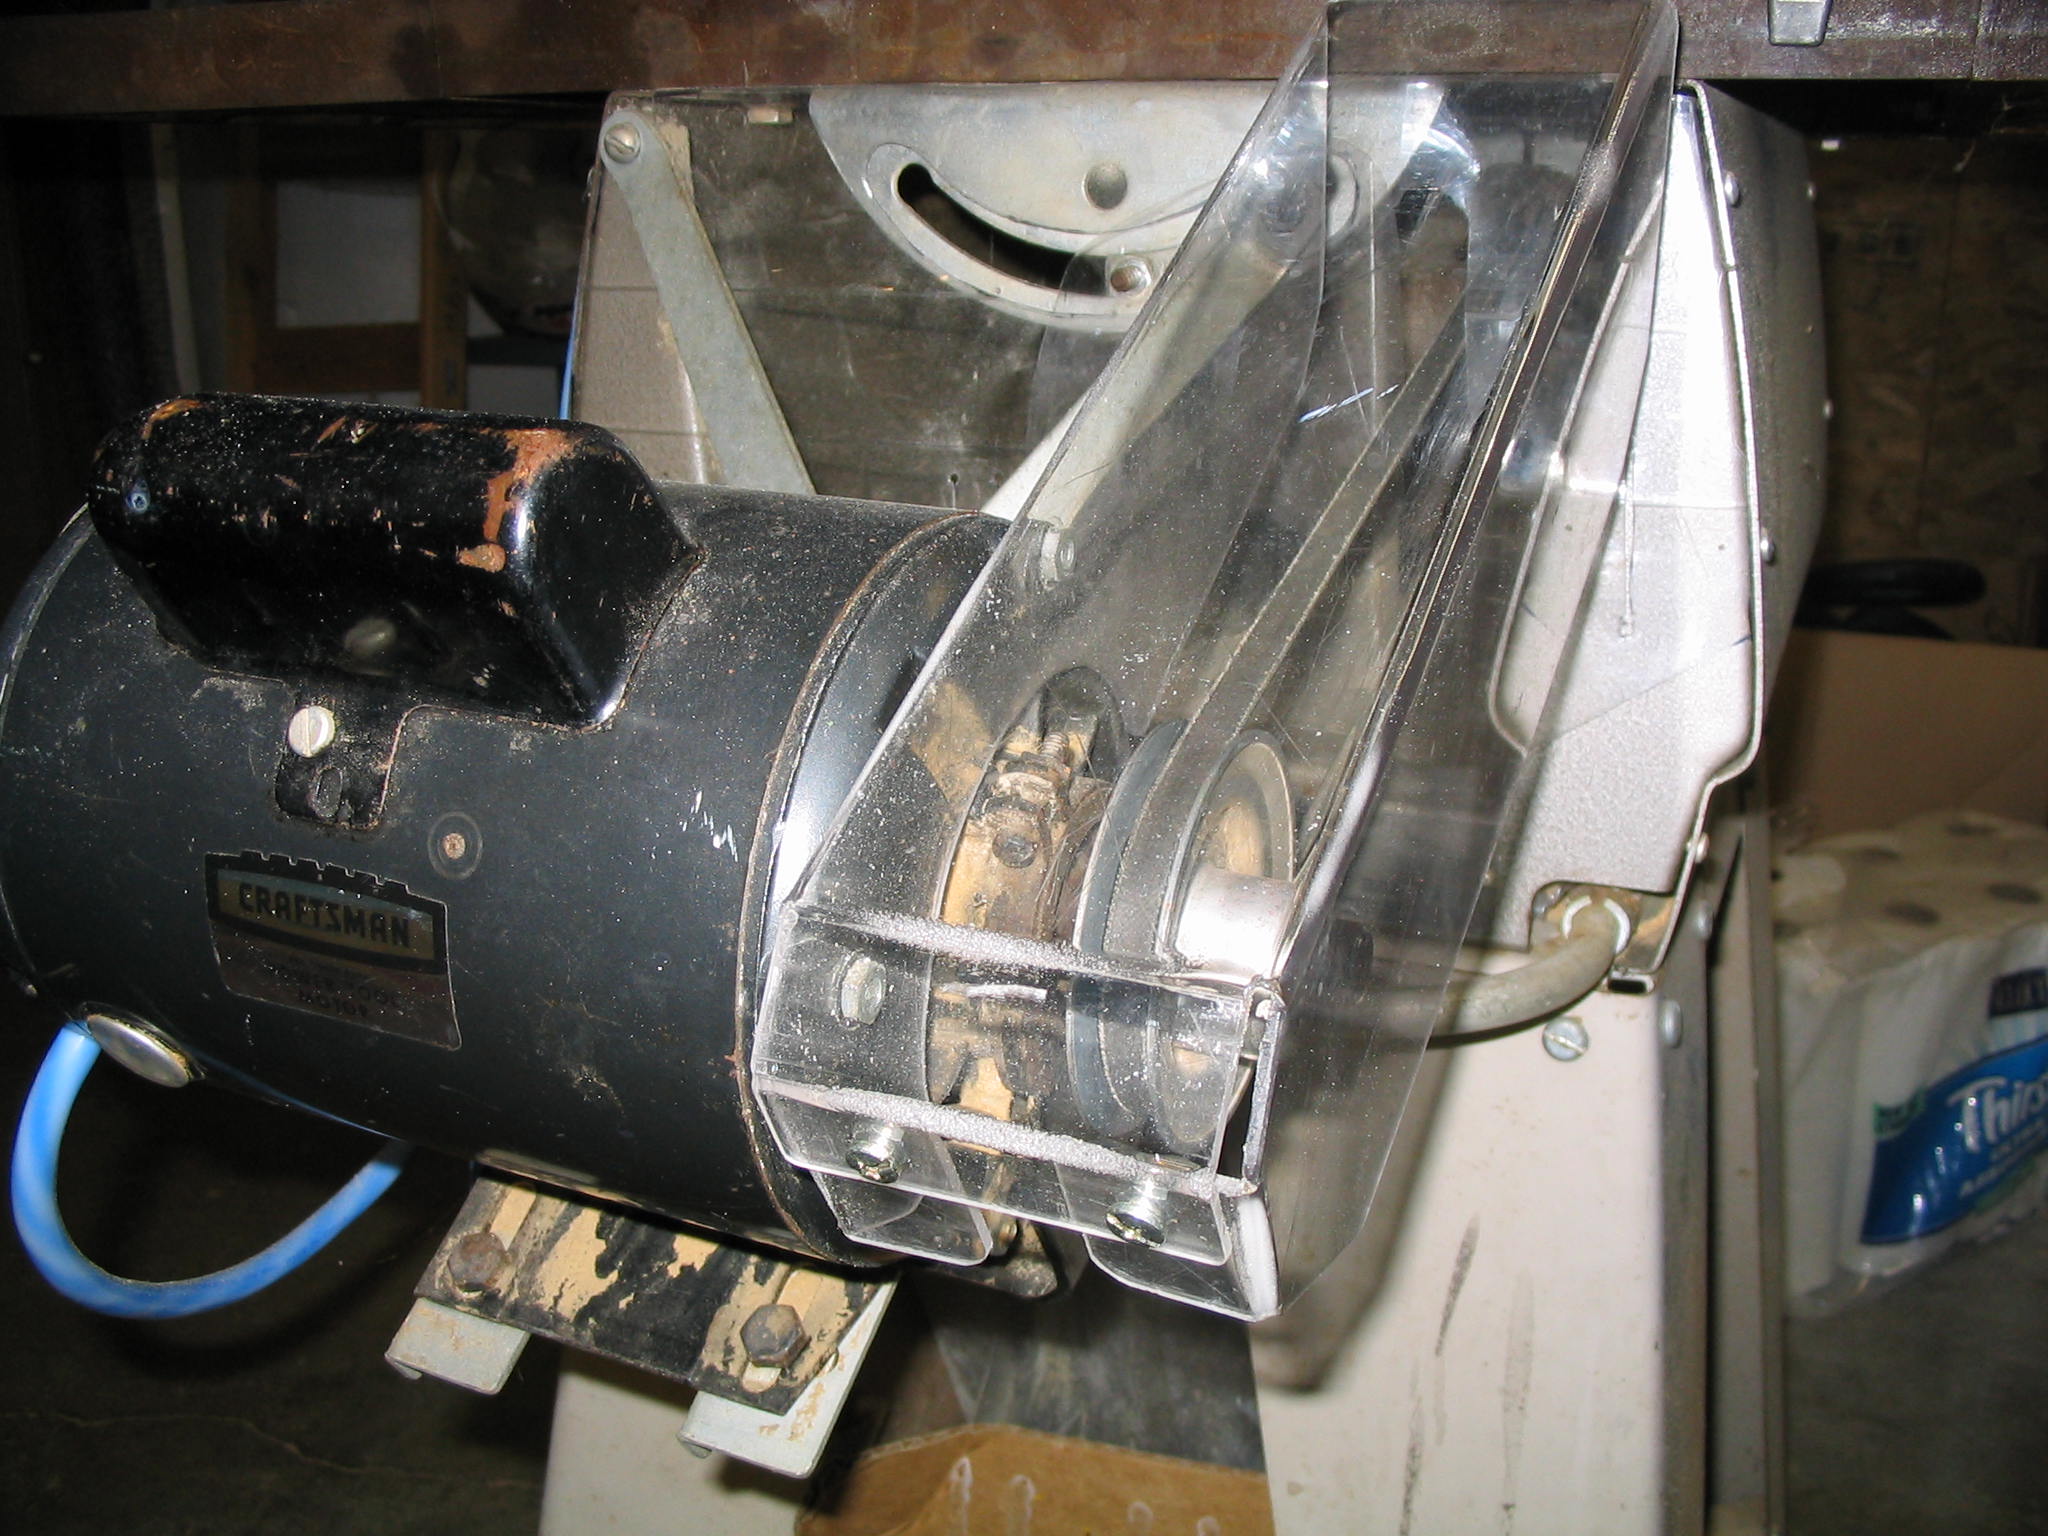
First I made a template using cardboard and fit it to shape. I moved the motor to its various limits of blade tilt and height, ensuring I still had reasonable coverage of the belt. I made sure to leave room for the ventilation holes in the motor case around the shaft, and room around the pulley to change the belt.
Then I transferred the cardboard template onto the plastic. I cut out the plastic with a saber saw and drilled the mounting holes. Then I had to bend the sides.
Lexan can be bent by brute force, but it leaves a weak joint. (Don’t even try to bend acrylic by brute force, it shatters into nasty shards.) The best way to bend it is with heat. I used a propane torch, since I had one readily available. I covered the plastic with wood pieces, leaving just a small strip where I wanted the fold. I heated it slowly, moving the flame along the line. When it softened enough, I bent it and held it in place for a minute while it cooled. This worked fairly well, although I did bubble and scorch the plastic in a few places.
After making all the bends, I screwed the end tabs together with simple nuts and screws. It could probably be glued also, but I did not investigate proper gluing for Lexan. I mounted it on the motor bolts, and declared it a success.
Submitted by amillar on Thu, 2006-01-12 12:57