
My used tablesaw came without a splitter/blade guard. This is an important safety item, so I am making one for the saw. The first step was to create a mounting bracket where it could attach.
The Table Saw Book Amazon IndieBound |
Background
A blade guard has two main components. The cover goes over the spinning blade, to prevent the saw operator from getting injured directly on the spinning blade. The cover is usually made of clear plastic nowadays, and it is mounted on the splitter. The splitter is a vertical piece of sheet metal sitting behind the blade, which guides the cut wood past the blade so it won’t bind.
The blade on the tablesaw is mounted on a shaft called the arbor. The arbor tilts up to 45 degrees to make angled cuts. The splitter must therefore also tilt along with the blade and arbor to match. The splitter must be aligned perfectly straight behind the blade, so that the cut wood does not bind against it.
Attachment
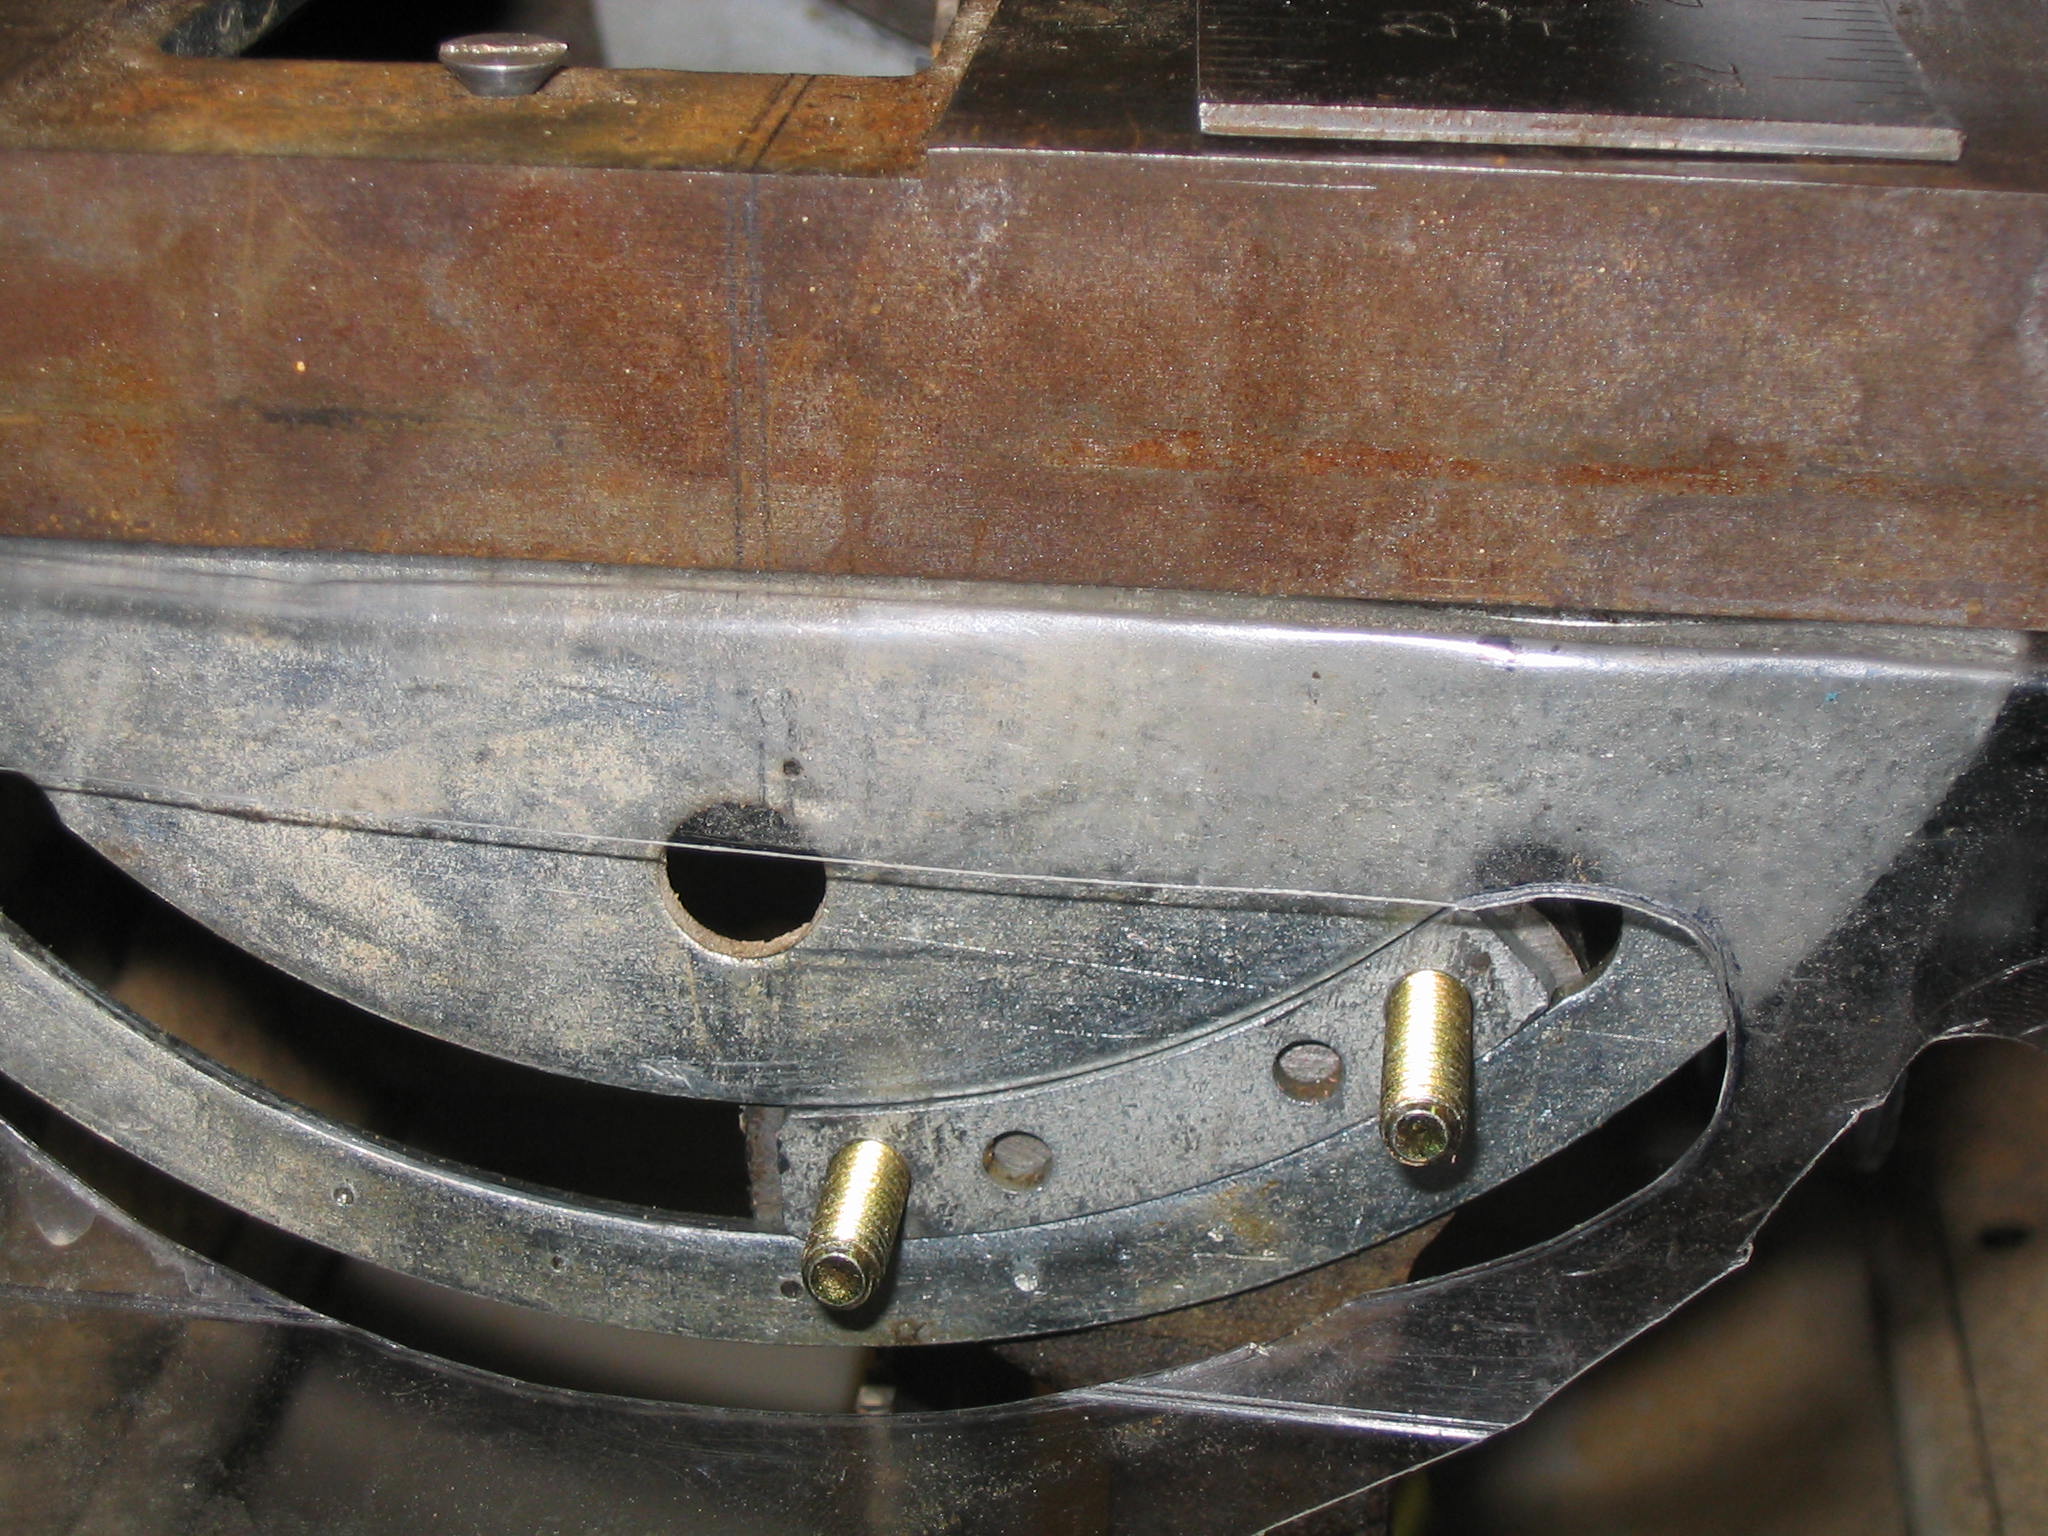
This presents an interesting challenge on a saw that did not come with an obvious mount for a guard. On my saw, the front and rear mounts of the arbor assembly, known as the trunions, slide in curved slots on the table saw frame. The bolts that hold the rear trunion in the slot look like they are the best place to attach a guard. I found a picture of my saw in an old 1956 Ward’s tool catalog, and it appears that the original (optional) guard attached to the back, presumably to the trunion bolts.
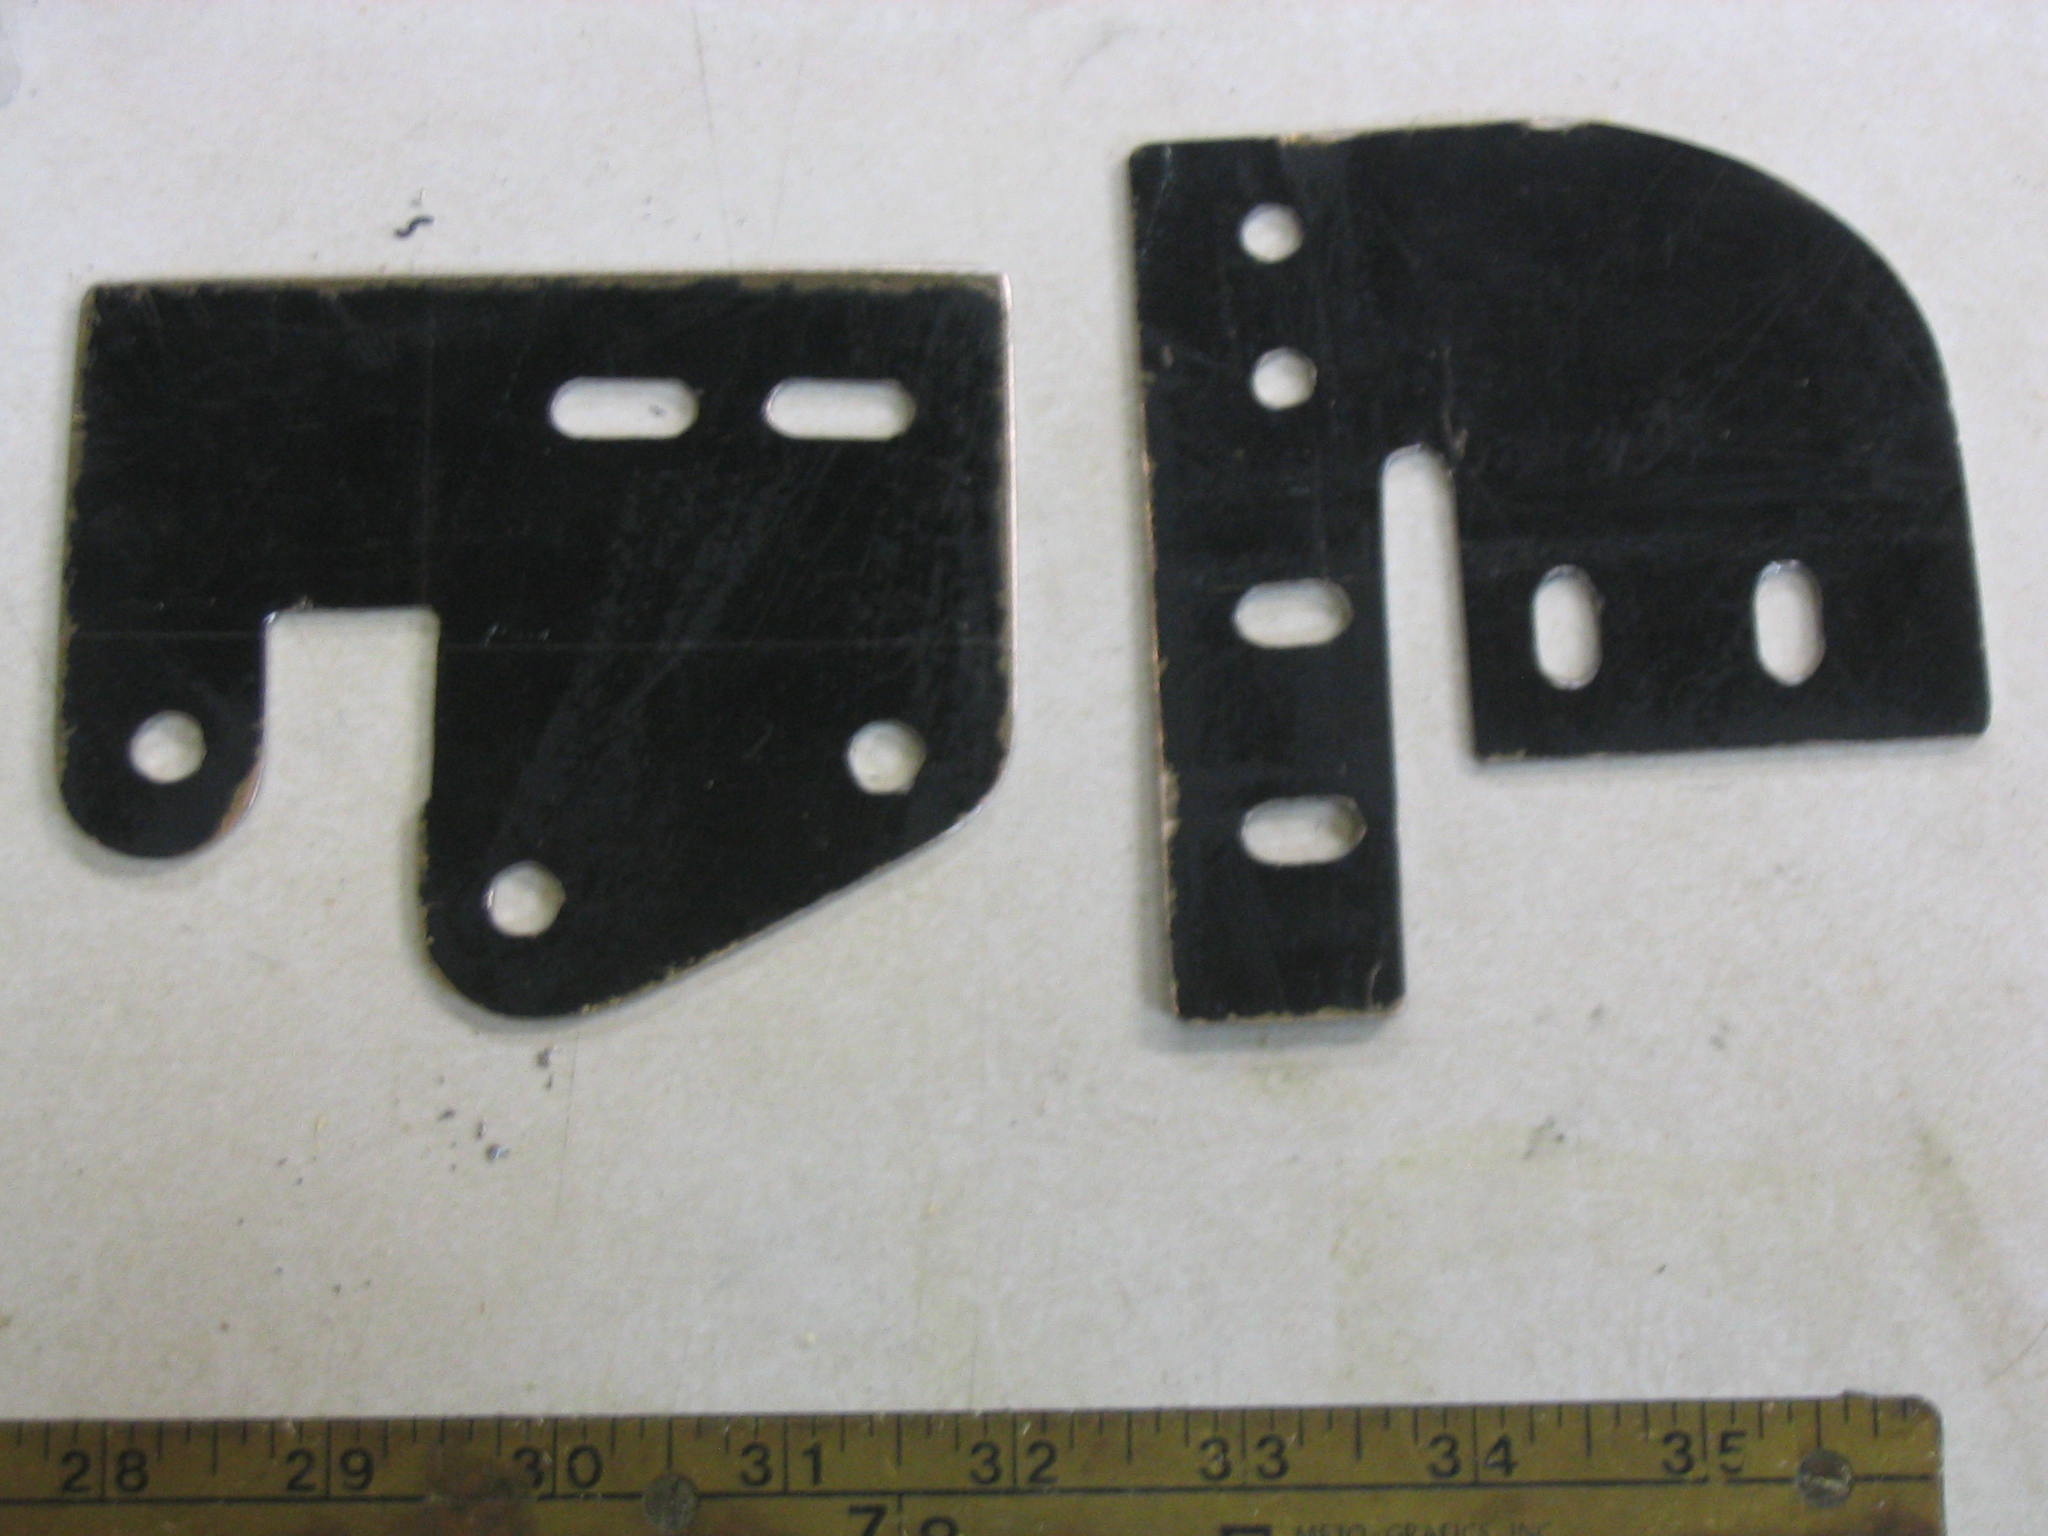
For the best adjustability, I am making a two-part bracket to attach to the trunion bolts. The two-piece design allows it to be adjusted in multiple directions and angles. The splitter will attach to this bracket.
Bracket Design
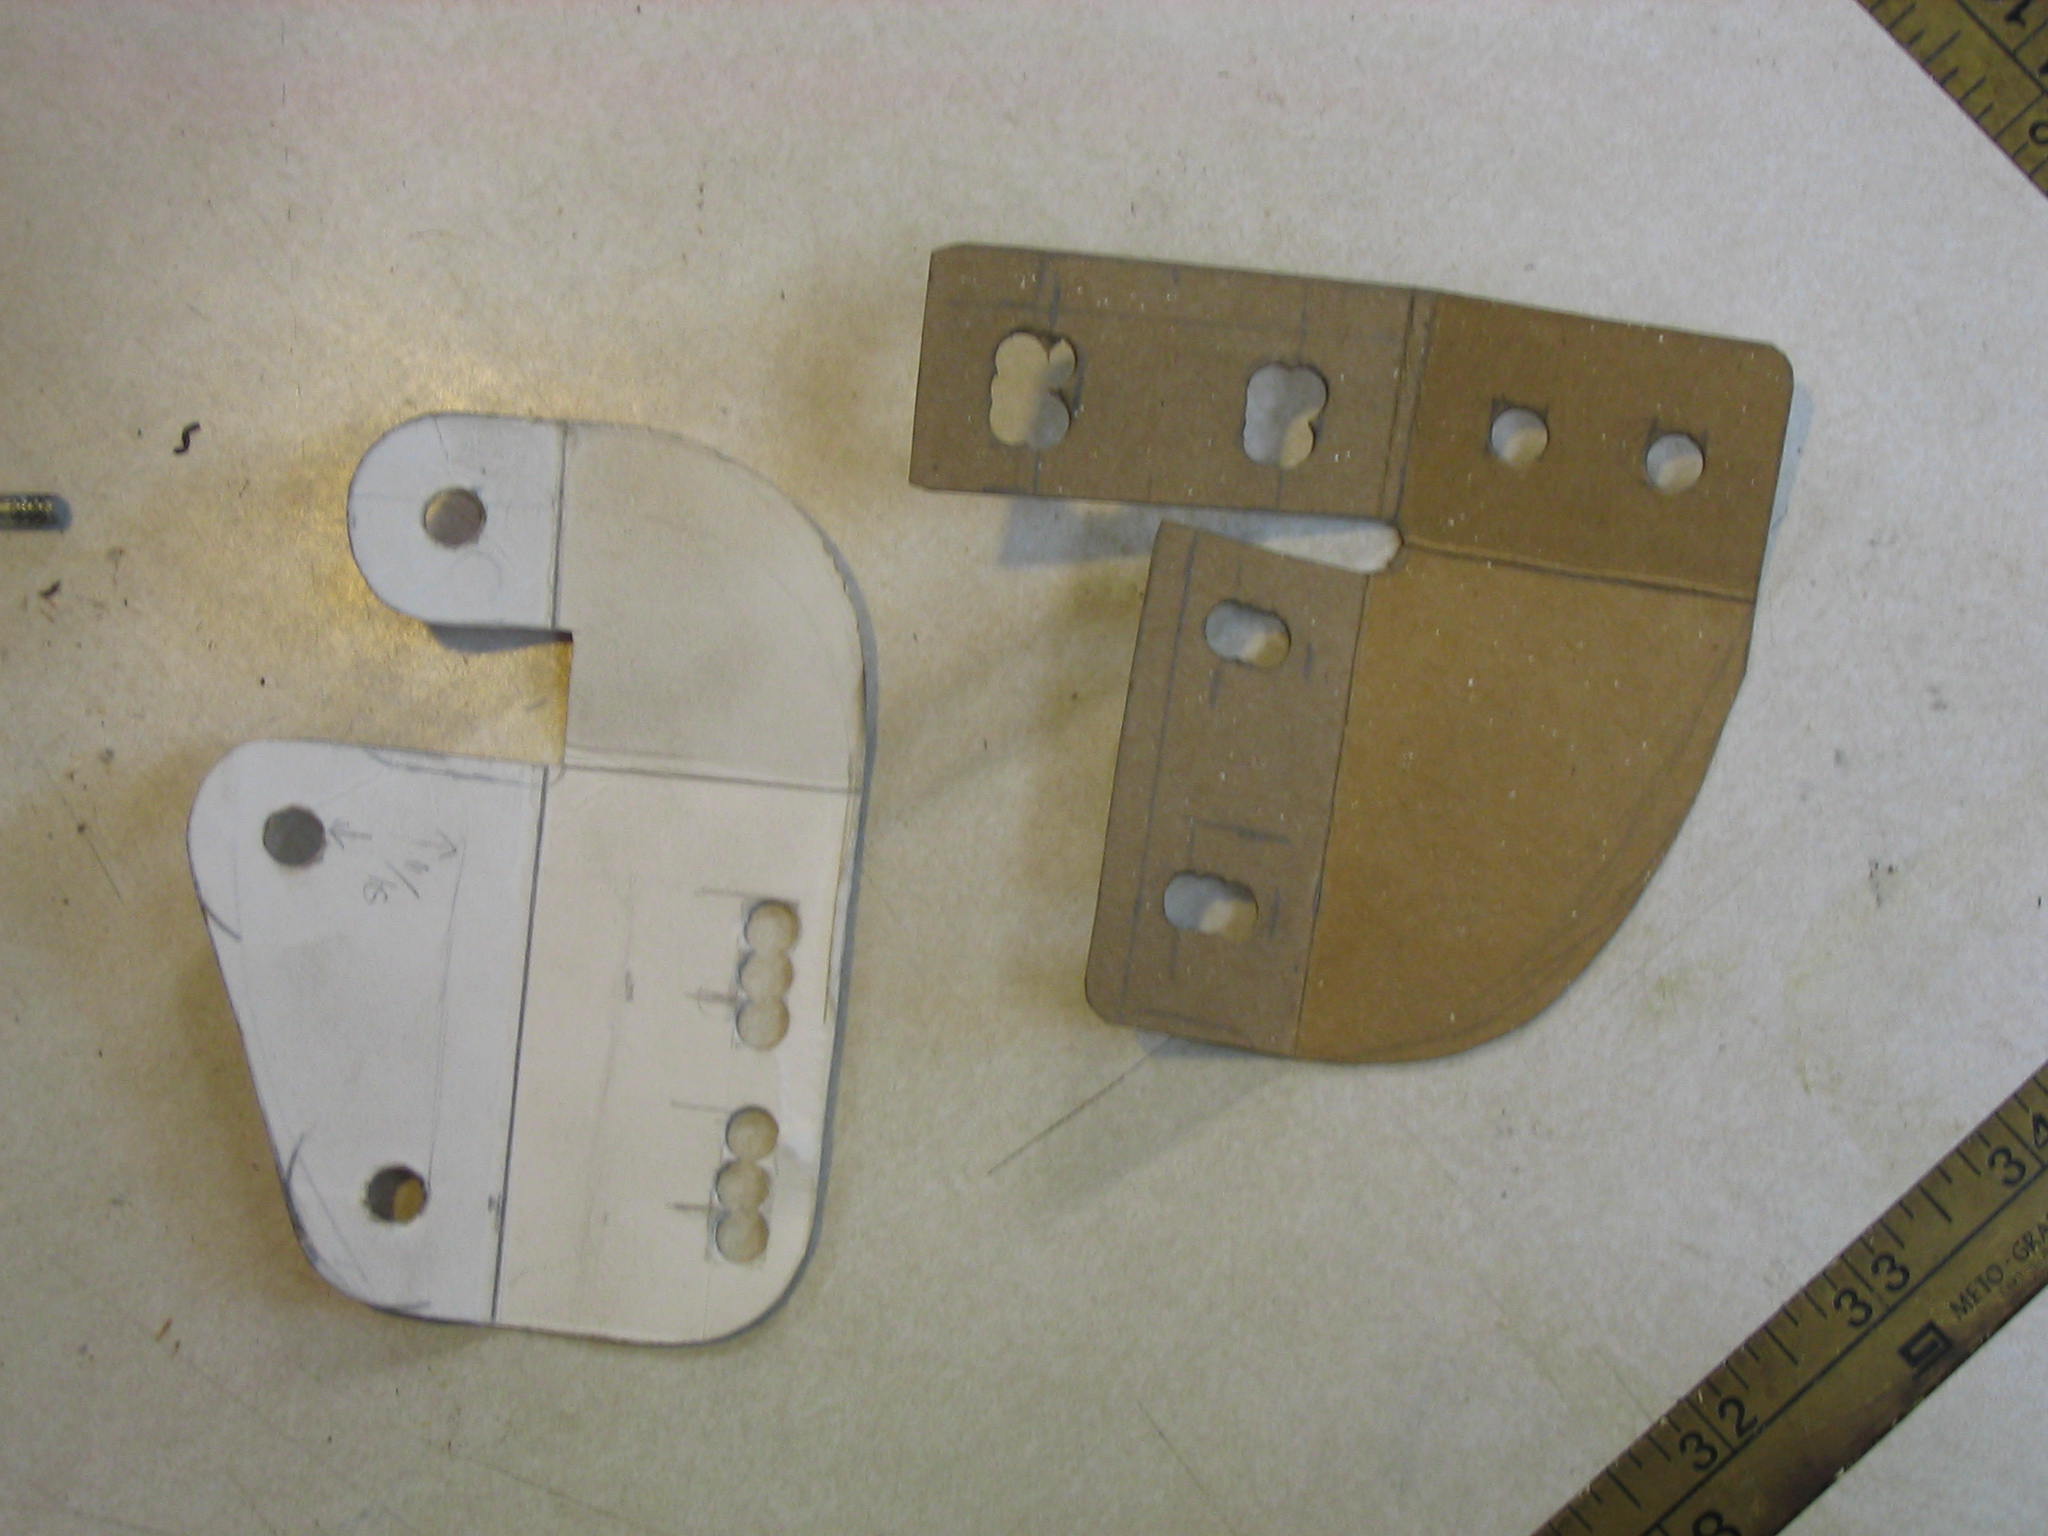
The choice of materials and construction methods affect the design. The guard must be mounted so that the splitter is aligned with the blade. I am making the guard out of materials I have on hand, and I don’t have precision metal fabrication tools. Therefore, adjustability is a major component of the guard design.
I am making the splitter and mounting bracket out of heavy sheet metal. The standard table saw blade width (“kerf”) is 1/8″, so the splitter must be thinner than that.
I first made some templates out of carboard, allowing me to adjust the size and positioning, before cutting any sheet metal.
Metalwork
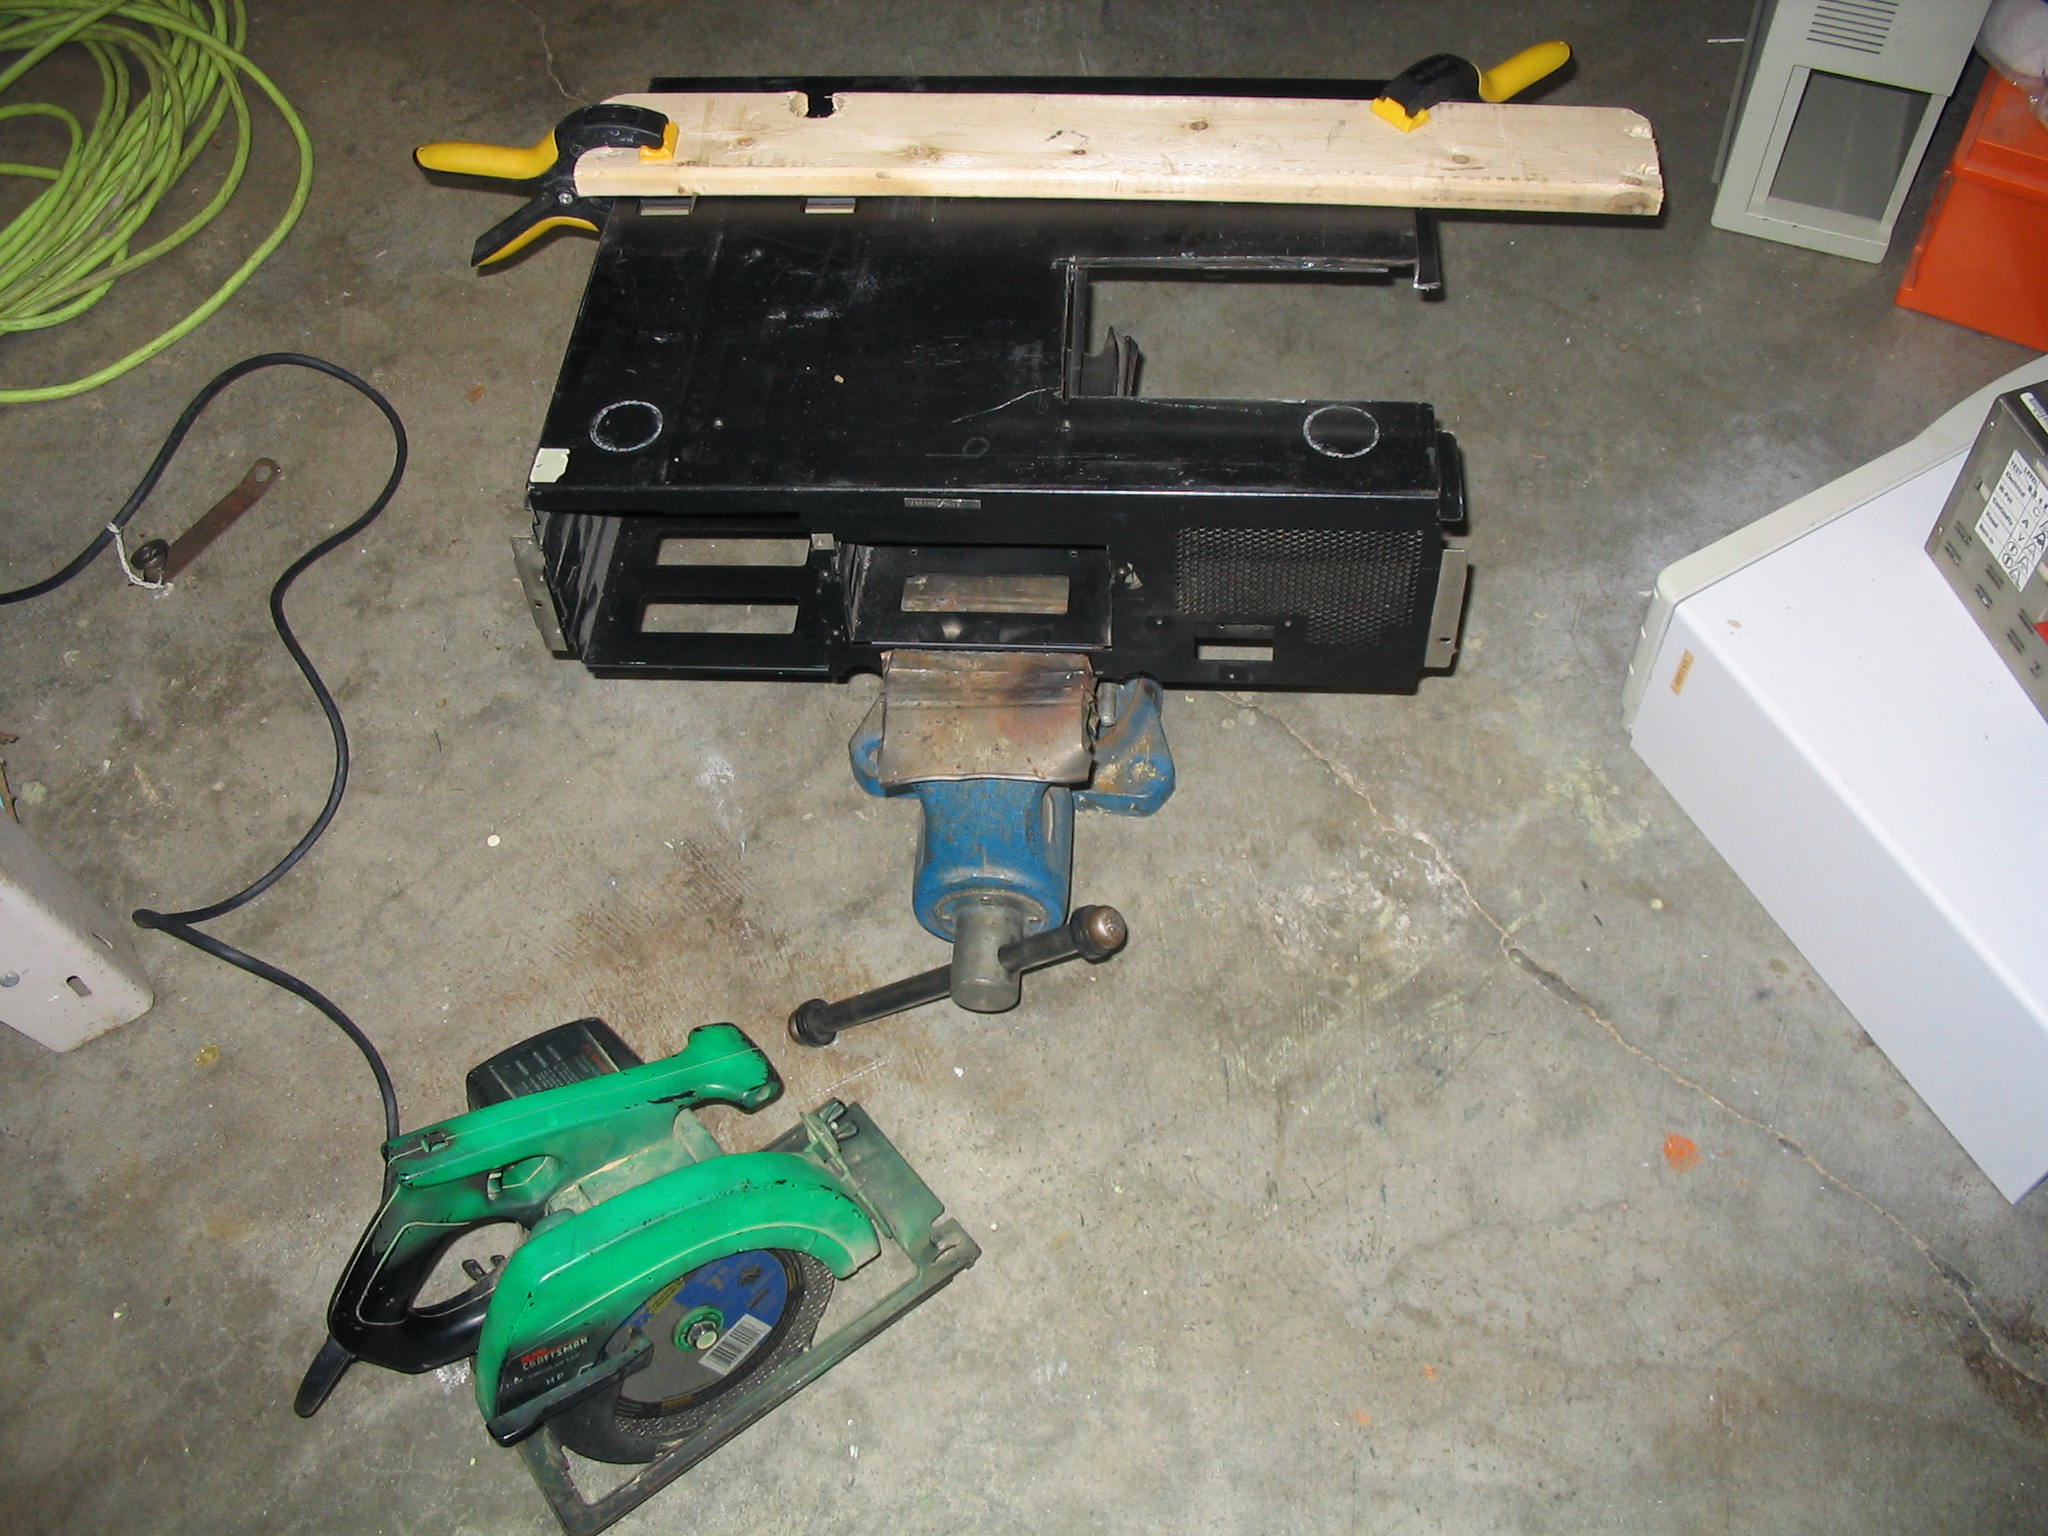
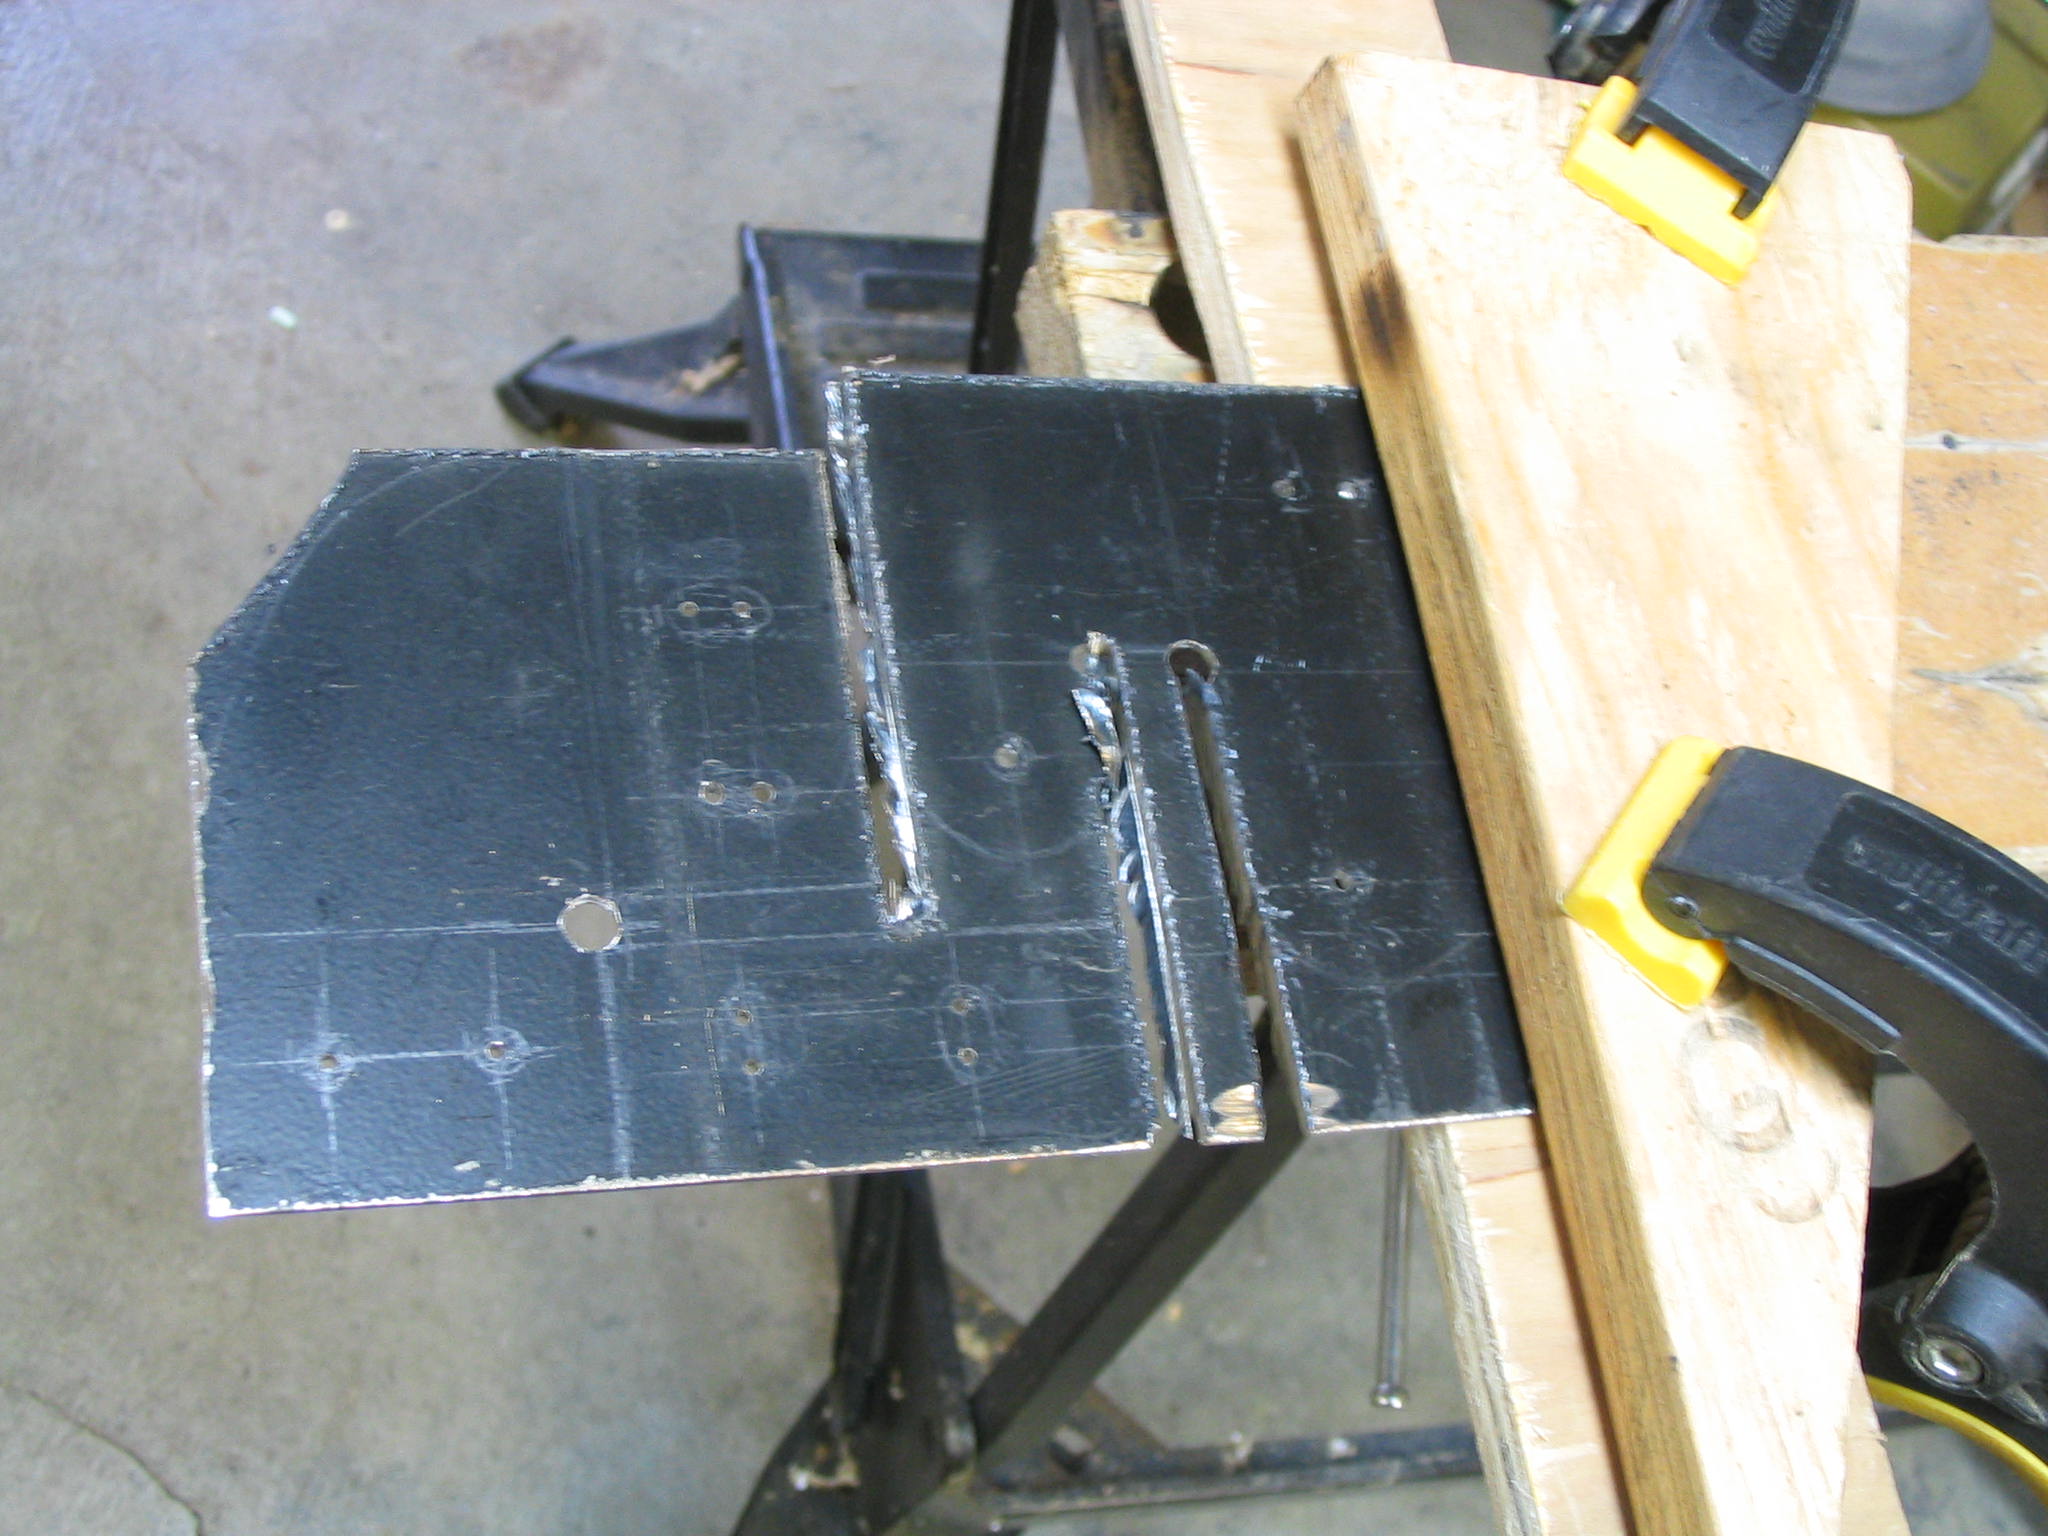
I have salvaged the sheet metal from the base of a personal computer case. This one was a genuine IBM AT 286 case, and the metal is about 1/16″ thick (1.6 mm). This heavy metal can take a while to cut with a hacksaw, so I made the rough cuts with a metal-cutting blade on my circular saw. The metal cutting blade is basically a thin grinding wheel, which spits lots of sparks and fireworks. Keep anything flammable well away from your cutting area. The metal PC case was slippery, so I clamped a wooden board down as a saw guide. The circular saw made quick work of it, and the blade was only a few dollars at the local home improvement store. If you don’t have a circular saw, a hacksaw will still work.

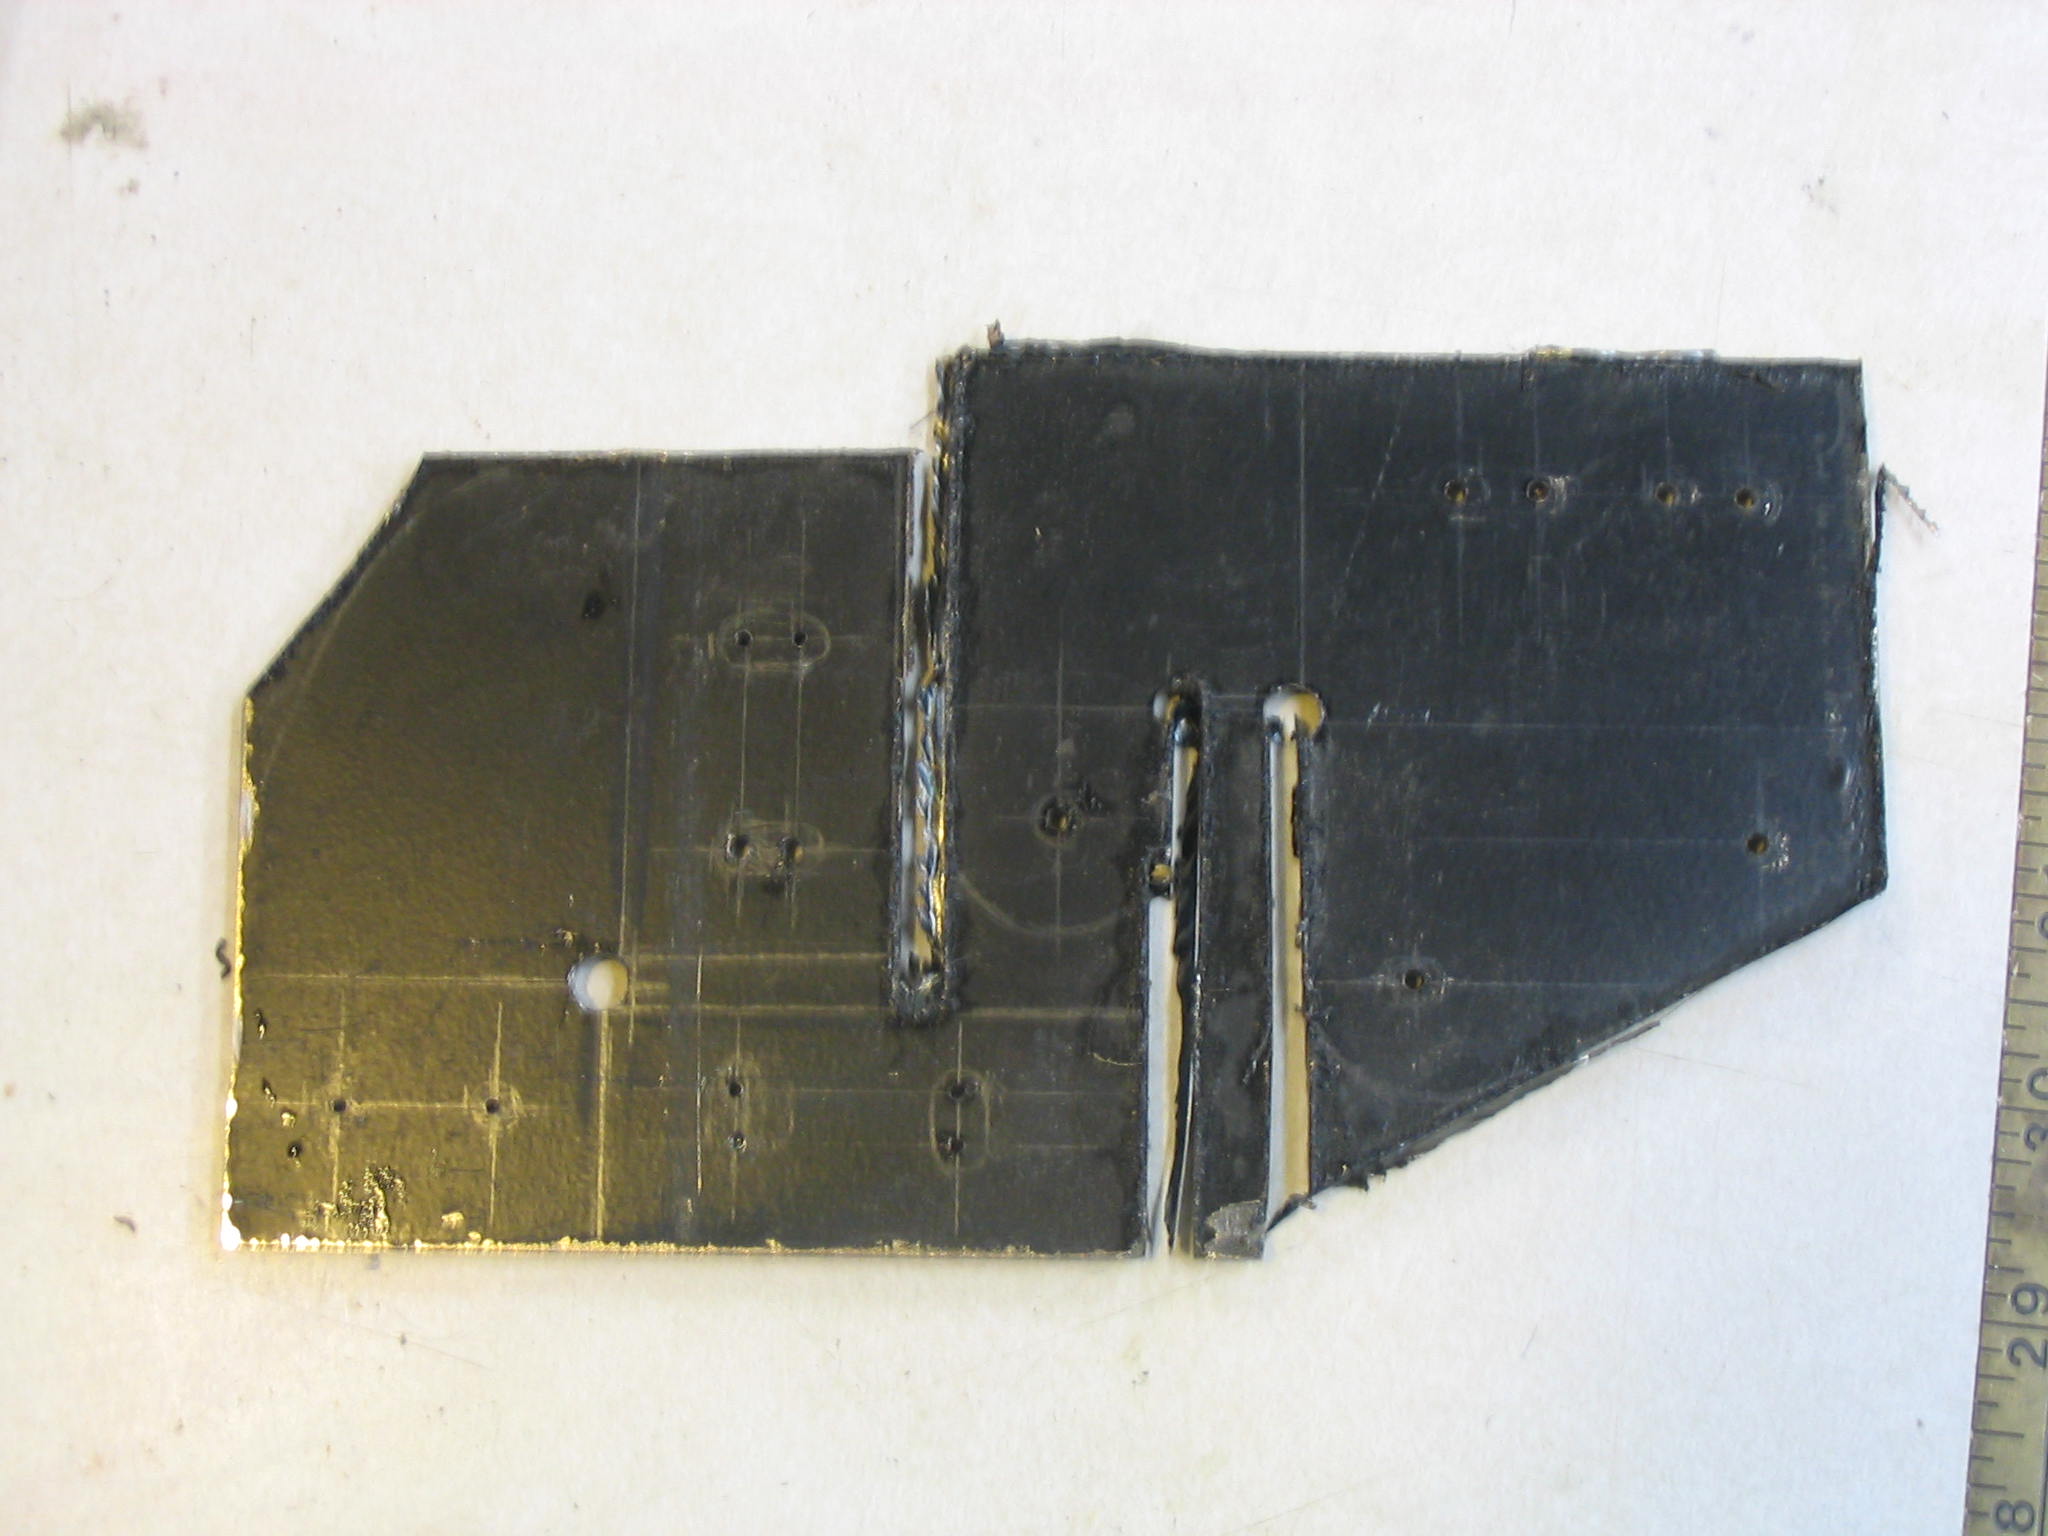
After cutting out a rough blank piece and filing the burrs off, I transferred my cardboard template onto the metal.
The trunion bolts are 1/4″ diameter (6 mm), so I’m using the same size on the rest of the holes and bolts. When drilling holes in metal like this, the drill bit can drift easily and the hole can end up in the wrong place. To avoid this, use a hammer and center-punch to make a dimple where you want the center of the hole. If you don’t have a center punch, pound a sharp deck screw with a hammer as a substitute punch. Then drill a pilot hole the center with a small bit, say 1/16″ or 3/32″. Then your larger bit will stay in proper place for the actual hole.
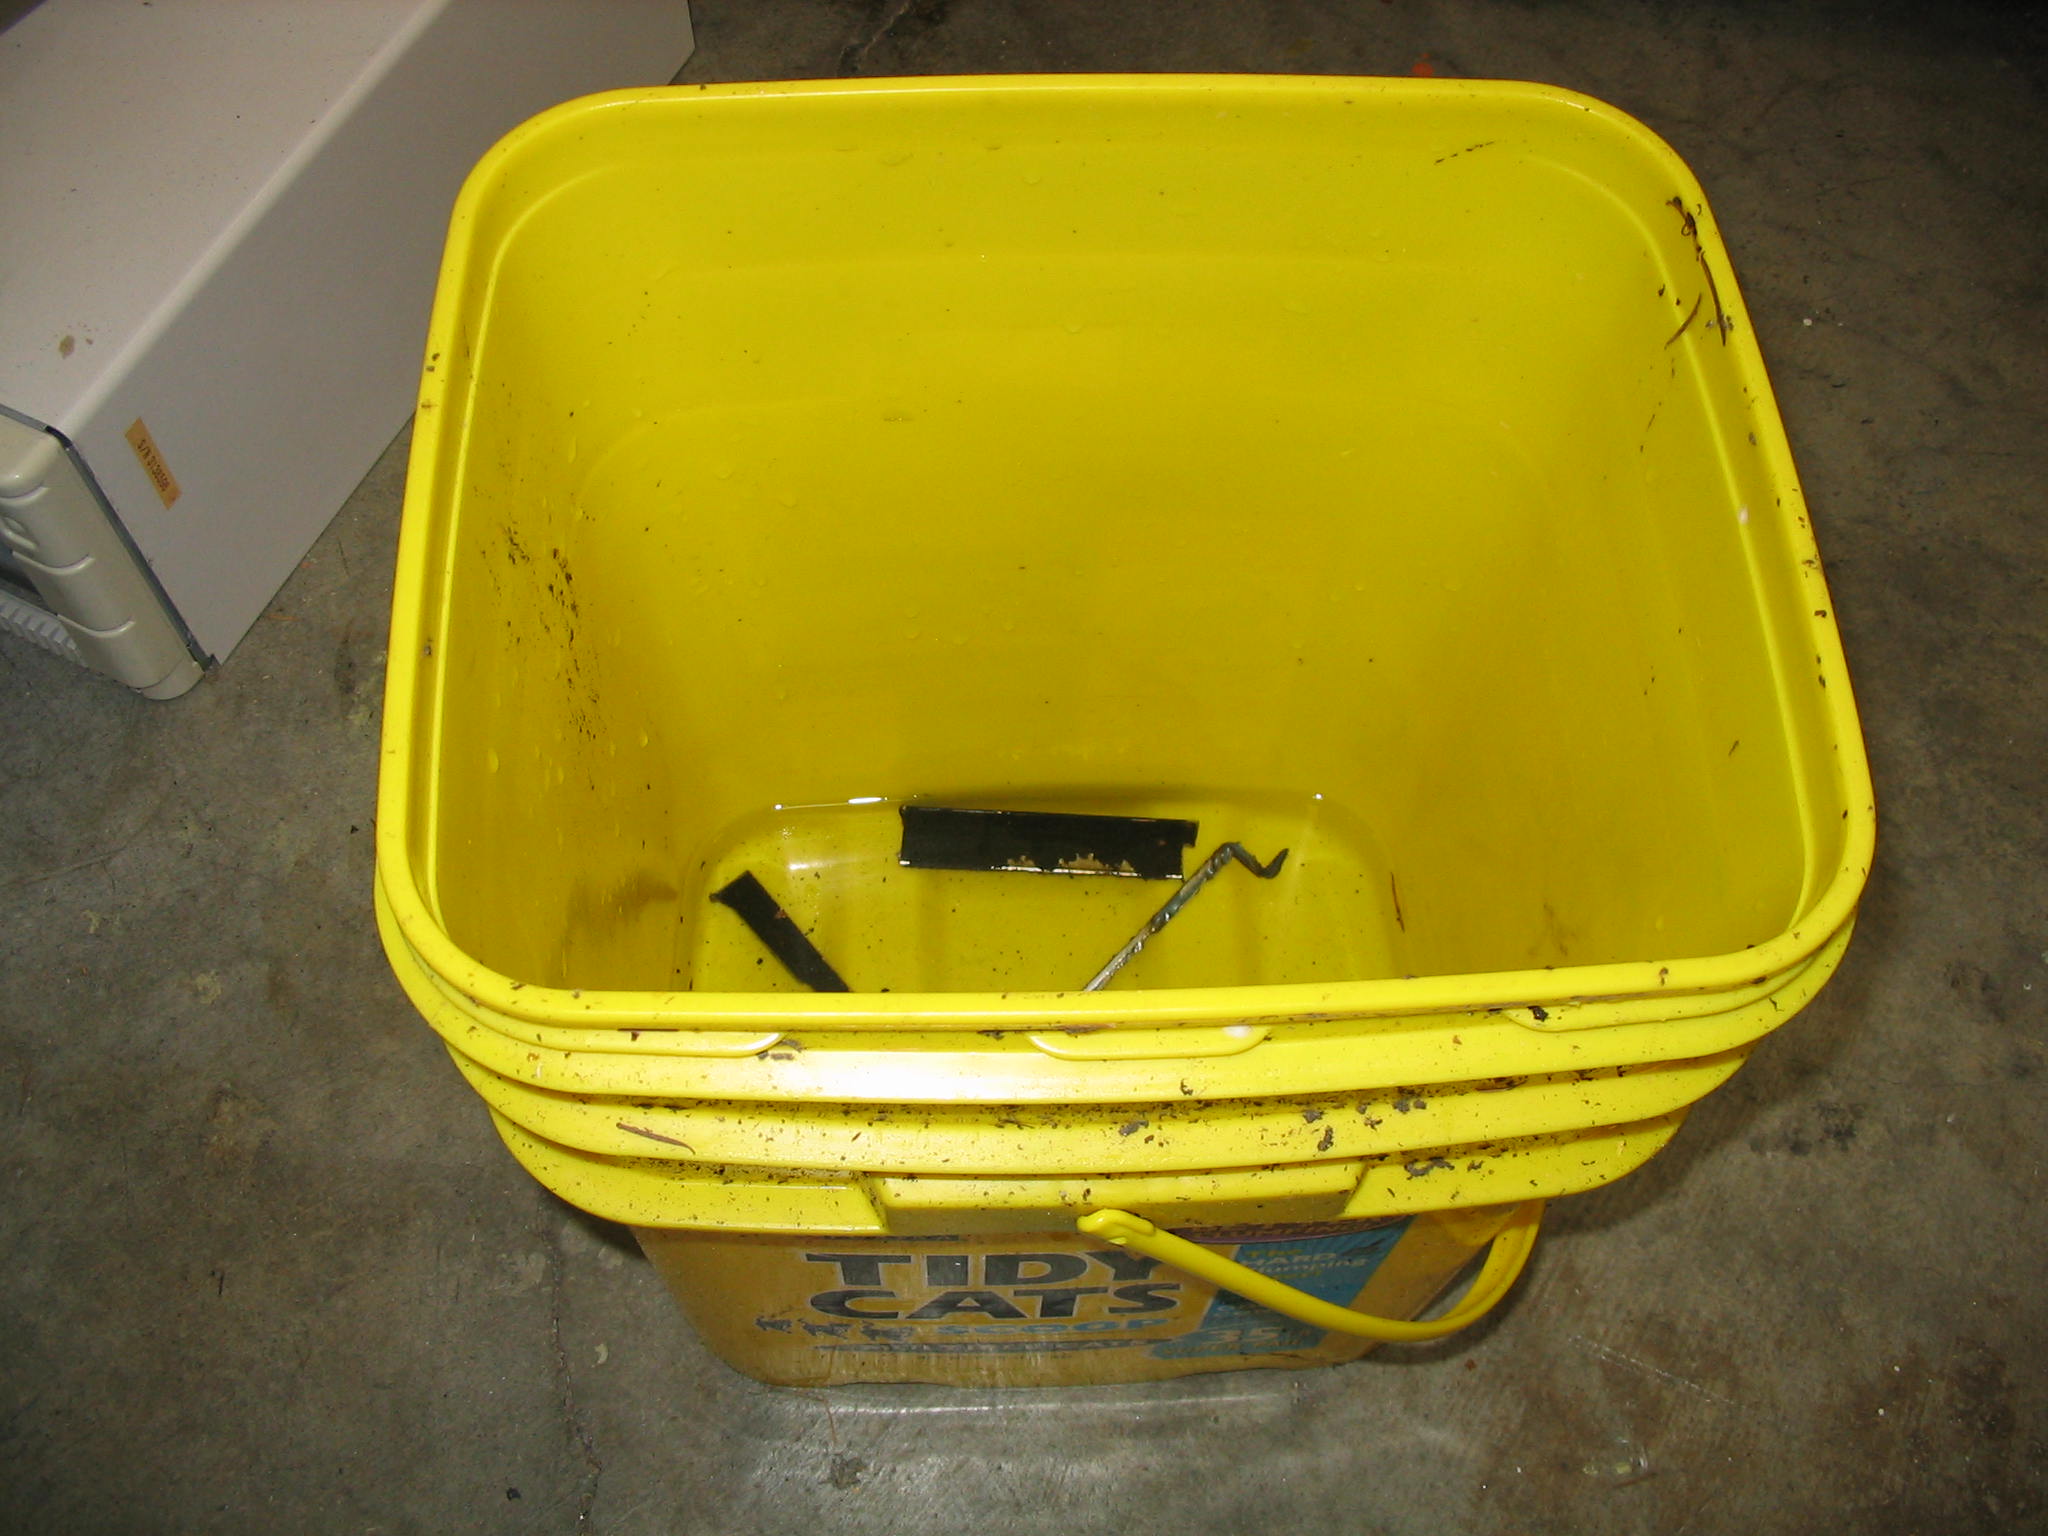
I used the circular saw to make the rough cuts of the brackets. The cutting wheel heats the metal scraps enough to burn you. Use pliers to pick up any scraps, and drop them in a bucket of water.
Once the brackets are rough cut, finish any remaining cuts with a hacksaw, and file all of the edges smooth.
Bending
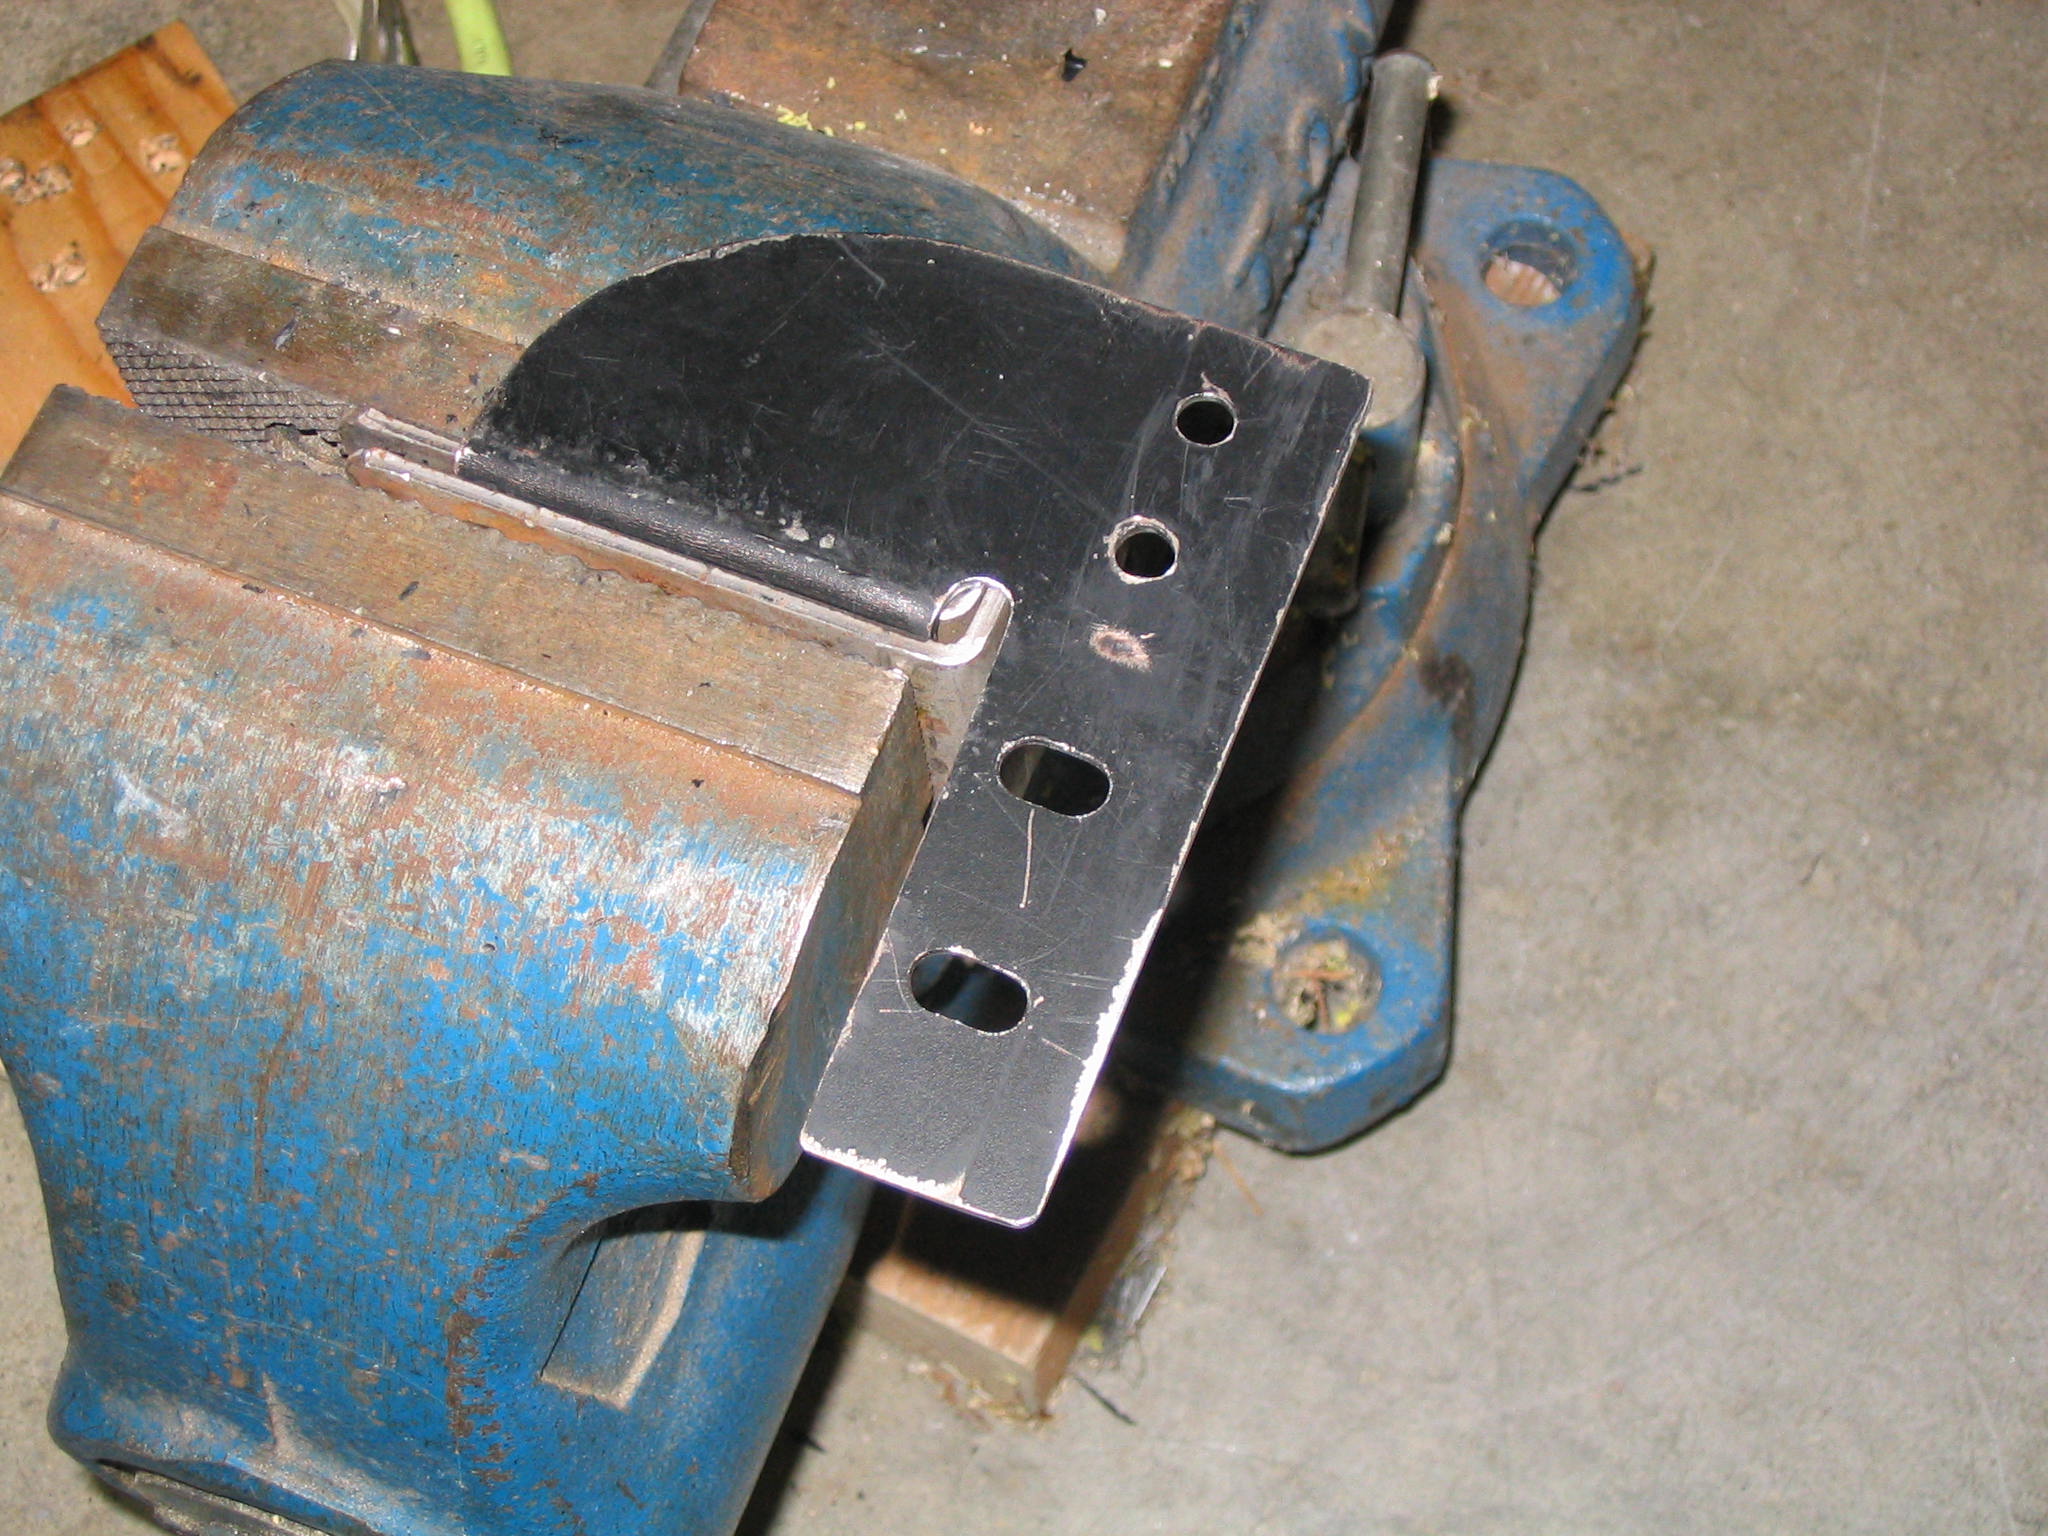
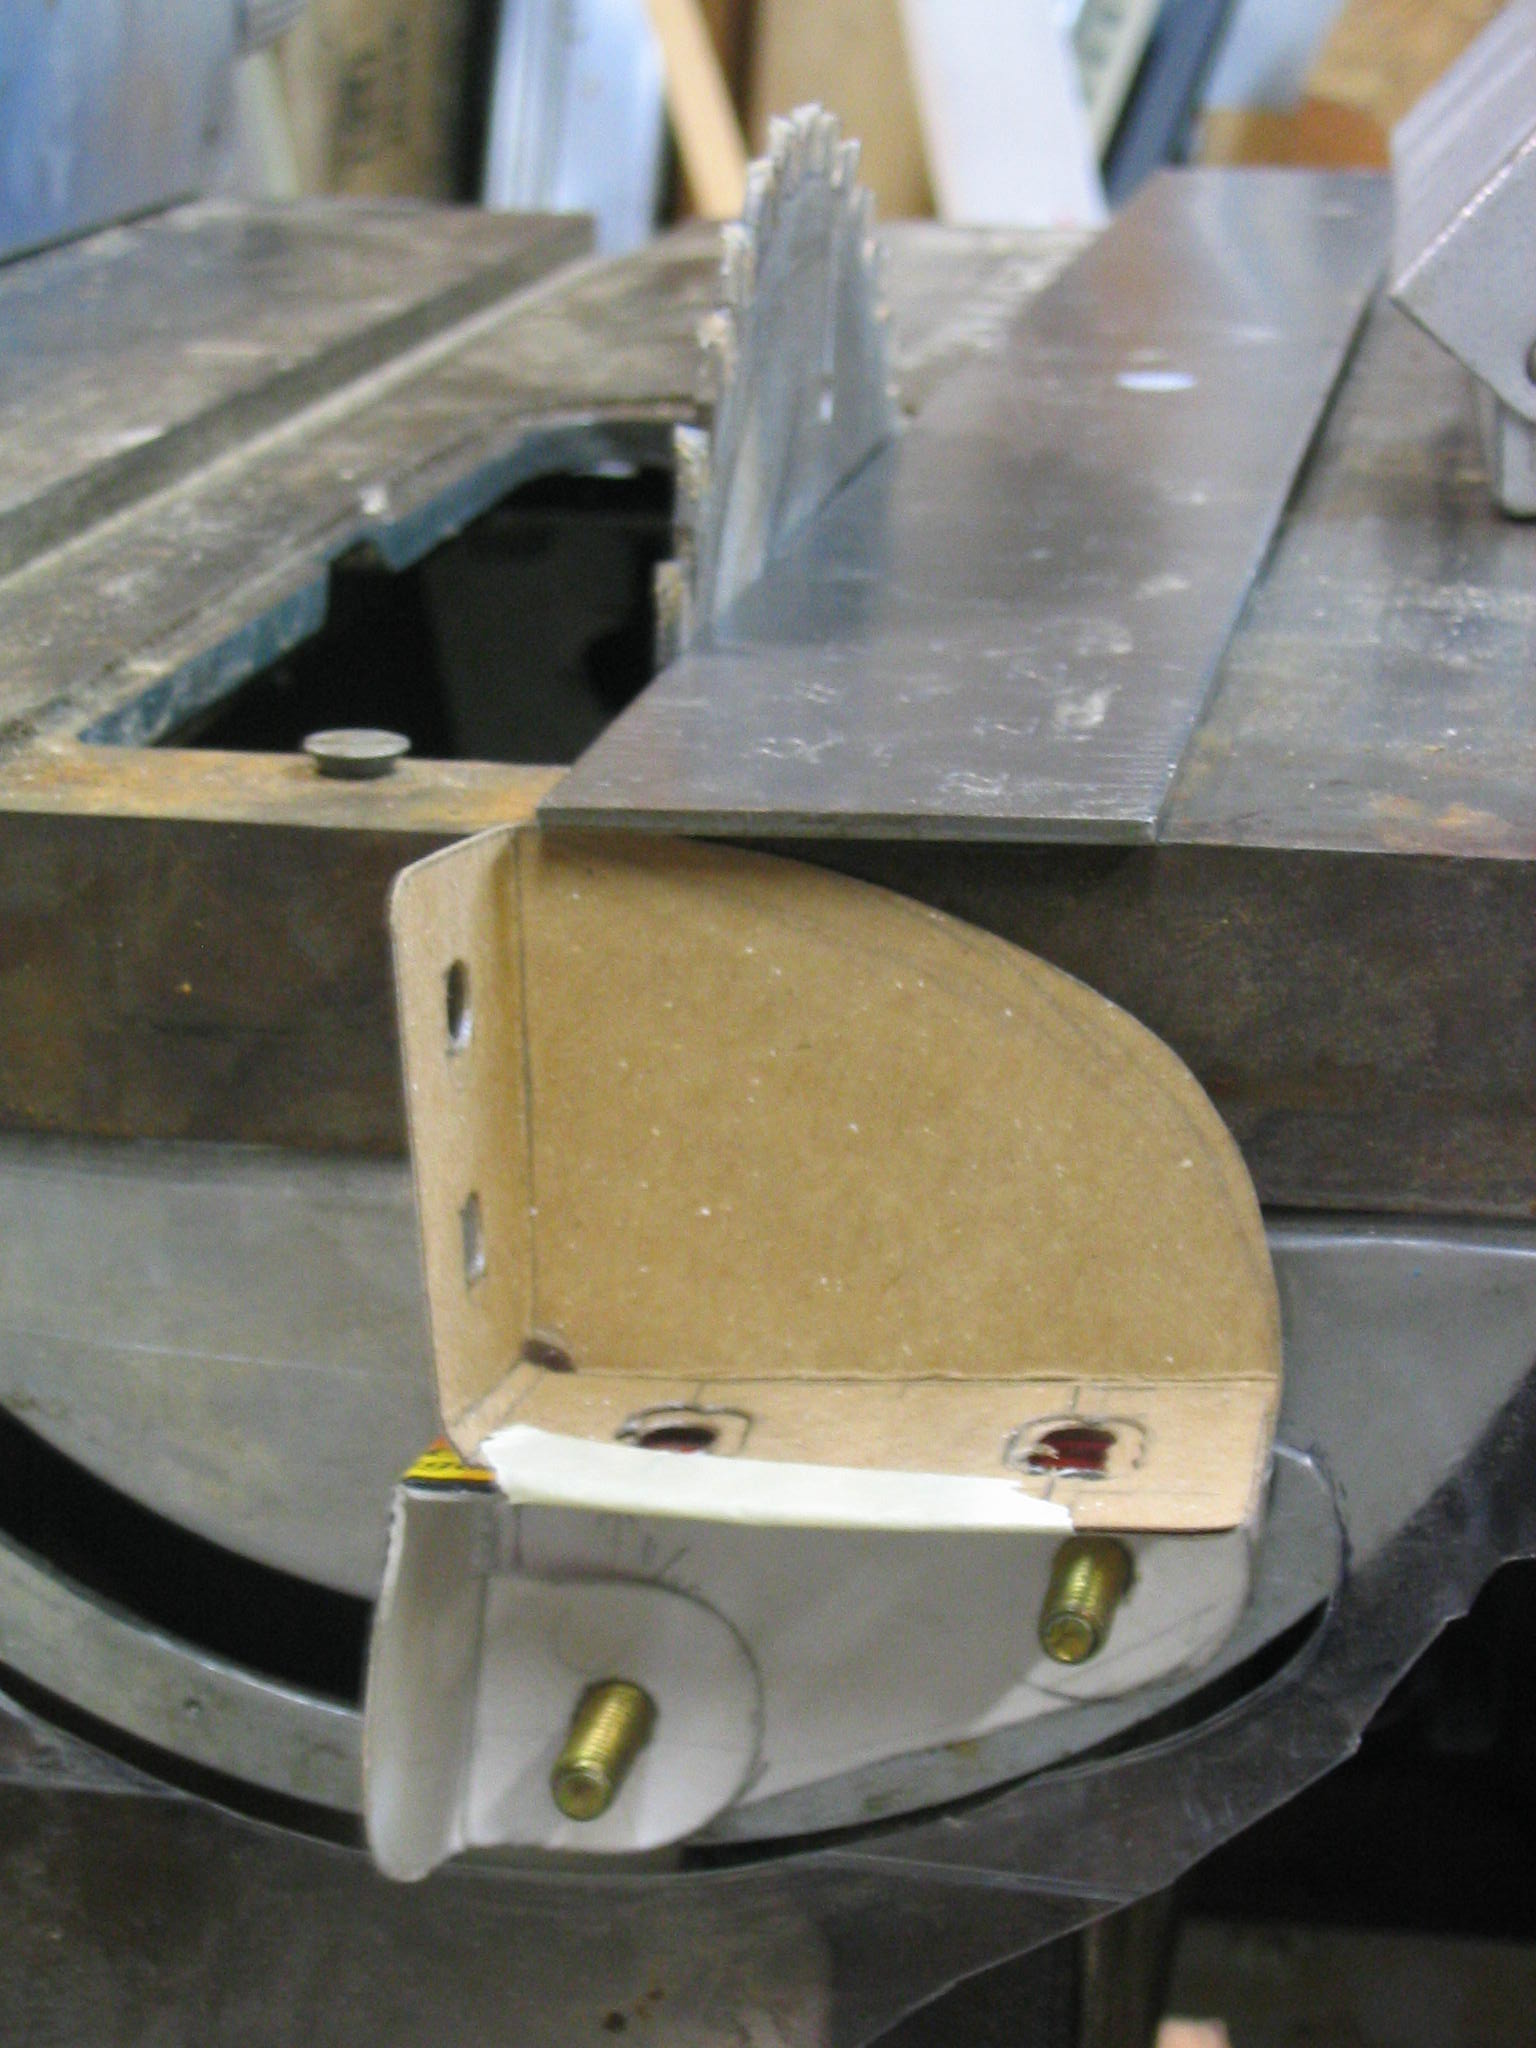
After the bracket pieces are filed to shape, they are ready to be bent. The ideal way to bend them is to use a metal brake, which most people don’t have in their garage. Alternatively, stick them in a vise and pound them with a hammer like I did.
On each bracket, there is an overlapping flange where a bolt goes through. Ideally, you should not drill the hole through the second flange until after the bracket is bent to shape. I had to widen holes on one of the brackets because my bends weren’t aligned perfectly.
Finished bracket
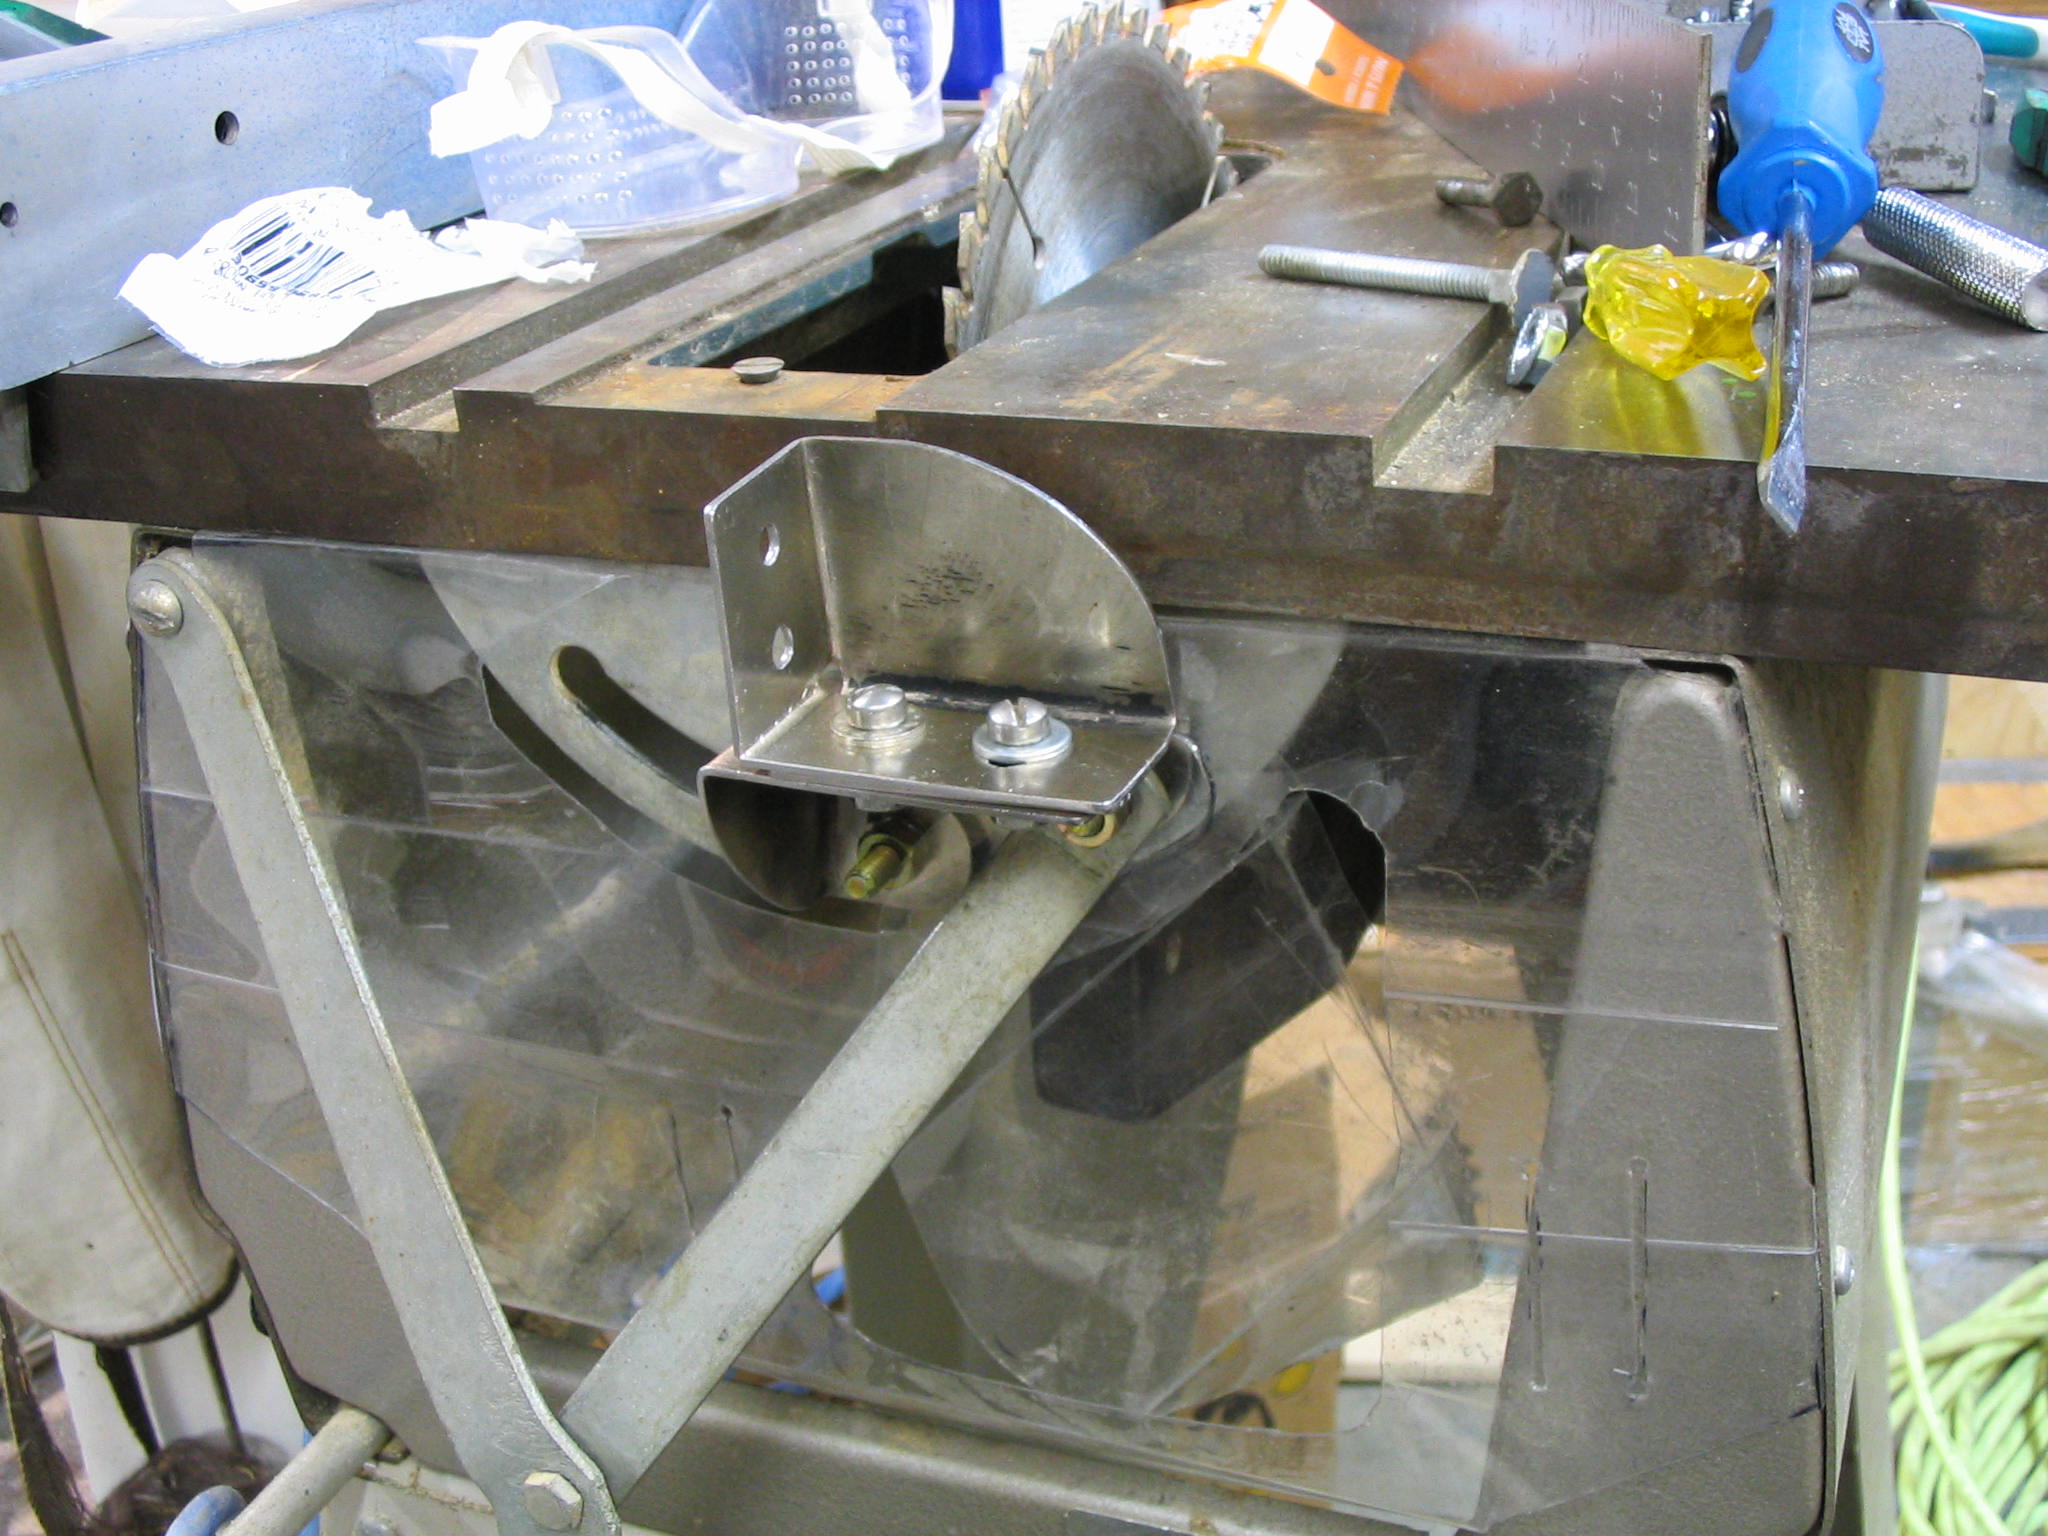
Once the bracket pieces are bent, they are ready to be attached to the table. I used split-ring lock washers on each of the bolts to ensure that they don’t work loose with the vibration of the saw. The mount is now ready for use.