 As a handyman and hobbyist, I find there are many everyday plastic objects that can be used to make interesting things. Some of the most common useful plastics, such as high-density polyethylene (HDPE) and polypropylene (PP) just cannot be glued. But they can be welded with hot air. You may be surprised at what you can make with an old plastic bucket and a heat gun from the discount tool store.
There are tools designed specifically for proper welding of plastics, for production of plastic water tanks, piping, and many other industrial purposes. Many of these tools are somewhat expensive and require compressed air or other gasses. I’m focusing instead on a cheap, hobby substitute for the proper tools.
This method works well for HDPE and PP plastics, which won’t accept glue. If a type of plastic accepts glue well, such as polystyrene, acrylic or polycarbonate, use glue instead.
These plastics melt at a temperature around 500 degrees Farenheit. Needless to say, this will burn you. Wear gloves such as leather welding gloves, or at least heavy leather gardening gloves.
The Project
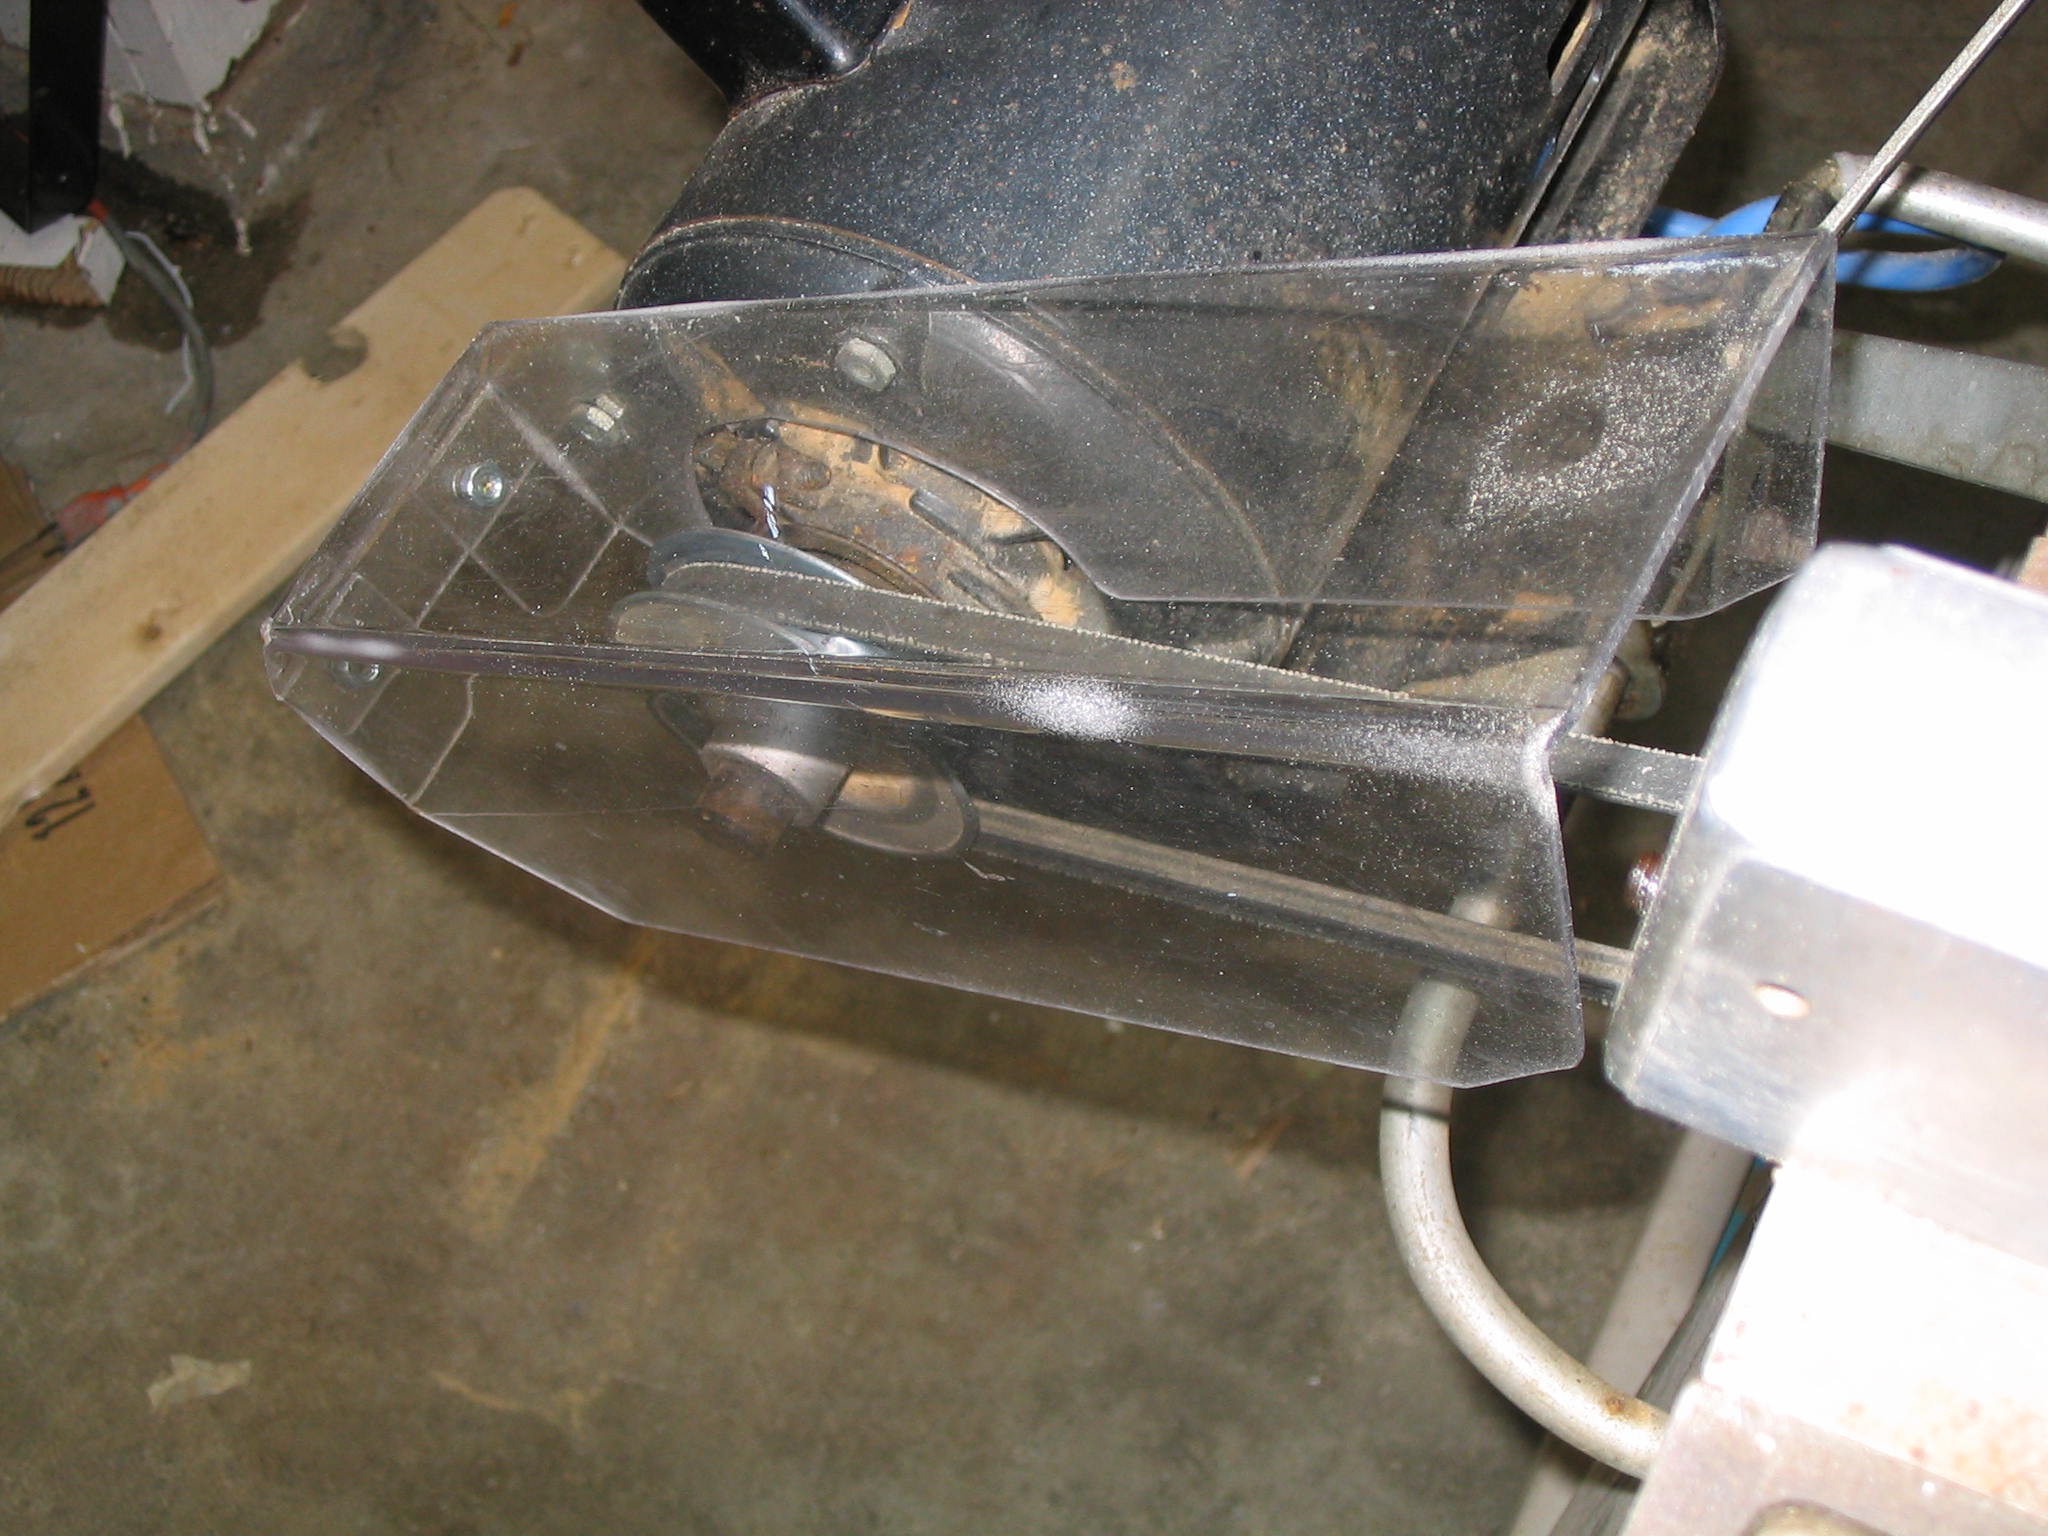
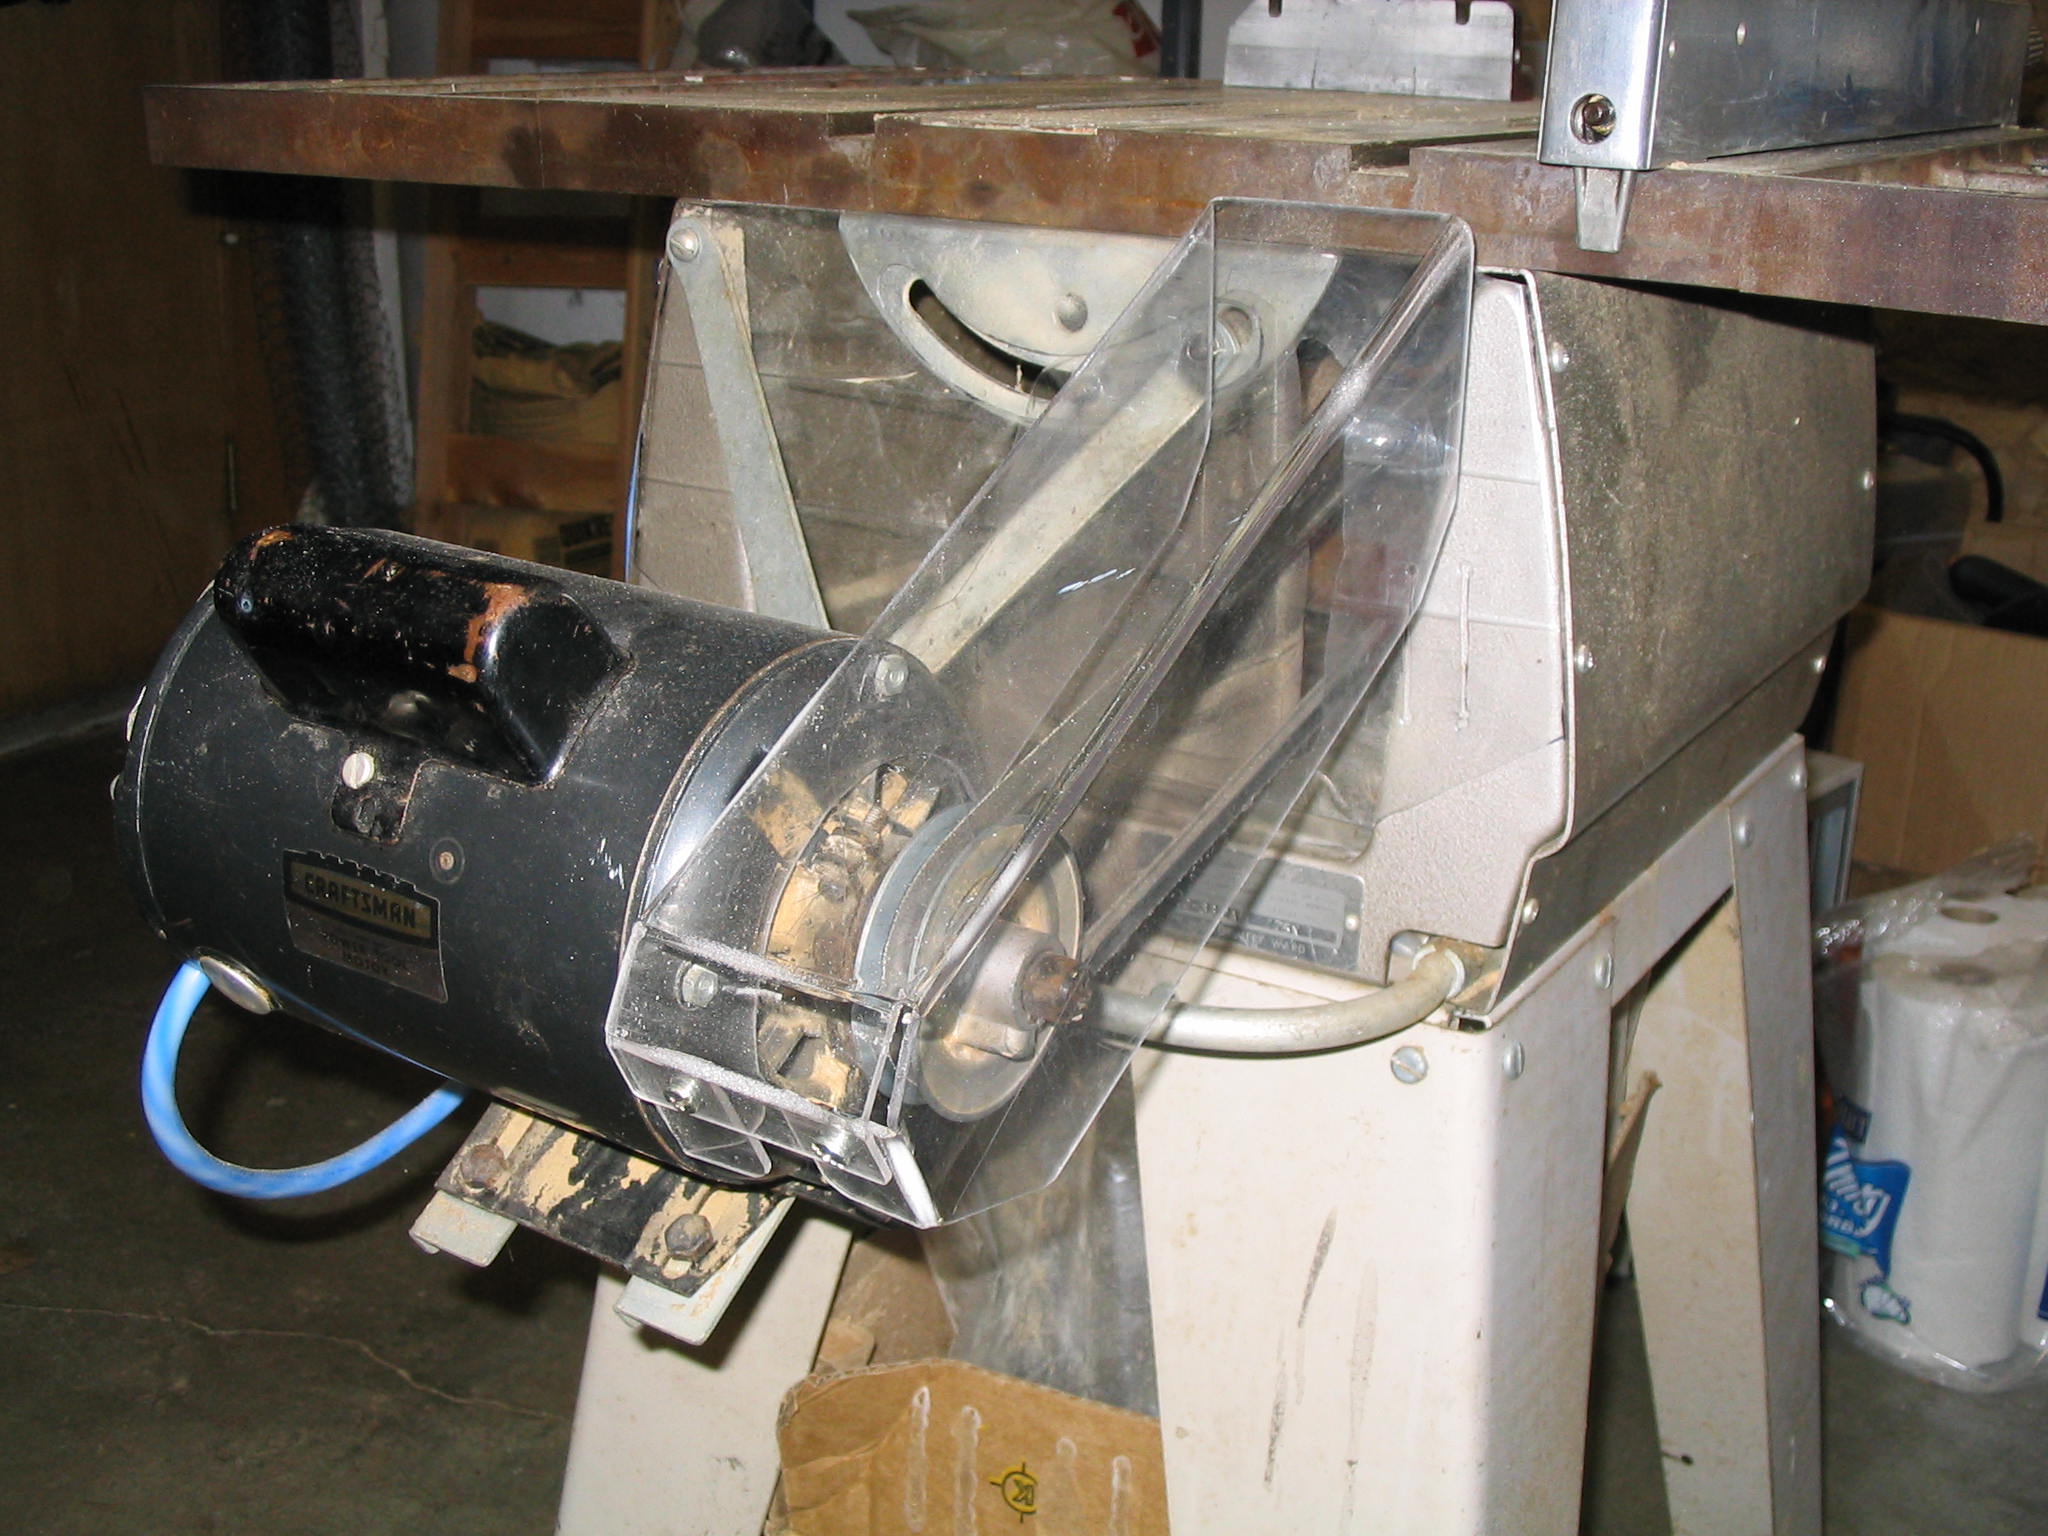
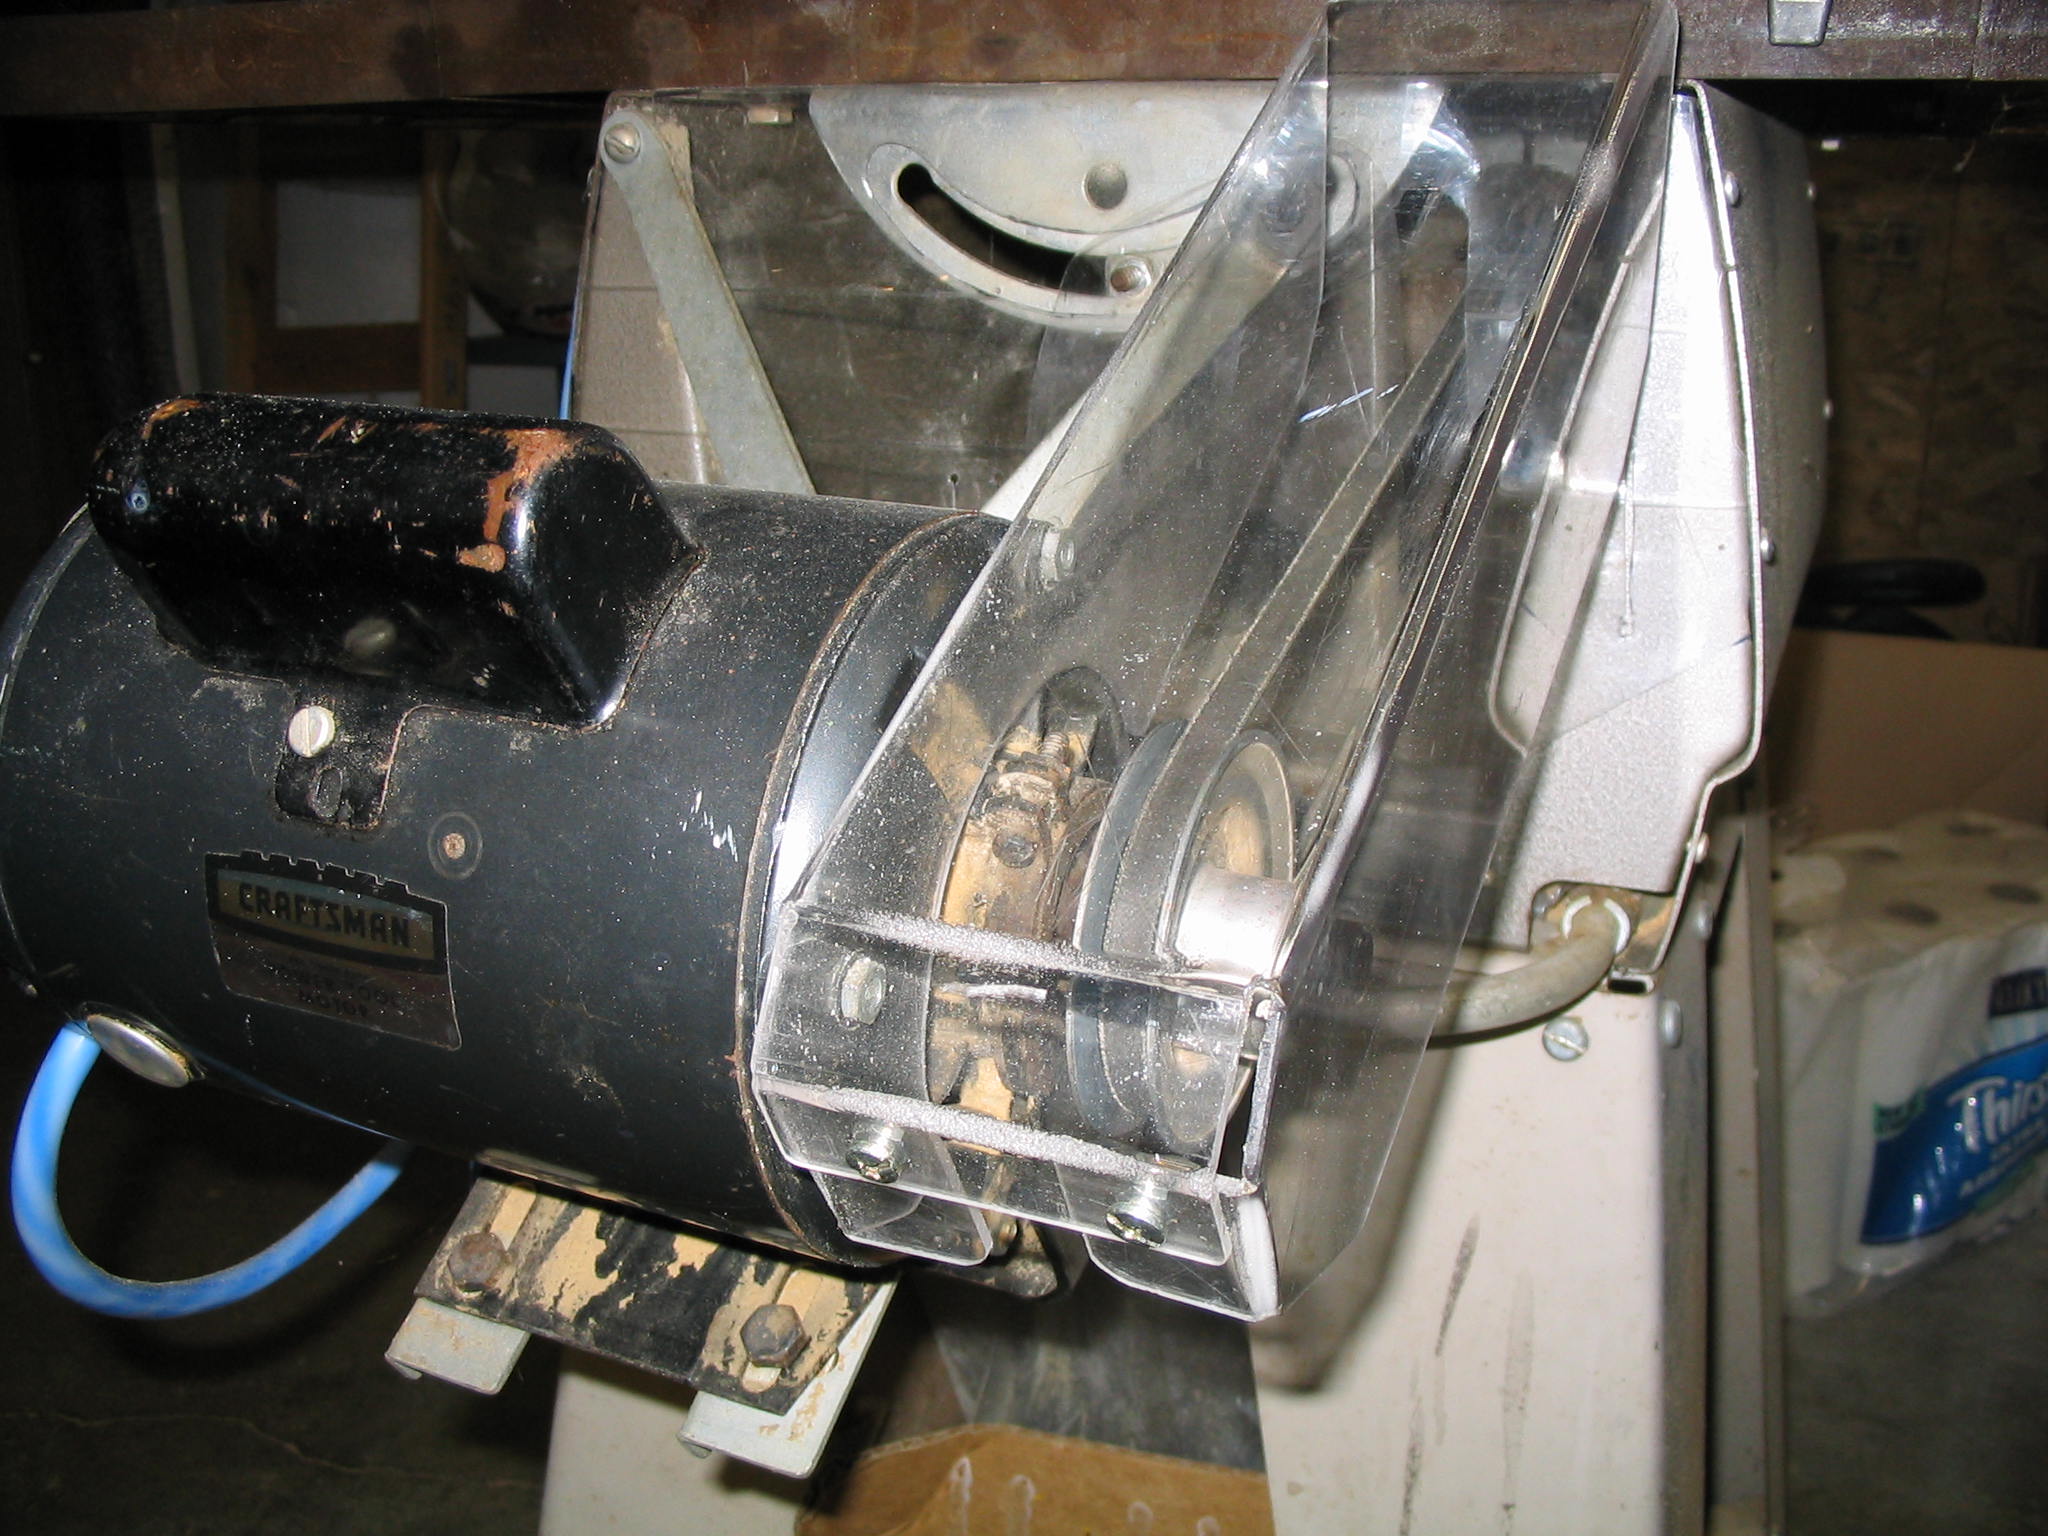
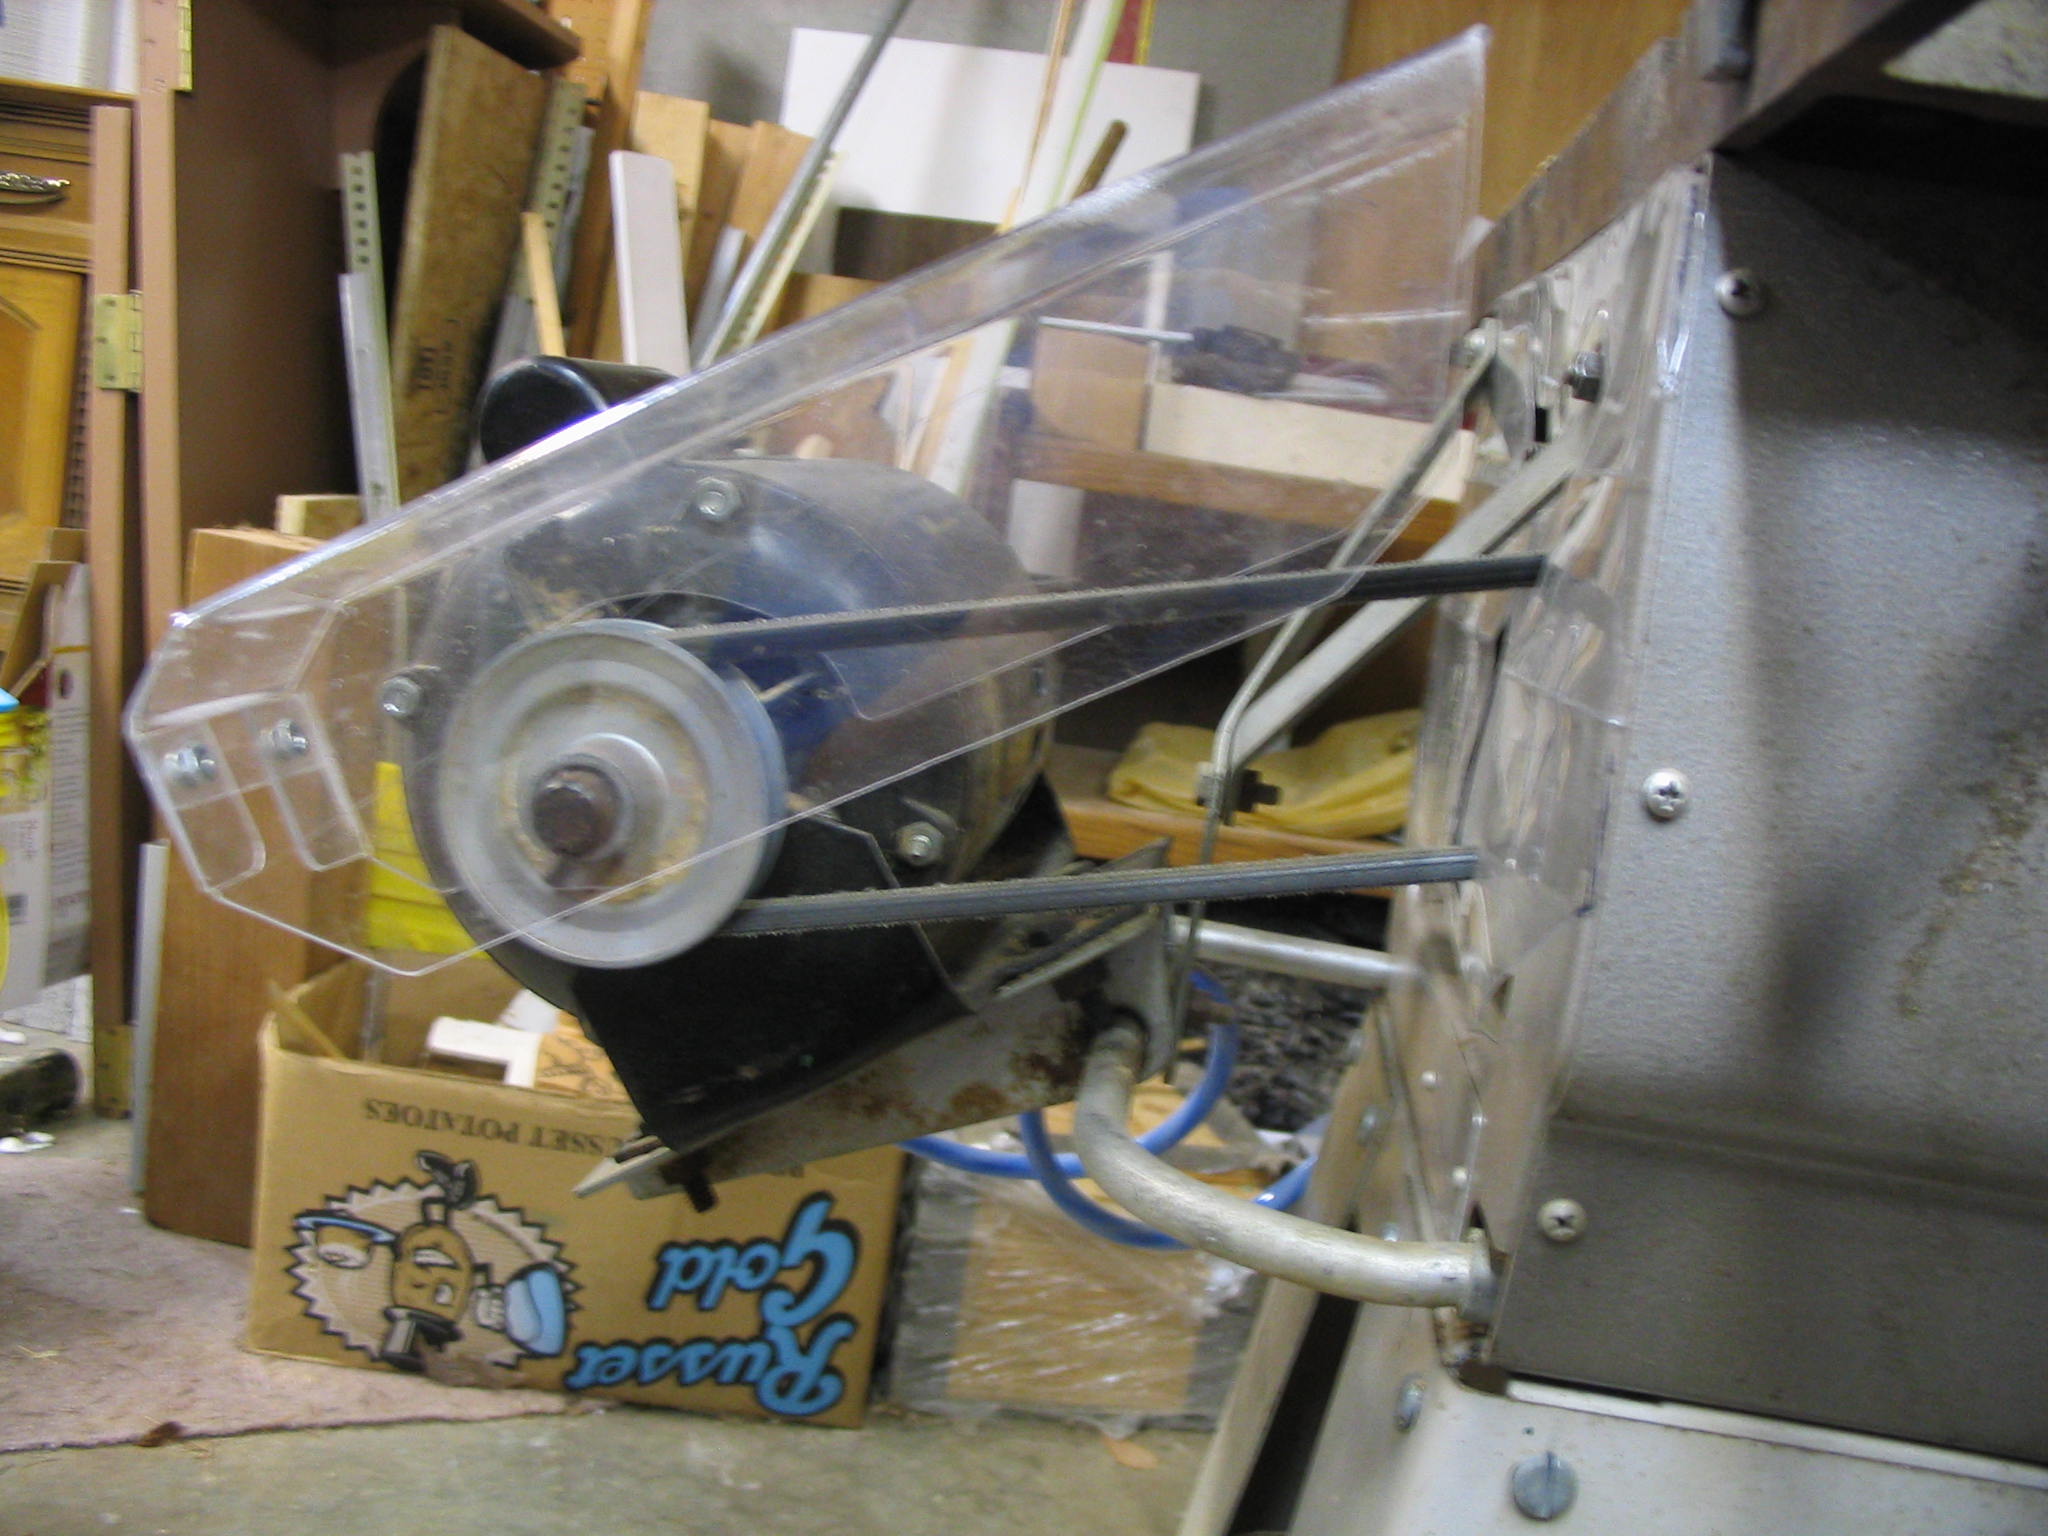
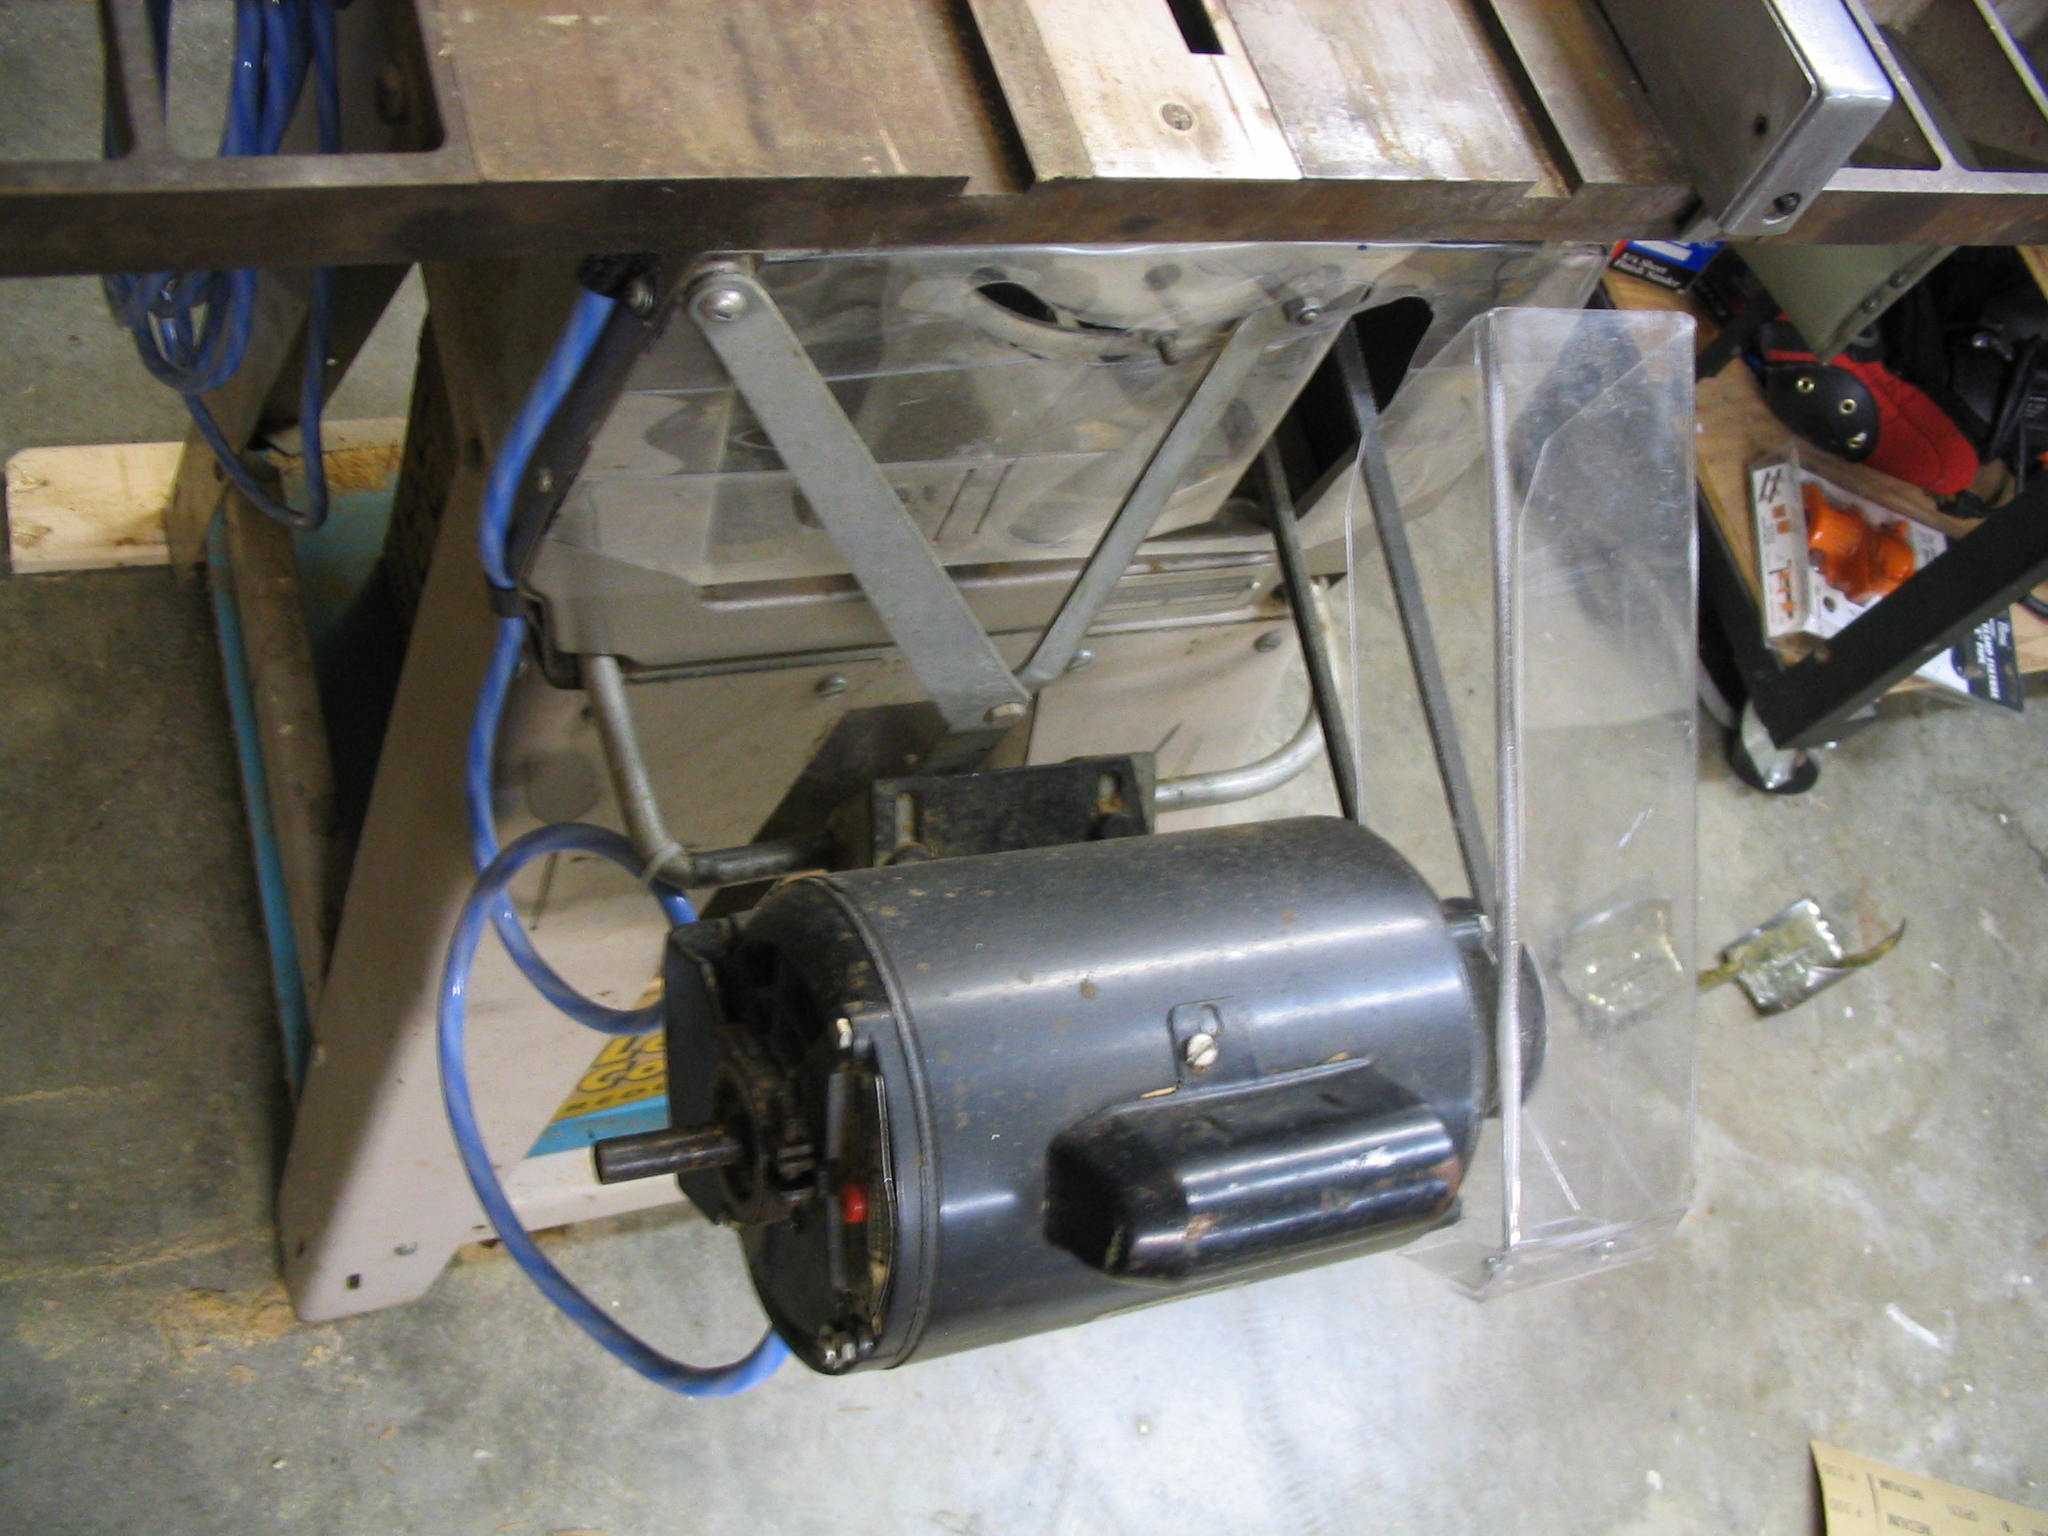
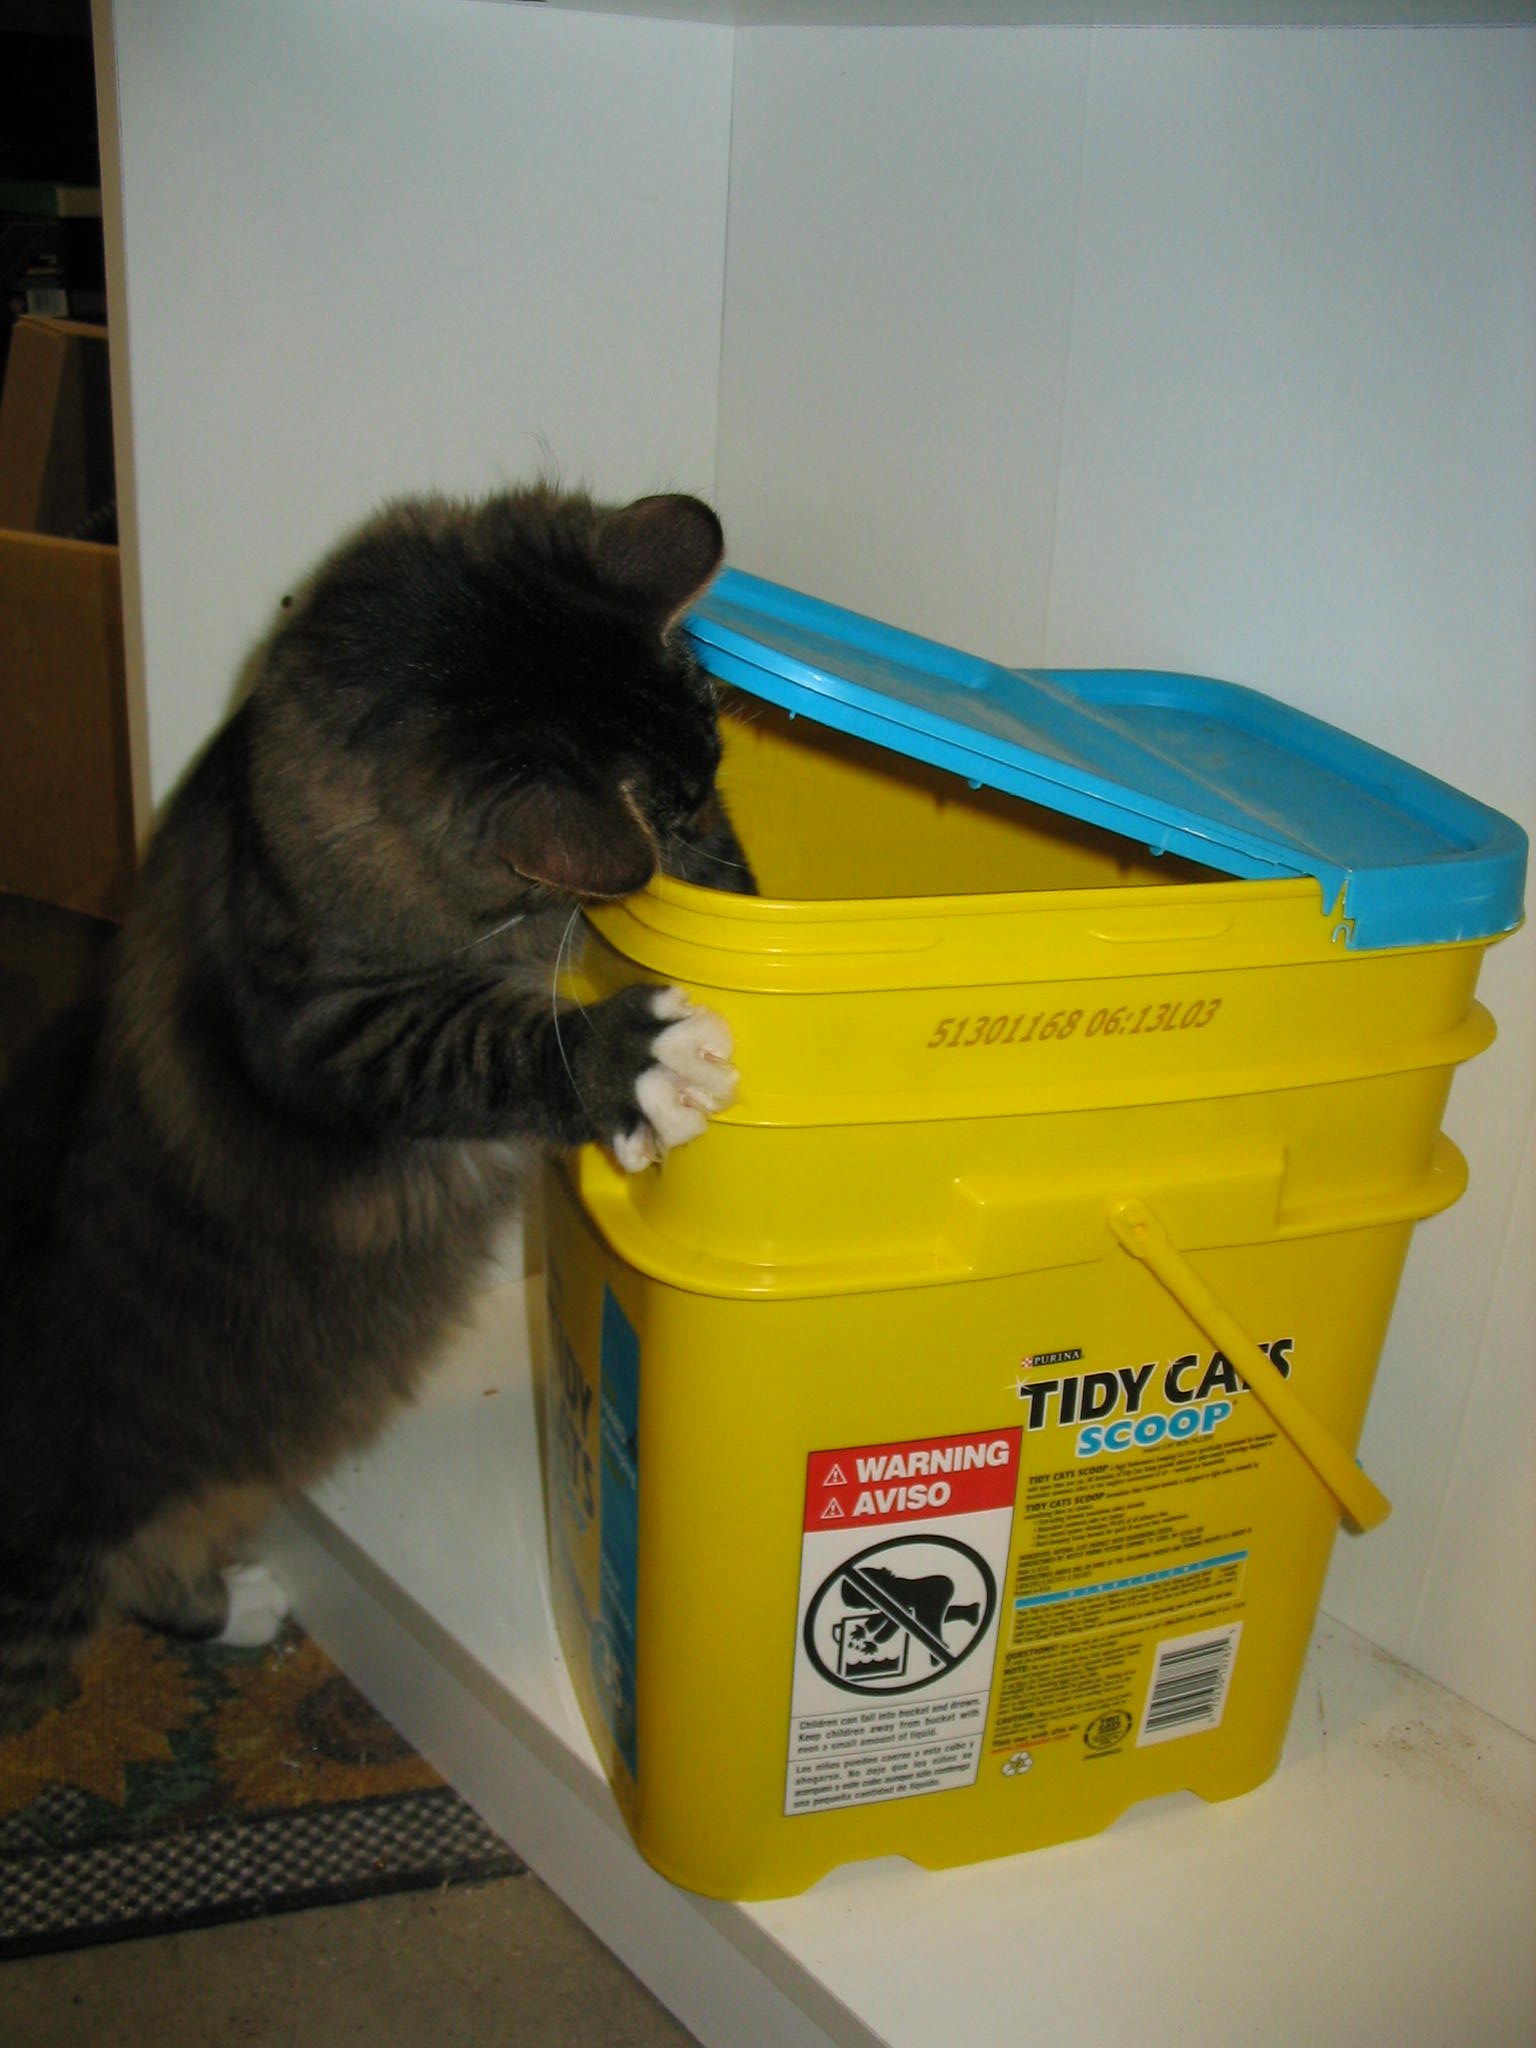
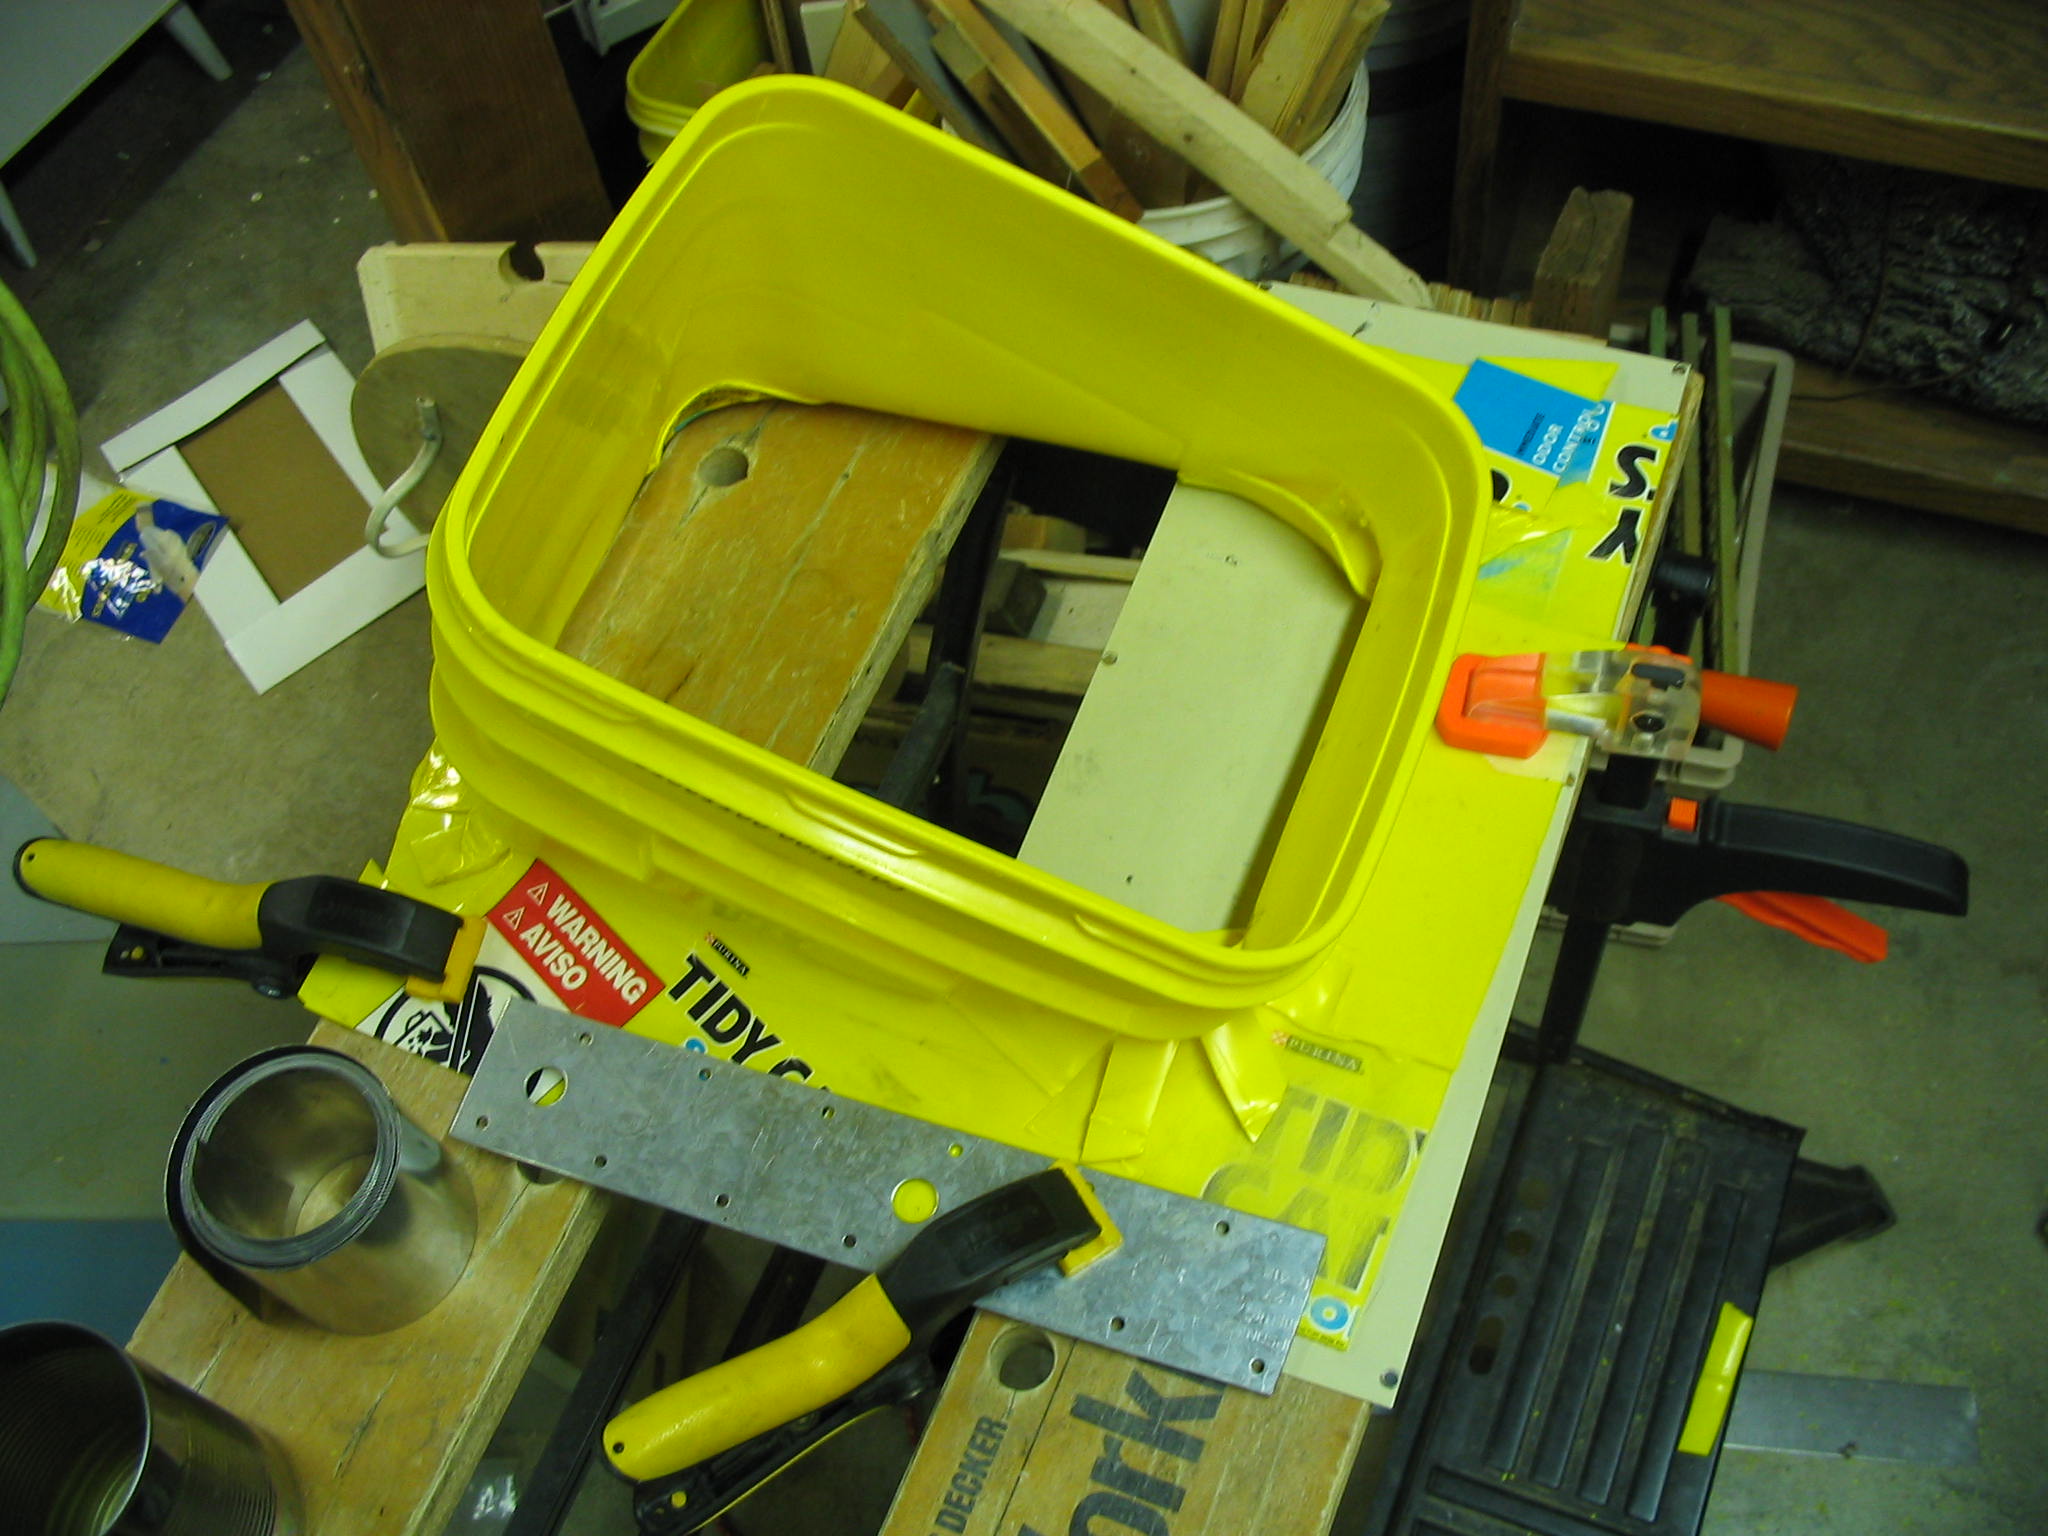
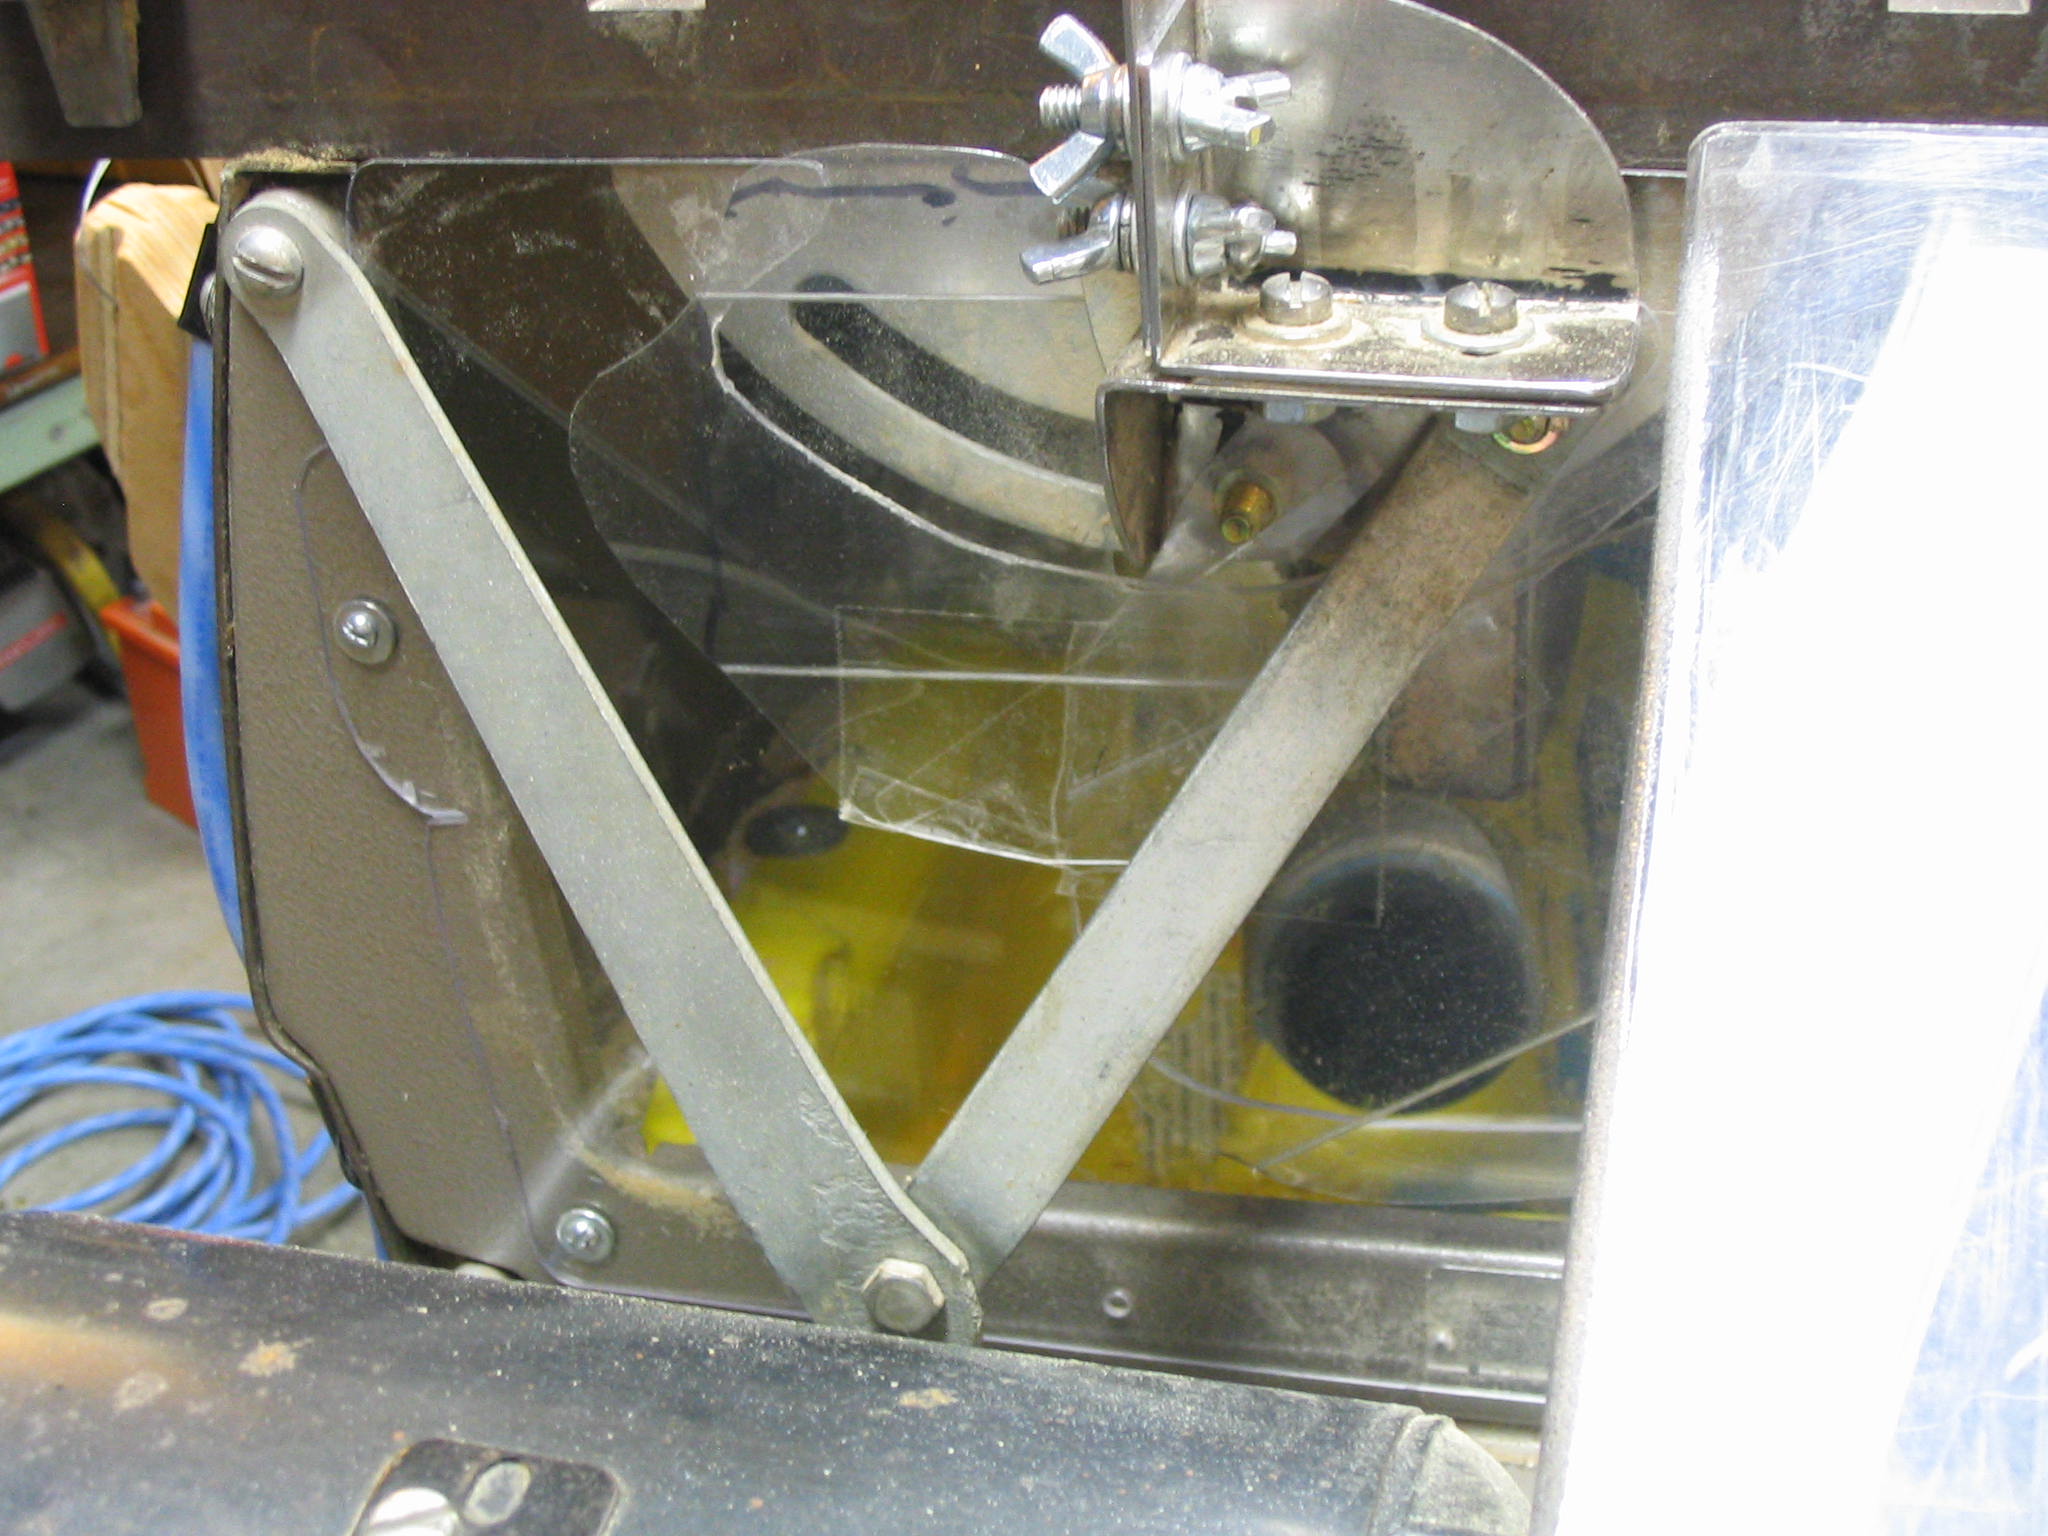
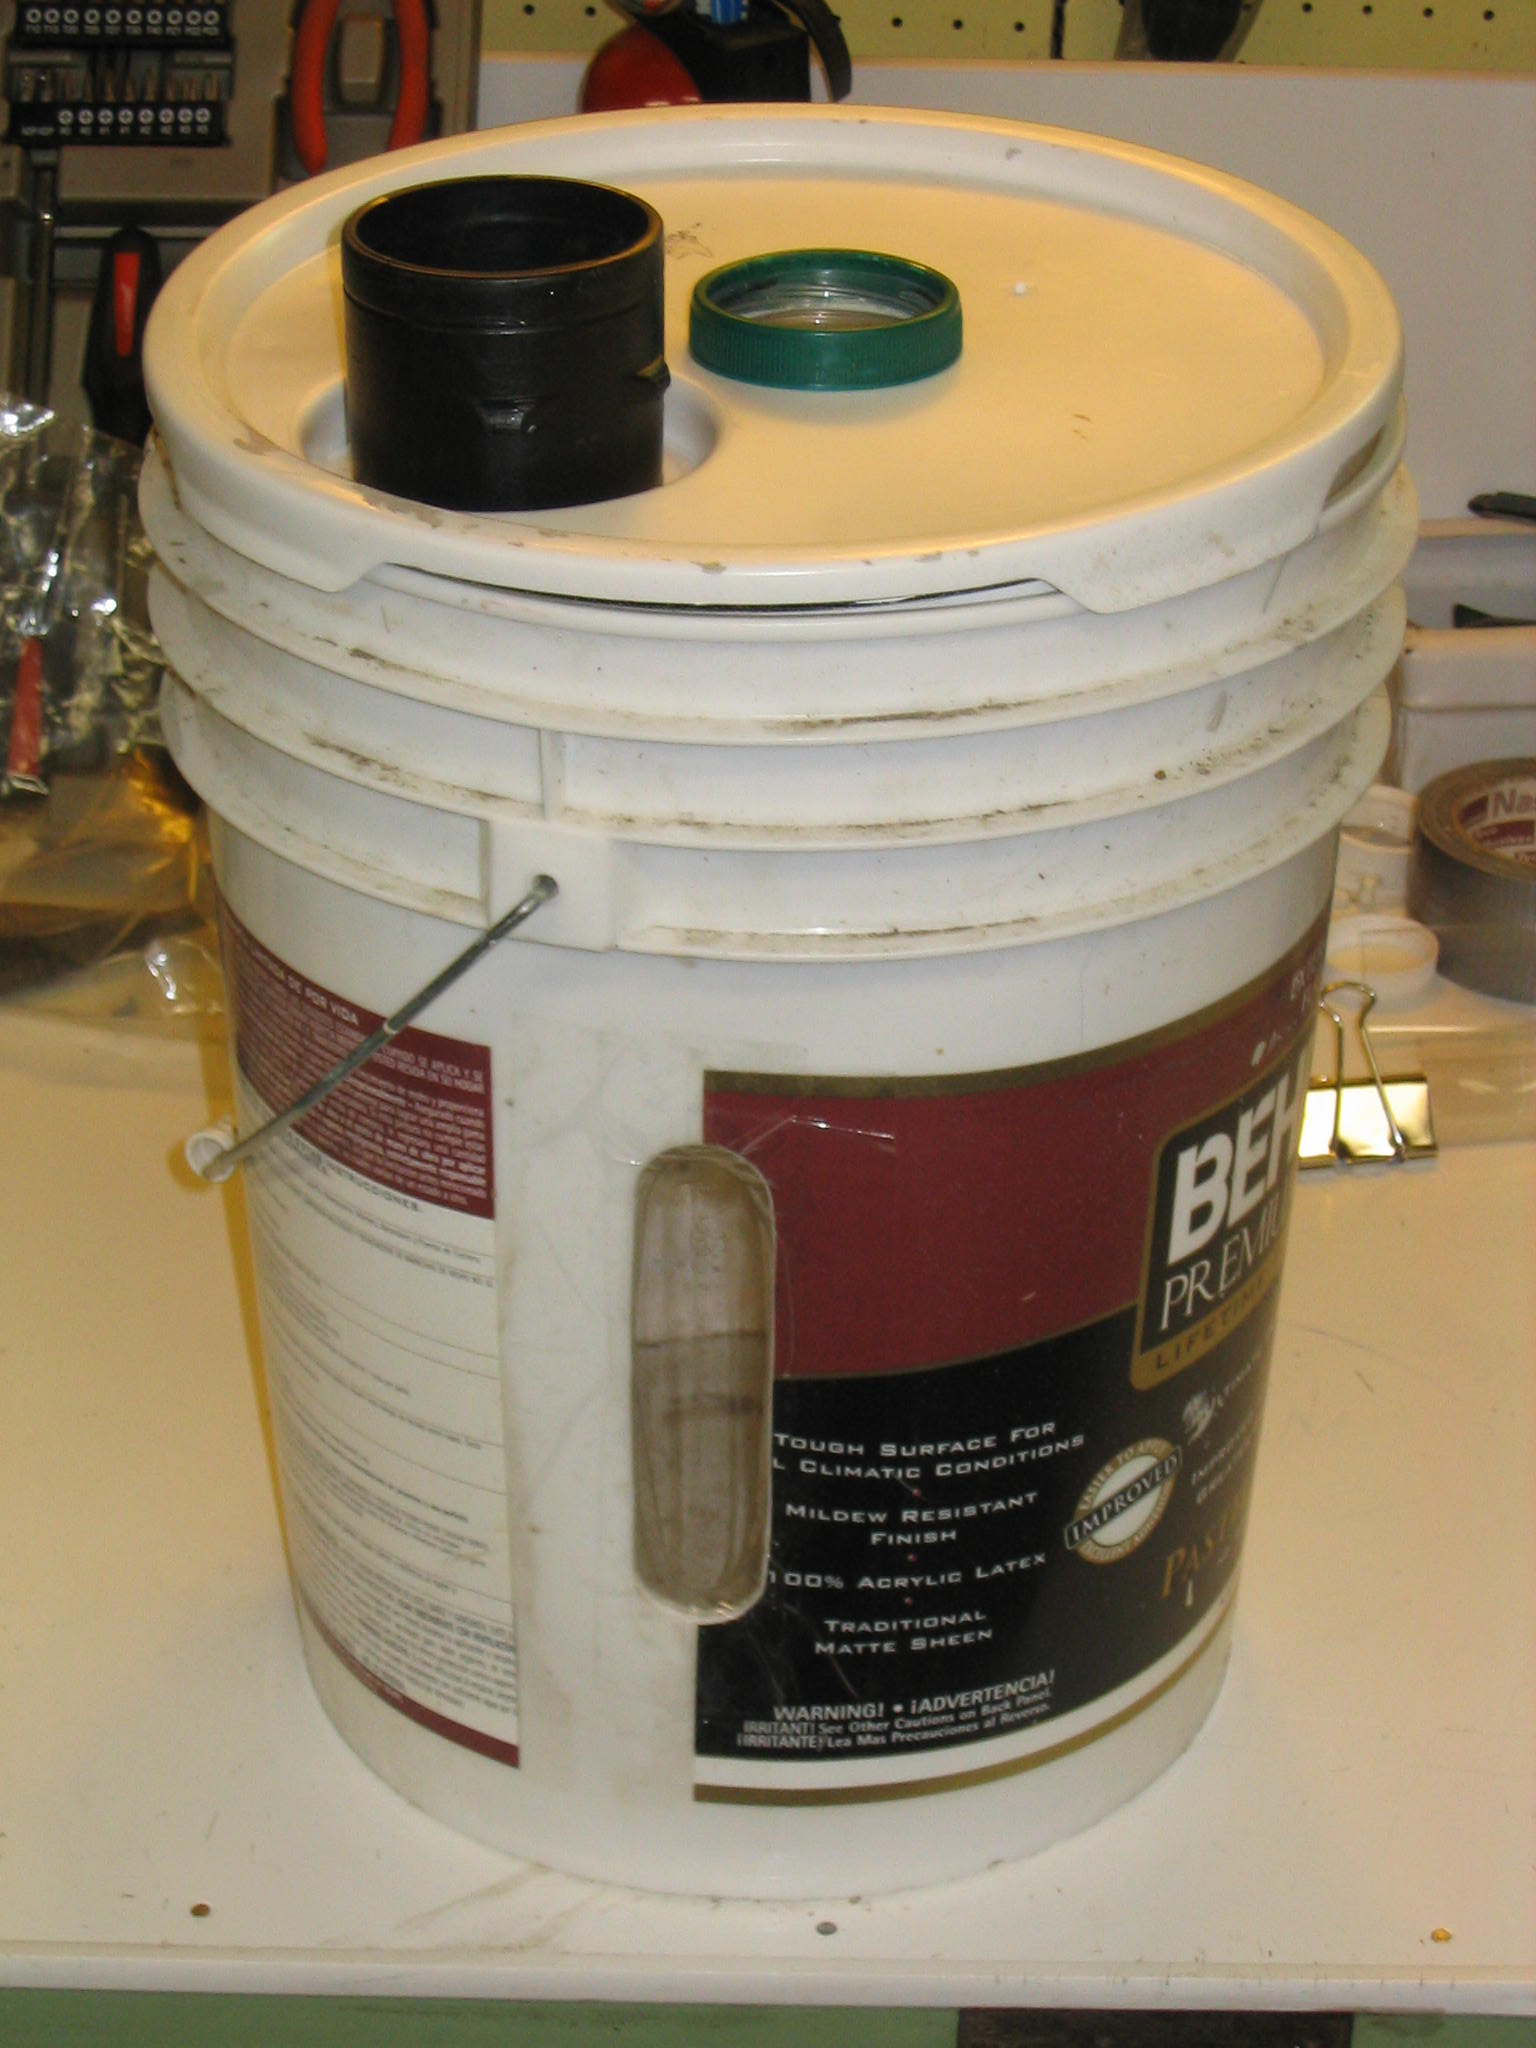
 I set out to create a dust collection hood for the underside of my tablesaw. I used the top section of a rectangular HDPE plastic bucket with a snap-on hinged lid. Using an angled cross-section gave me a built-in slope for dust collection at the bottom. The lid of the bucket provides an access door to the underside of the saw, for reaching in to change the belt.
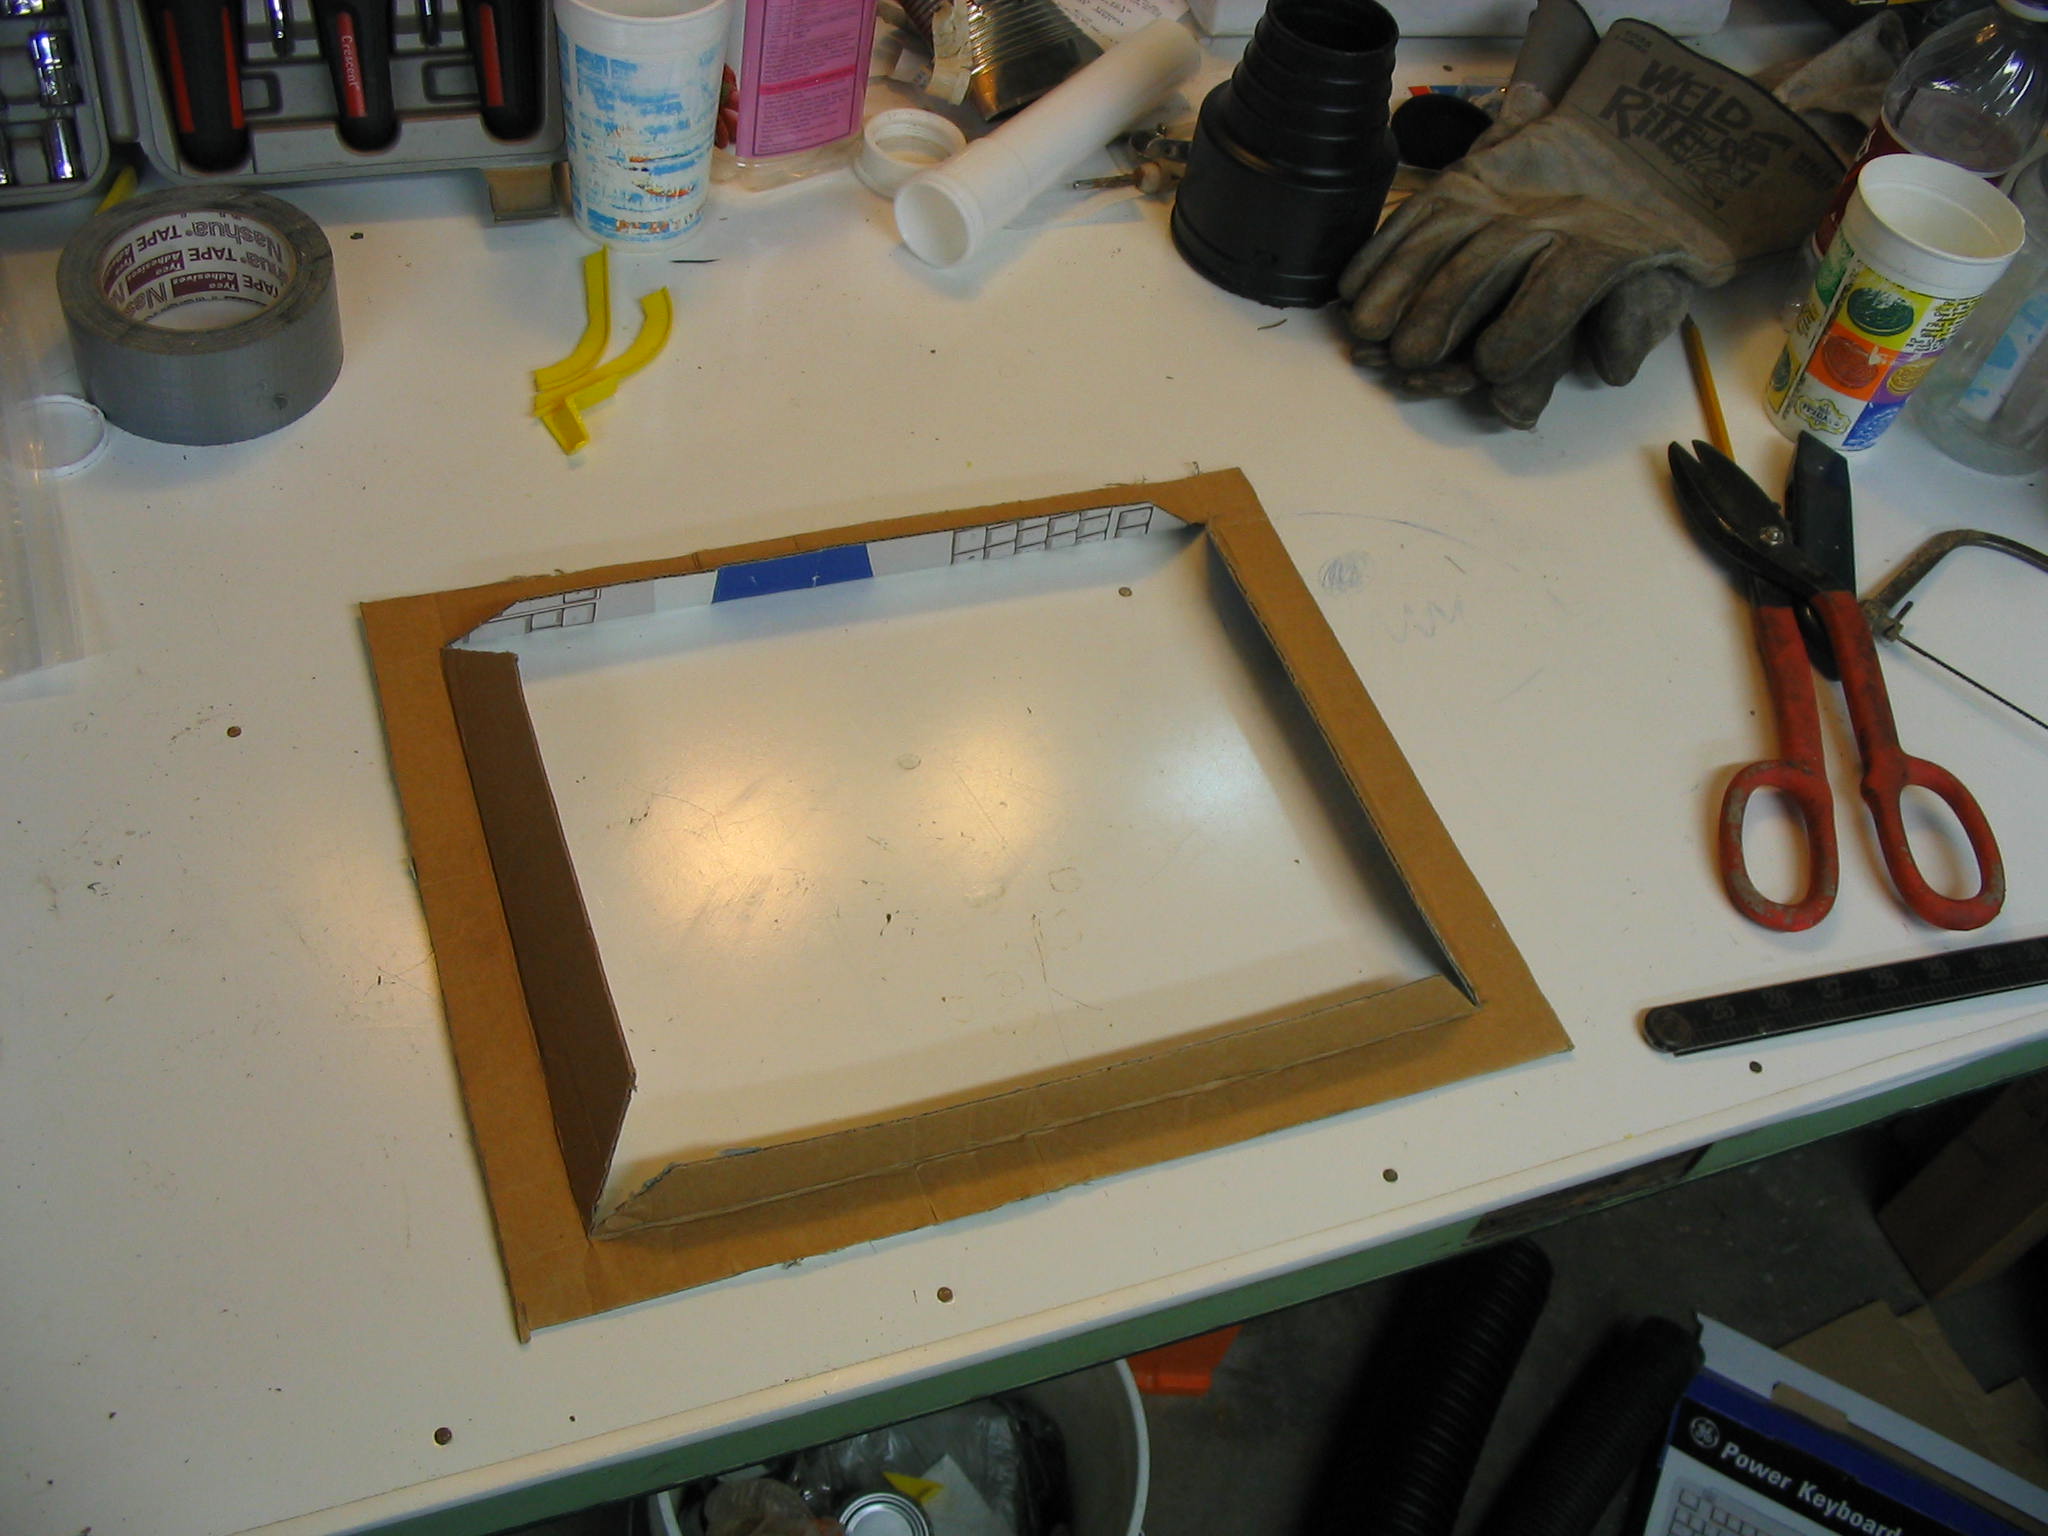
The first step is to create a pattern for the rim of the underside of the saw. I measured and cut a template out of cardboard, and made sure it fit the saw. Then I could start cutting the bucket to match the template.
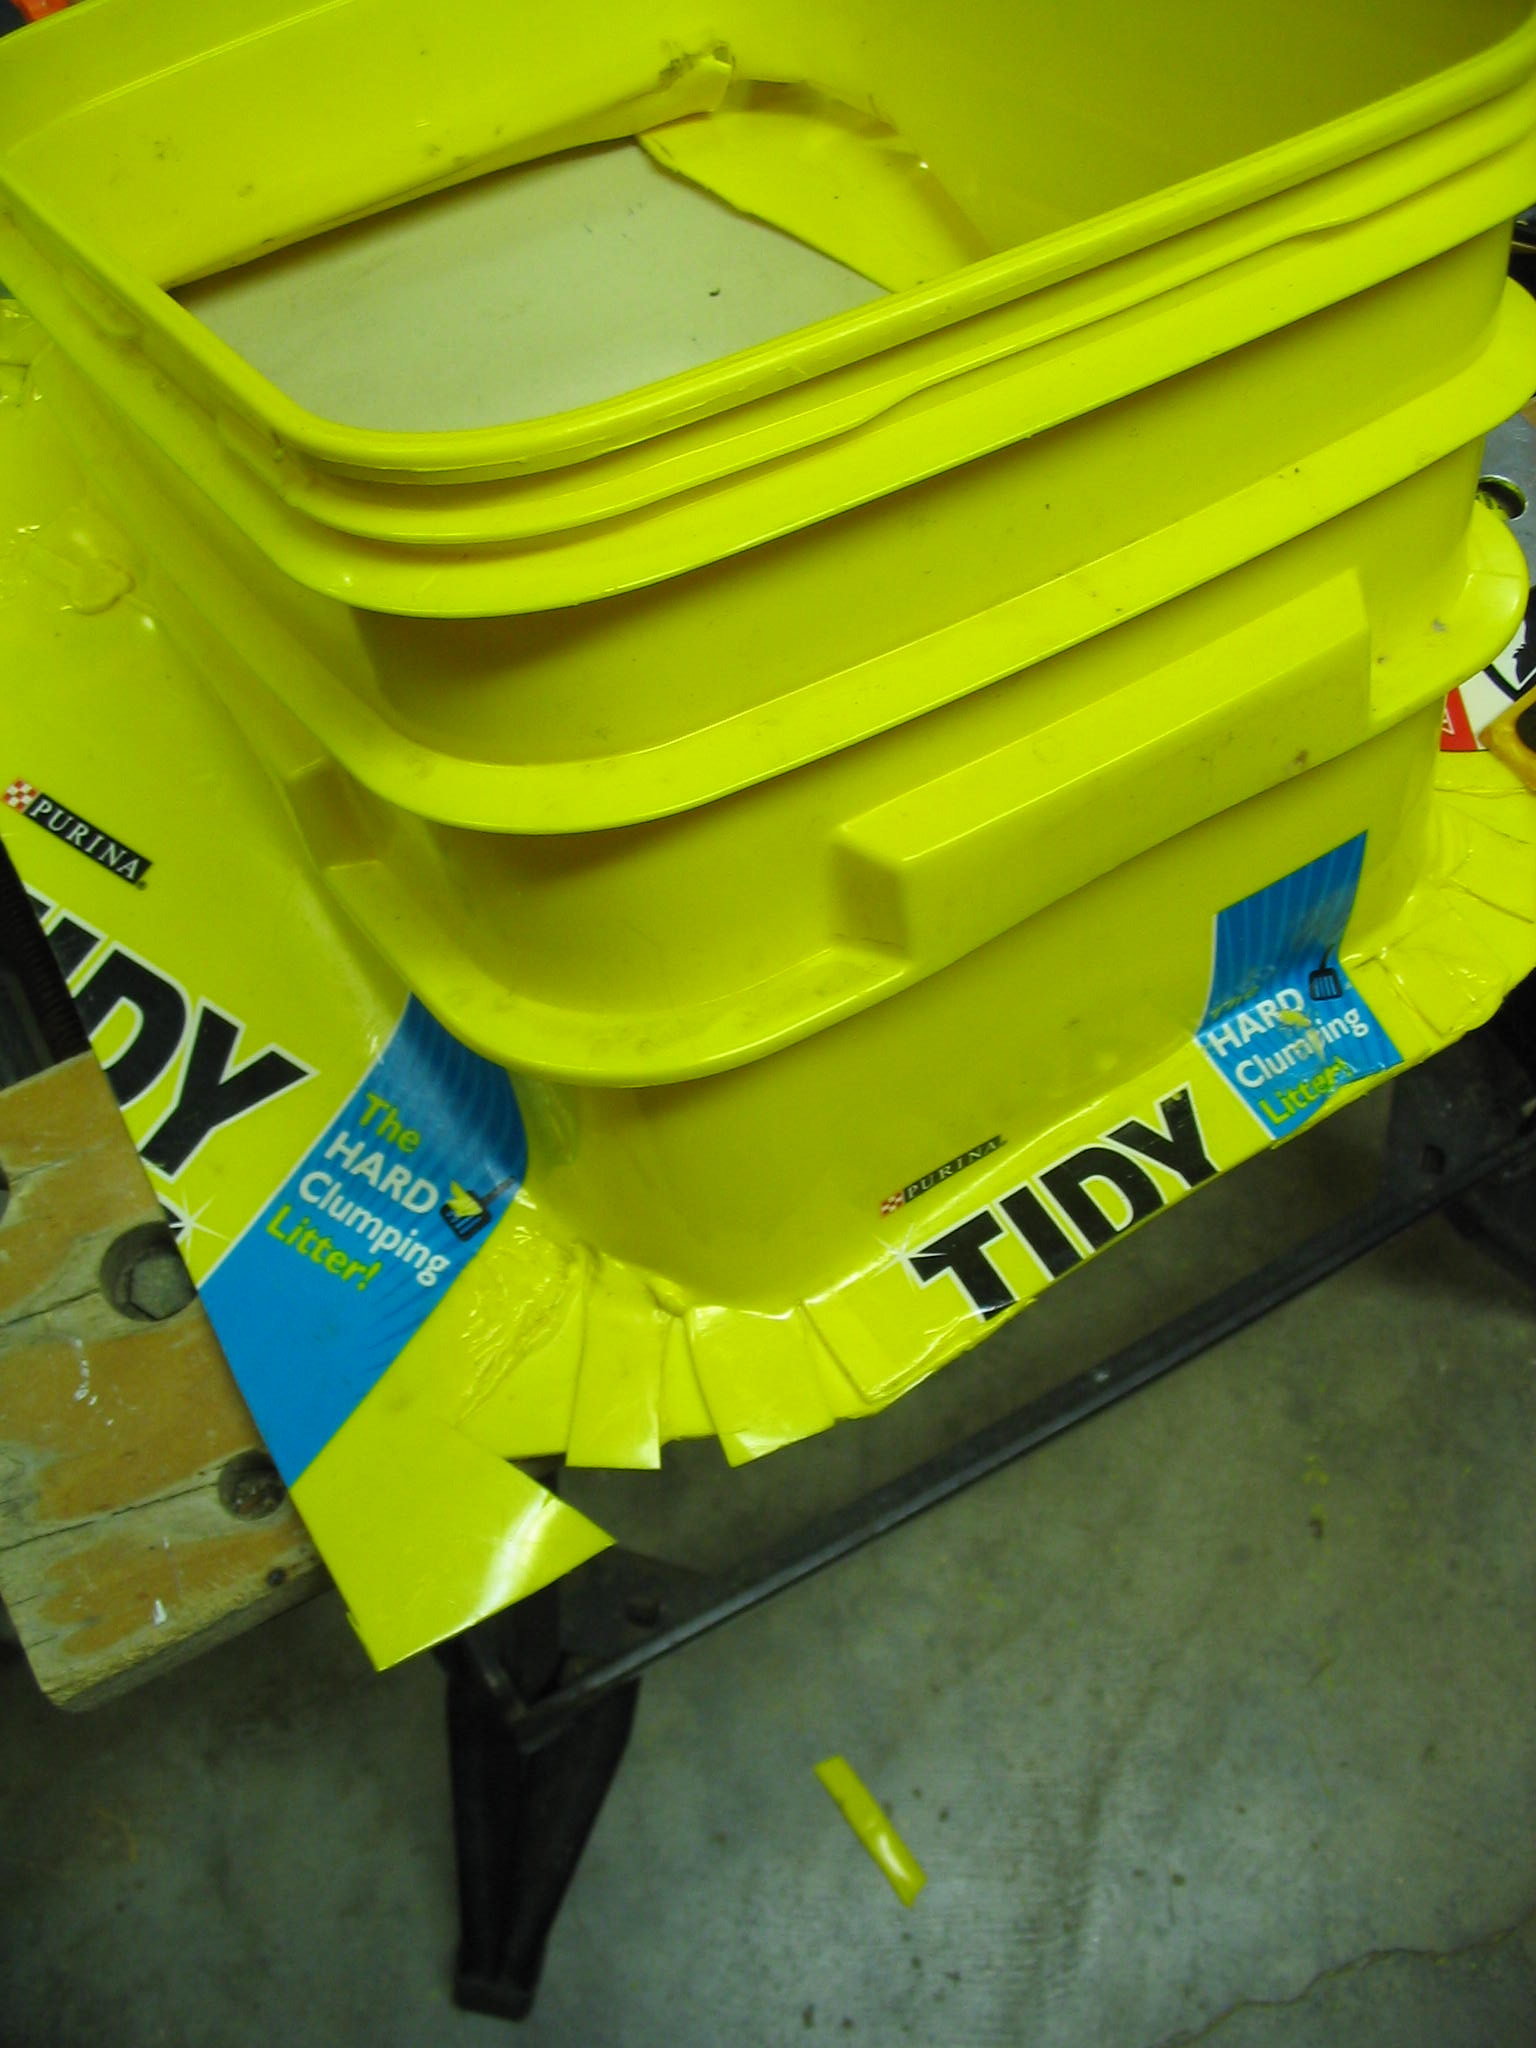 I heated and bent the sides to create the main part of the rim. I slit the curved corner sections to make tabs. Then I added flat corner pieces and welded them to the tabs.
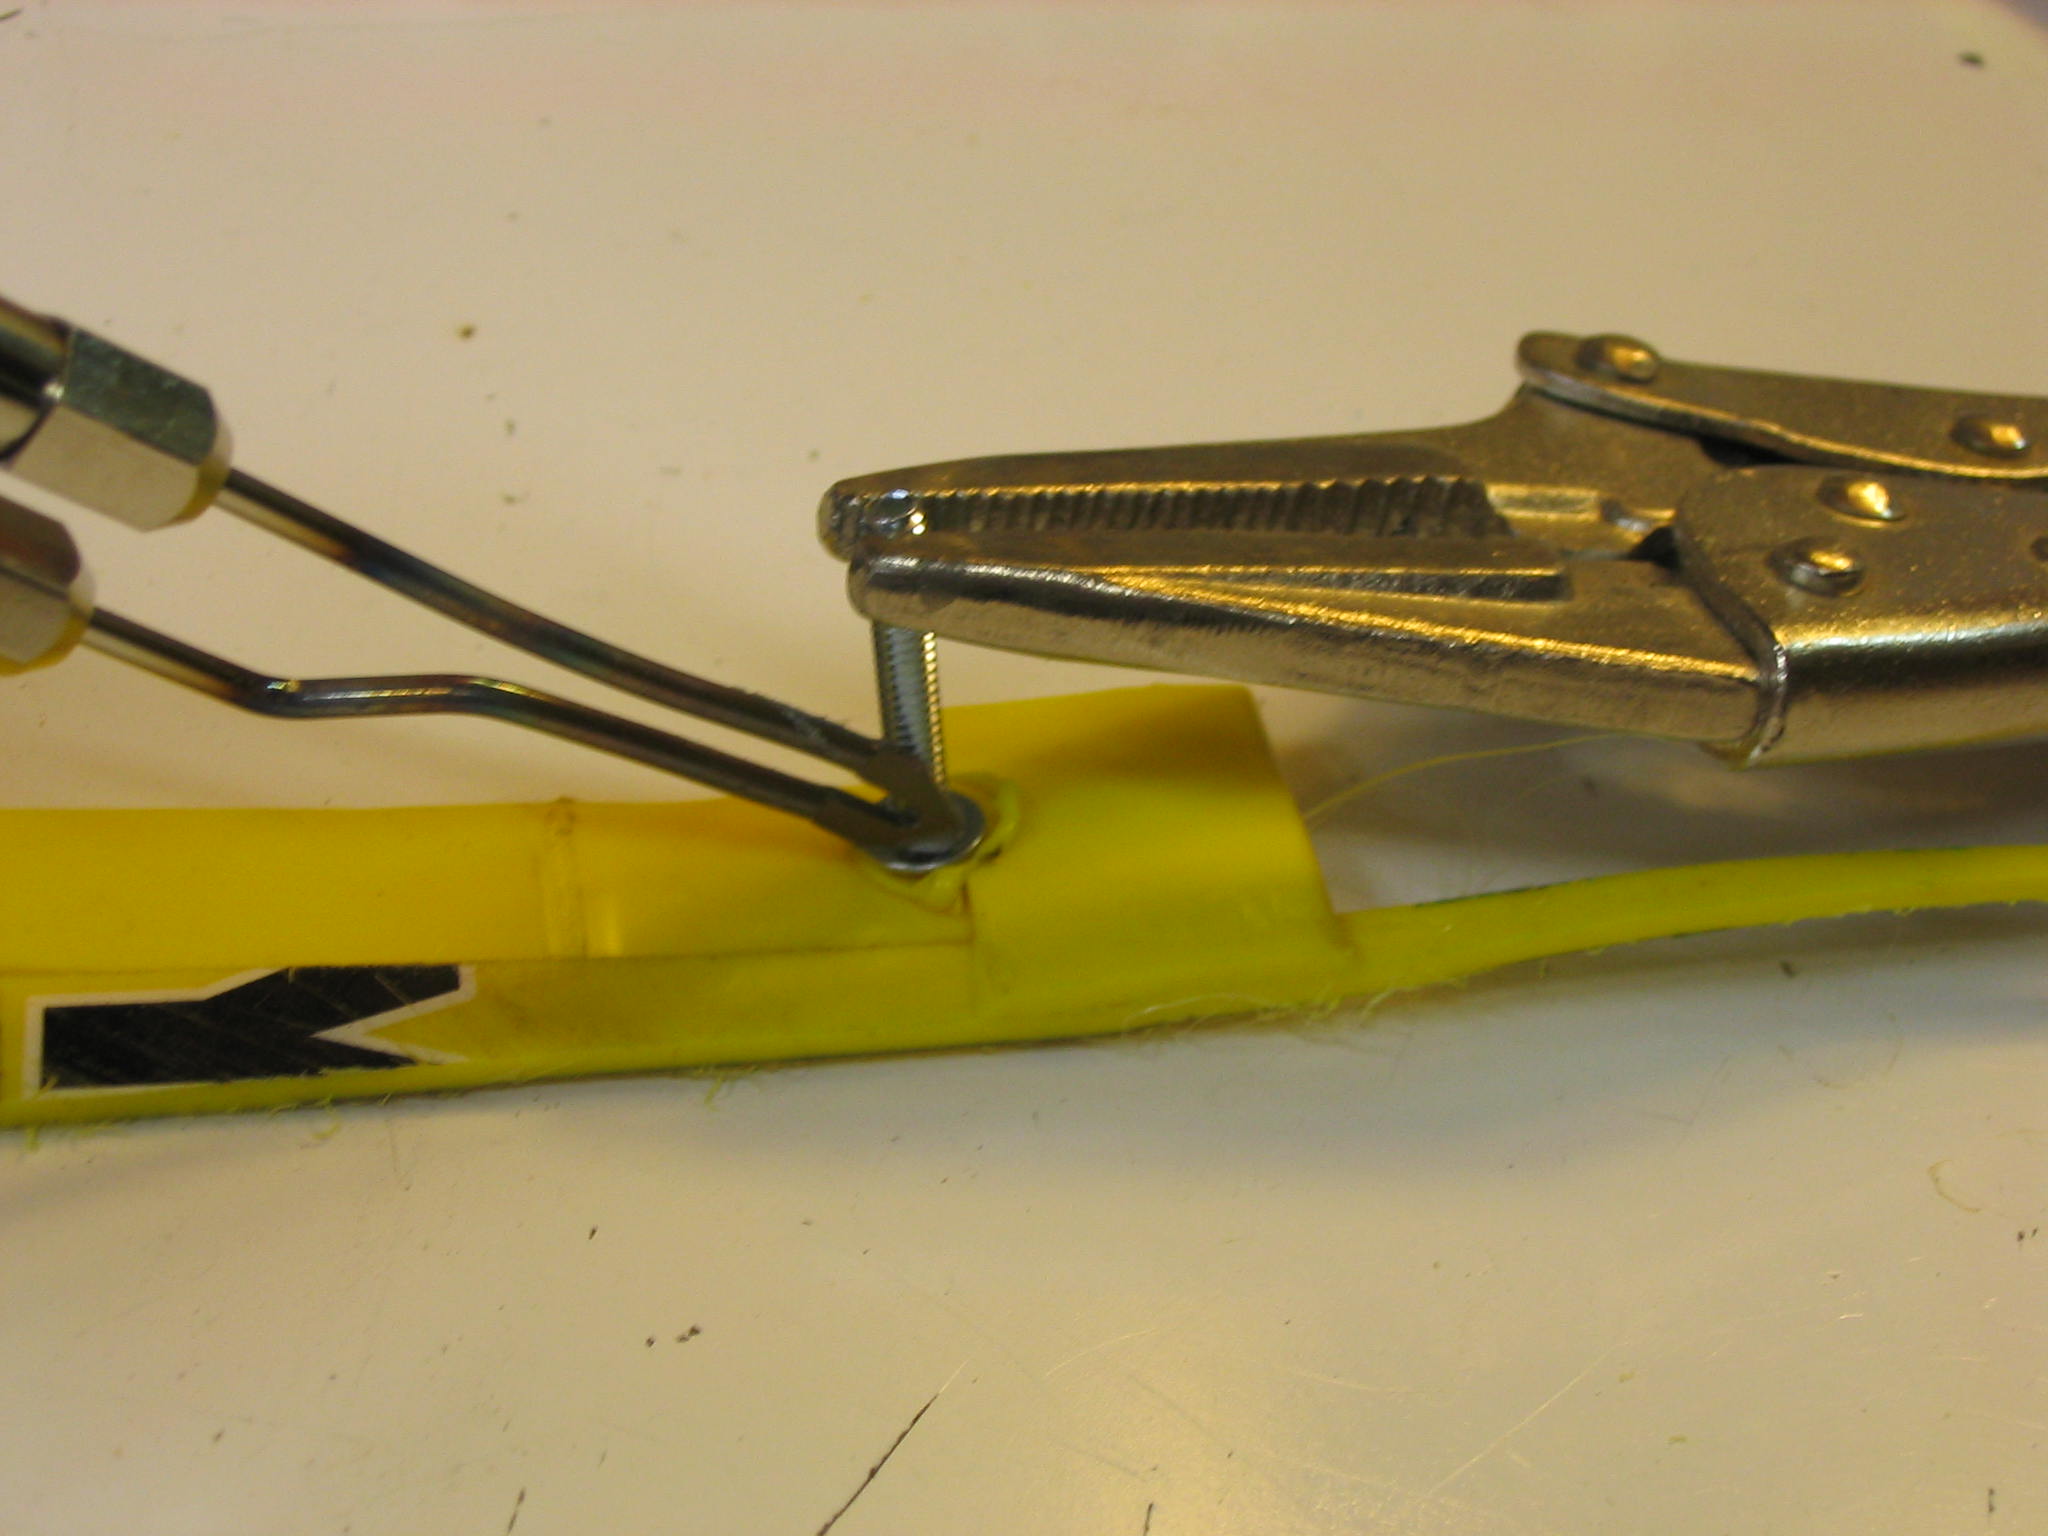
 The best method I found to weld plastic pieces like this is to heat the two faces of the tabs or overlapping pieces until they are soft, and then press them together and let them cool. The plastic will fuse, creating a single piece. It is a little tricky to heat the plastic just enough, but not too much. If you heat it too much it will simply melt and fall apart. The main thing is to try it on a number of test pieces first, and practice.
I found that the best way to press the two parts of plastic together is between two pieces of sheet metal. The metal will not bond to the plastic after it has cooled for thirty seconds or so, and will lift right off.
Modifying Tools
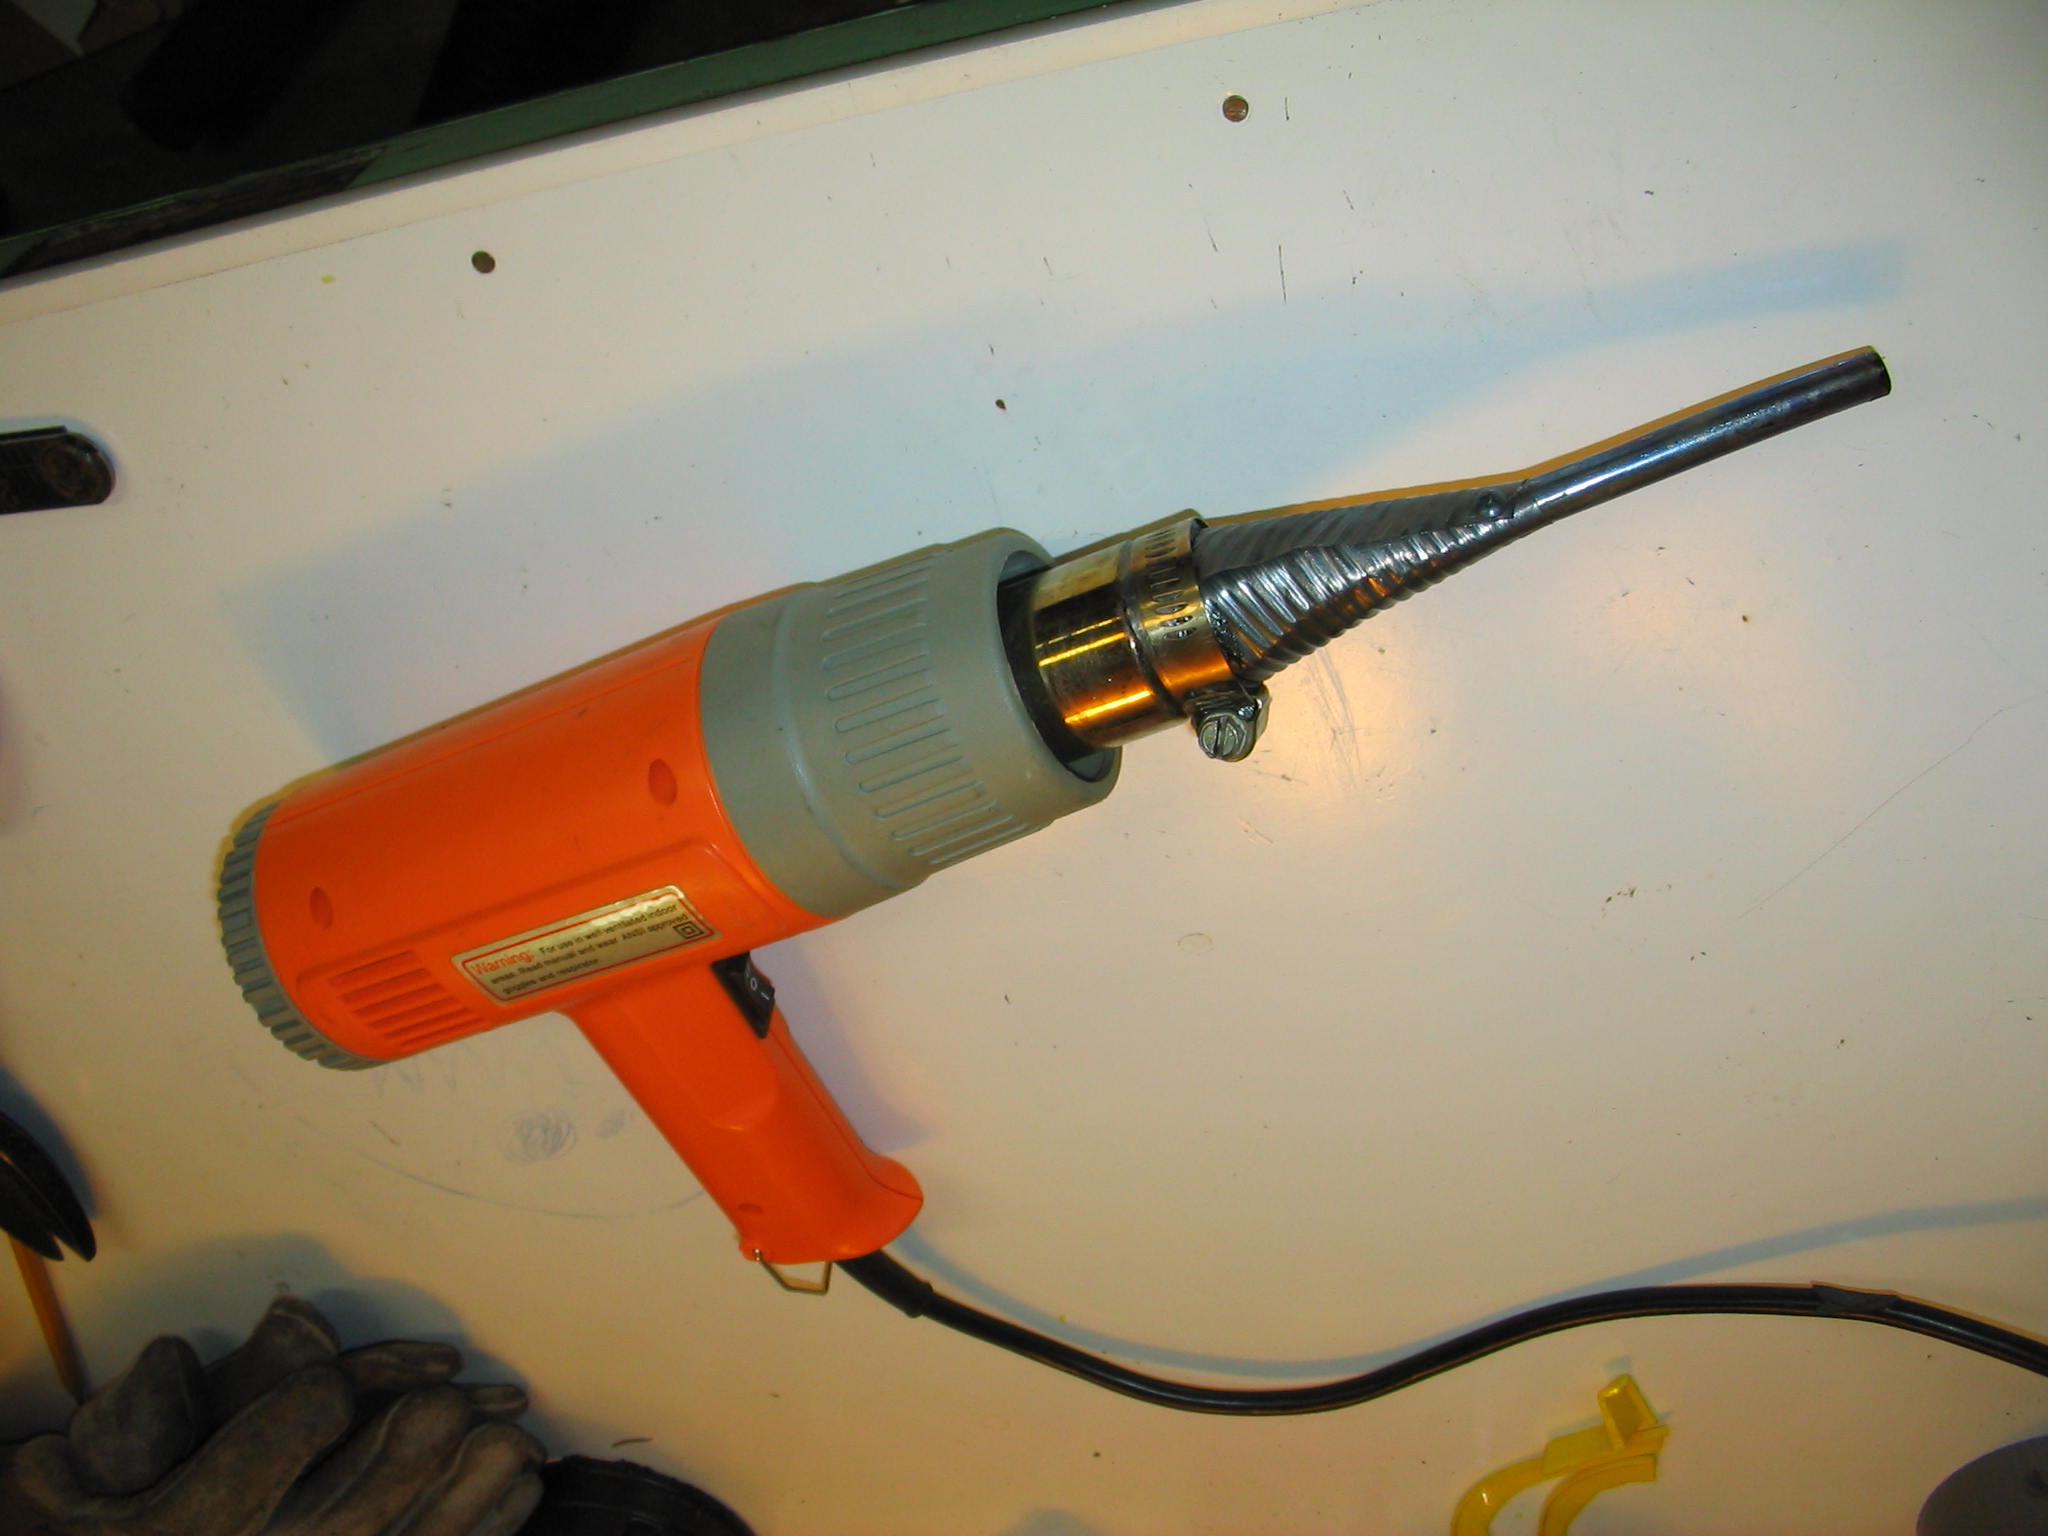 There are many times when the tool you have available does not quite fit the task, and you need to adapt it. This was the case in using the basic heat gun to weld plastic tabs. The provided nozzle of the heat gun produced a fairly broad current of hot air, melting around a larger area than I wanted for welding the plastic tabs together.
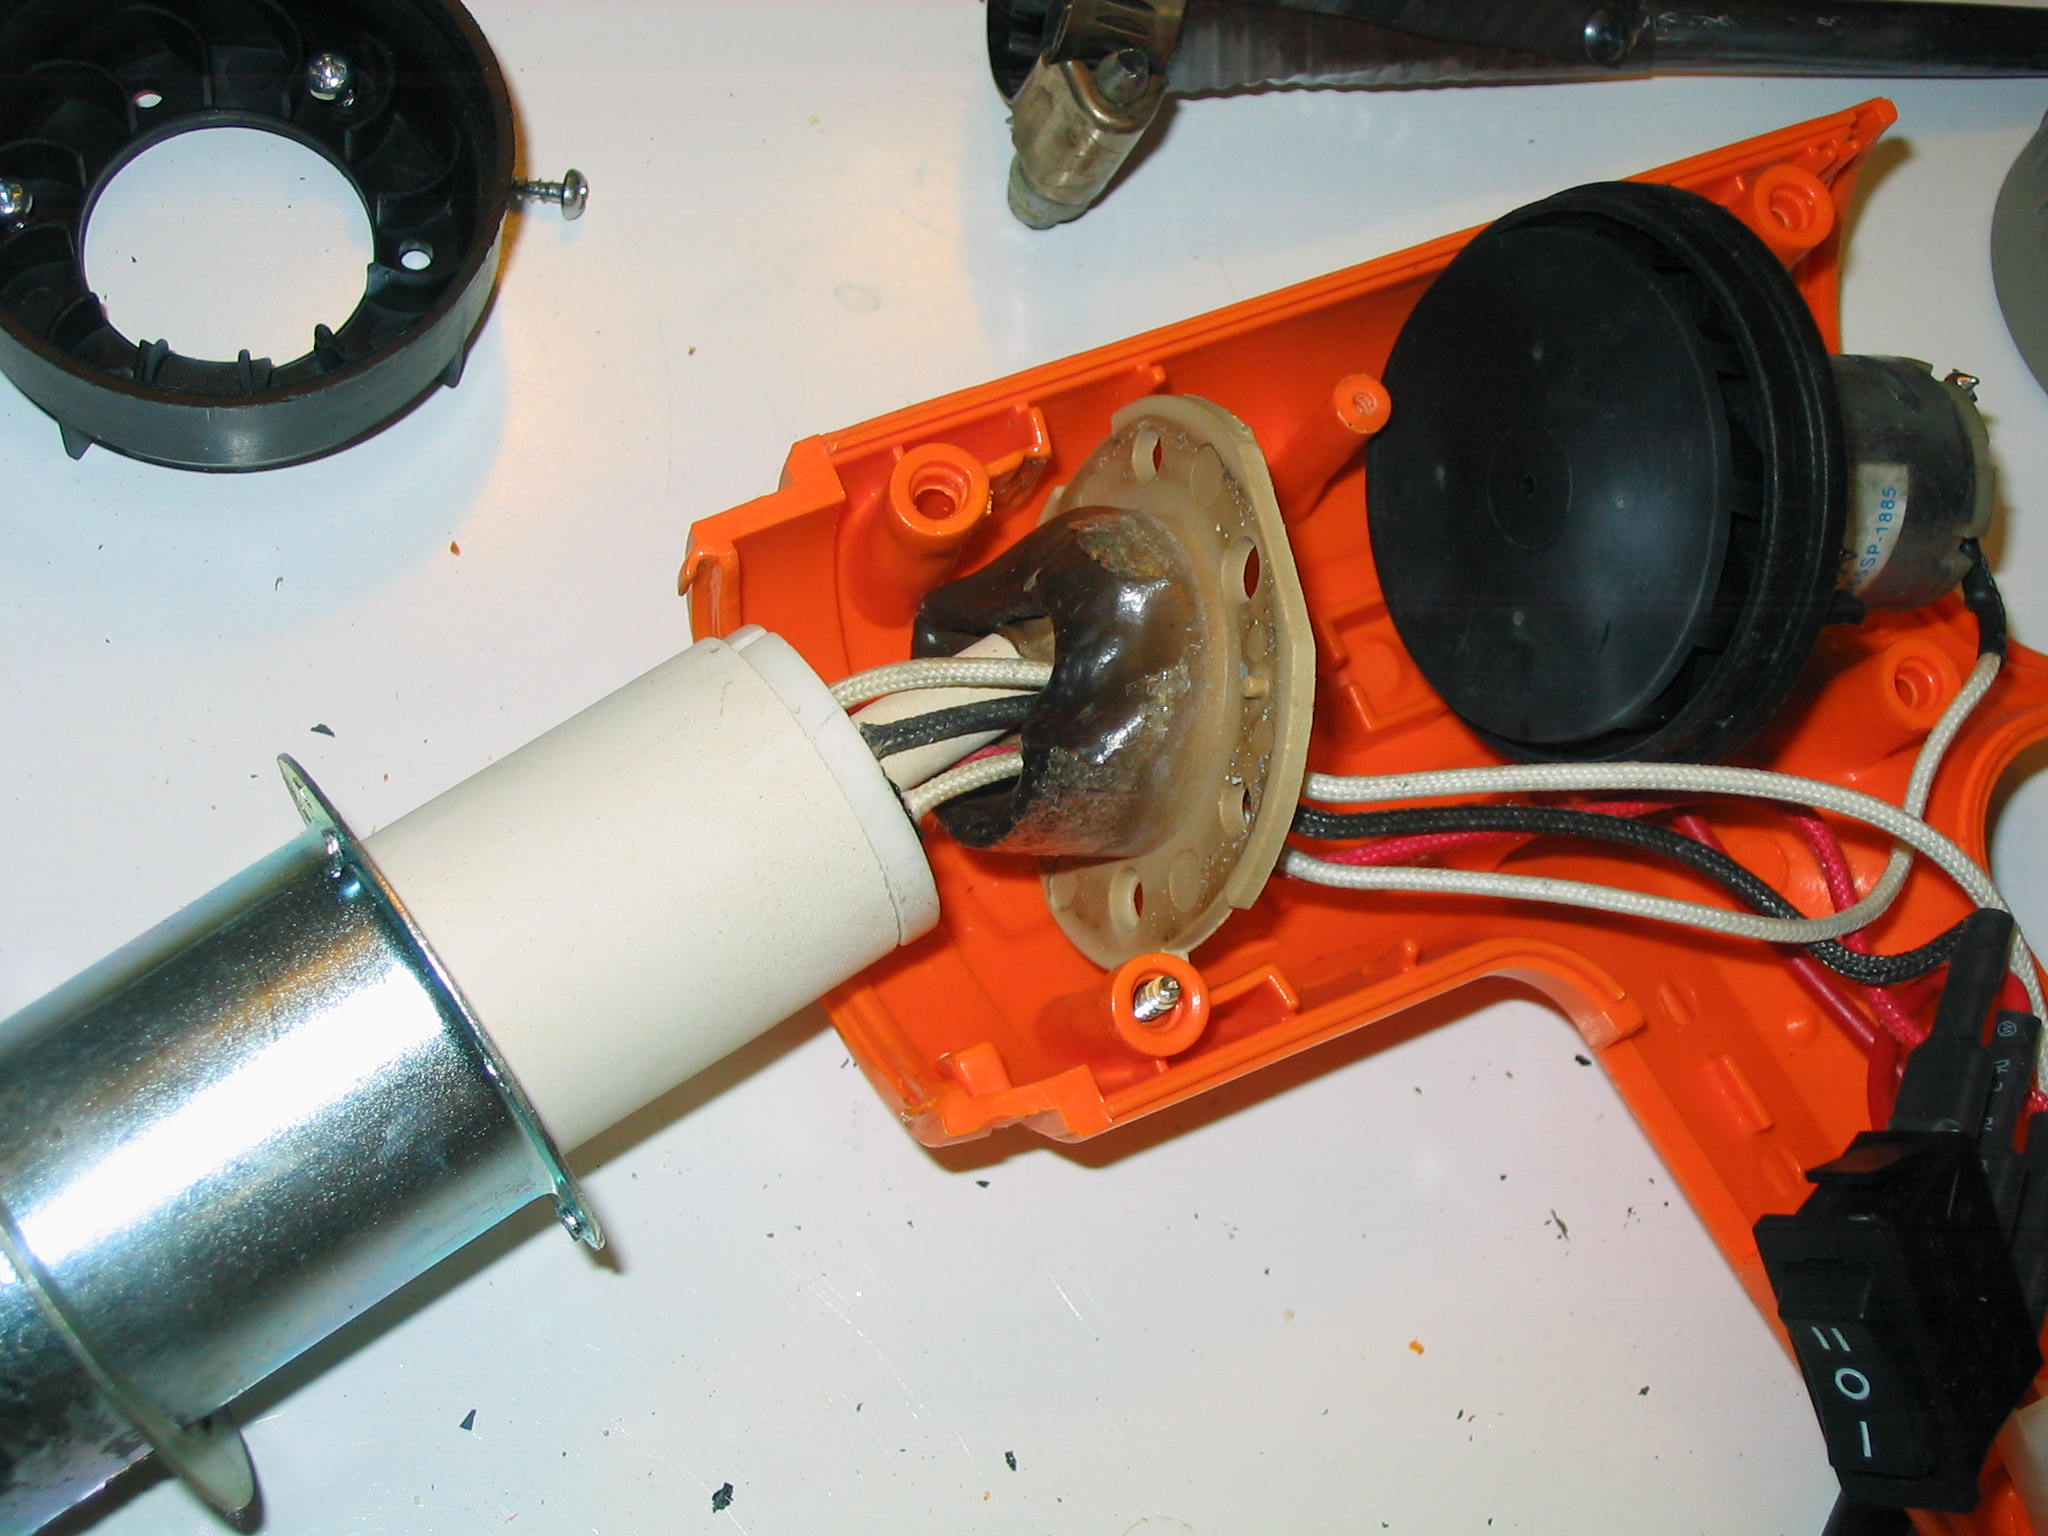 I created a funnel for the heat gun, which focused the hot air down a narrow 3/8″ tube. This produced excellent results in focusing the heat for welding. It also produced a significant side-effect: it choked the air output, so the inside of the heat gun overheated and melted in part. Result: destroyed tool. Good thing it wasn’t expensive.
The lesson from this is that when you modify or adapt a tool, be careful. Every power tool should be treated with respect as a potential source of danger, and some are more dangerous than others. It would have been easy to start a fire and perhaps burn the house down with a tool modification like this. Be cautious in experimenting, and have safety equiment like a fire extinguisher available.
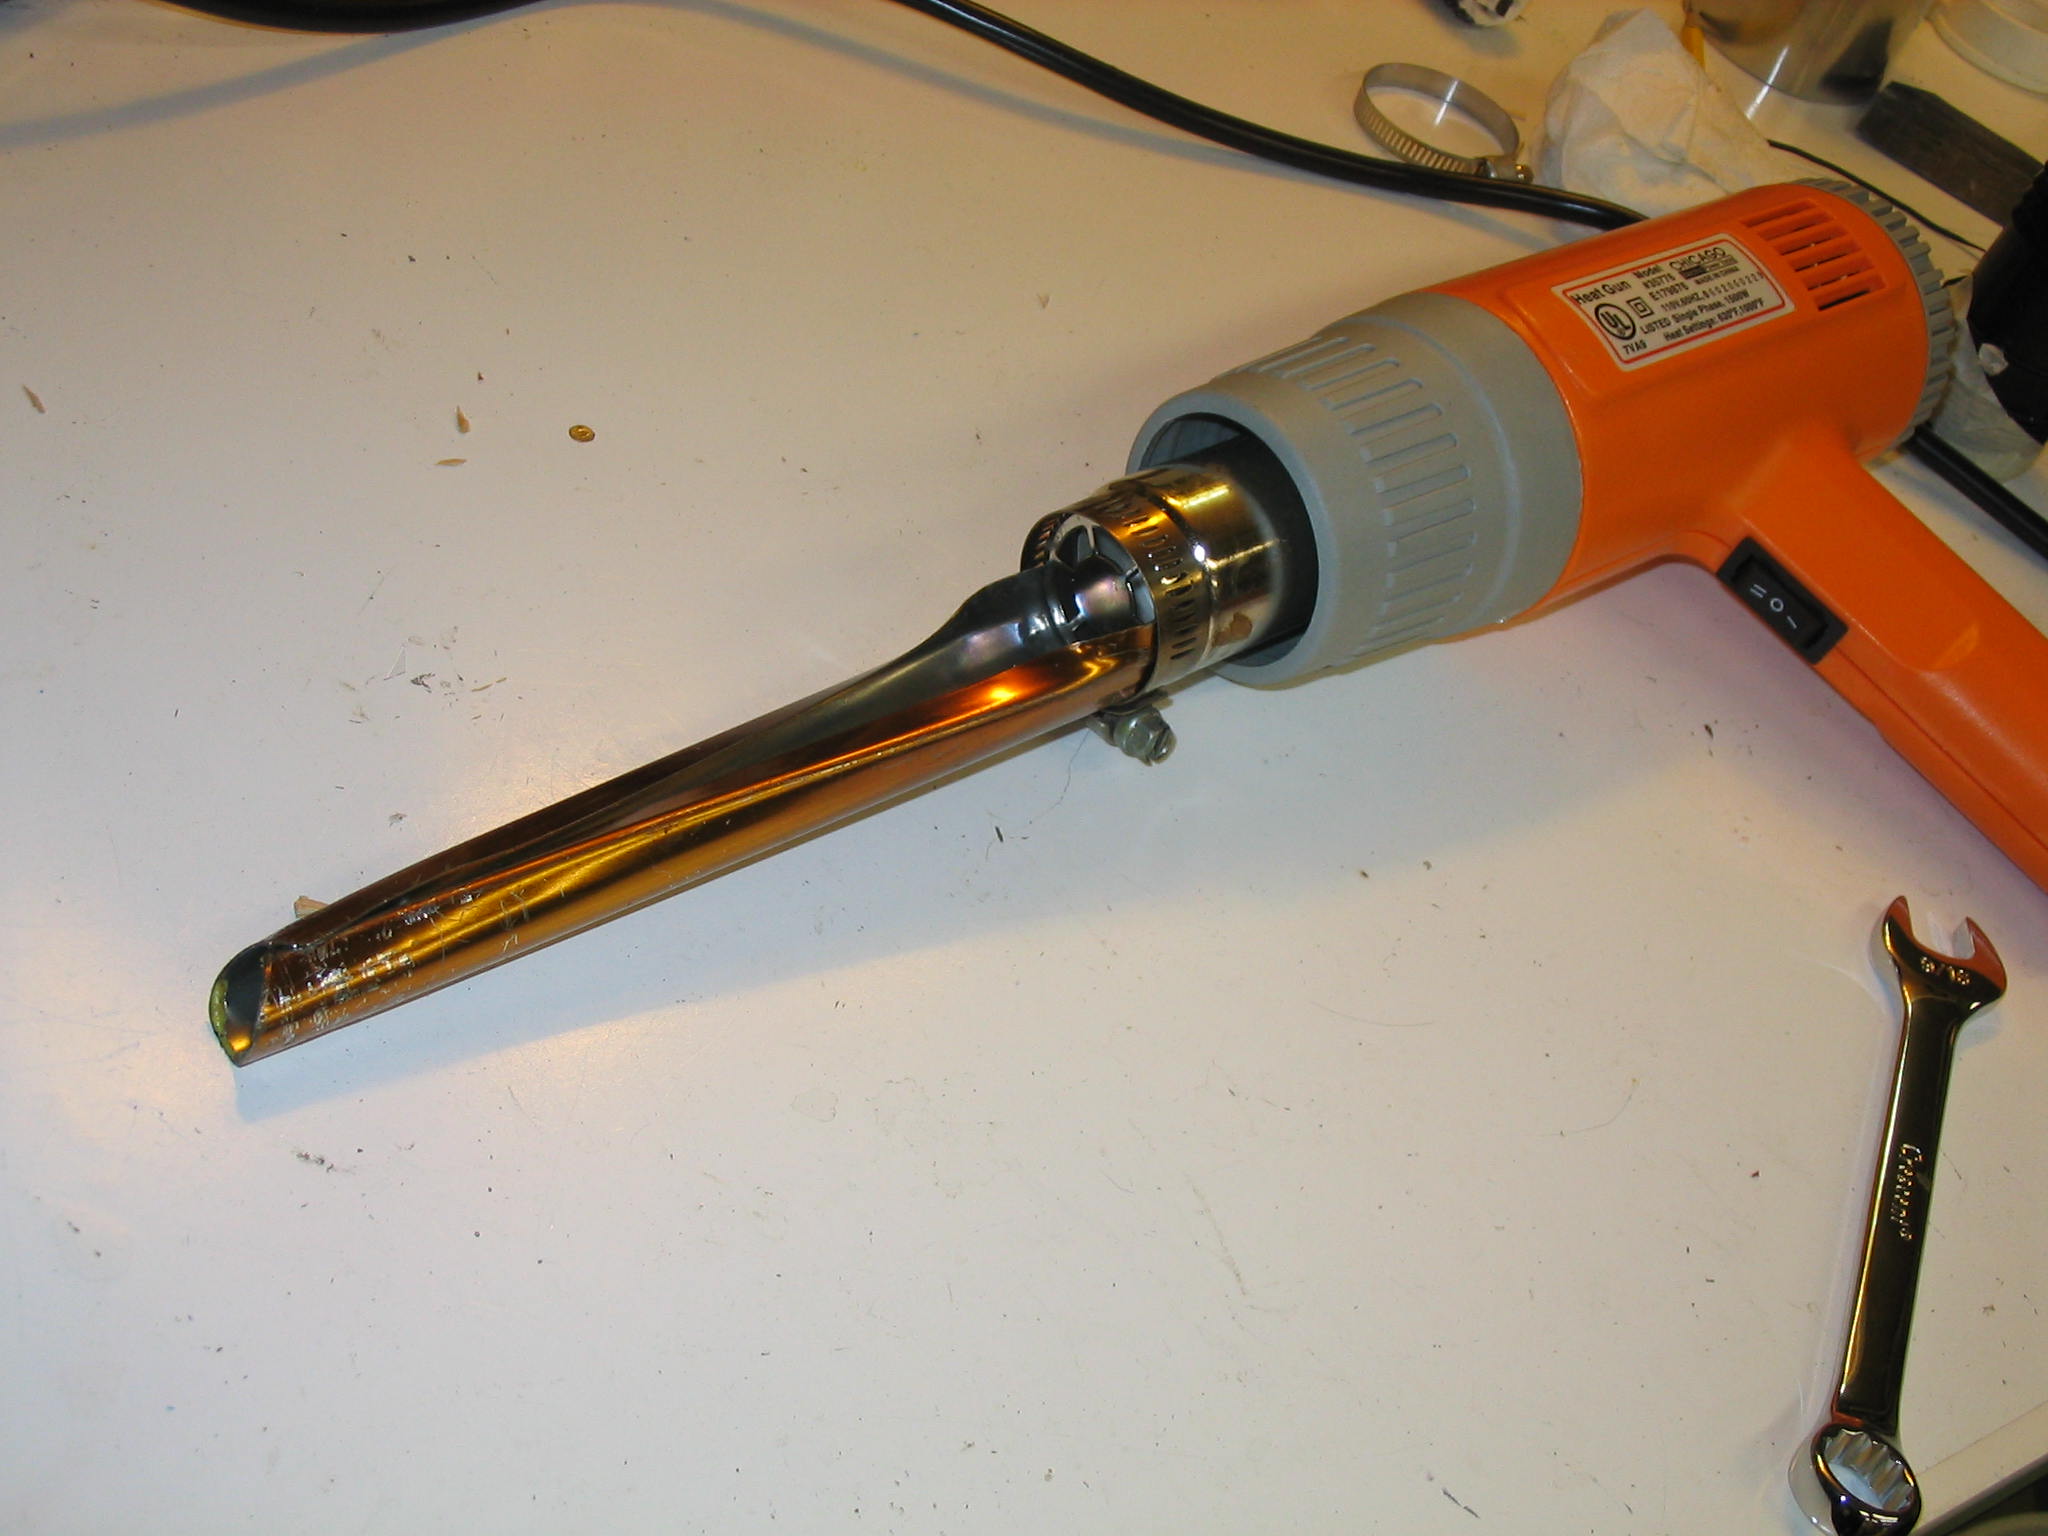 In my revised design for my replacement heat gun, I used a piece of aluminum curtain rod, with a cross-section shaped like the letter “C”. By having a slit down the side, much of the heat goes to the tip, but the full airflow can still pass out of the heat gun nozzle so the inside of the gun does not overheat. This did not provide as narrow a focus as the original nozzle, but it should at least save the tool from destruction. I made up for it by simply holding another piece of sheet metal in front of areas I did not want to heat.
Spot welding attempts
 One other approach I tried was spot-welding the tabs together, but I did not come up with a satisfactory technique. The heat gun is too broad to use for this, so I tried a soldering gun instead. You cannot simply stick the tip of the soldering gun into the plastic and melt it, because the plastic will burn and/or make a stringy mess when you pull the soldering gun out. Like the heat gun method, you need a piece of metal to cool with the plastic, which can be removed after a minute.
I tried heating through a piece of sheet metal with the soldering gun, but didn’t have success. It spread the heat too broadly, melting the top tab but not the bottom tab.
The best result came from heating the head of a screw with the soldering gun until it sunk into the plastic, through the top tab down to face of the bottom tab. It did manage to melt the two tabs together, but only in a small ring around the head of the screw, with poor mechanical strength. Based on that, I gave up on spot welding and returned to the heat gun.
Stinky PETE
In the movie Toy Story 2, Stinky Pete appeared to be a nice guy but turned out to be trouble. In the world of common plastics, PETE is trouble too. PETE, polyethylene terephthalate, is the very common plastic used for all sorts of uses. Nearly all transparent food containers and bottles, such as the 2-liter soda bottle, are made of PETE.
Like the other polyethylene plastics, PETE cannot be glued satisfactorily with any readily available glue or solvent. It cannot be welded with a heat gun or soldering iron either. The thin walls of common PETE packaging will shrink and warp before melting with a heat gun. They will melt with the soldering gun, but don’t seem to fuse to other melted pieces with any strength. Apparently PETE can be welded with industrial plastic welding equipment, but that is beyond the scope of my attempts. I’ve read that PETE can be glued with a hot-melt glue gun, and supposedly that’s how most retail labels are attached to PETE containers. But I didn’t have any success with it; the glue just peeled off. Contact cement and silicone sealer/caulking will hold slightly, but with poor strength, and will peel also.
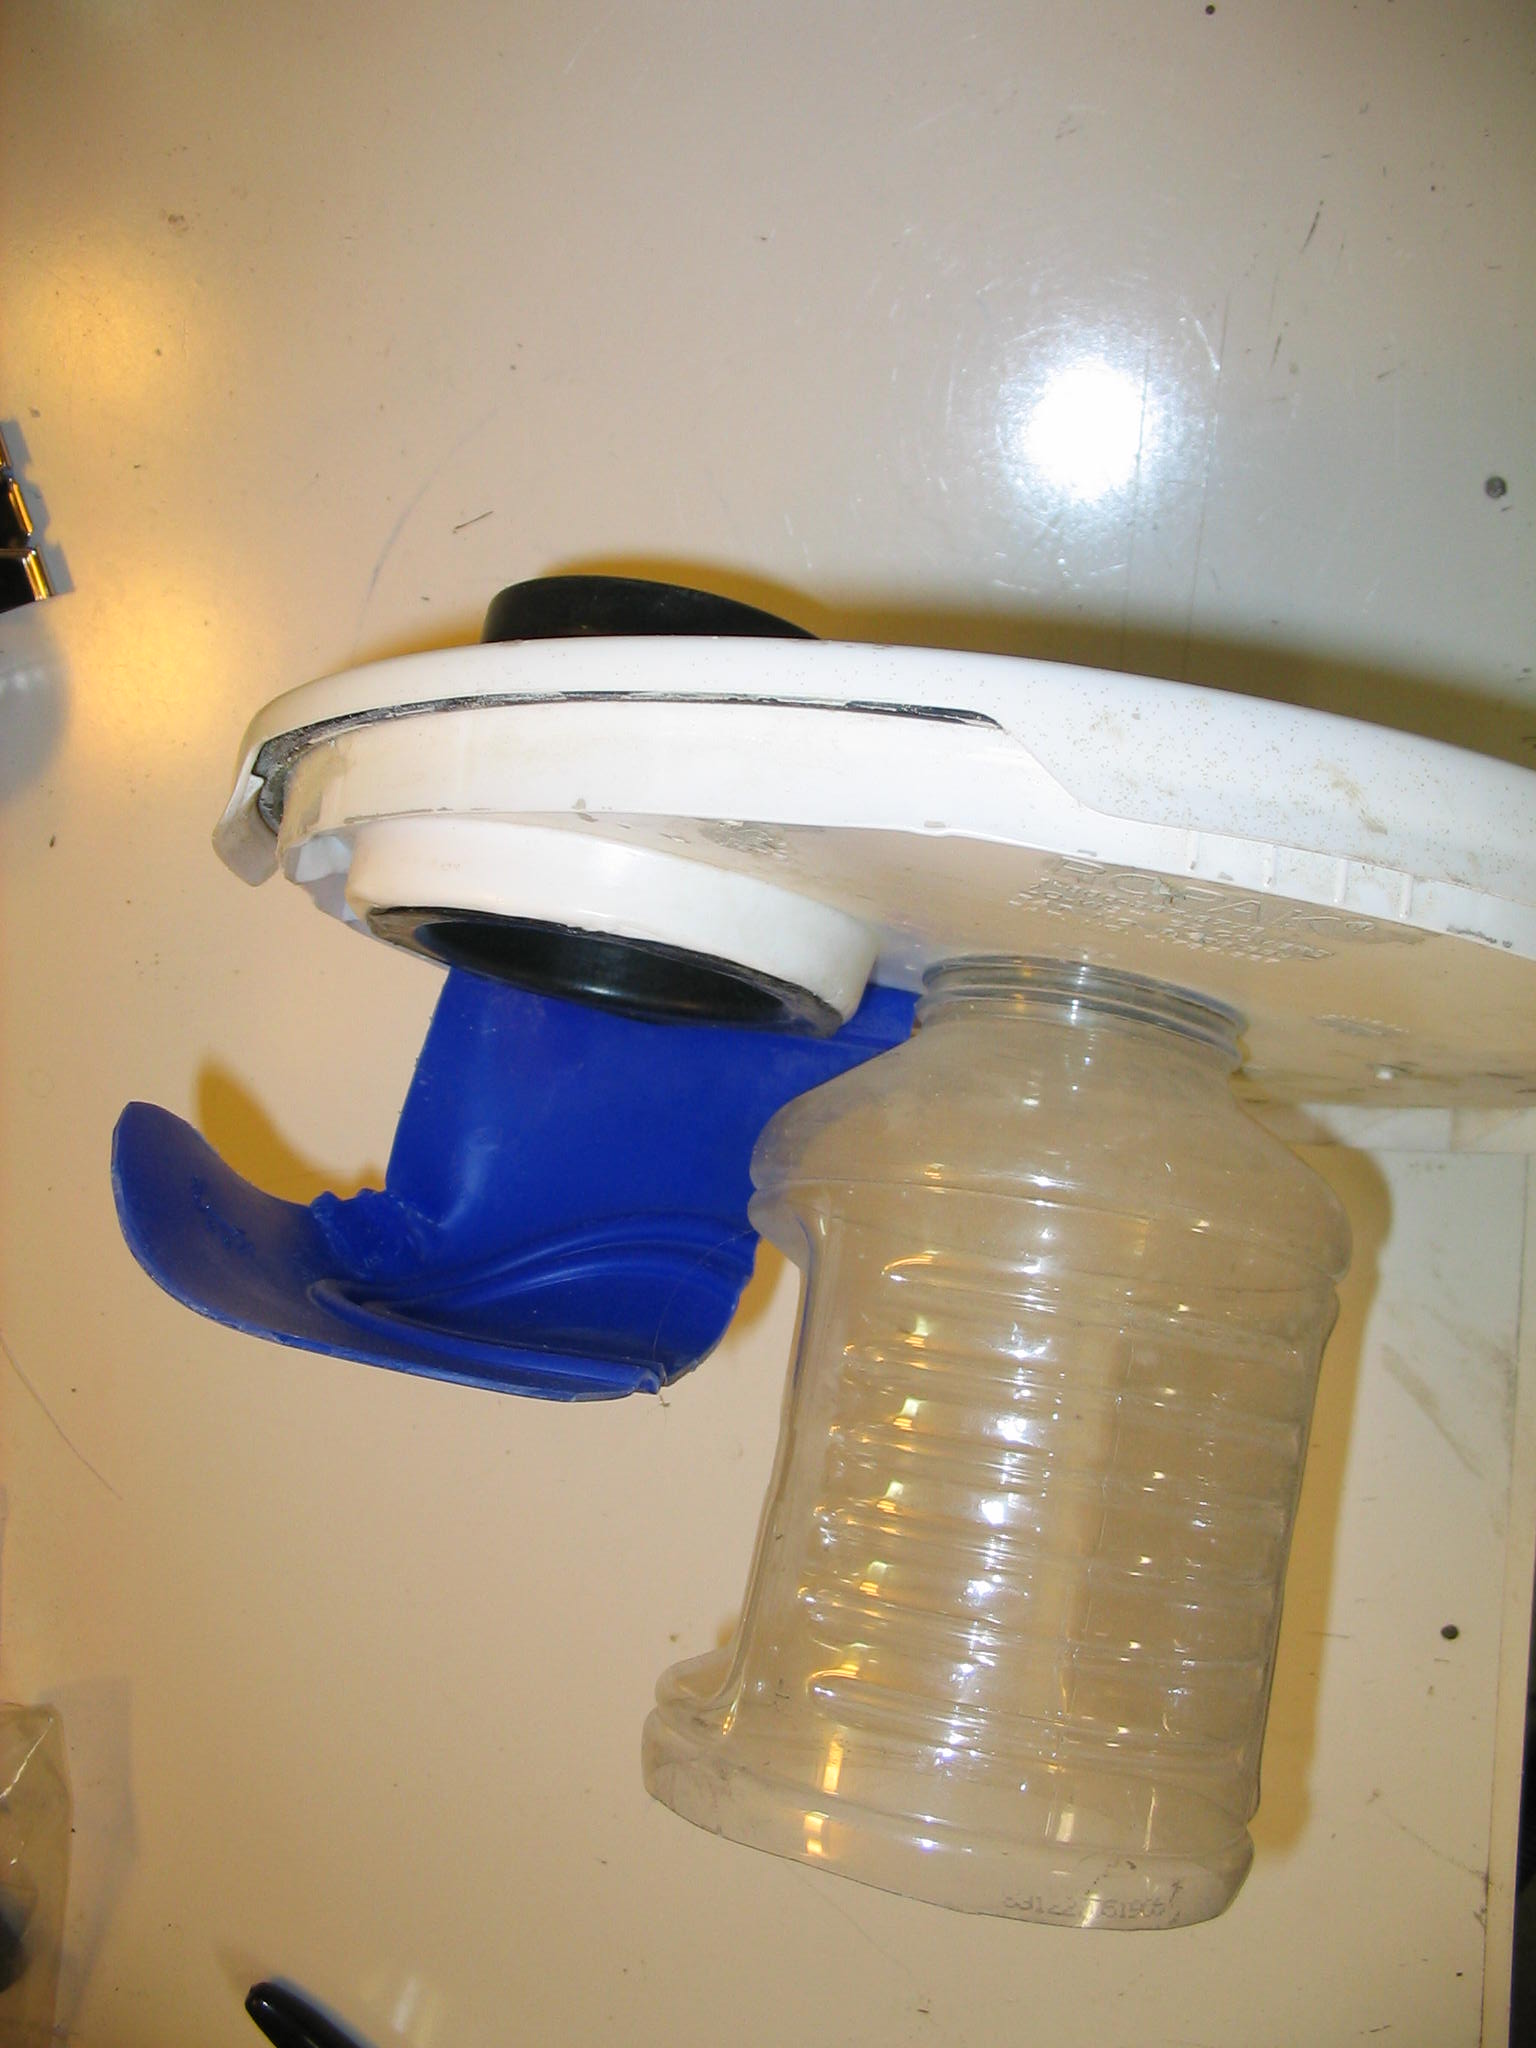
The only success I have had with PETE has been with various forms of mechanical fastening. Screws and nuts will work if large washers are used to spread any stress. Rivets will work also. You can use epoxy glue through a hole, with a blob on each side. When it hardens it is essentially a rivet. One technique I like is to cut slots and tabs, like you would with a paper model. Fit the parts together, and then use clear packing tape on each side to hold the tabs in place. It works fairly well.
Submitted by amillar on Thu, 2006-04-06 11:10


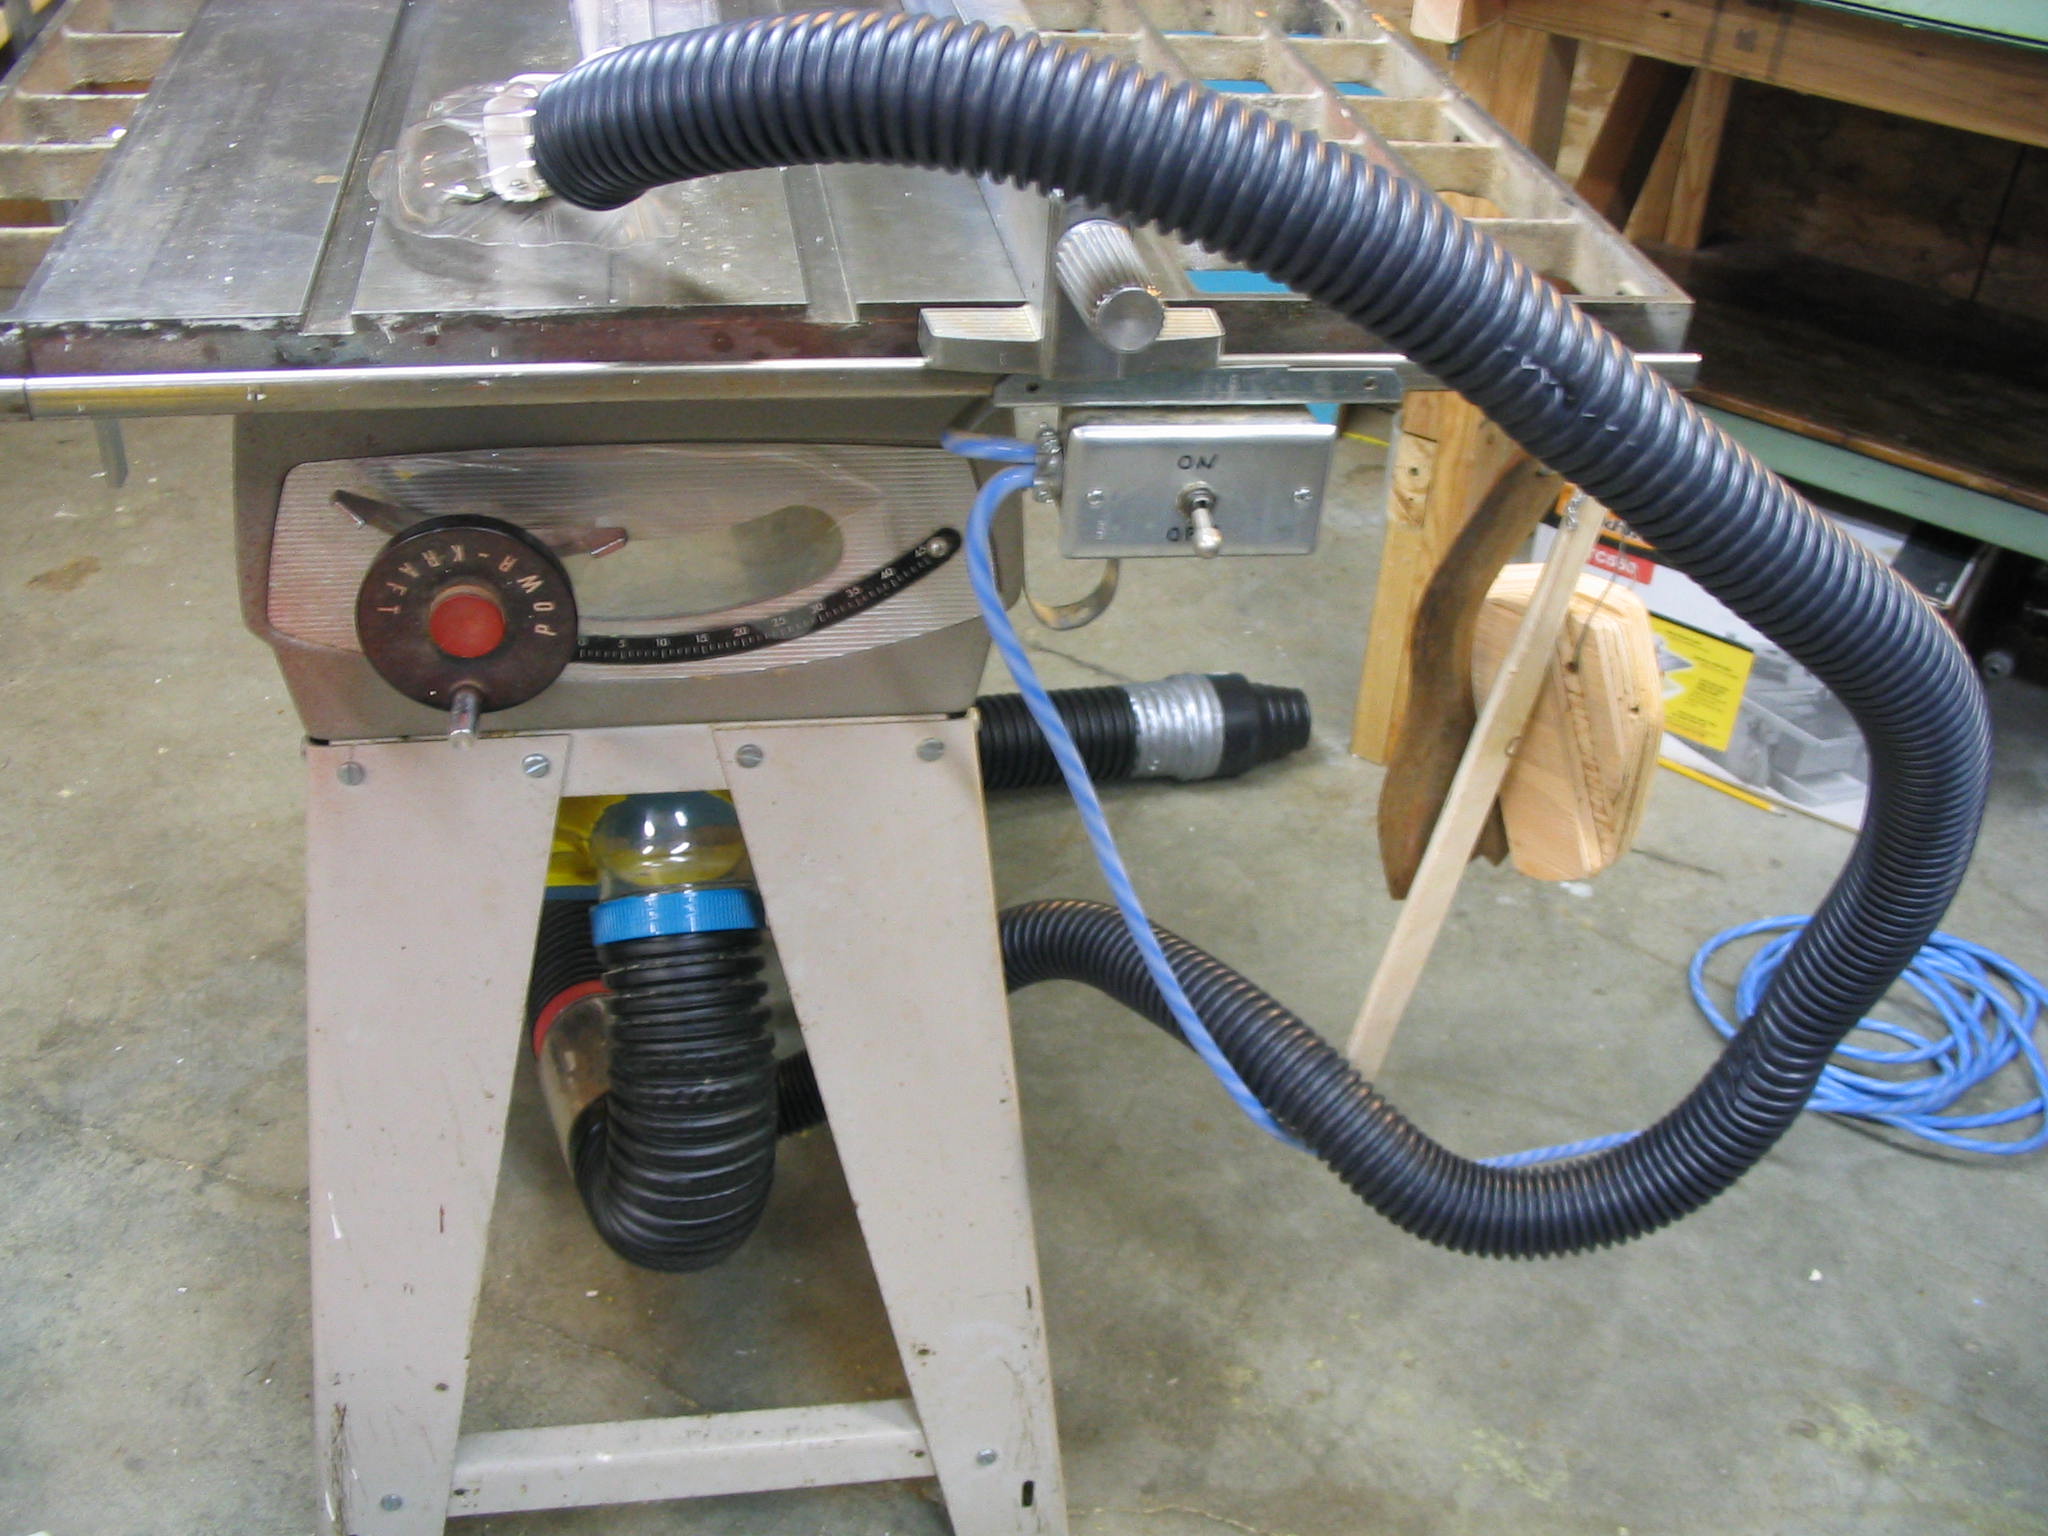
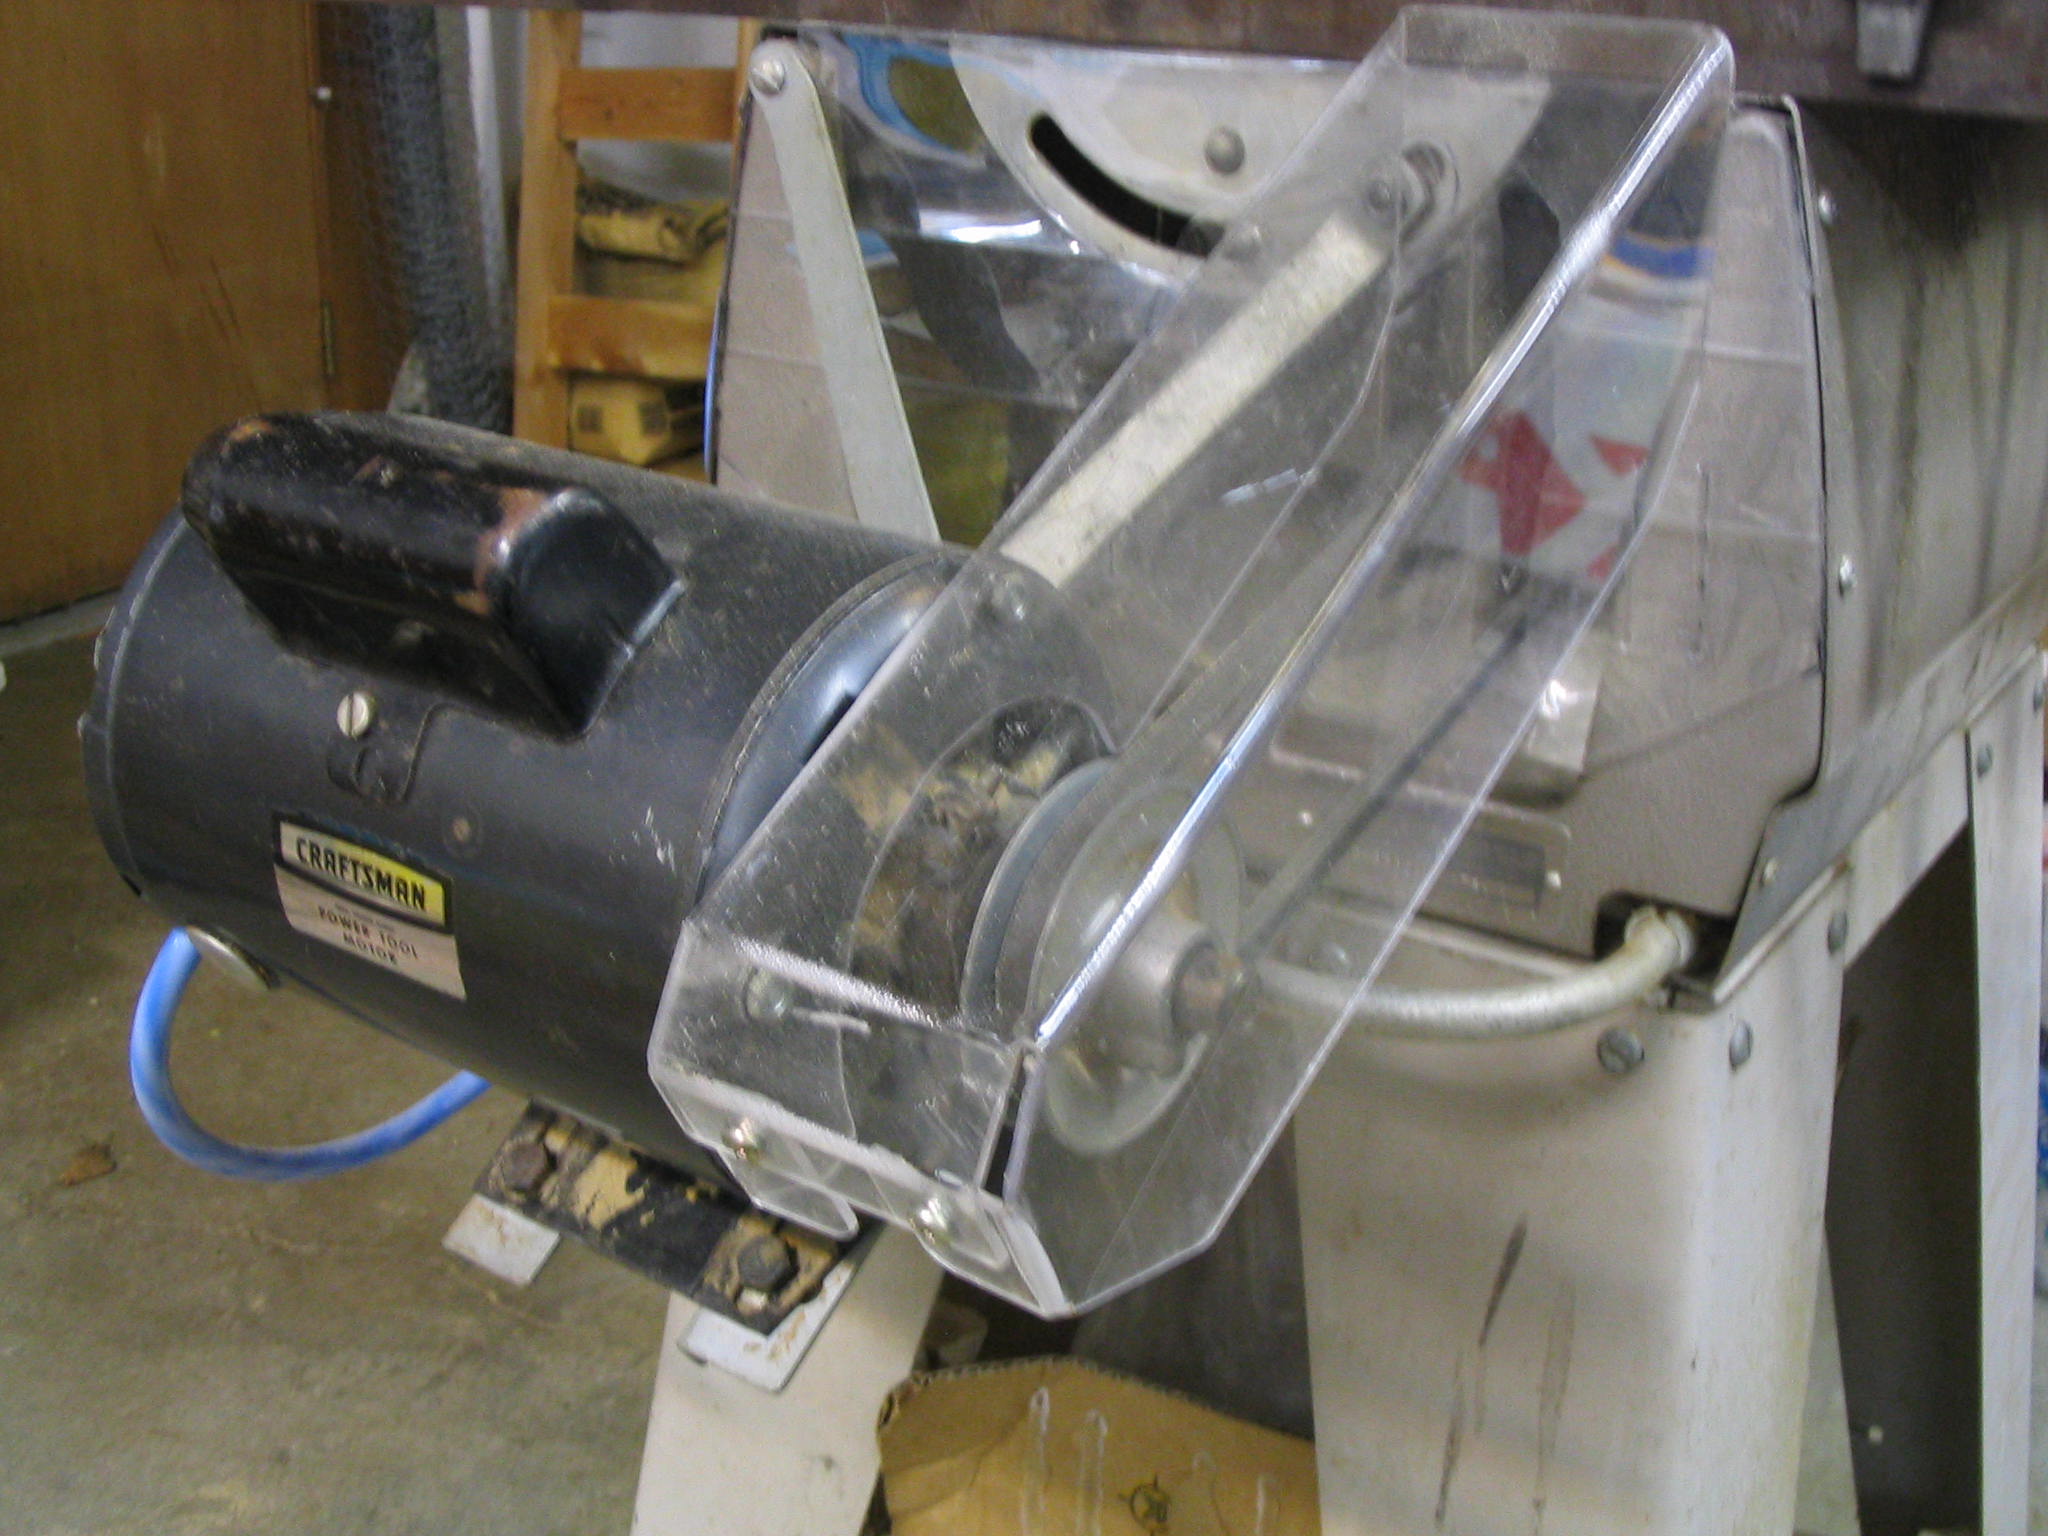 After I repaired the electrical wiring on my garage-sale table saw, I inspected the mechanical workings. It appeared to be in good working condition. There were, however, no modern safety controls. I later found that this table saw was made somewhere around 1956, when blade guards were optional and belt guards weren’t even offered.