After I made the mounting bracket, then I proceeded to create the blade guard and splitter.
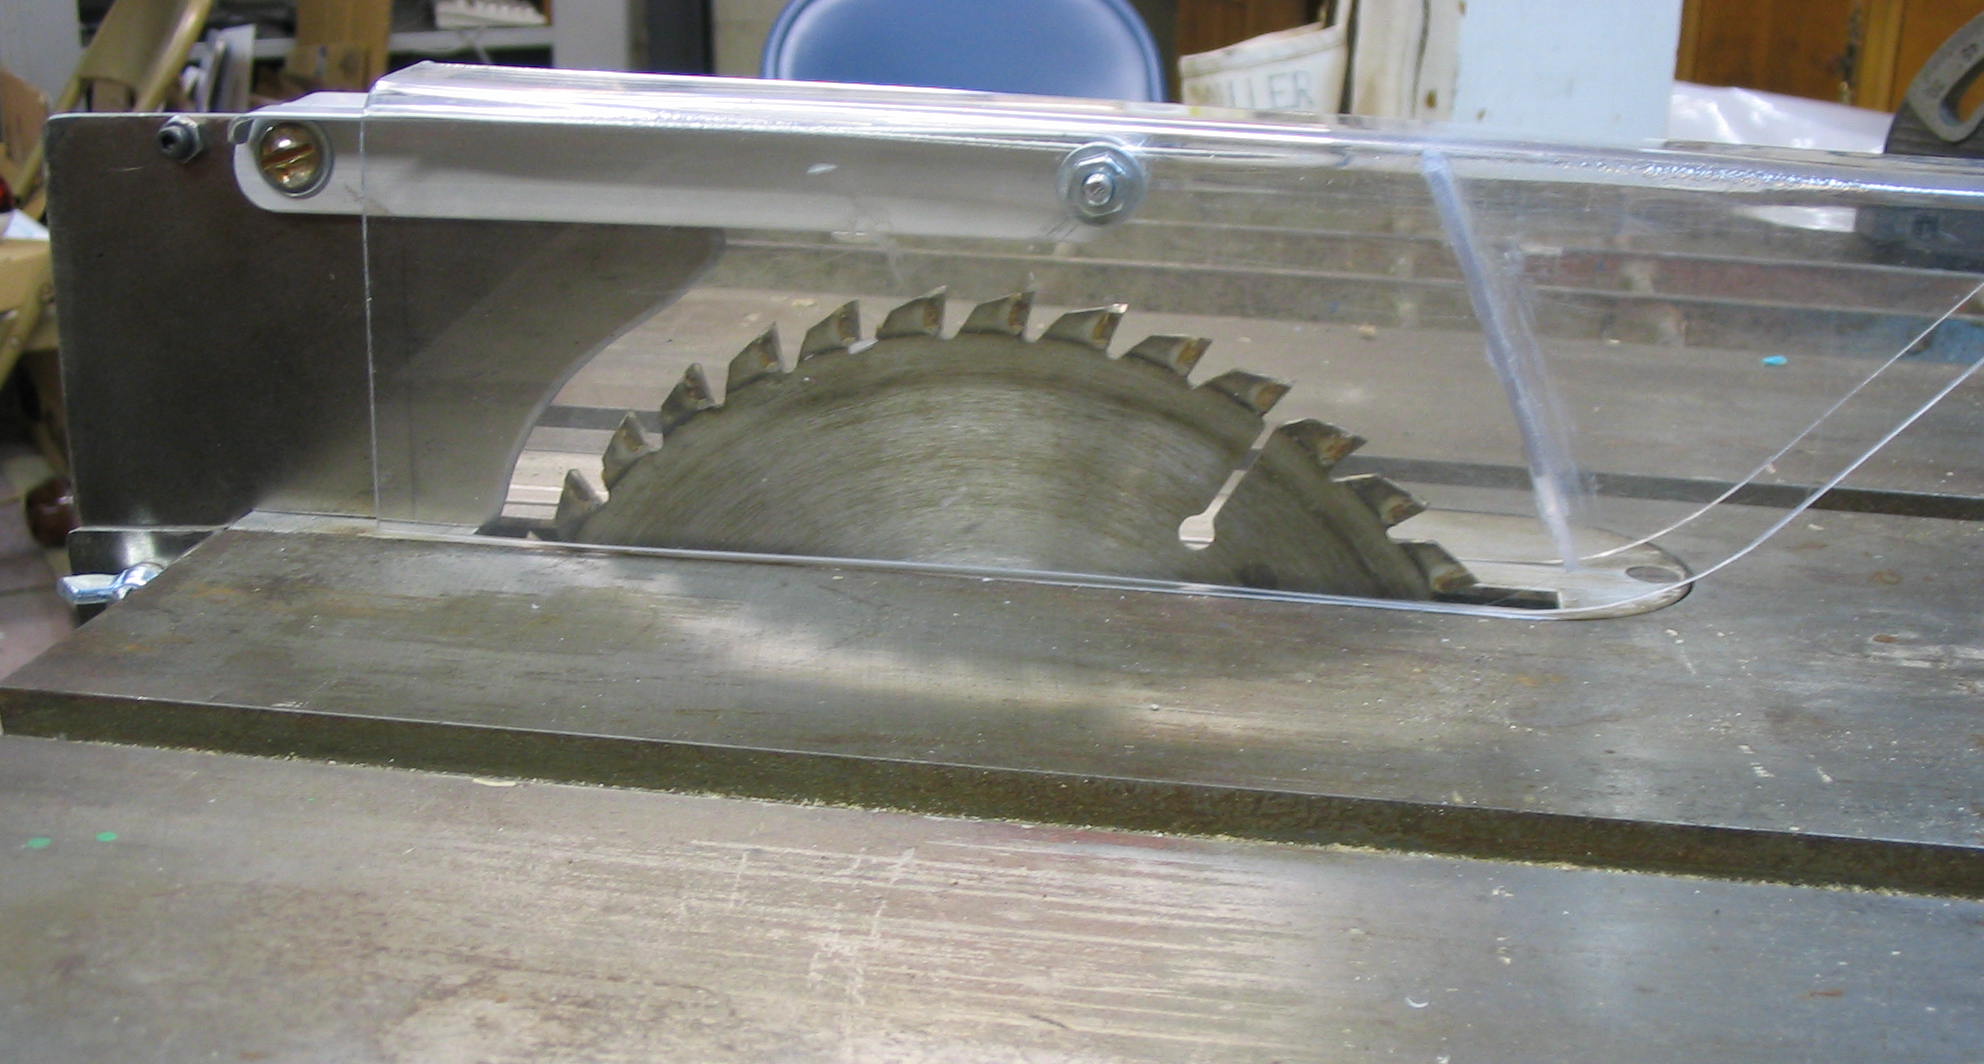
The blade guard has two main components. The cover goes over the blade, to prevent the saw operator from getting injured directly on the spinning blade. The cover is usually made of clear plastic, and is attached to the splitter. The splitter is a vertical piece of sheet metal sitting behind the blade, which guides the cut wood past the blade so it won’t bind.
Splitter
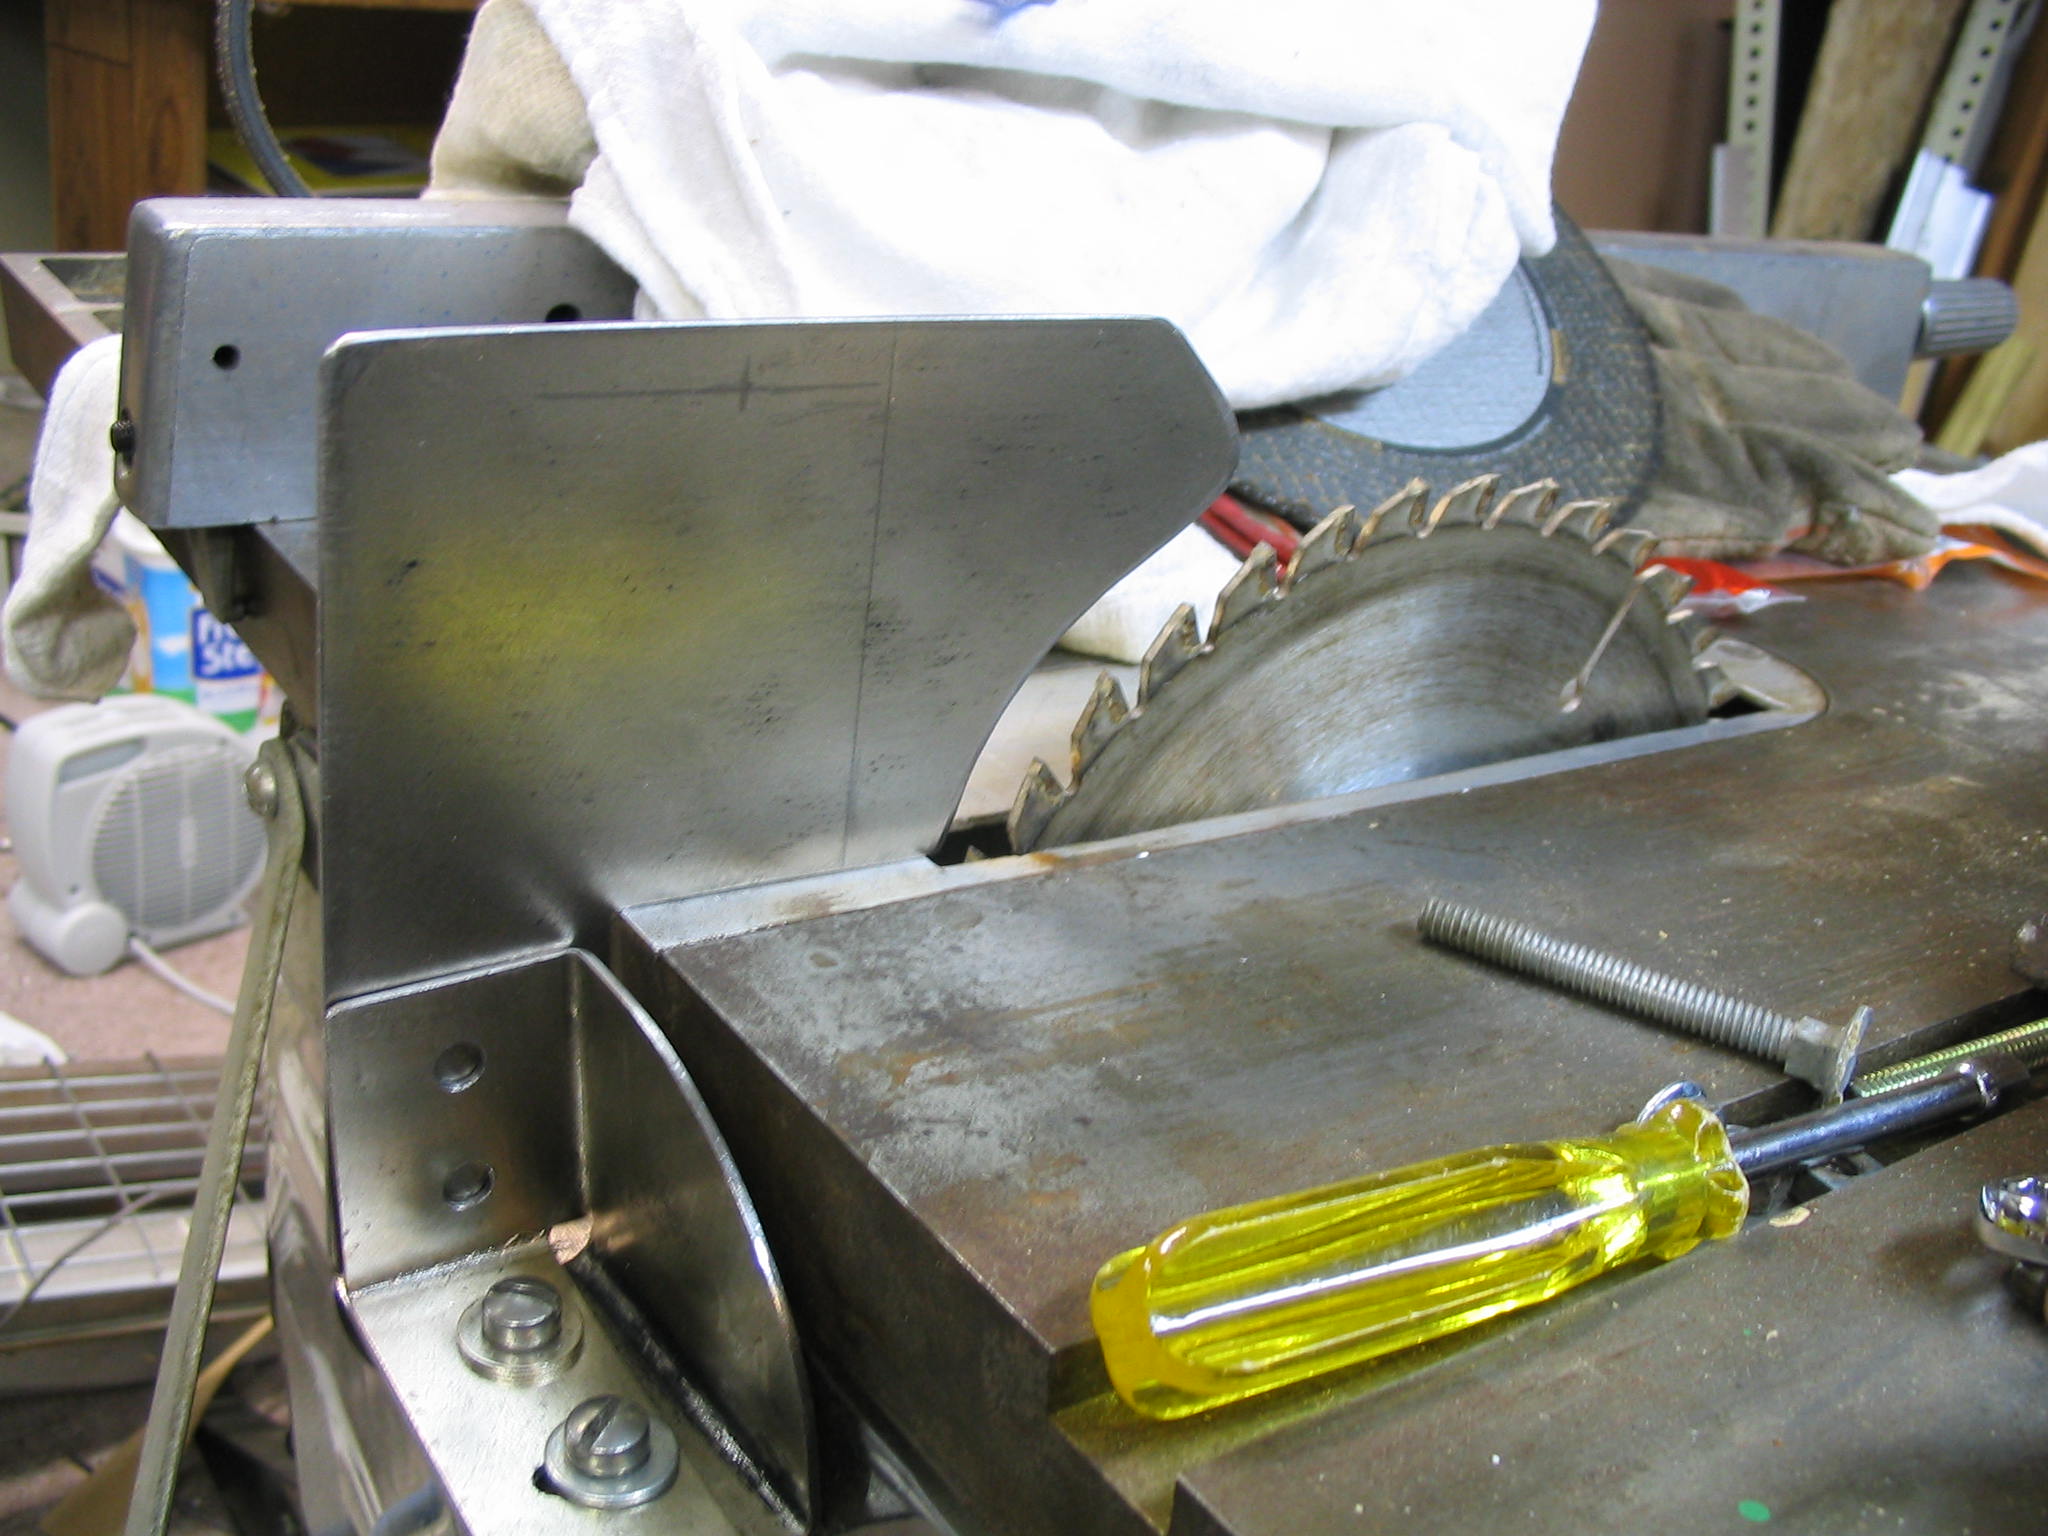
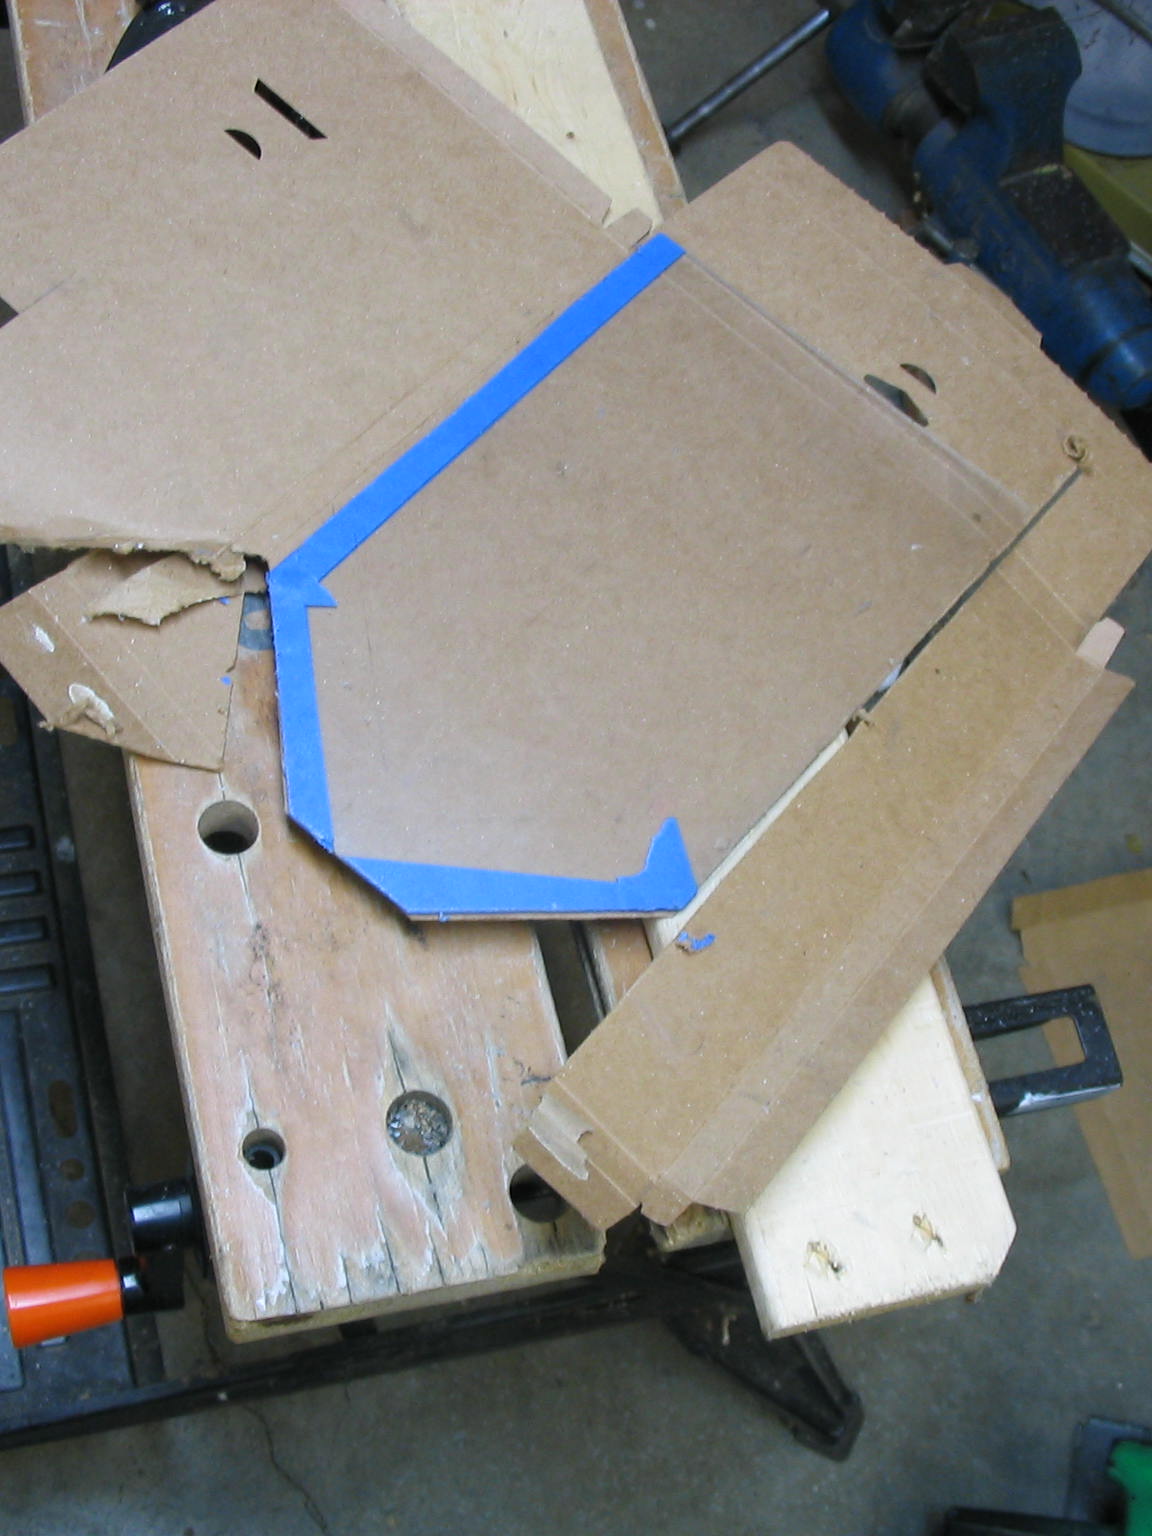
I made the splitter out of the same heavy sheet metal I used for the mounting bracket, 1/16″ steel. I used the same process, where I made a cardboard template first. That way I could ensure that I had the proper positioning on the table saw bed and around the blade, and I could make the bolt holes line up with the mounting bracket. I used 1/4″ holes and bolts on the mounting bracket, but used slightly larger 5/16″ holes on the tail of the splitter that attaches to the mounting bracket. The holes are just enough bigger that I have some adjustability in the positioning, but still have a secure fit with the bracket.
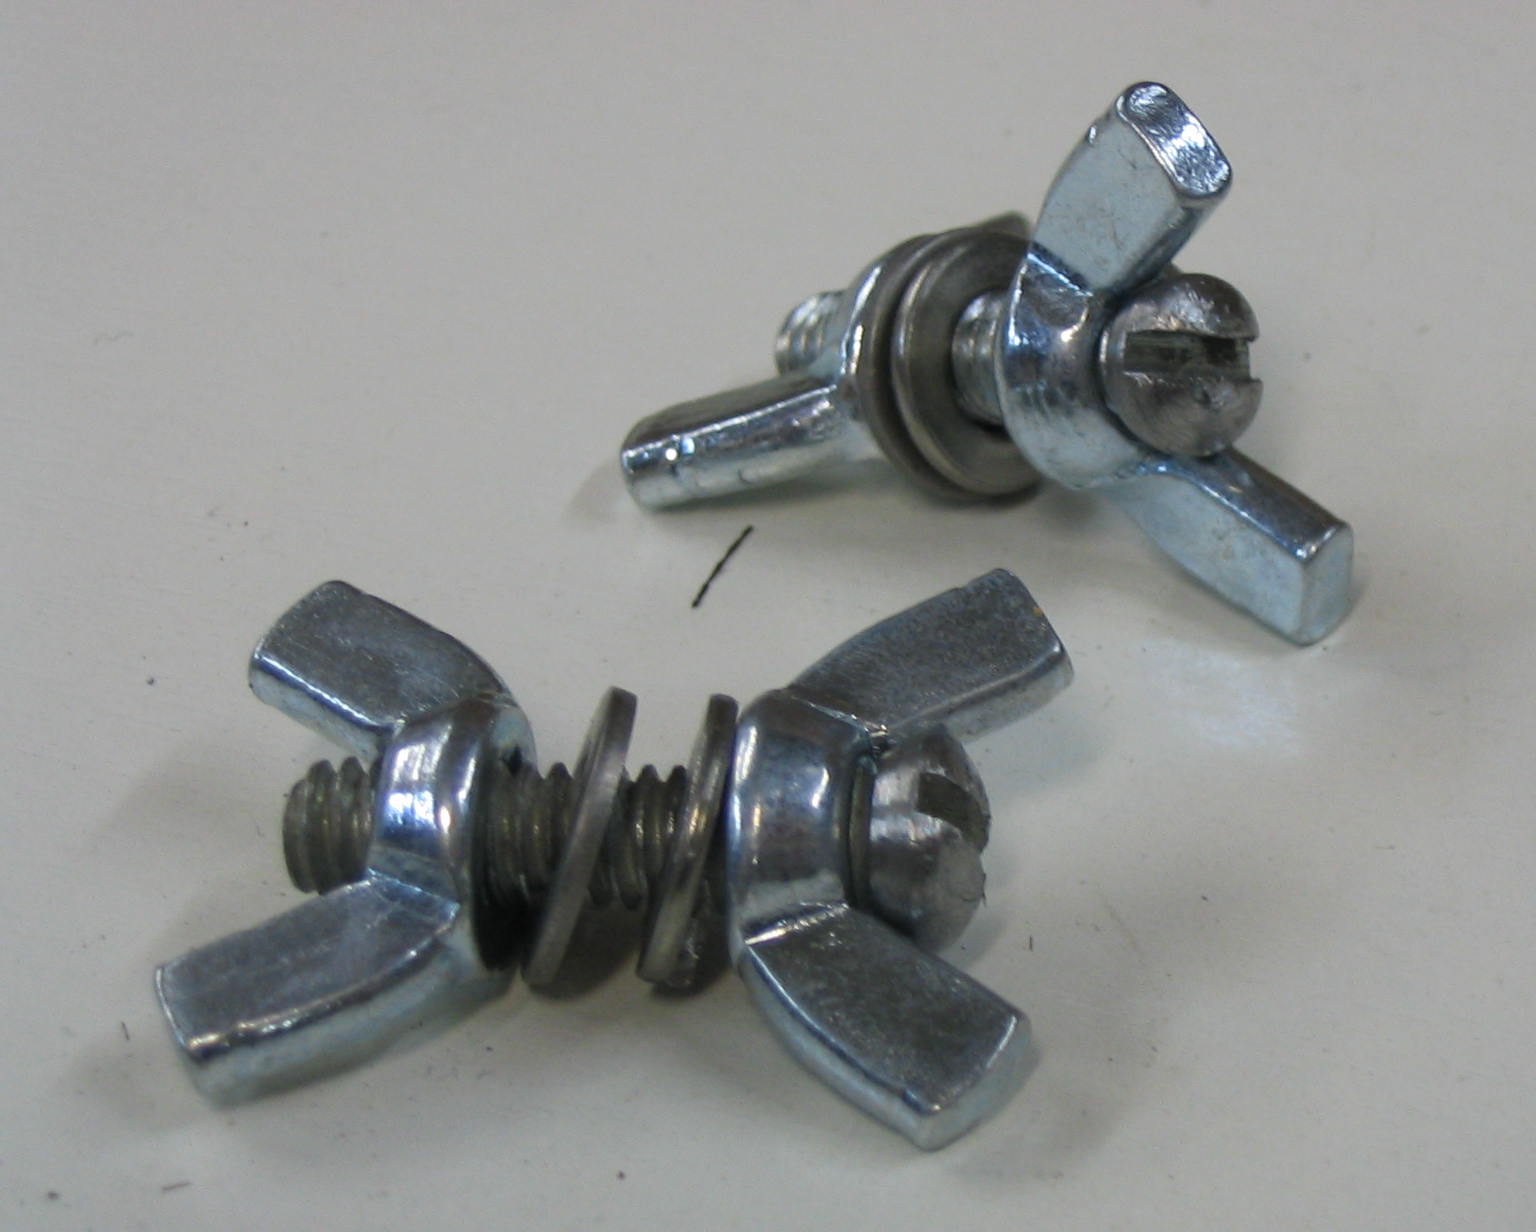
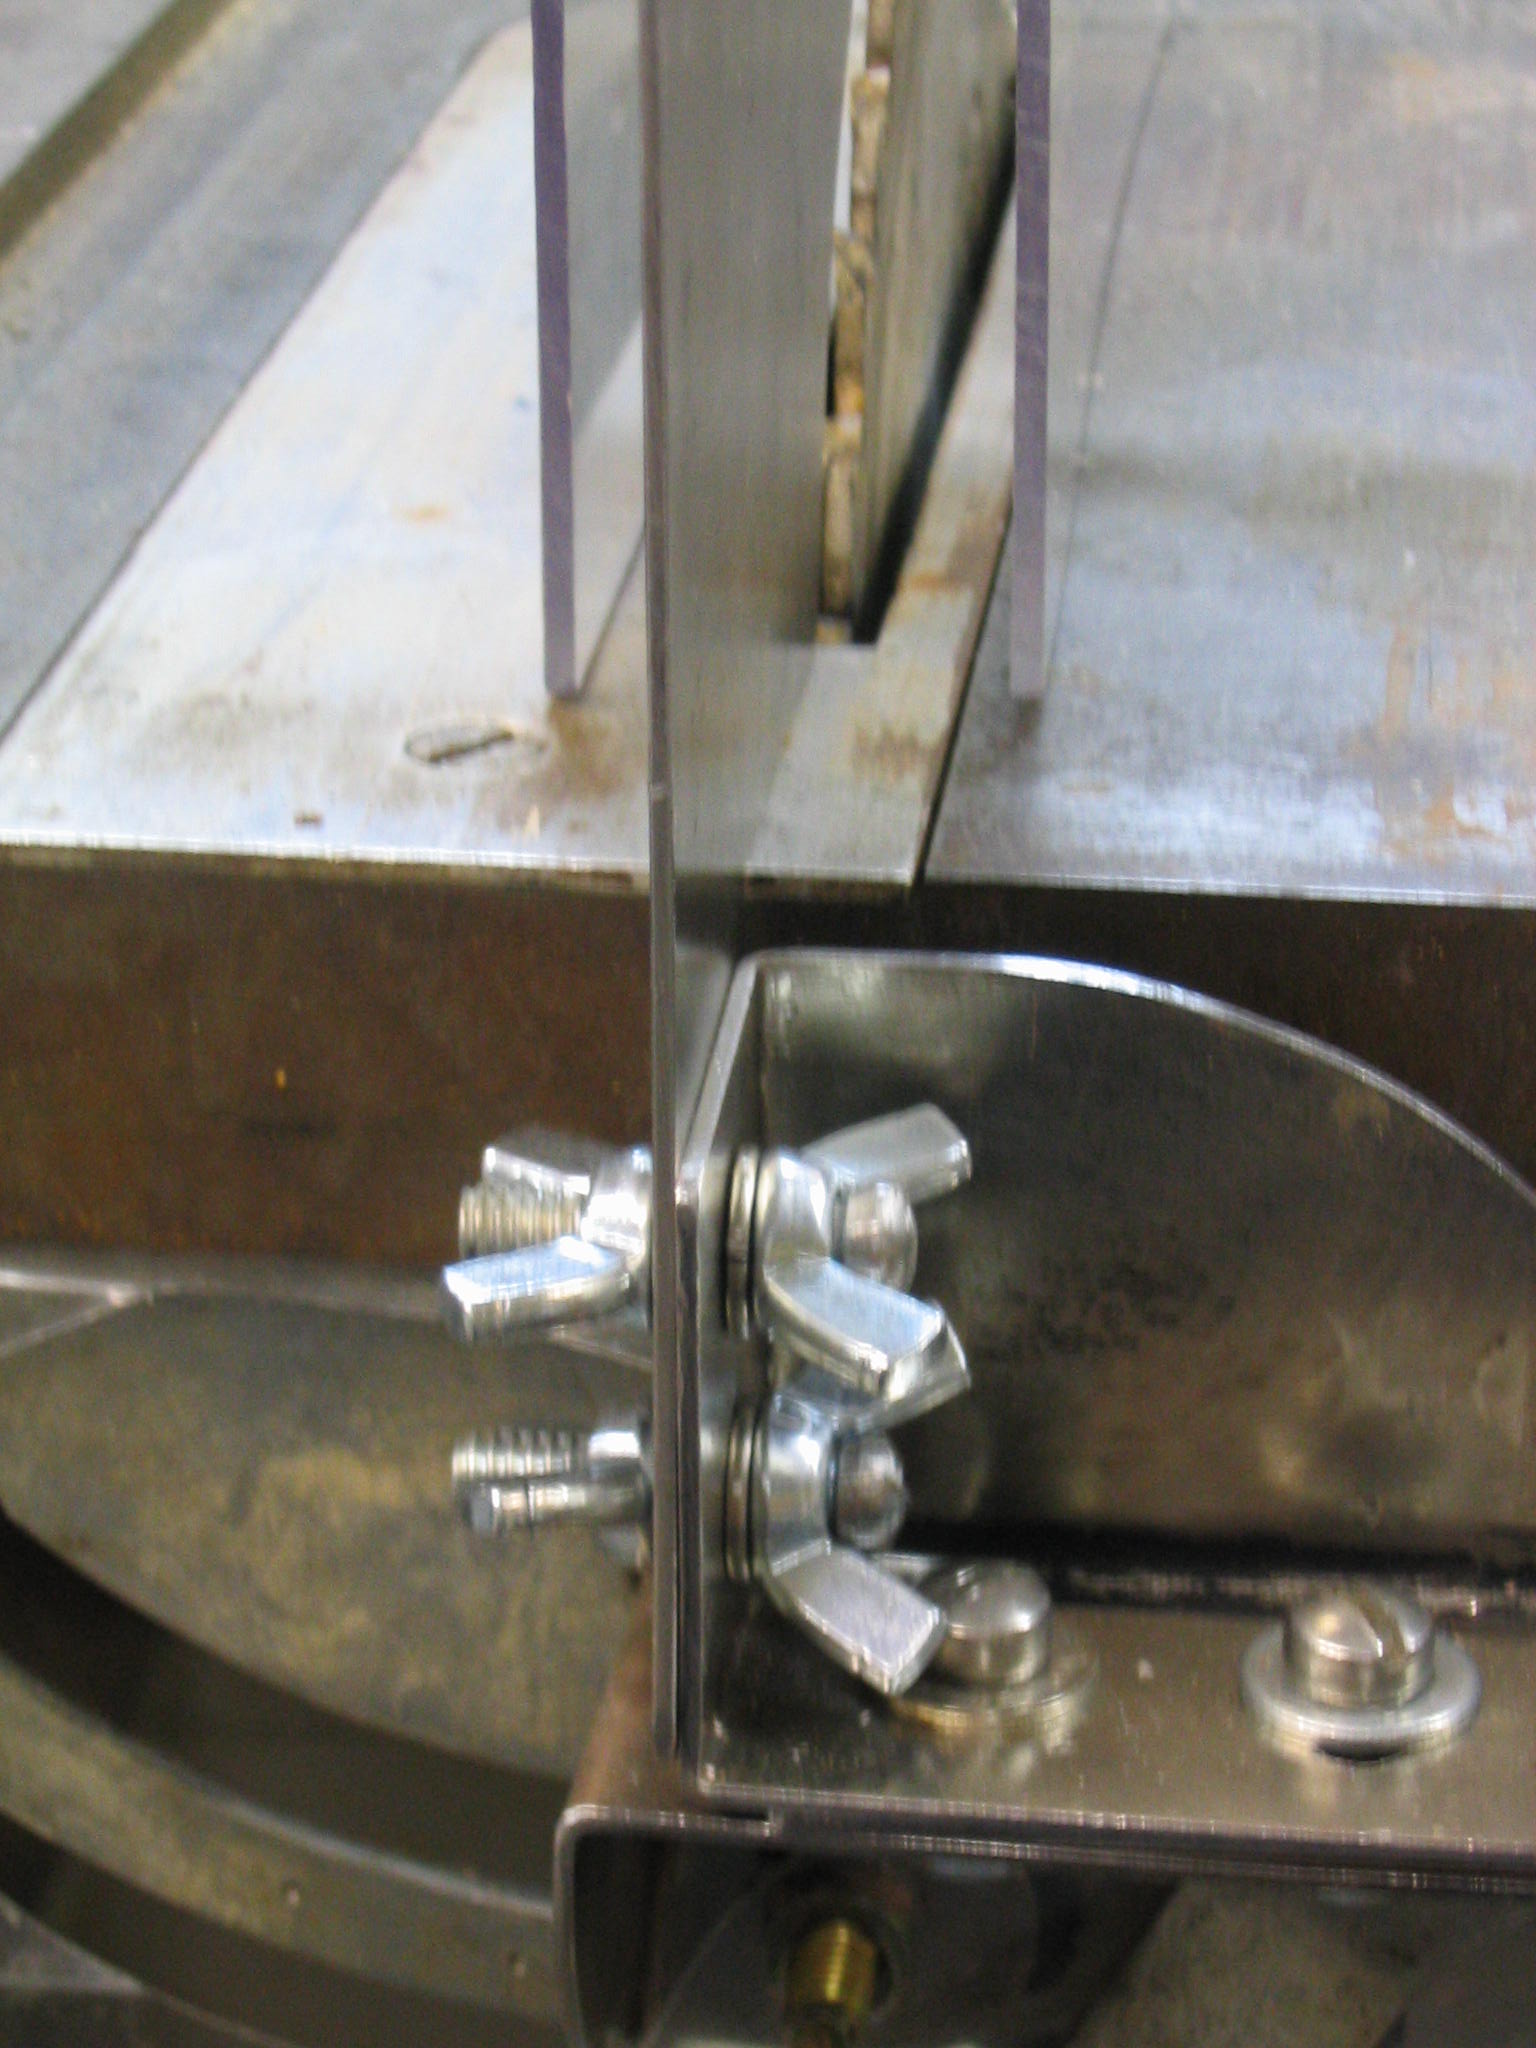
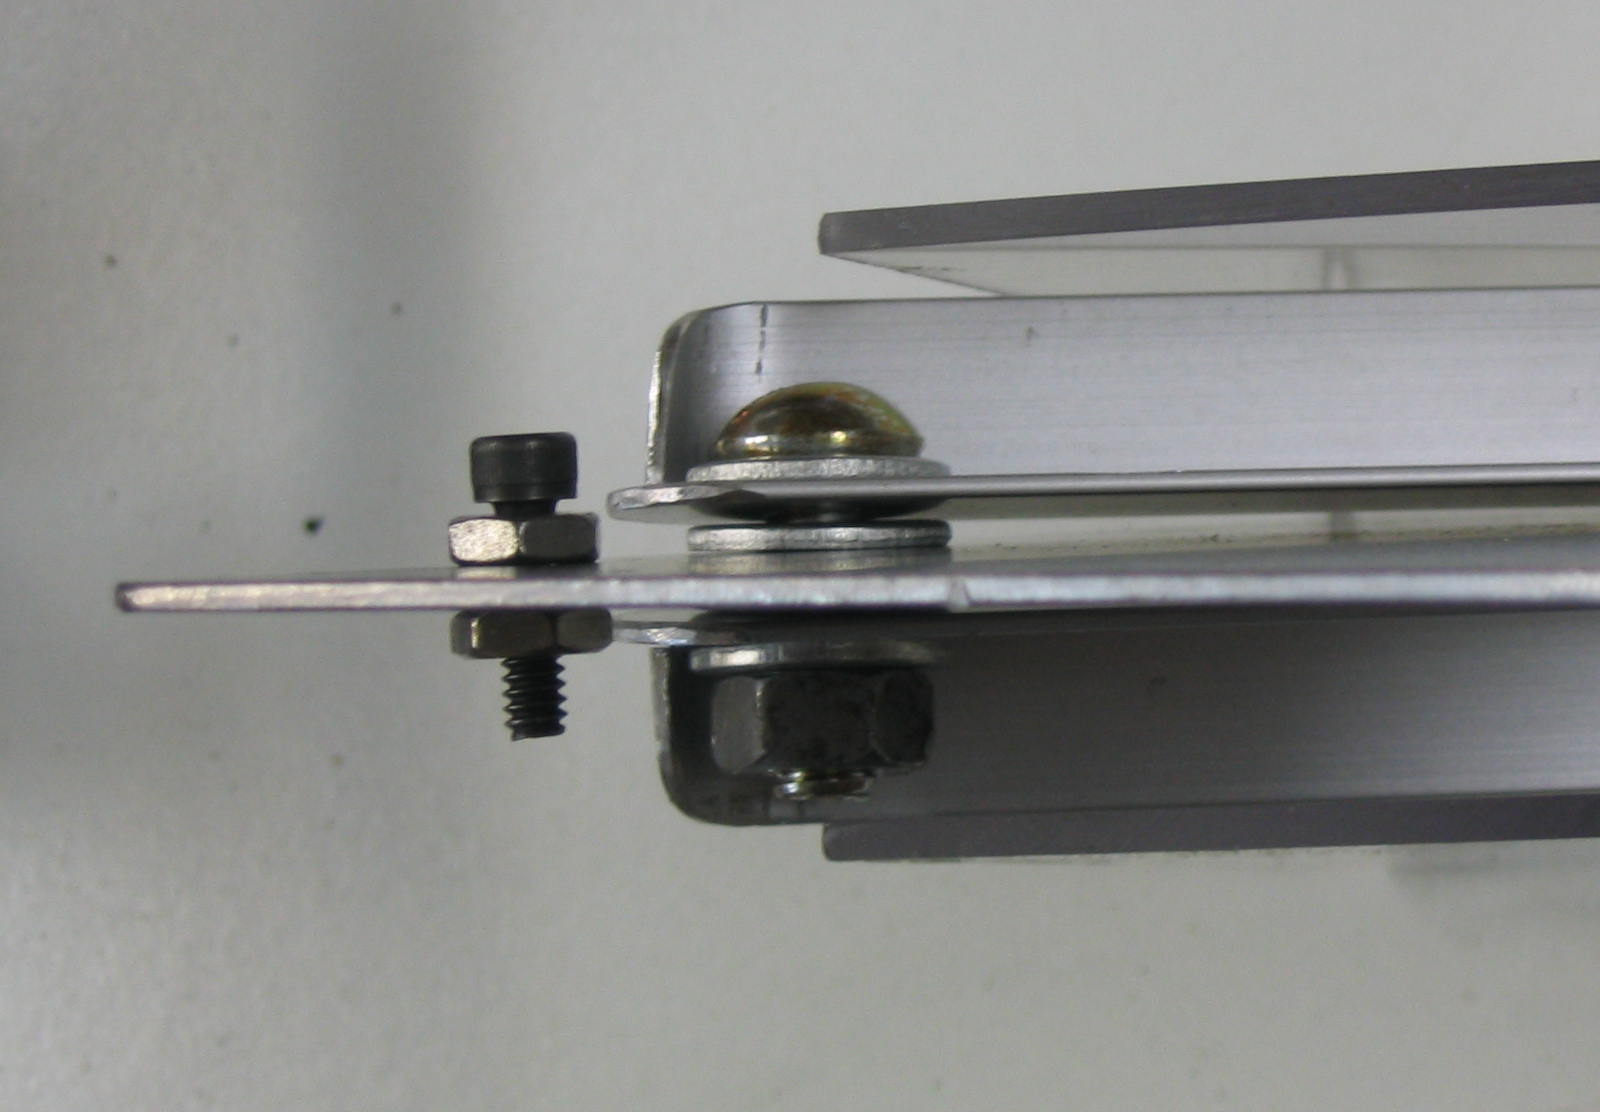
The splitter/guard should be removable for different saw operations like dadoes or shaping. Wing nuts make it easy to remove the splitter without requiring any tools. You can buy bolts with wing heads on them, but I already had extra wing nuts so I decided to put them on both sides. I had screws of the right size, but the screw heads were too wide to fit in between the wings. A lathe would be the ideal way to reduce the screw heads, but I don’t have one, so I put the screws into the chuck of my electric drill and filed them down while it spun.
Cover
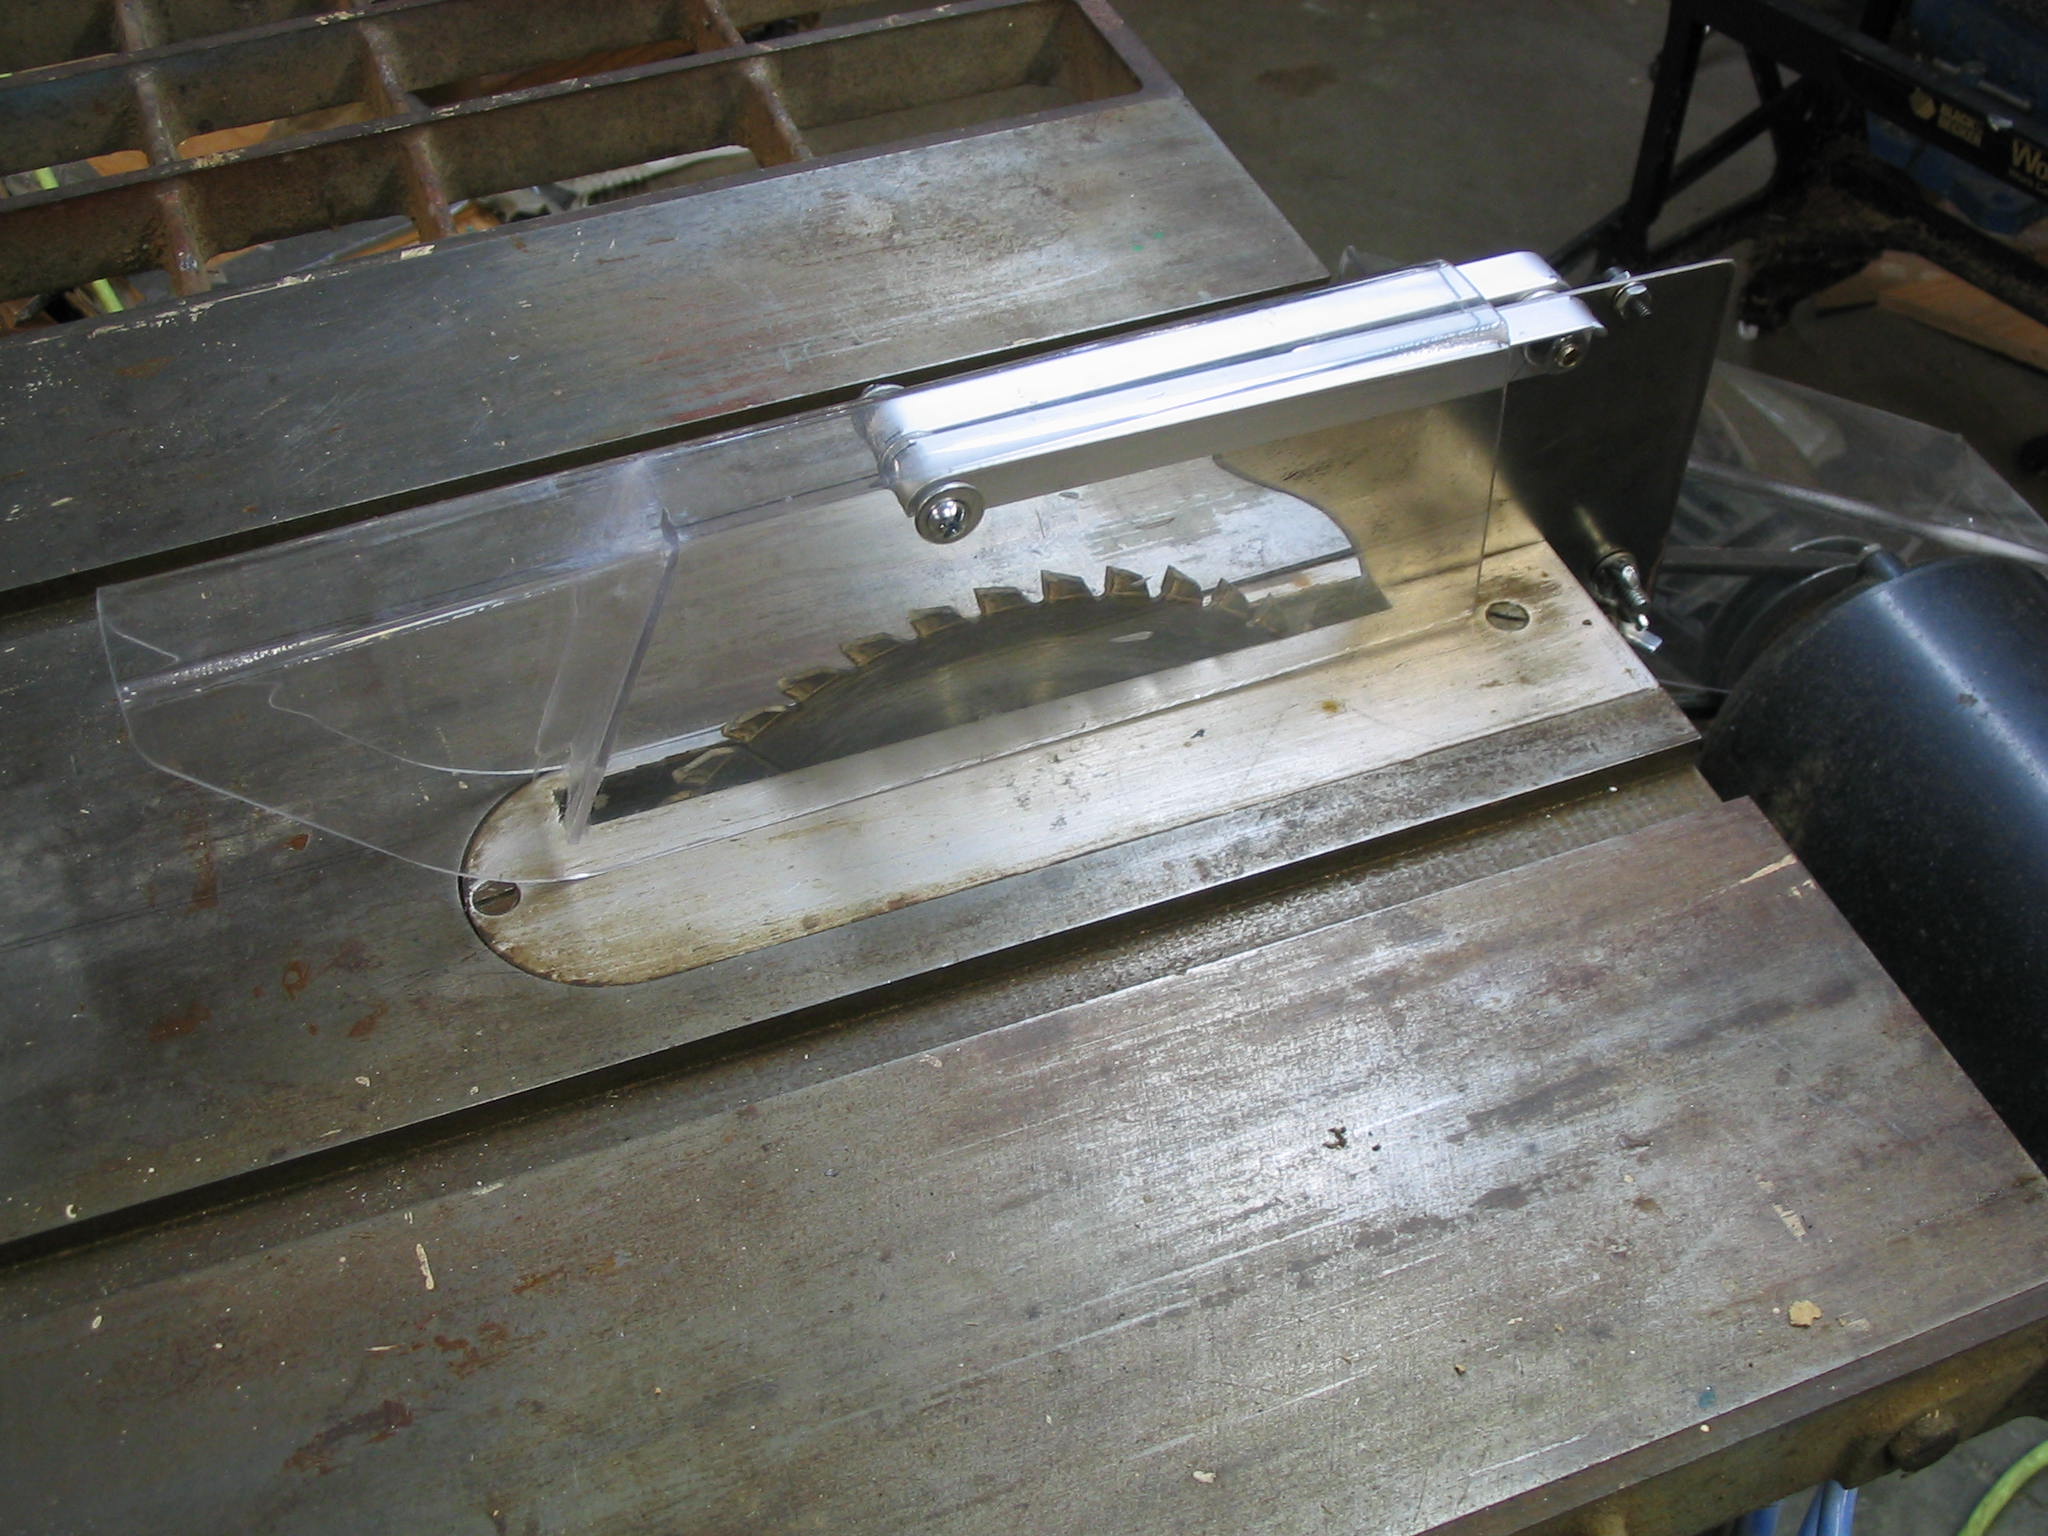
The blade cover is made of clear Lexan polycarbonate plastic, which I think is a better choice than acrylic because it is shatter-resistant. It covers the top, sides, and front of the blade.
When you buy sheet plastic, it usually comes with a paper covering on both sides. This reduces scratches and also reduces chipping along the saw cuts. Since I was working with a salvaged piece of plastic from another project, I placed masking tape along the saw lines to reduce chipping, and put cardboard around the sheet to protect it from scratches and scrapes.
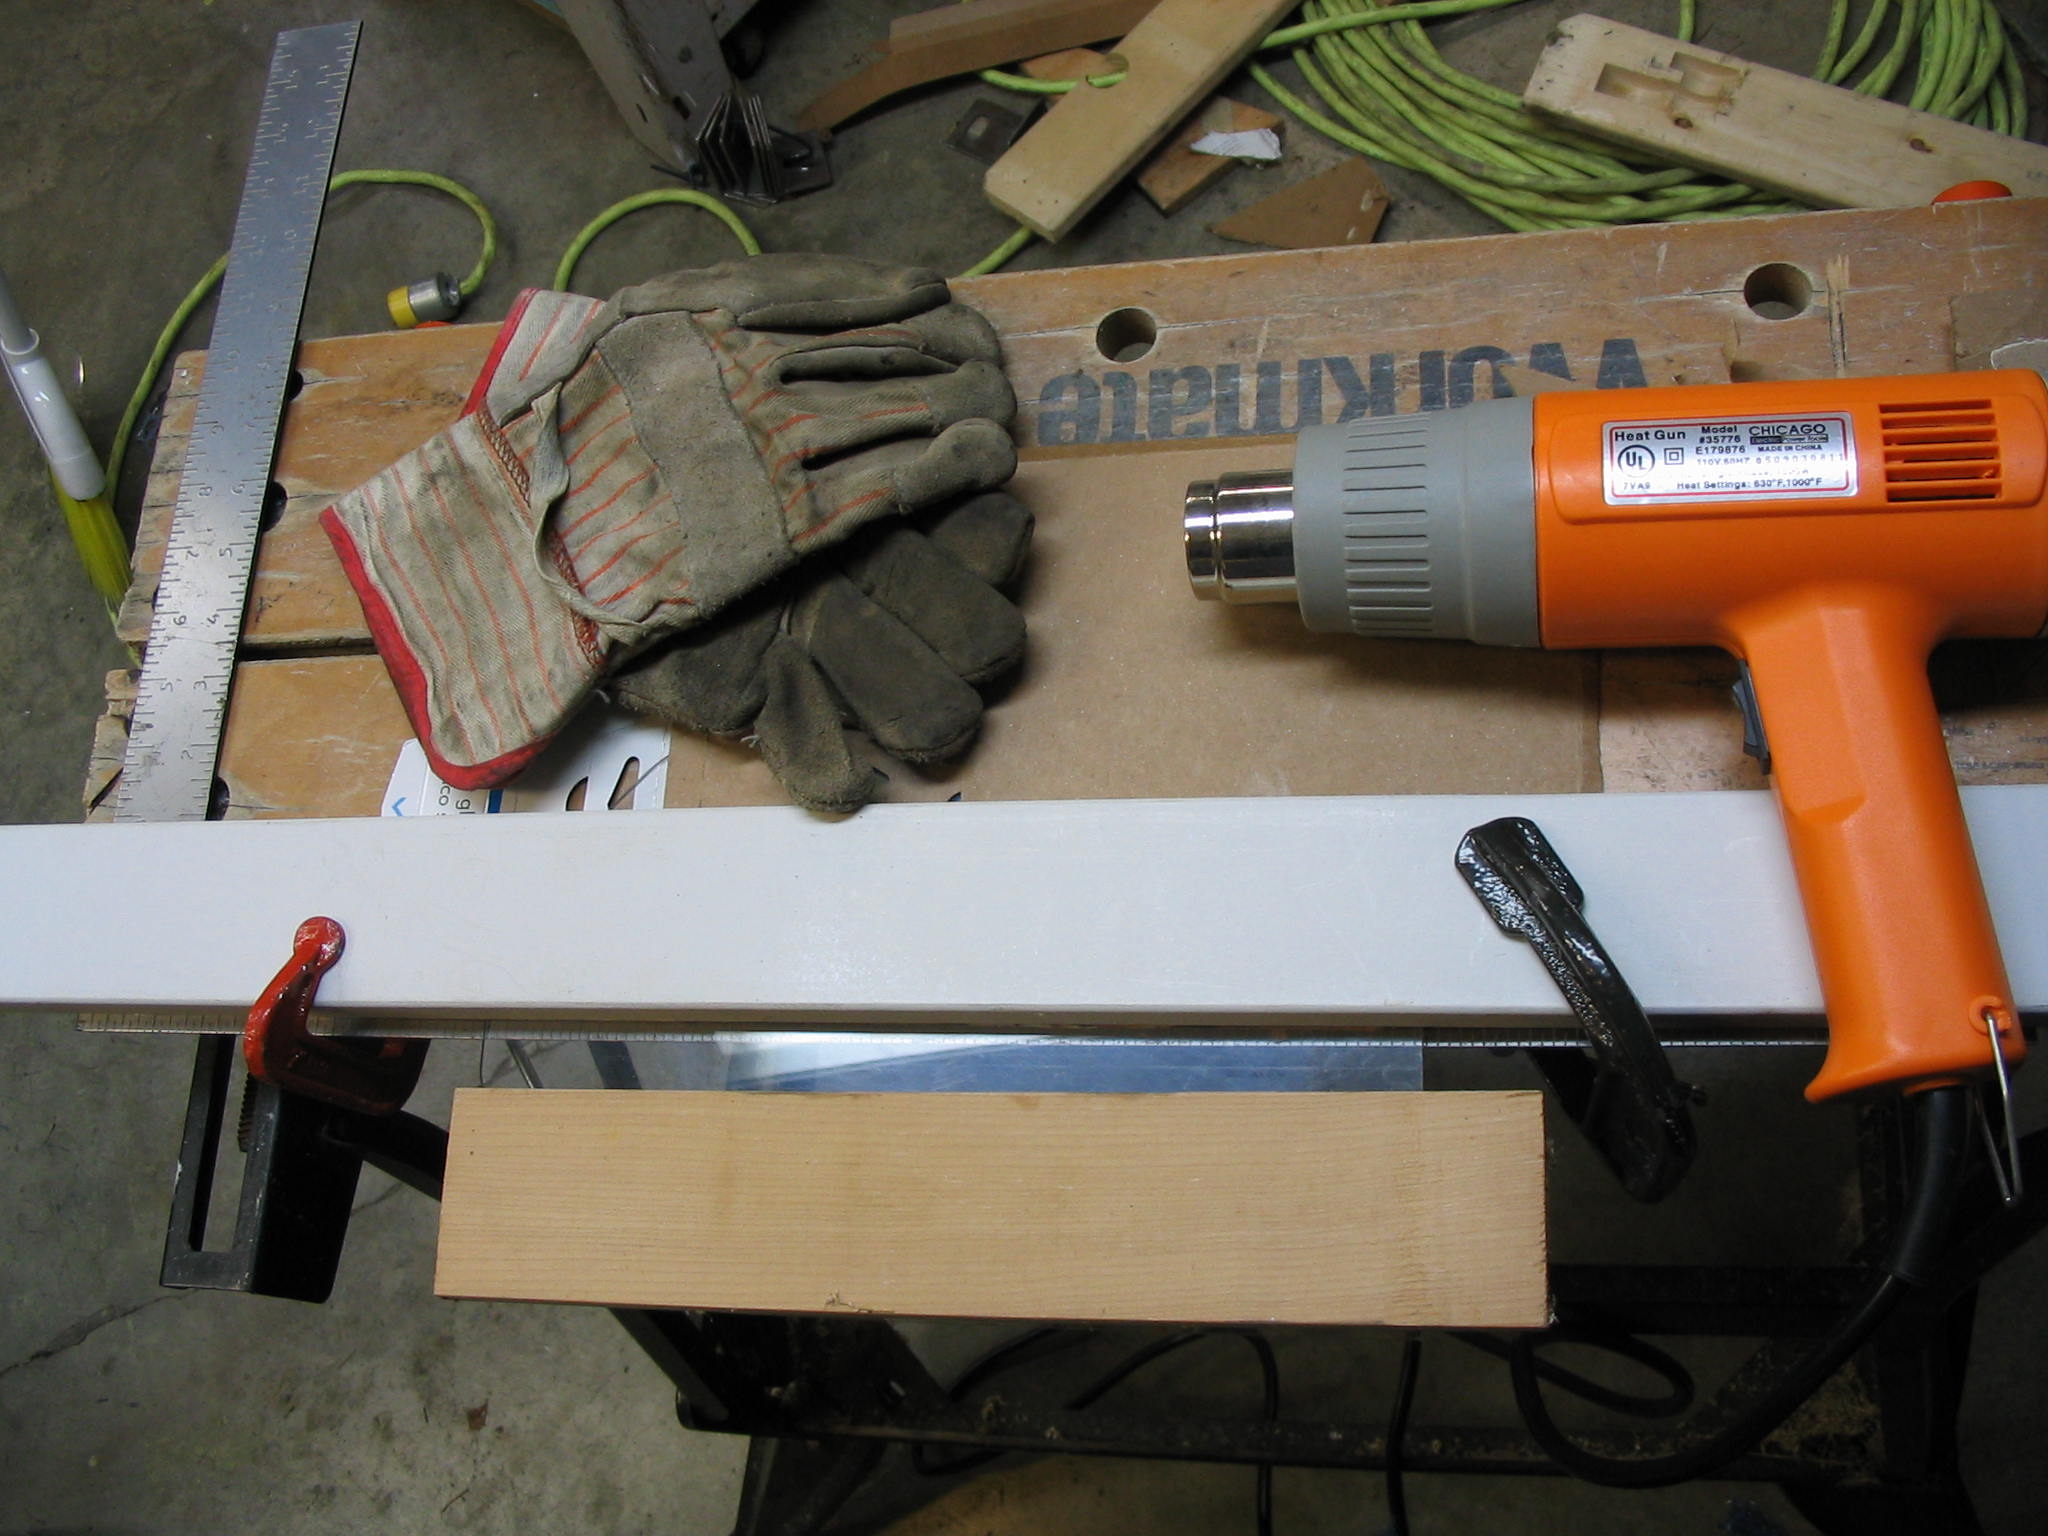
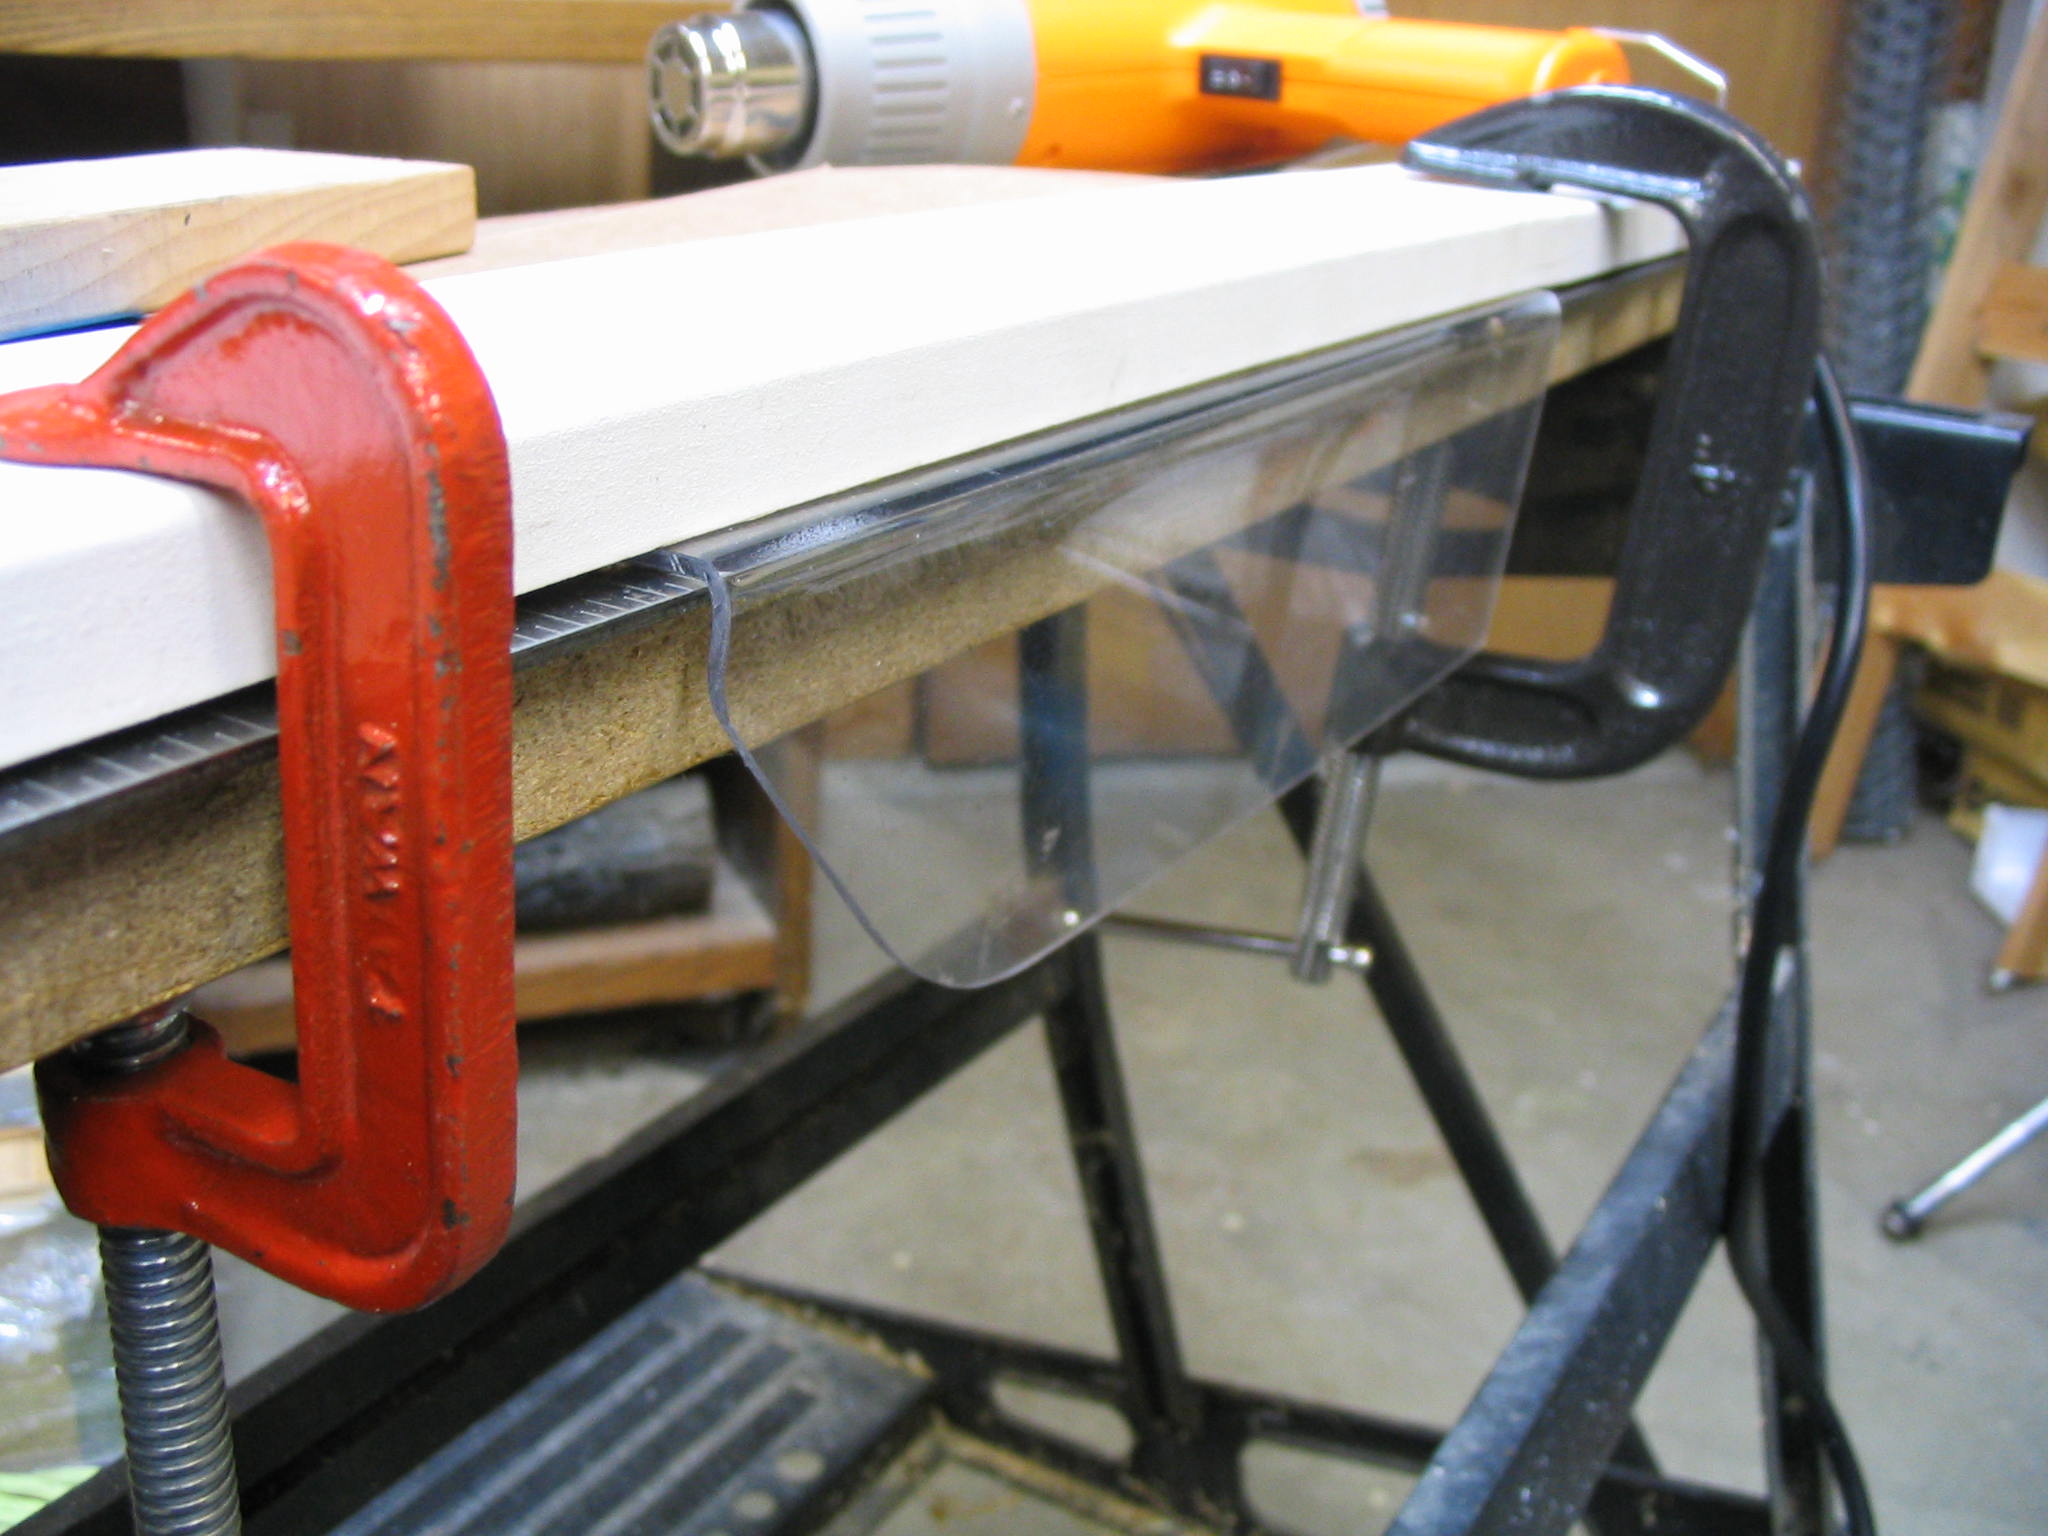
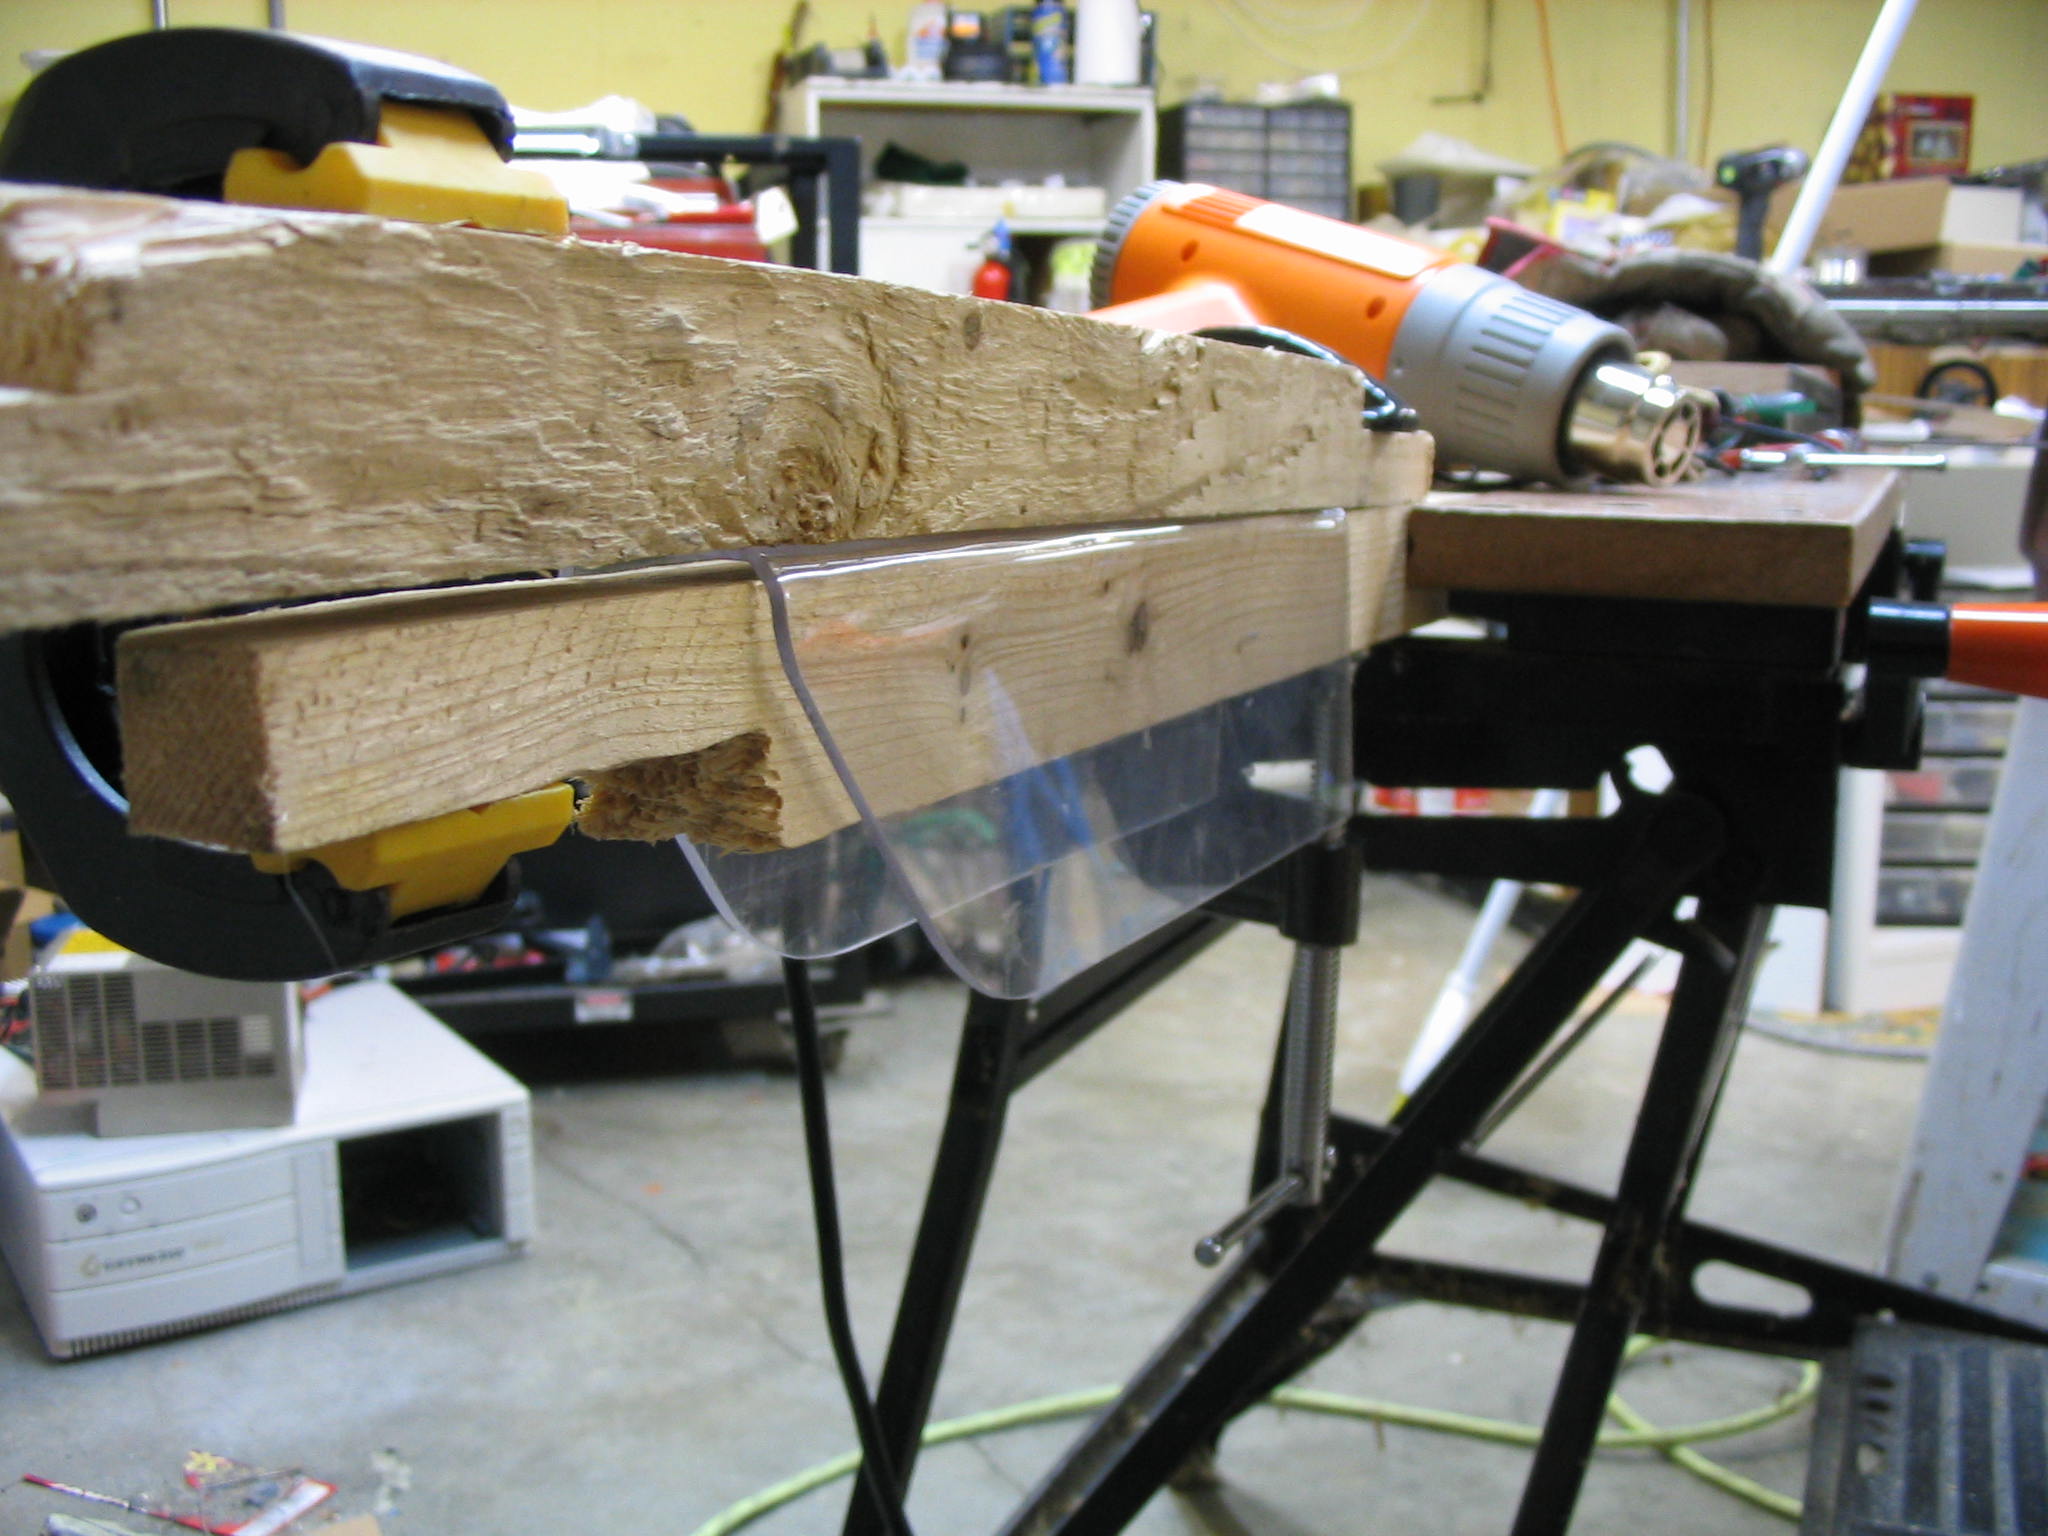
I bent a piece of Lexan into a U-shape channel using the heat gun, making two 90-degree bends. To make the bend, I clamped down the plastic between two boards, and used a metal straight-edge to bend on. I used another board to cover the rest of the plastic, leaving only a small strip of the plastic exposed between the two boards. I heated that strip by moving the heat gun back and forth along it, until the plastic became soft enough to bend. It is still a little hard to get both angles square, so I used another board which was the exact width of the channel. I reheated the corners and pressed the sides flat, producing a decent square channel.

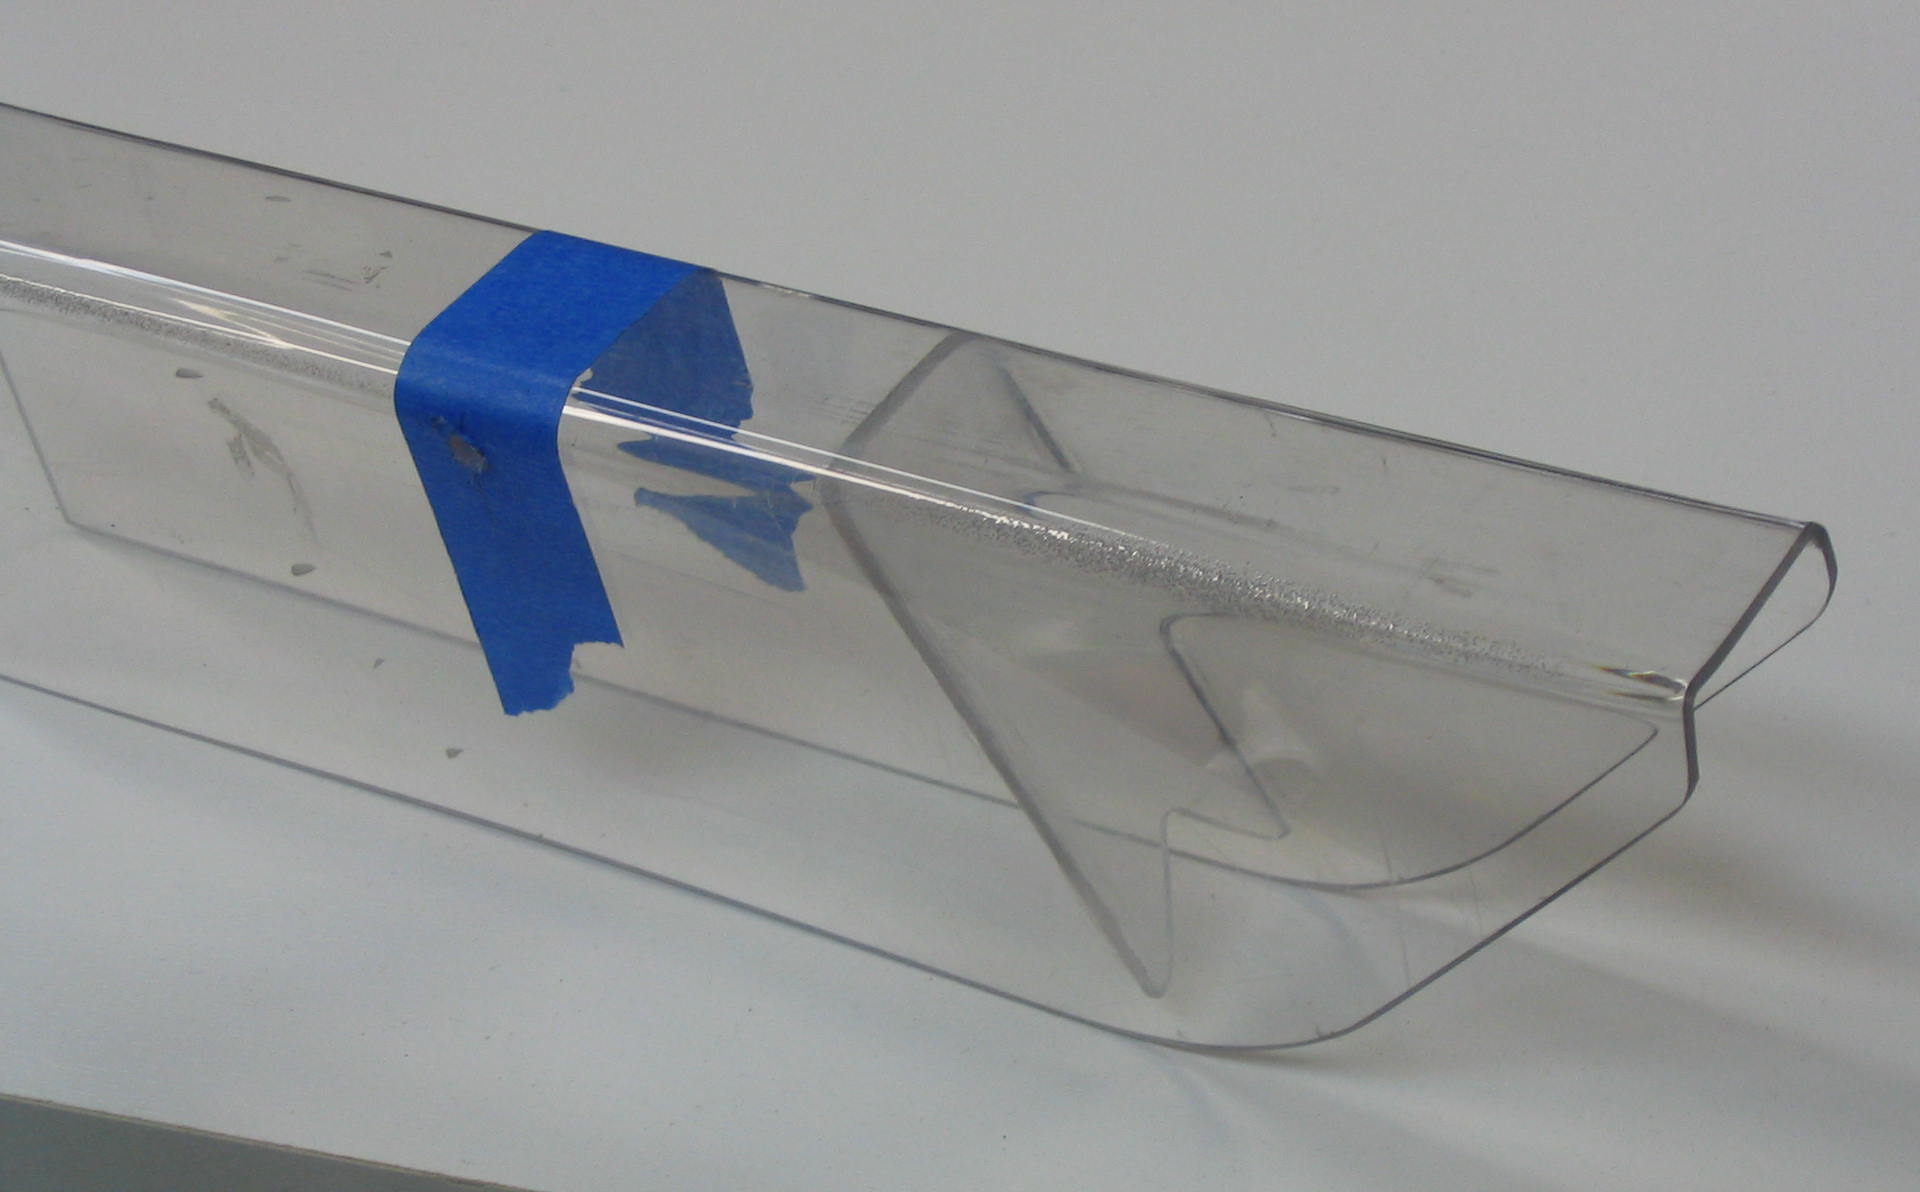
This covered the top and side, but not the front. Since the saw blade spins over the top toward the operator, it is useful to cover the front to prevent any chips from being flung forward. I cut out another piece of Lexan and filed it to fit the channel, and glued it with cyanoacrylate “krazy glue”.
Arms
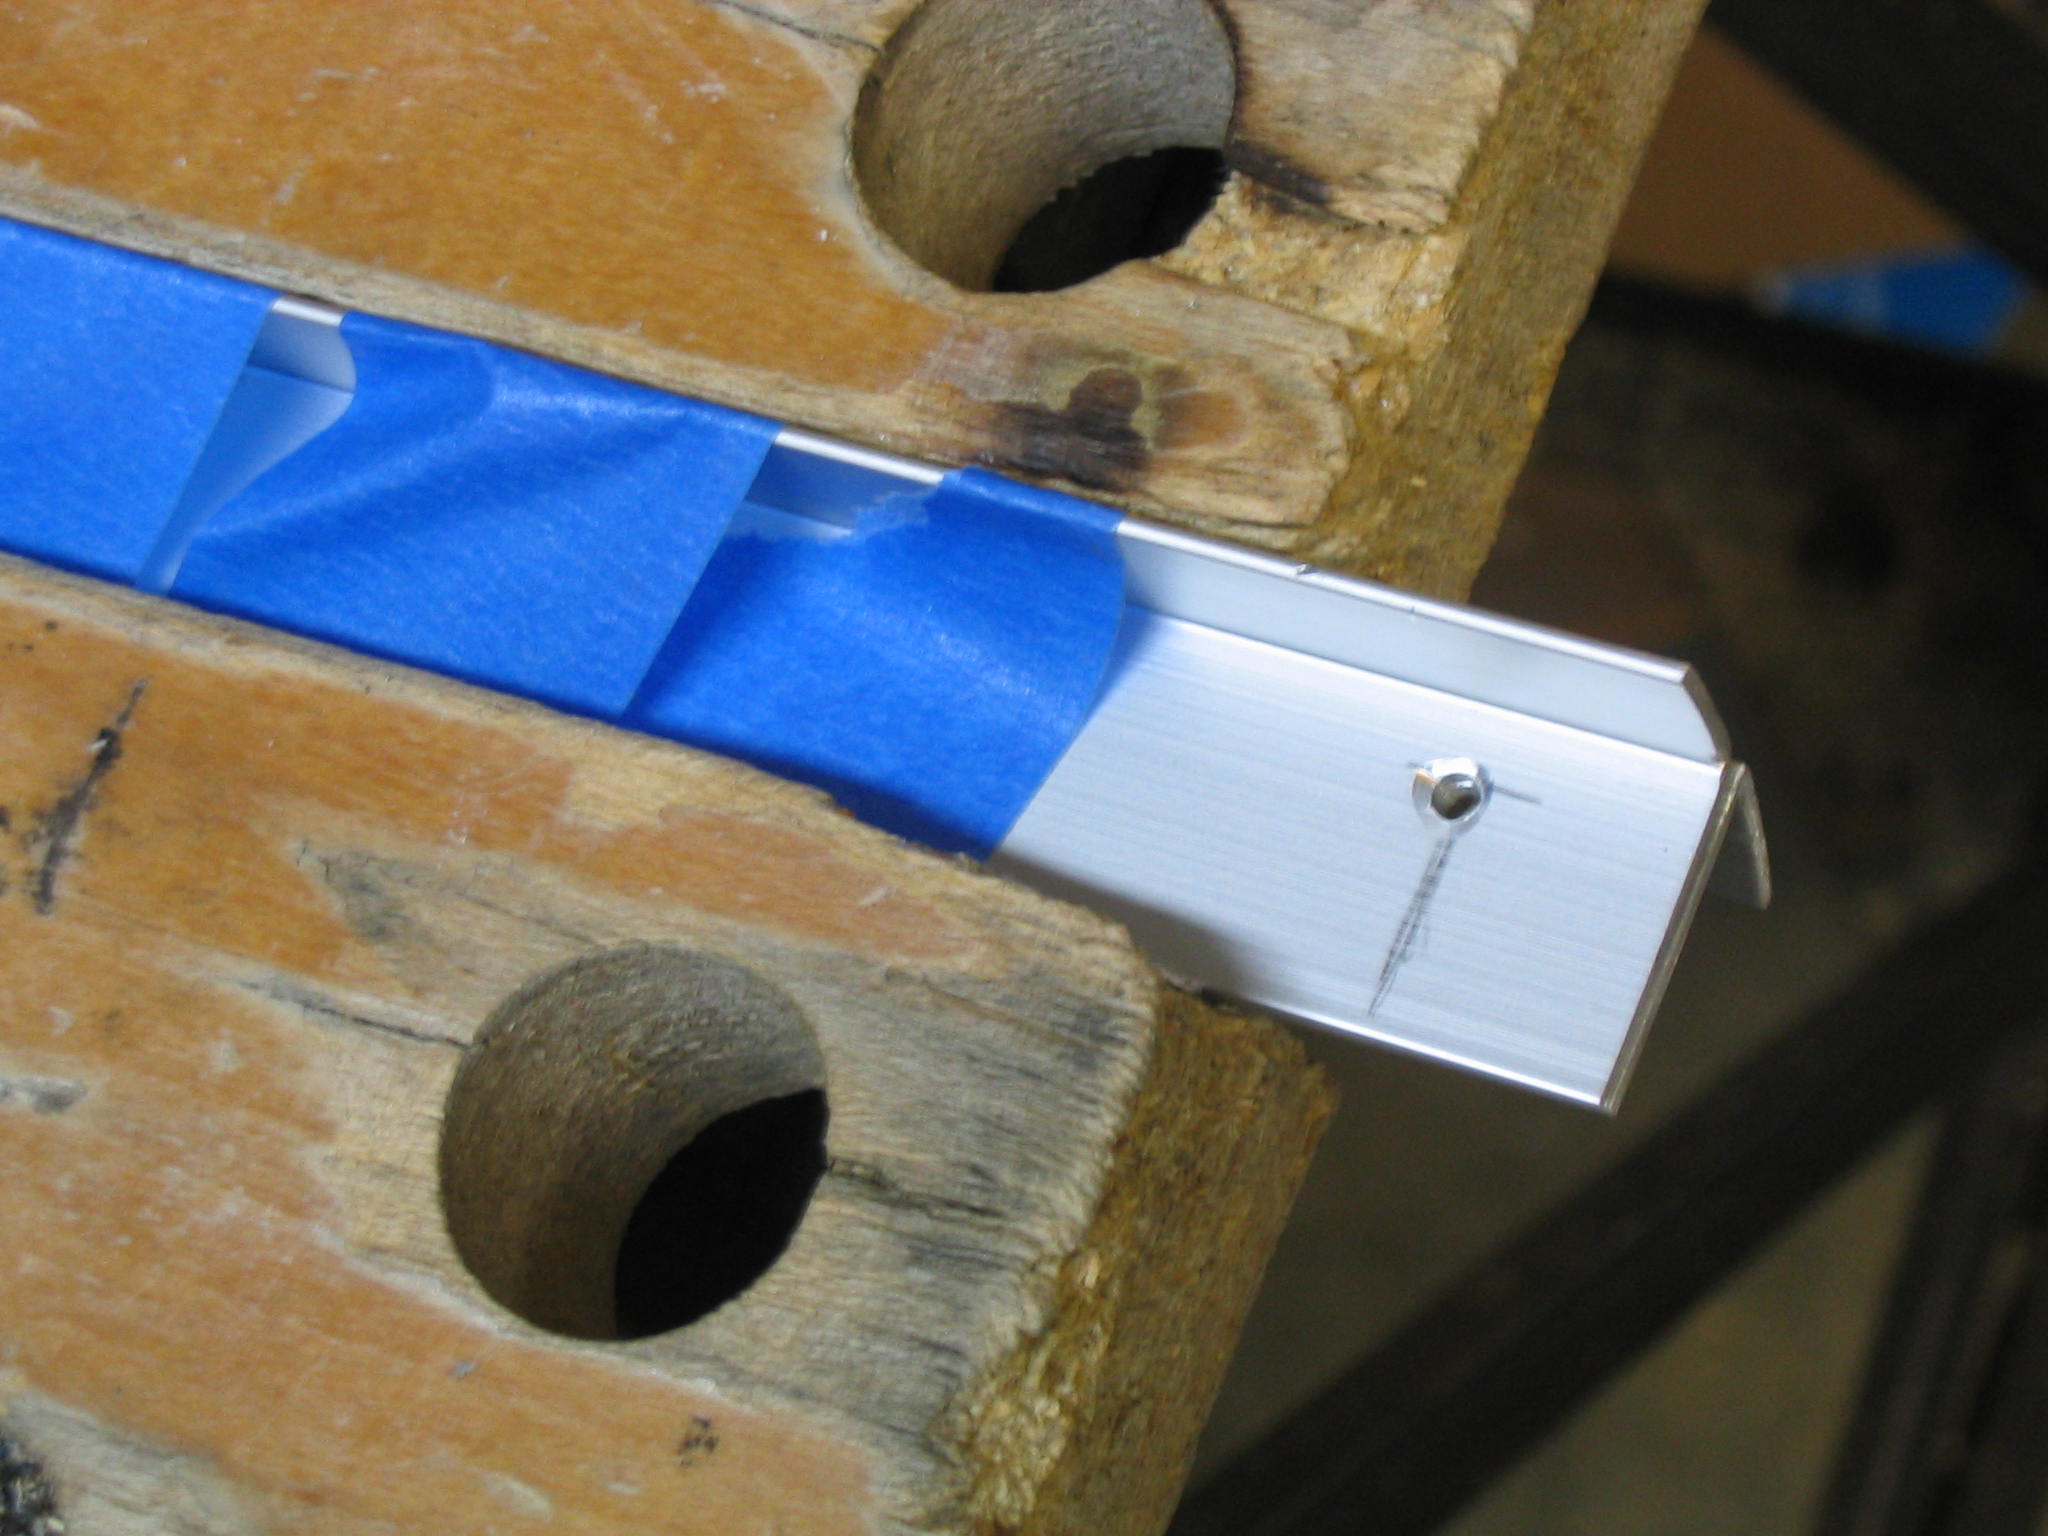
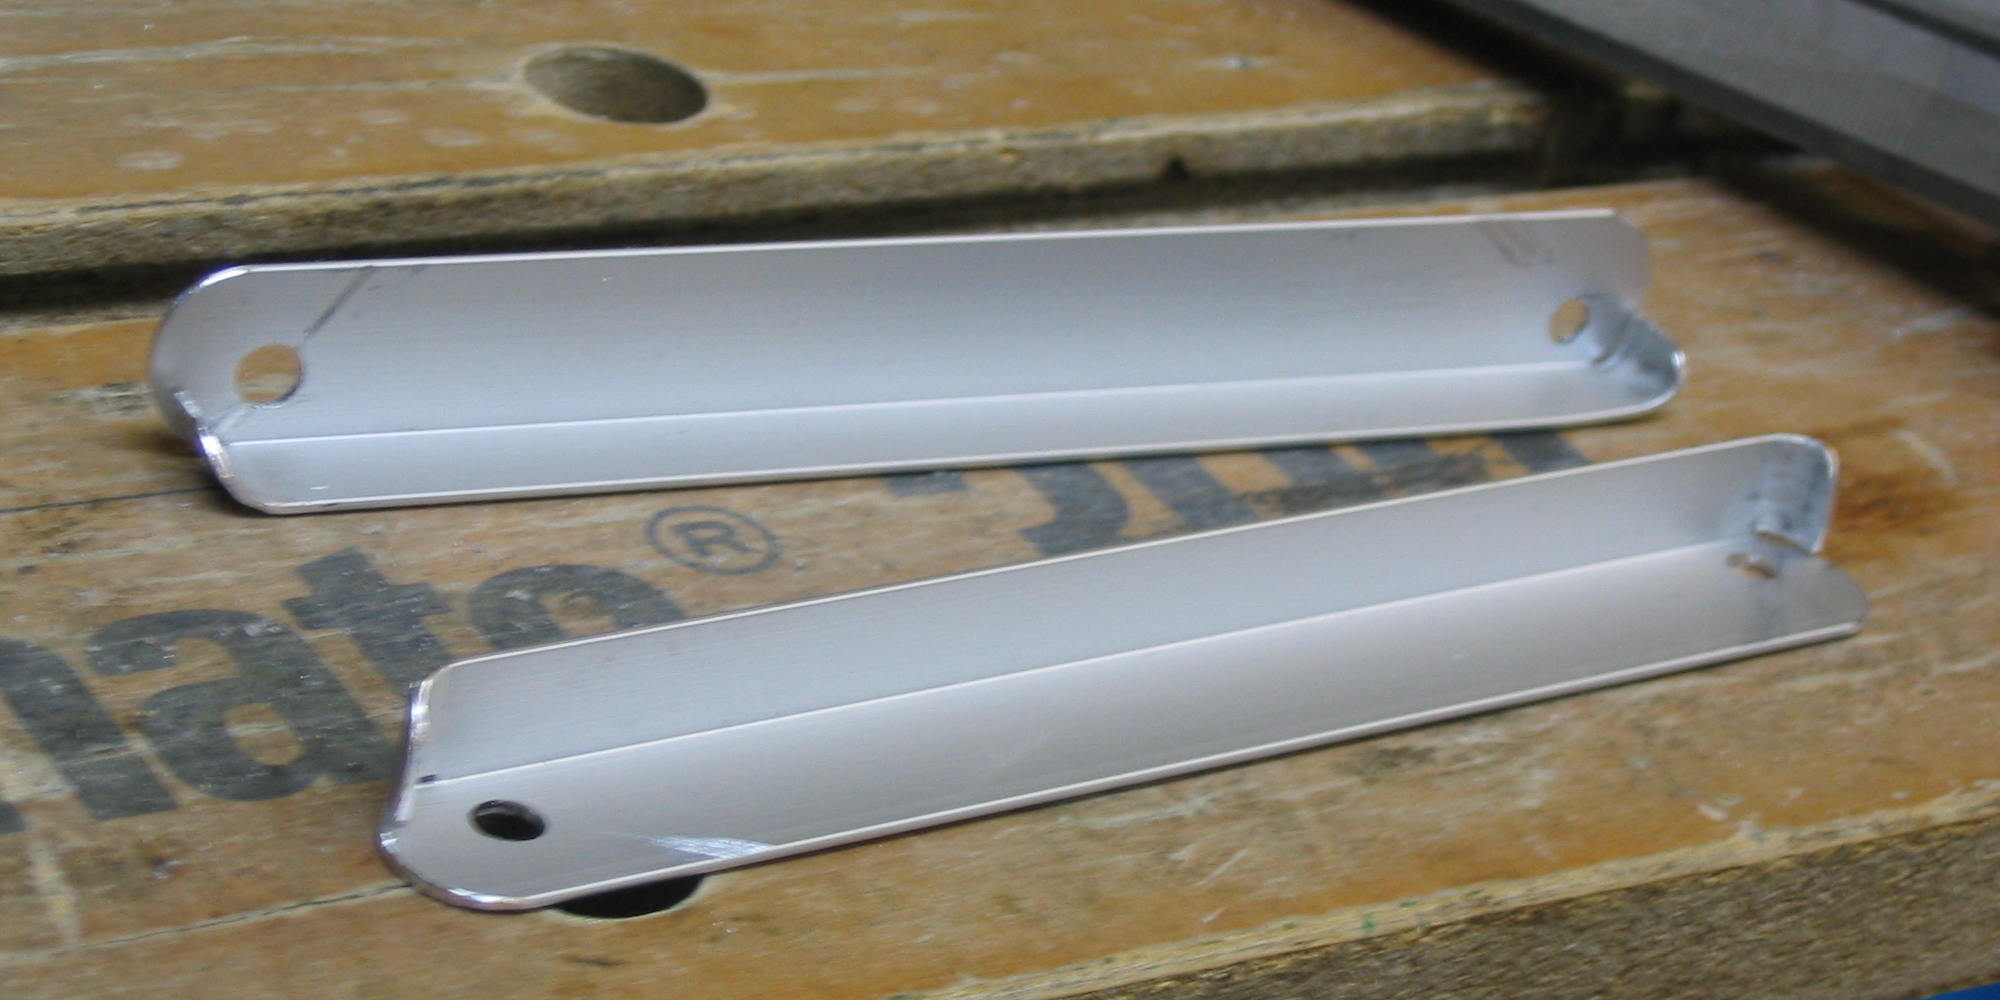
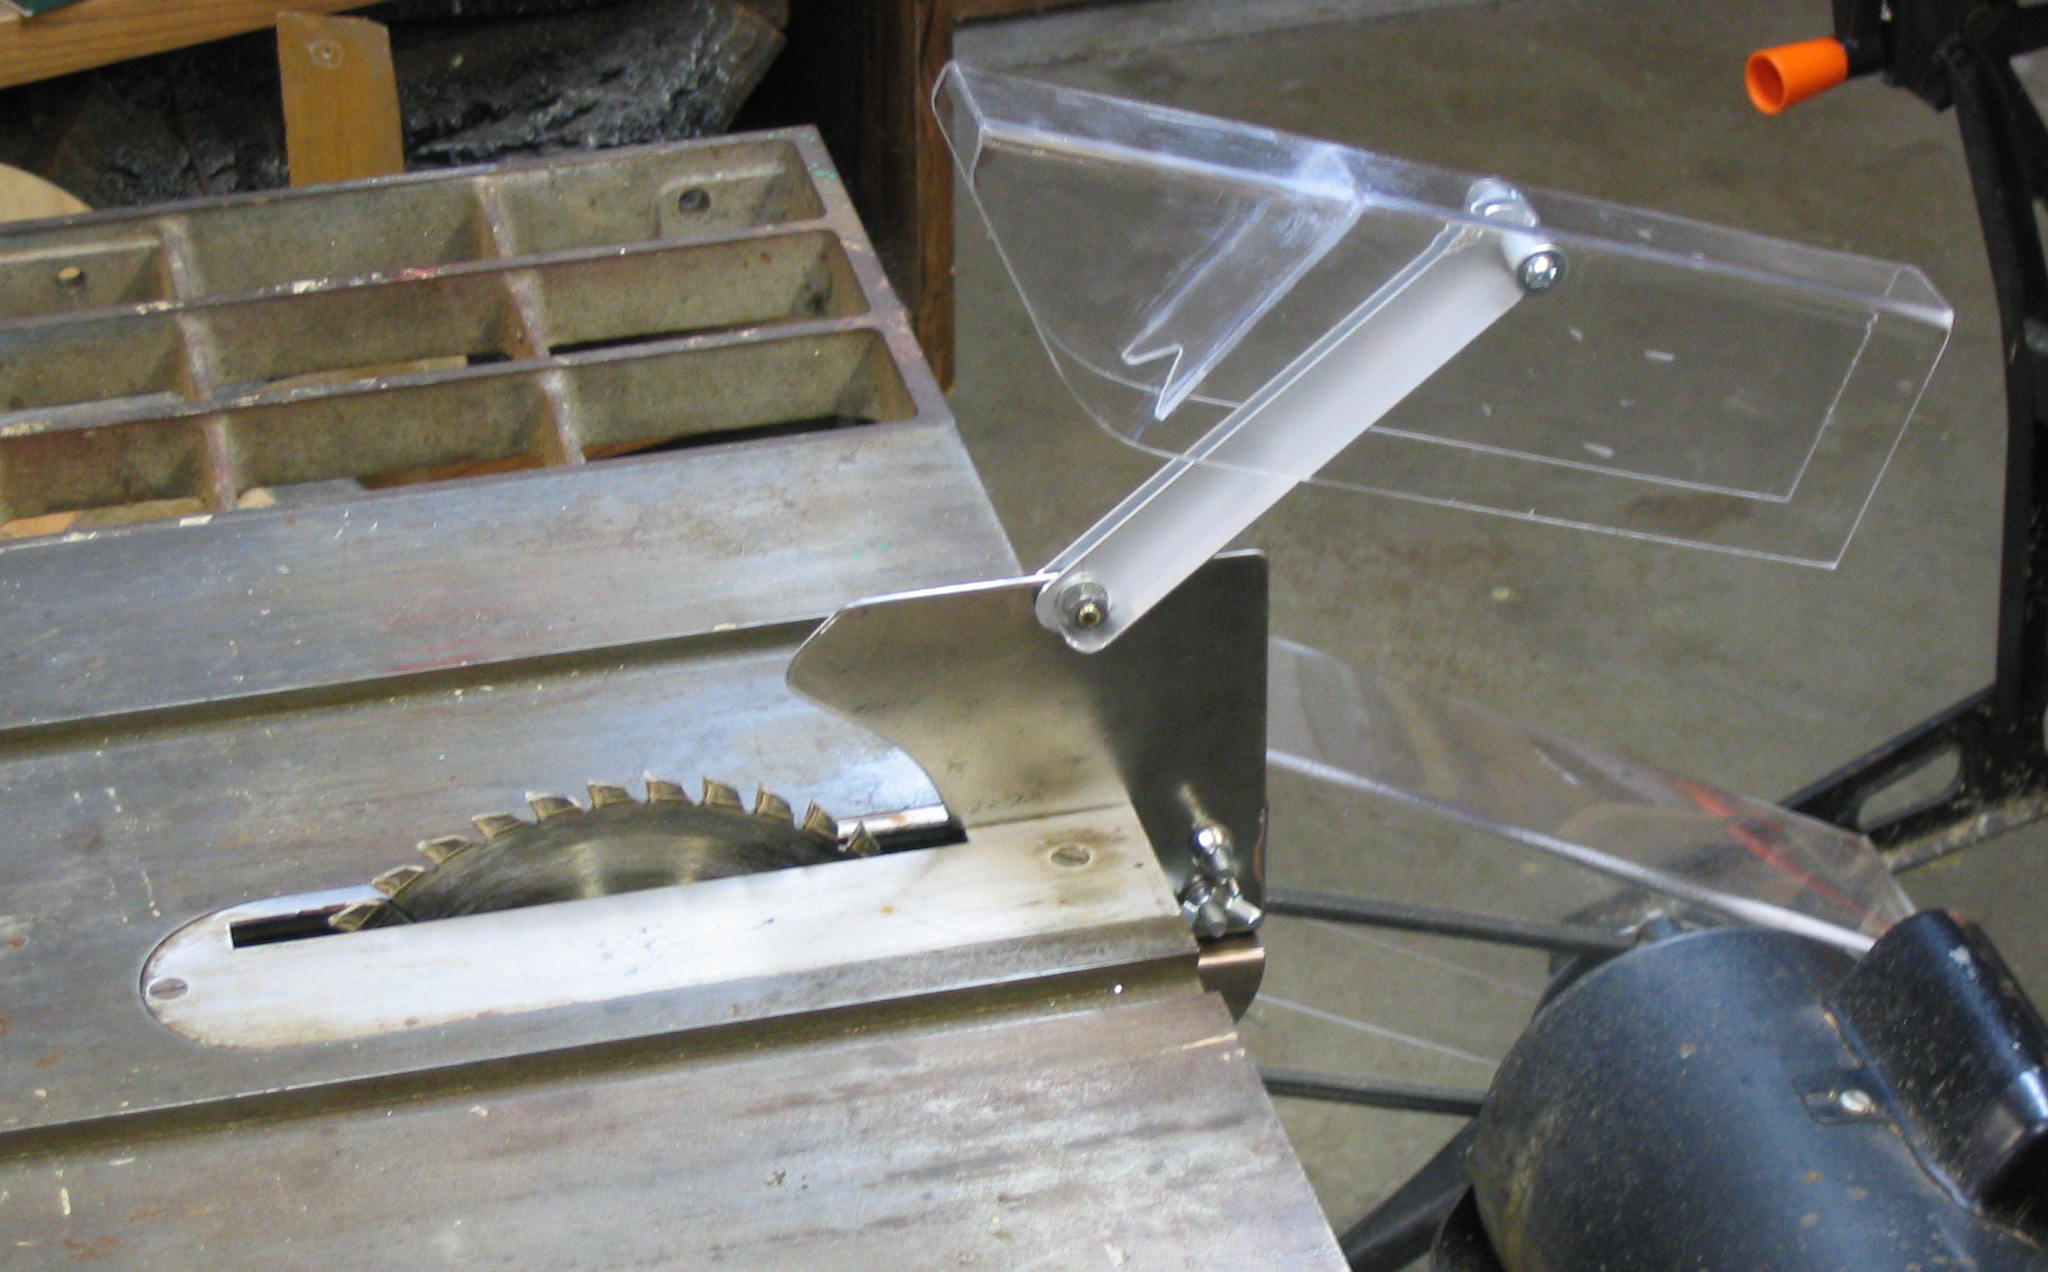
The cover is attached to the splitter by a pivoting support arm. I made this out of two pieces of aluminum L-shaped track, one on each side of the splitter. There is a hole where they connect to the splitter, and another hole where they connect to the cover. The best way to ensure that the holes line up is to drill them at the same time.
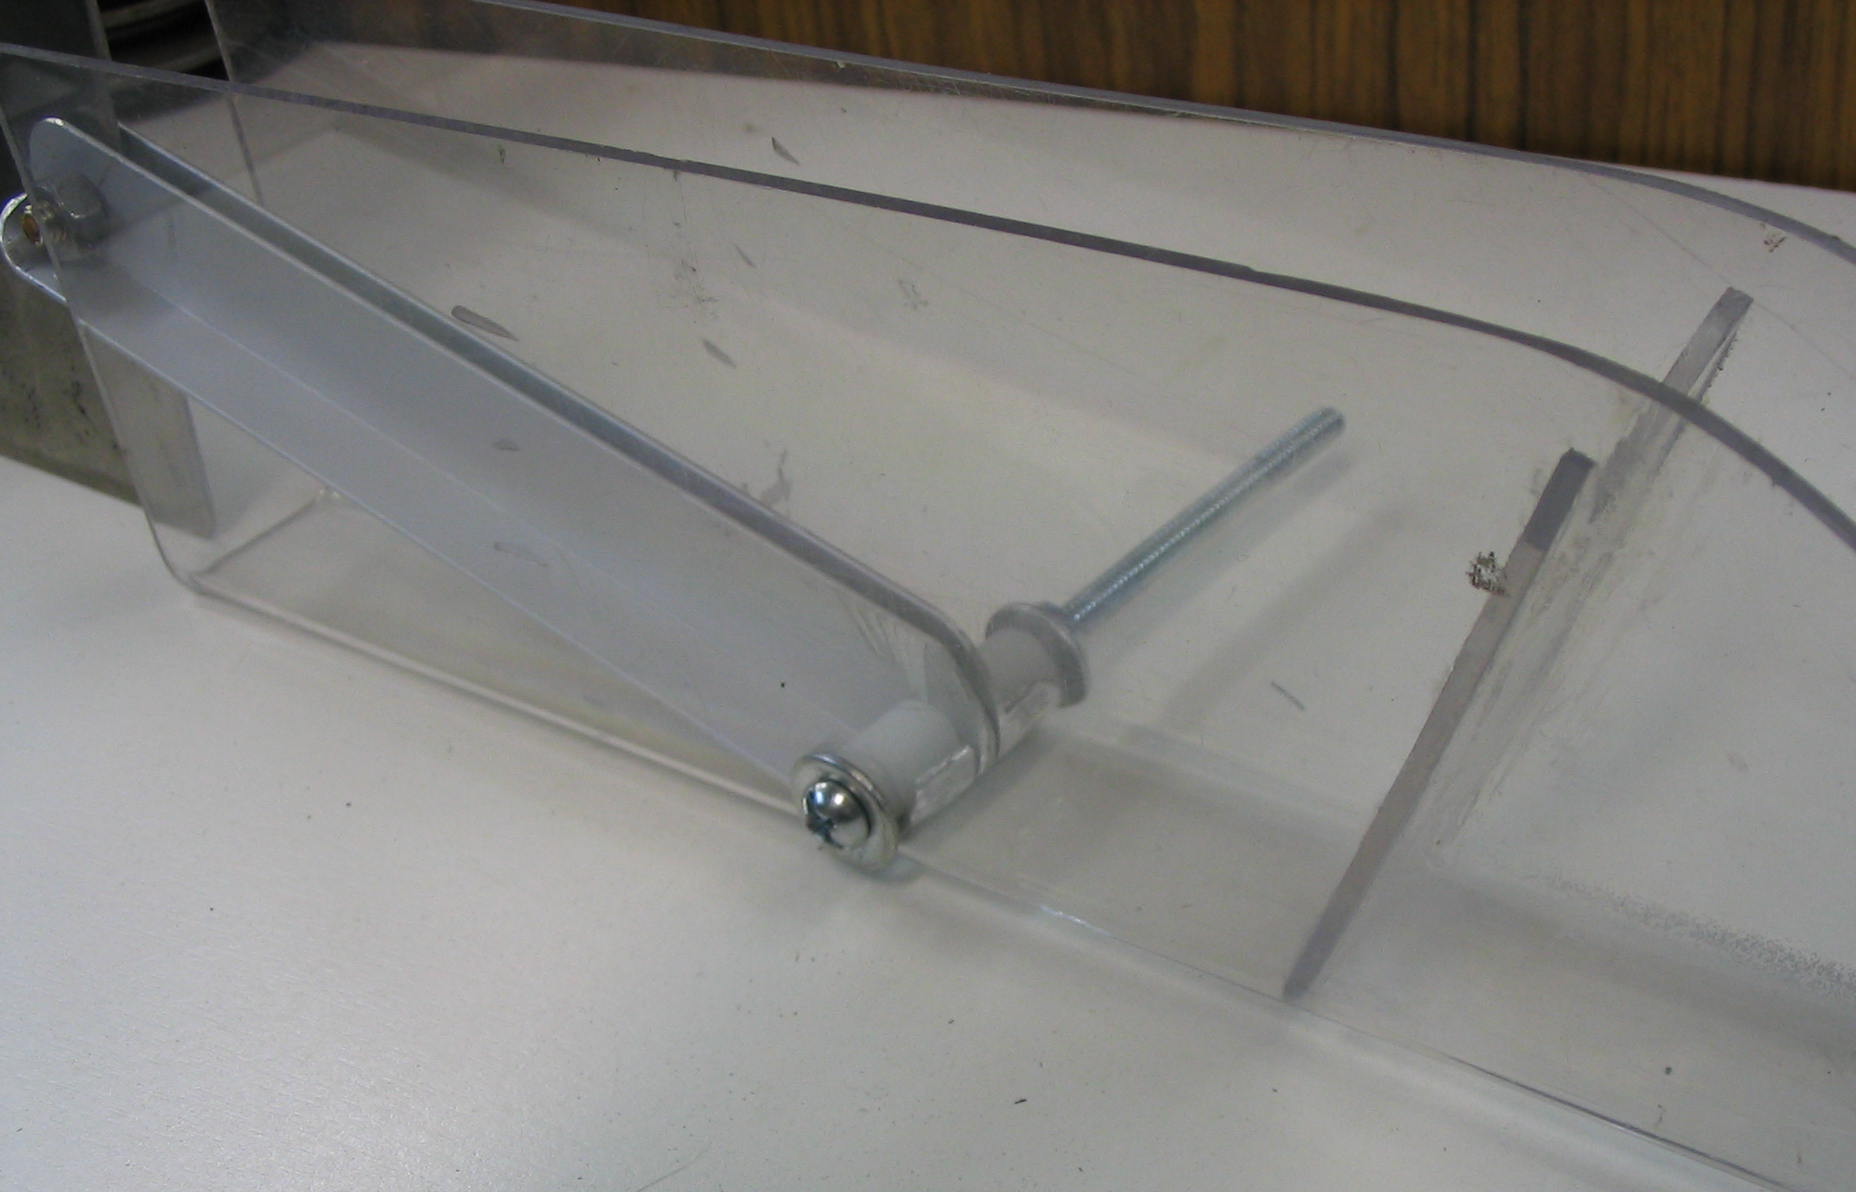
After I drilled the holes, I inserted screws with washers and locknuts to connect the arms to the blade cover and splitter. Since the cover screw goes through the sides of the cover, it needs some extra spacers to hold the arms in the center. I used two short pieces of 1/4″ plastic pipe.
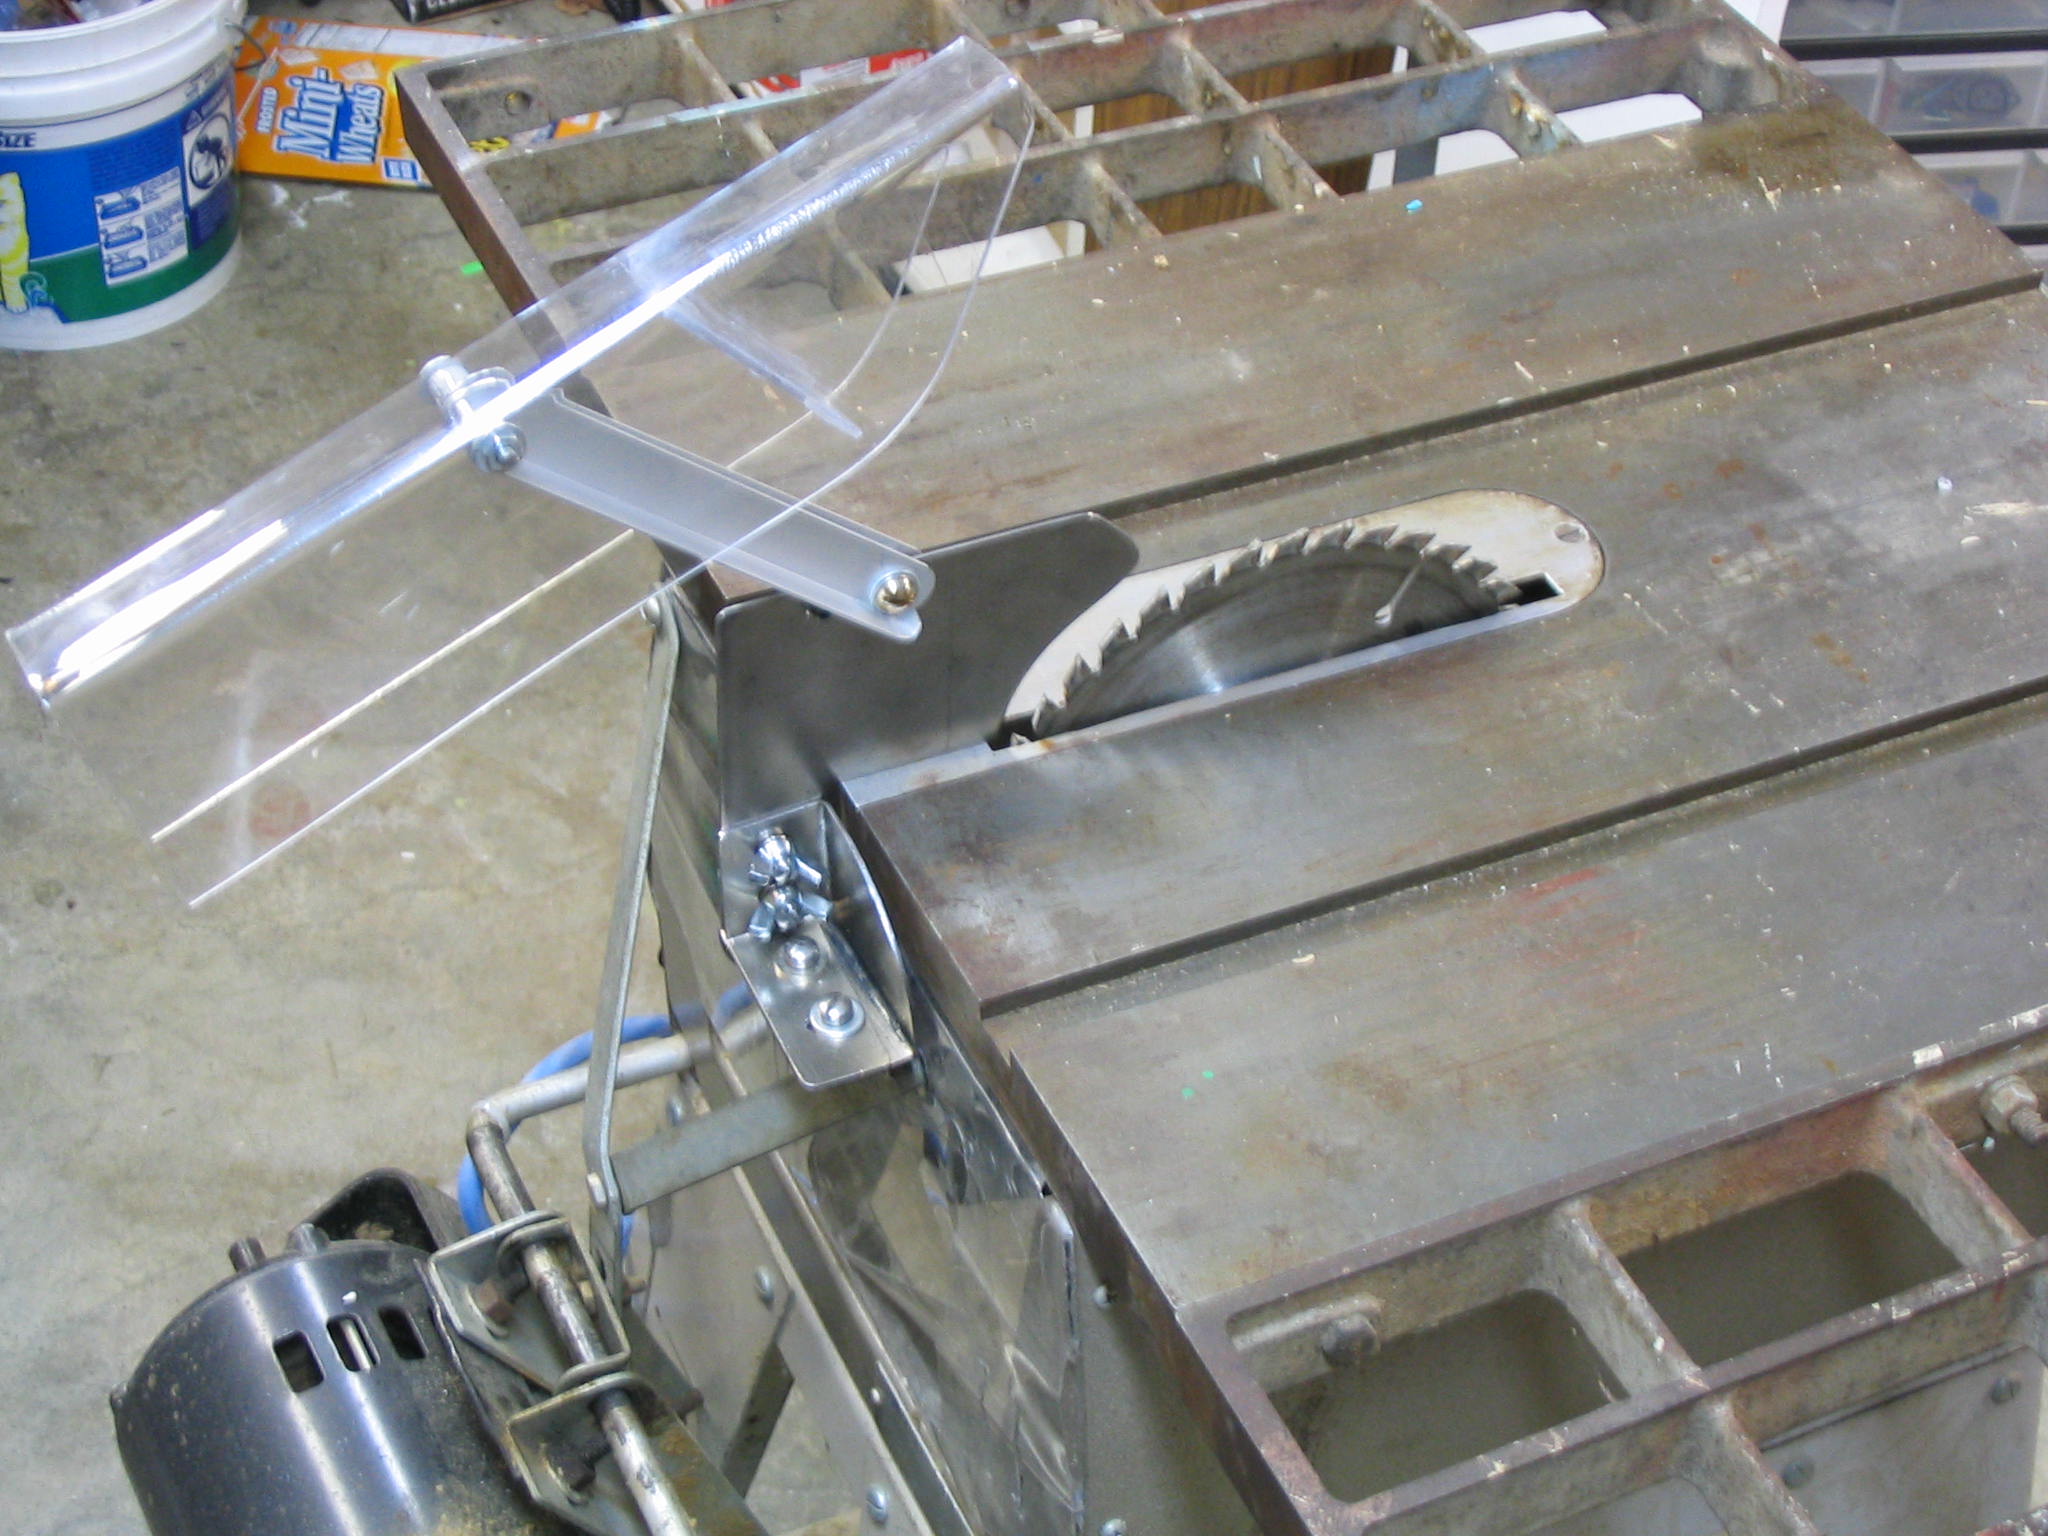
Occaisionally you may want to flip back the cover without removing the splitter. I added a stop screw to keep the arms from flipping all the way over and blocking the wood path on the back side.
Done
That completes the blade guard.
Hi
where i can find this tablesaw plastic guard
i have a tablesaw general model 350 and i would like plastic guard for this
thank
Unfortunately, I don’t know where you can find one for your saw. As you can see from my article, I made my own instead of buying one. Perhaps you can do the same.
I’m working on a similar project, but I want to catch as much of the sawdust as possible as well as having a blade guard. My saw is the old Craftsman 113 series and I got mine very used, it had no blade guard or dust collection when I got it. Where did you get your Lexan for the project and how thick is the plastic? I built this version from plans from a guy on You Tube. https://www.youtube.com/watch?v=-PDT9bqgrIg
It works well for dust collection if you adjust the height down to the surface of the workpiece before you start cutting. It does not tilt with the blade and there is no splitter, but you can run a sort of fin out of the end of the throat plate and pretty much do that splitter thing although it won’t tilt if you ever need to tilt the blade.
Please let me know if you need any special hardware made on the lathe as I have a nice one. And also let me know if you have made any mods since you posted these pictures?
Thanks for the offer. No, I have not made any mods to it since then; it continues to work just fine as is. Some anti-kickback pawls would be nice, but I haven’t gotten around to it.
I need to make a replacement plastic blade guard for my Rigid TS3650 and I intend to use its existing splitter and arm. To achieve the proper height dimension after bending the polycarbonate, can you suggest what additional measurement allowance I should make make for the bends? Alternatively, it might be easier to add extra width prior to bending and then simply rip it to the proper dimension with a supporting board inserted between the sides.
I really did not pay close attention to bend allowance. As I recall, mine came out slightly lopsided, so I sanded down the longer side with a belt sander. Only took a few minutes to even it up. All of my dimensions were approximate; it’s not a tight tolerance situation.
nice design. how thick is the lexan that was used?
thanks- george t