Over the years I have accumulated a growing pile of pliers, screwdrivers, wrenches, and other miscellaneous small tools. It long ago outgrew the little toolbox I have, turning into more of a tool pile or perhaps a tool dumping ground. I needed a new, bigger toolbox. Having recently built some new toys, namely a bending brake and spot welder, I knew I needed to build my own toolbox.
Actually, it was the other way around. I had the toolbox idea first. I built the brake and spotwelder because I thought they could help build the toolbox. And they did.
I gave myself a challenge on this project, to make the entire toolbox from reused and recycled materials. Not because I’m a cheap bas bargain hunter (I blame my dad’s thrifty Scottish upbringing… Hi Dad!), but because I’m really one of those eco-hipster tree huggers who wants to save my wallet the planet.
Design and Construction
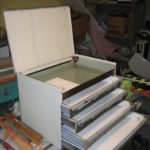
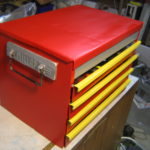
The toolbox is 18.5 inches wide, by 13 inches high, by 13 inches deep (470 x 320 x 320 mm). I did not make extensive plans or calculations. Essentially, 18 inches was the largest size I could fit in the bending brake, because that was the size of metal I had when I built the brake. But it seemed like a good size, so I just went with it.
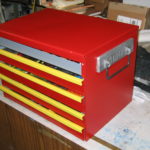
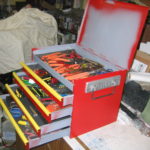
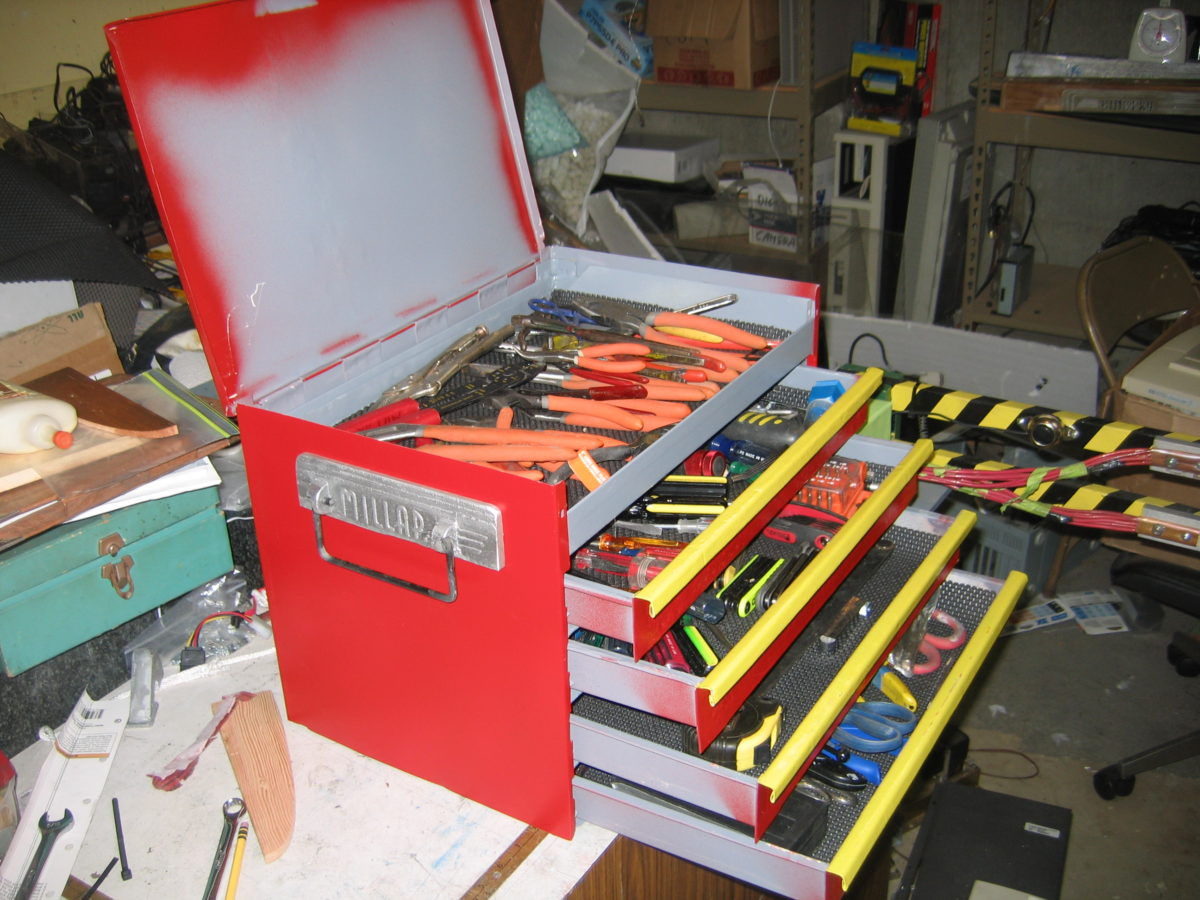
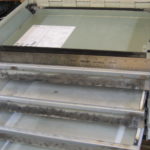
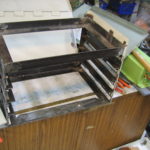
It has a hinged lid on the top, and four sliding drawers. Each drawer has four roller bearings: two on the front of the frame, and two on the back of the drawer. Each drawer is 2.5 inches high (65mm).
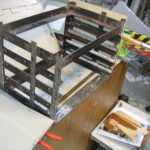
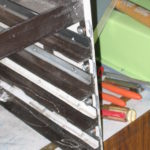
The toolbox frame is made of angle-iron salvaged from bed frames, and arc-welded together. Each drawer has guide channels to ride on, with roller bearings.
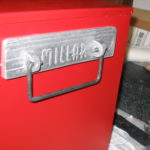
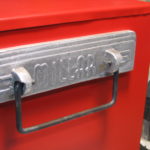
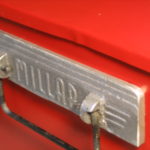
I put a handle on each side of the box, with a cast aluminum mounting bracket. My buddies recommended that I add some artwork or a personal touch to the box, so I re-used a pattern with my name on it and made a simple open-faced sand casting to make the mounting brackets. I filed the edges square and drilled holes in the flanges to hold stiff bent-wire handles. I used steel rod from a broken baby stroller handle, and bent it with the propane torch.

Recycled Materials
All the materials in this toolbox were recycled, salvaged from other items.
| Item | Source |
|---|---|
| Frame | Bed frame angle iron (Yes, I know it’s actually steel) |
| Drawer body sheet metal | Refrigerator door skin |
| Drawer front face | PC case |
| Drawer roller bearings | Hard drive disk spindles |
| Sides and lid | PC case |
| Hinge pin wire | Bicycle spokes |
| Screws | Salvaged from other old disassembled stuff |
| Paint | Recycled oil (alkyd) paint from Habitat ReStore |
| Handle brackets | Aluminum from melted-down hard drive bodies and broken car wheels |
| Handles | Steel rod from baby stroller handle |
I painted it with recycled oil paint from the Habitat for Humanity ReStore. I’ve done this on several of my tool projects and it’s been great.
Alright, I have a confession to make. There were some things I had to purchase new. There are a few pop rivets holding part of the drawer slides together. That was before I finished the spot welder. Yeah, I’d like to see somebody figure out how to re-use pop rivets. Does that count? Yeah, I didn’t think so.
And I had to buy new welding rod. So there.
It may not be the most accurate, well-aligned toolbox in the world, but I had fun making it, and it is very satisfying to know it is one-of-a-kind. And free. I mean unique. Mostly.